
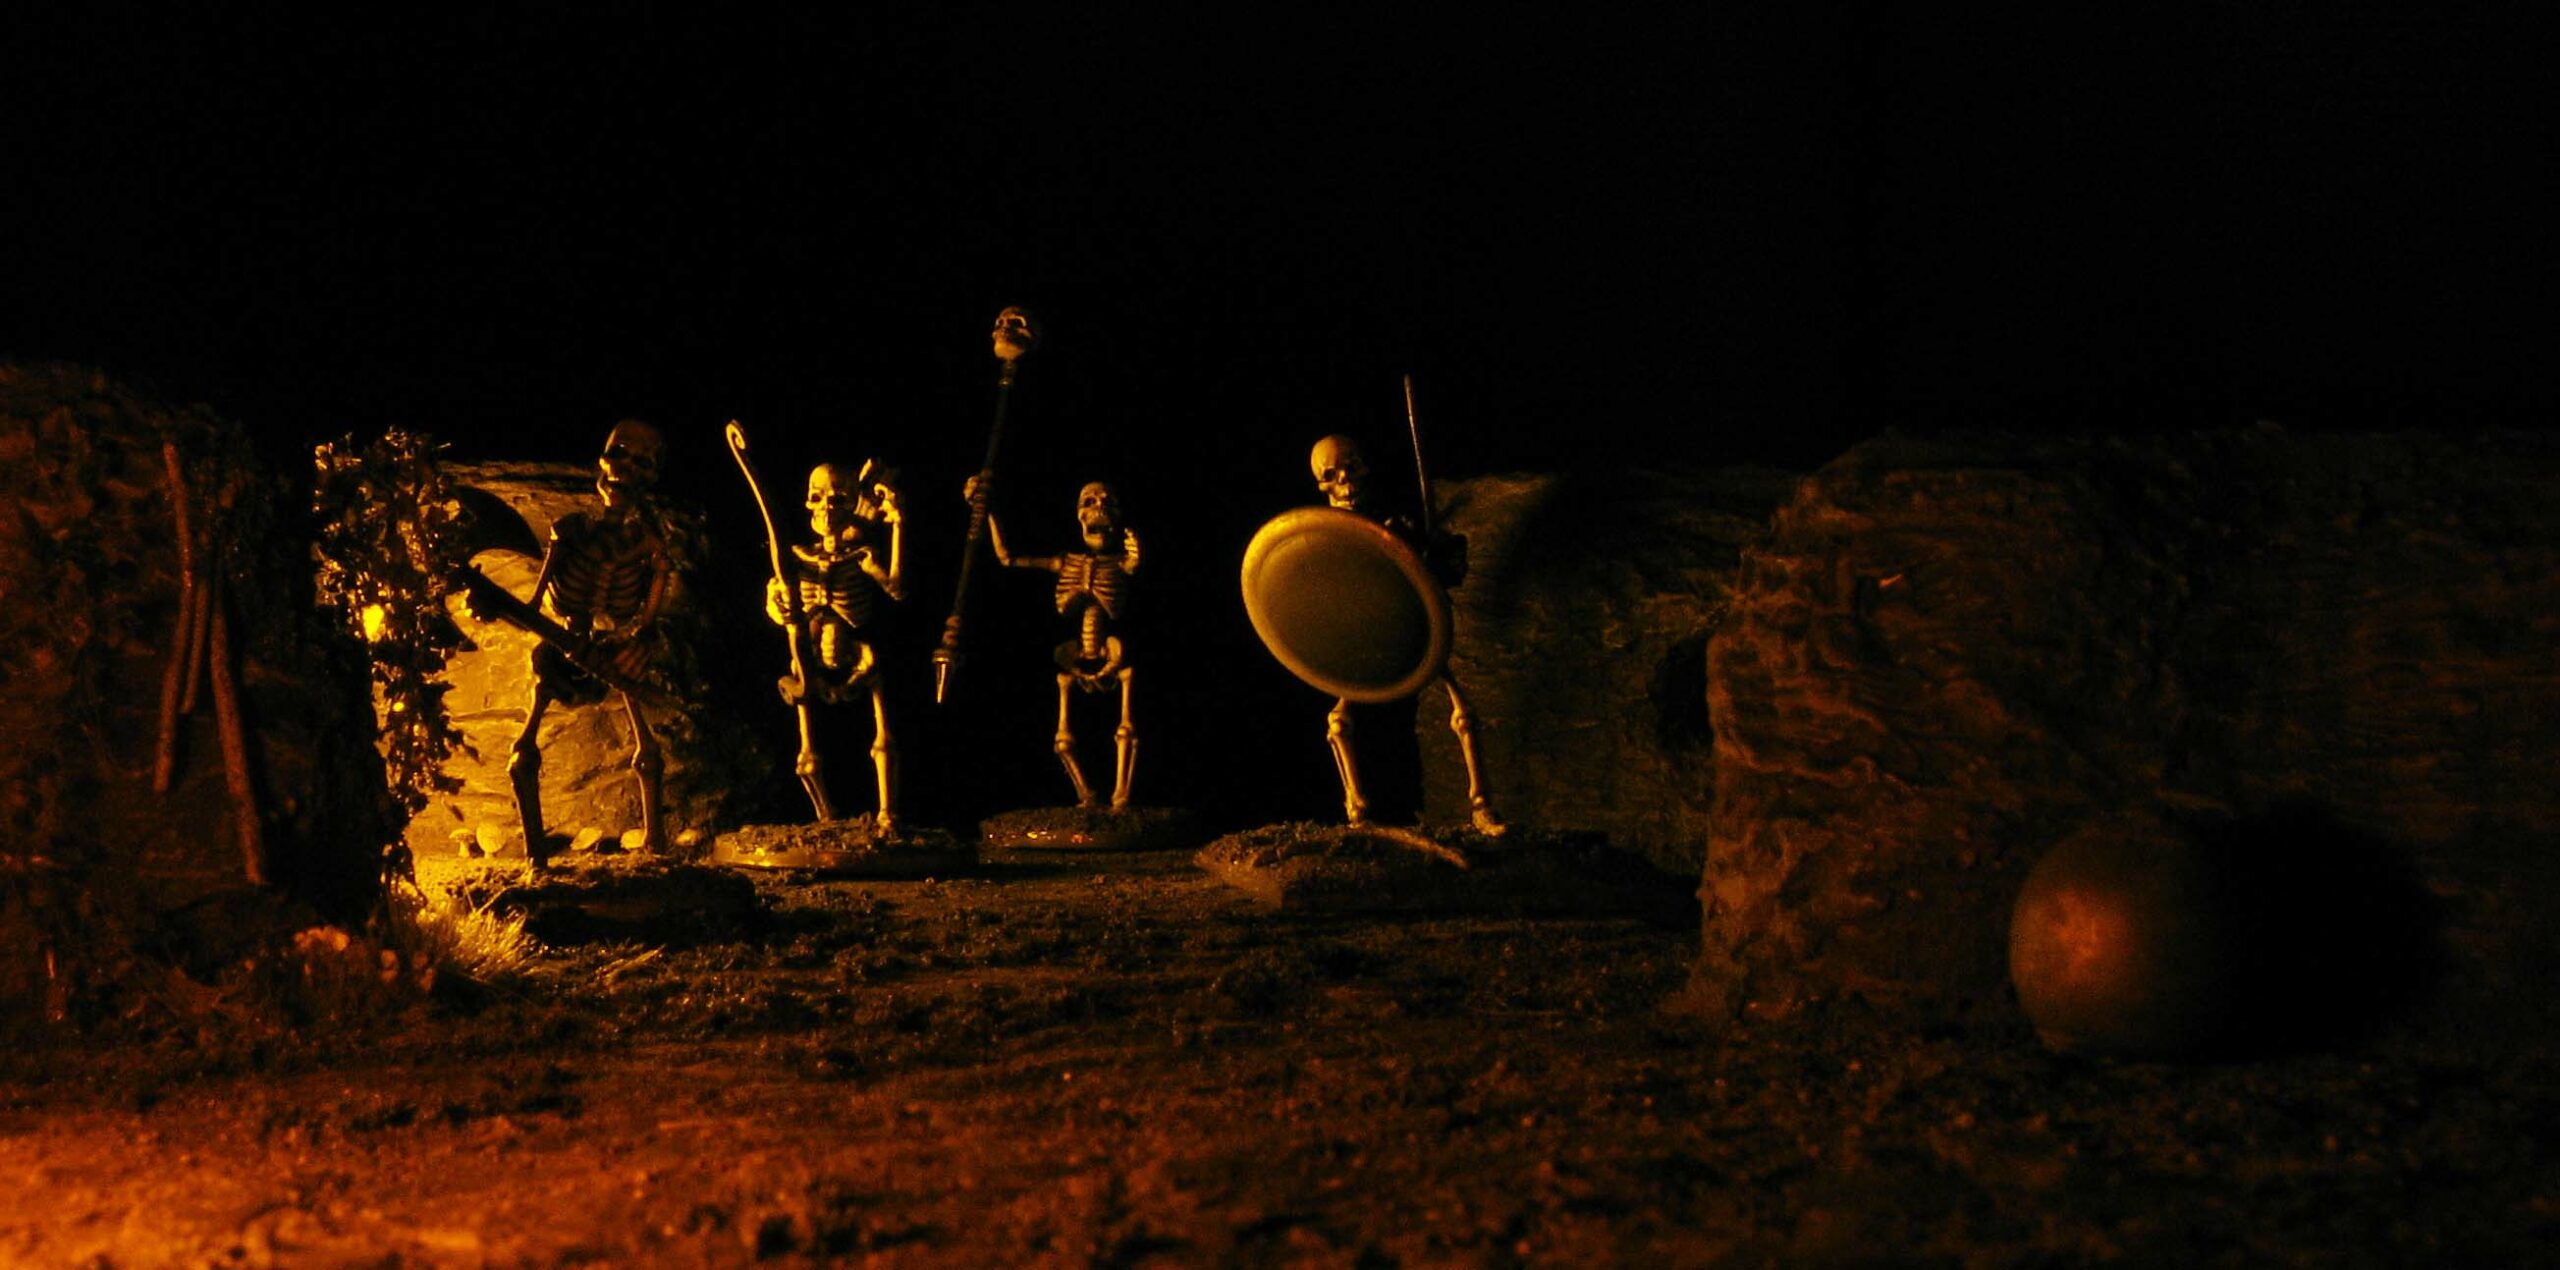
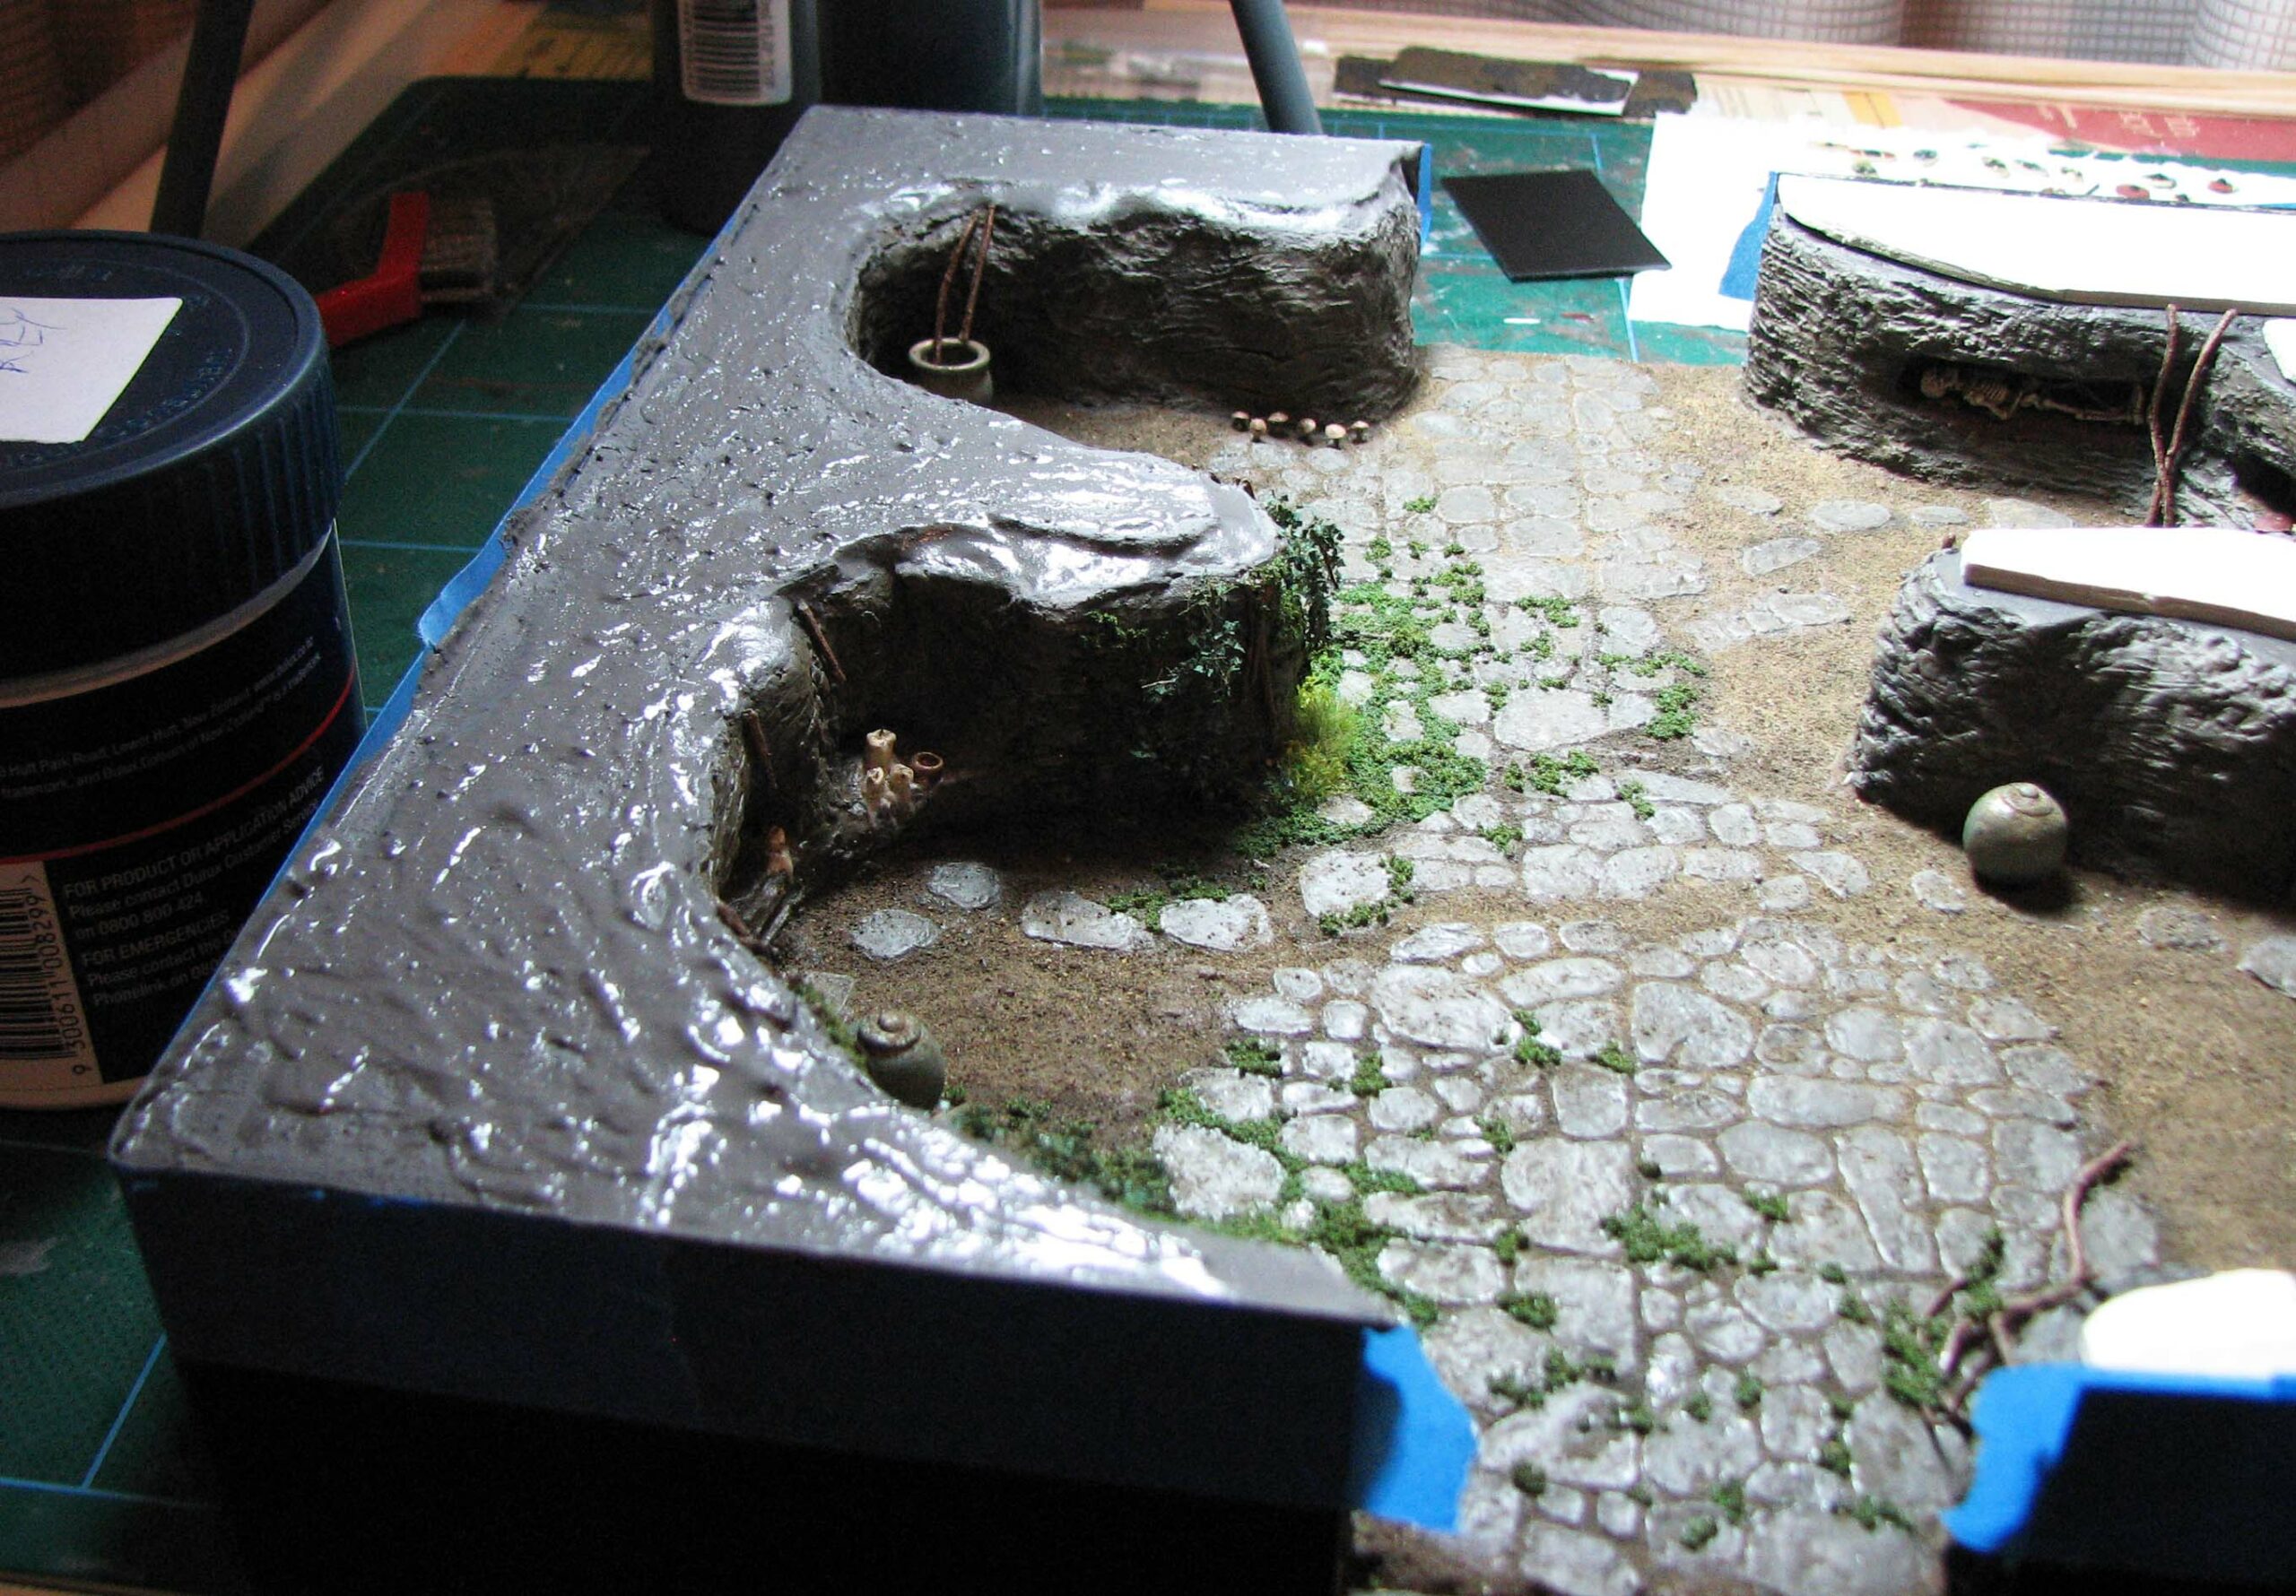
The interior of the crypt is finished, but the sides and top are still unsightly. Raw extruded polystyrene, even with a coat of grey paint, does not look the part. Part I of this tutorial focused on the basic layout of the Crypt, Part II focused on vegetation (vines, moss, mushrooms and roots) and Part III on all the man-made details (skeletons for the alcoves, urns, candles and sacrificial offerings).
In this part we will use black styrene sheet (commonly known as plastic card) and black, self adhesive vinyl film to add a sturdy and visually pleasing finish to the sides and bottom. We will also make the top more appealing in adding a rock texture that matches the walls of the crypt. First, I will point out some problems that came up during the construction process and possible solutions for them. We then proceed to a list of materials used, followed by detailed step-by-step instructions.
Covering the module – Issues and solutions
Back in the day I thought it would be a great idea to cover the module with black styrene sheet. Well, it wasn’t. The sheet was way too thin and flexible and I just couldn’t get it fixed without warping. In addition, I had to cut it by hand and was left with unsightly gaps on the corners. So, in the end I covered the outside with black vinyl sheet to cover up the mishaps.
It kind of worked, but if you can, just get the frame laser-cut. I learned the hard way, but you can read up on designing a custom frame and getting a nice flush fit.
Suffice to say, this also applies to the top of the module. Adding the top after the walls and interior had been finished was time consuming and unnecessary. Here, too, laser-cutting is the best option.
Despite the problems I am very pleased with the final look of the module. Creating this prototype did show some problems that need to be addressed, but this will only benefit the look of future incarnations.

Materials
- Black or white styrene sheet to cover the sides and the bottom. I went for black as it gave me the finish I looked for.
- Some glue that can bond extruded polystyrene to styrene sheet. I used Selleys Liquid Nails Fast.
- Foamboard as a protective top cover.
- Woodfiller to cover the foamboard and give it nice rock finish.
- Wood glue.
- Grey acrylic paint.
- Masking tape, to prevent sullying the sides when working with the woodfiller.
- Brown pigment and brush on matte varnish to mix a final ‘stone’ wash.
Tools
- Brushes of various sizes to apply paint, wood glue and woodfiller. Old bristle brush for dry brushing.
- X-acto knife.
How you cover up
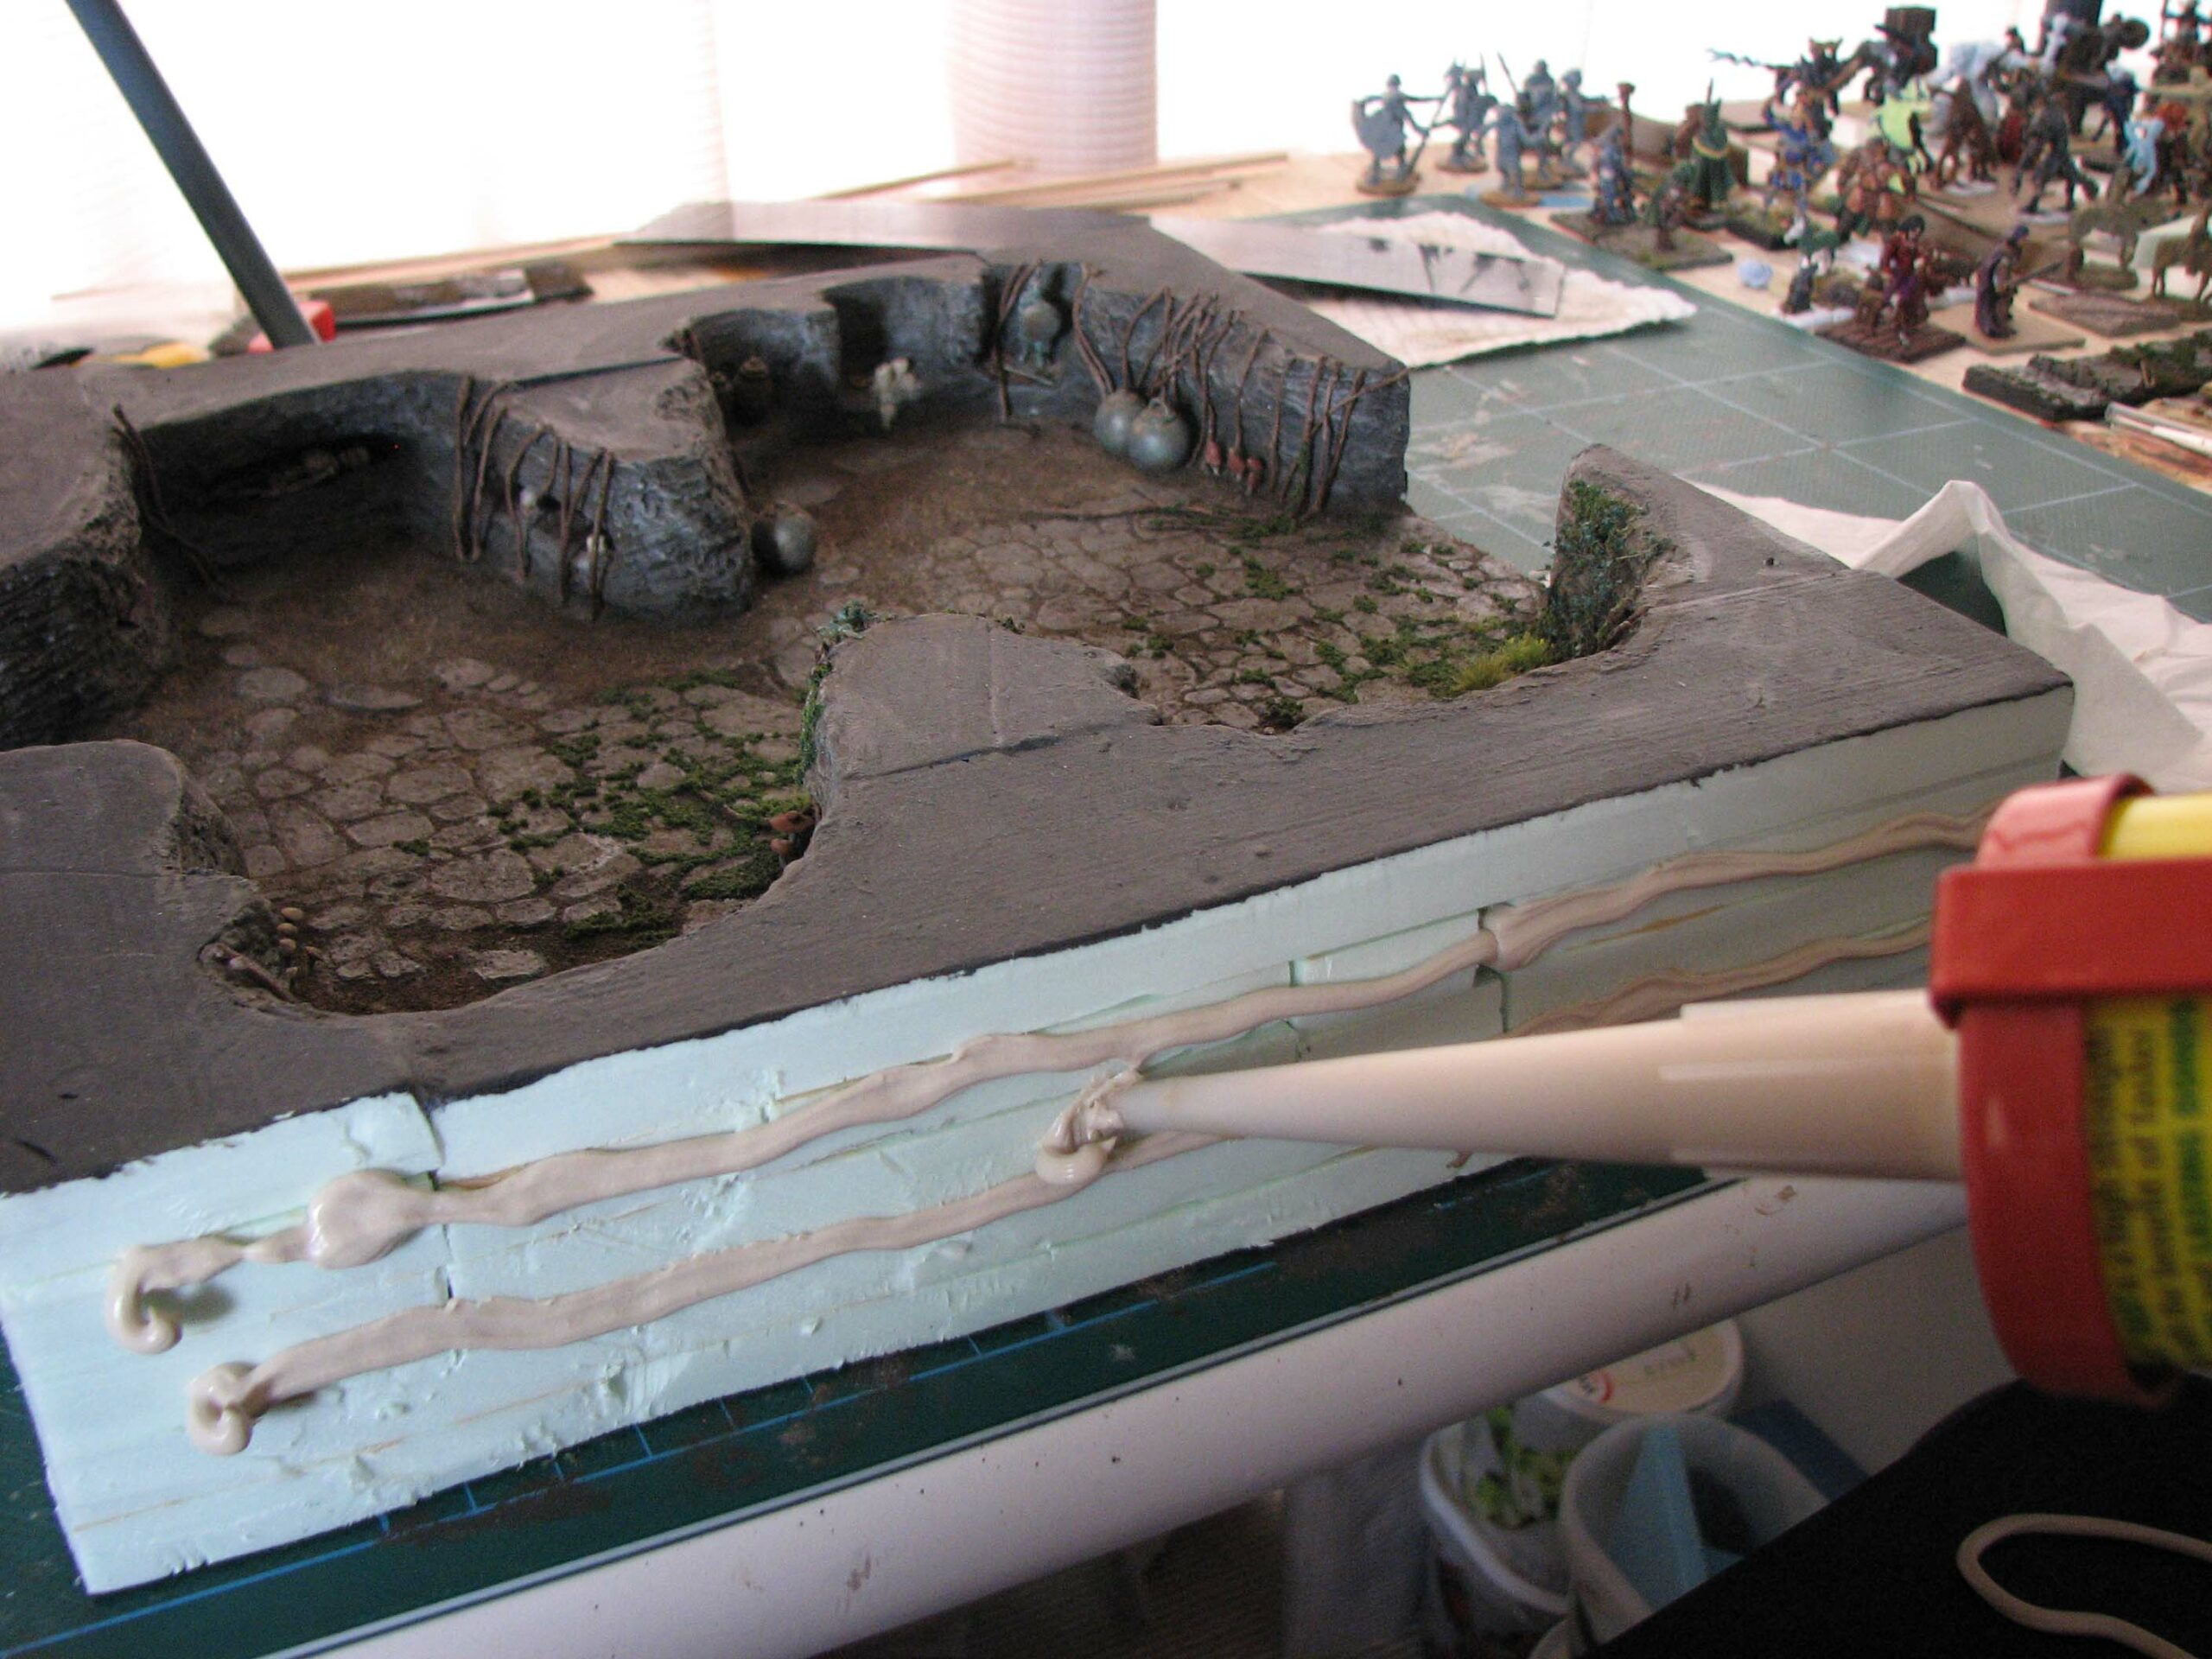
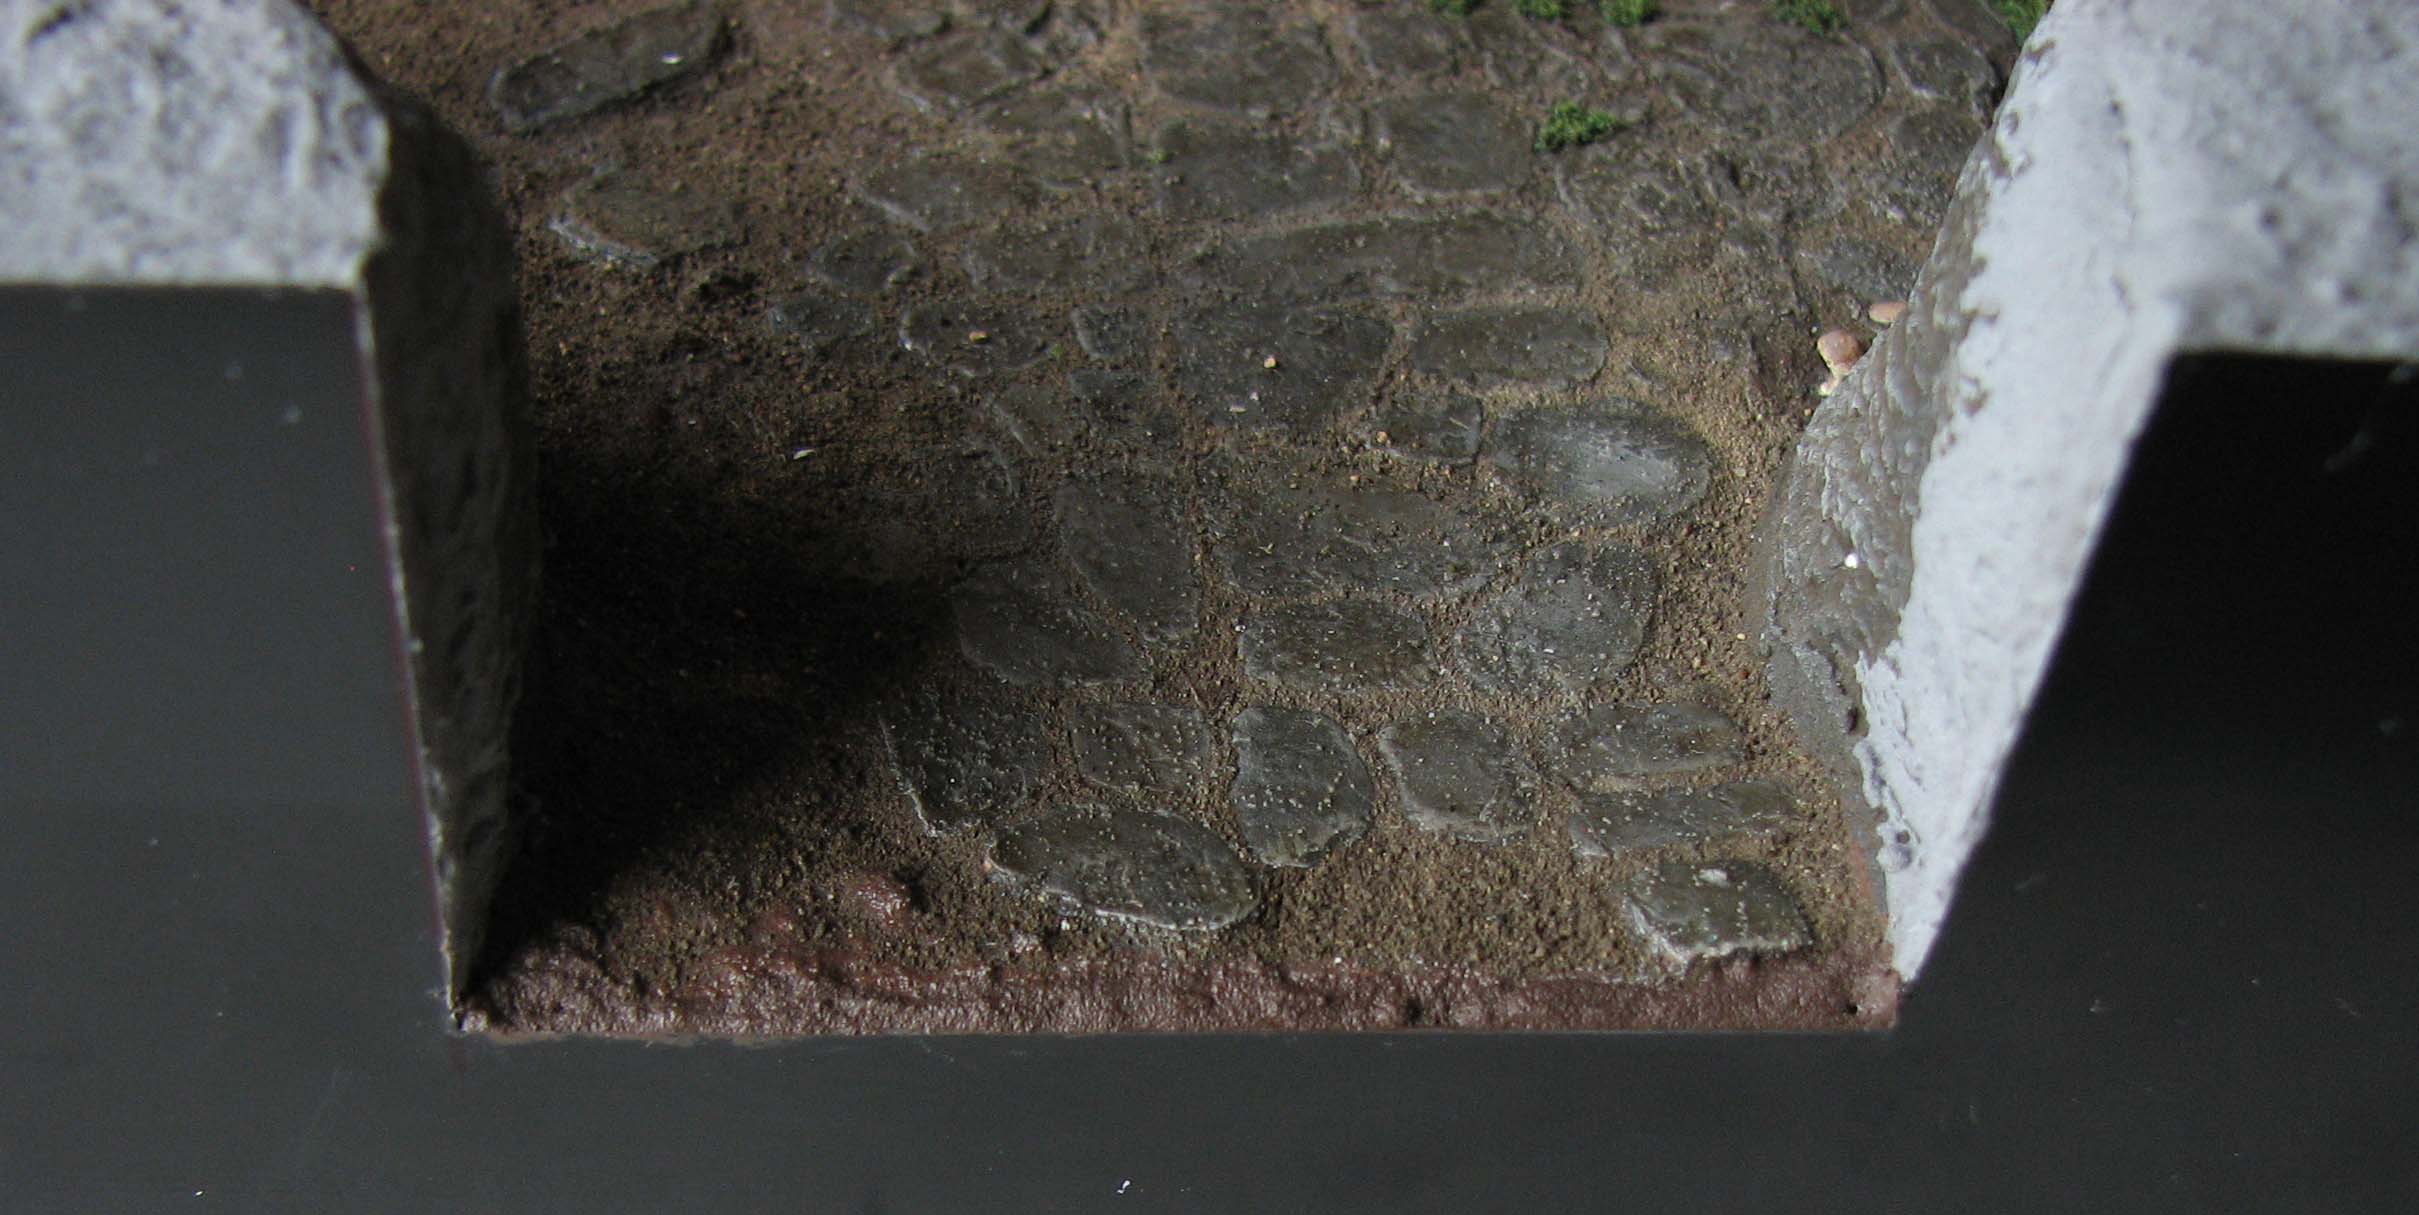
Cut the styrene sheet to size. First, align and glue the bottom piece to the module. If necessary, shape the extruded polystyrene with an X-acto knife to accommodate the base. Glue the sides on, resting them on the styrene base and against the sides. Let dry over night.
Add the protective foamboard to the top and mask the sides of the module to prevent spillage during the next step. Cover the foamboard with a mix of woodfiller, wood glue and grey paint. You might need to add some water to get the right consistency. Pull off the masking tape before the woodfiller sets. This way you get a nice flush edge.
Depending on how thick you applied the woodfiller, some cracks might have formed the next day. Make another batch of the mixture and cover the cracks. If necessary mask the sides again.
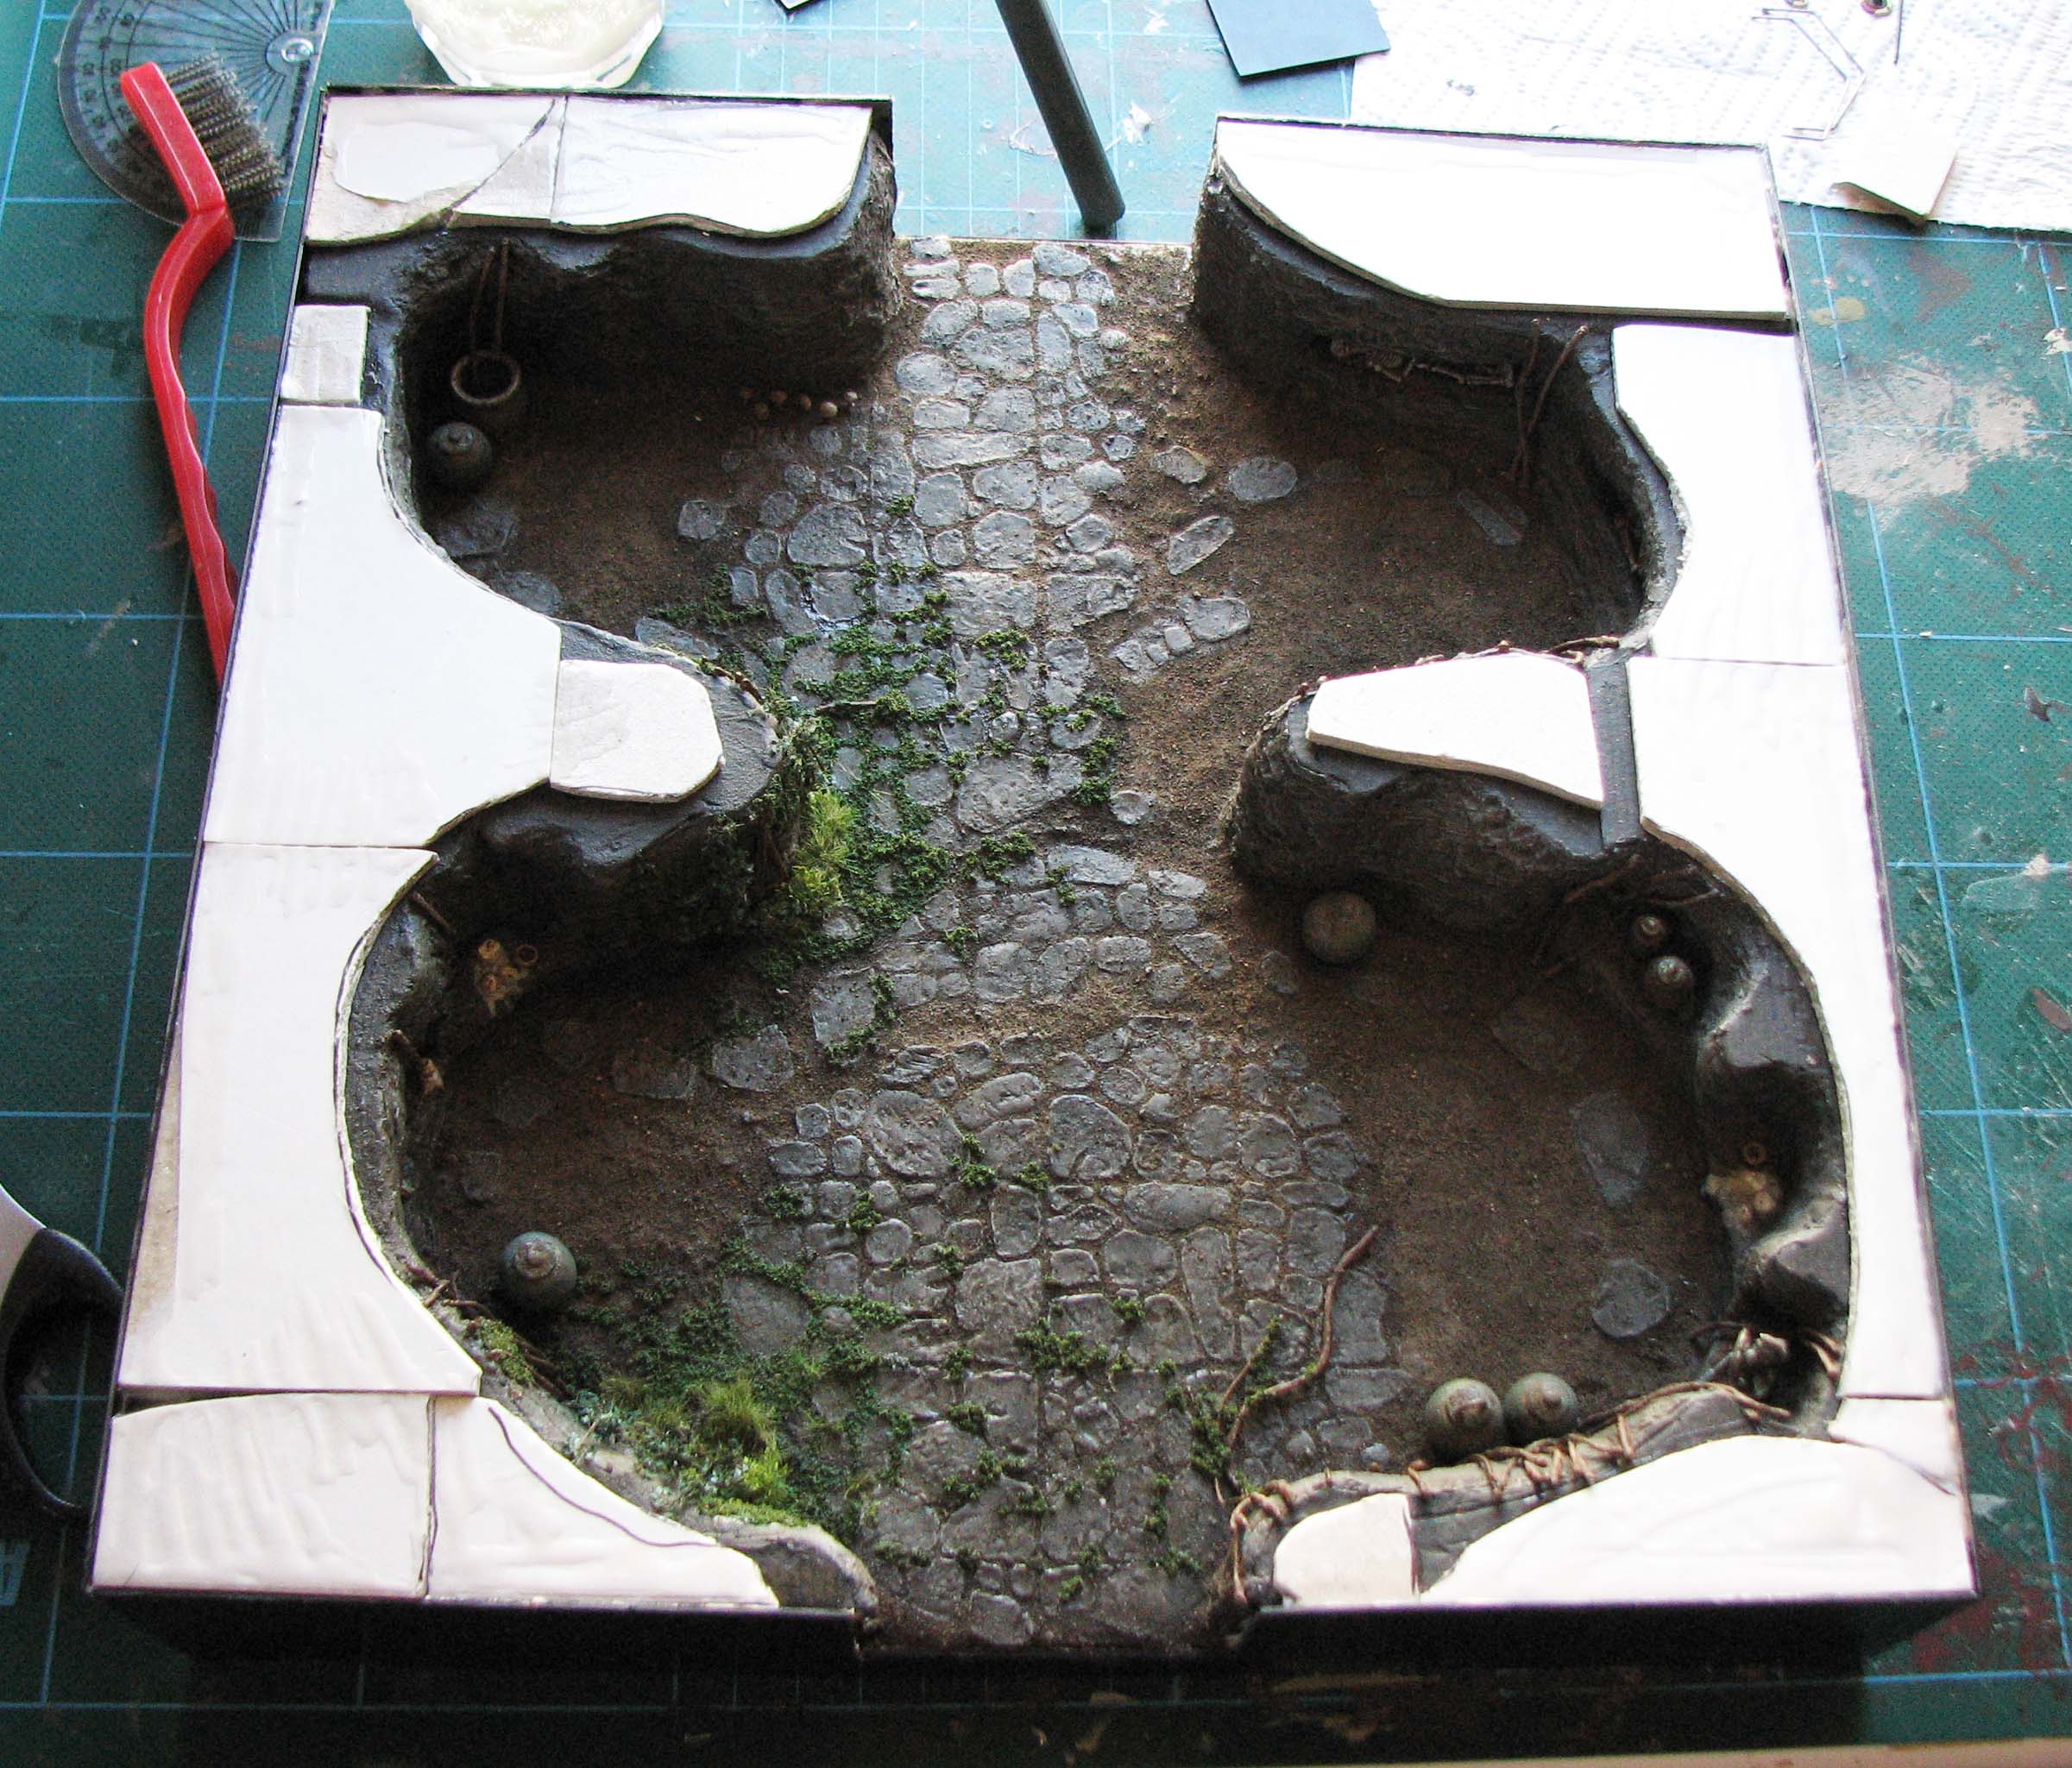
You now need to work on the transition between modules. Use the same mix you used for the dirt floor in part I and fill the small gap.
Paint the woodfiller in the same colour you painted the crypt walls, drybrush and finally apply a wash of brown pigment, water and matt varnish.
Vinyl film
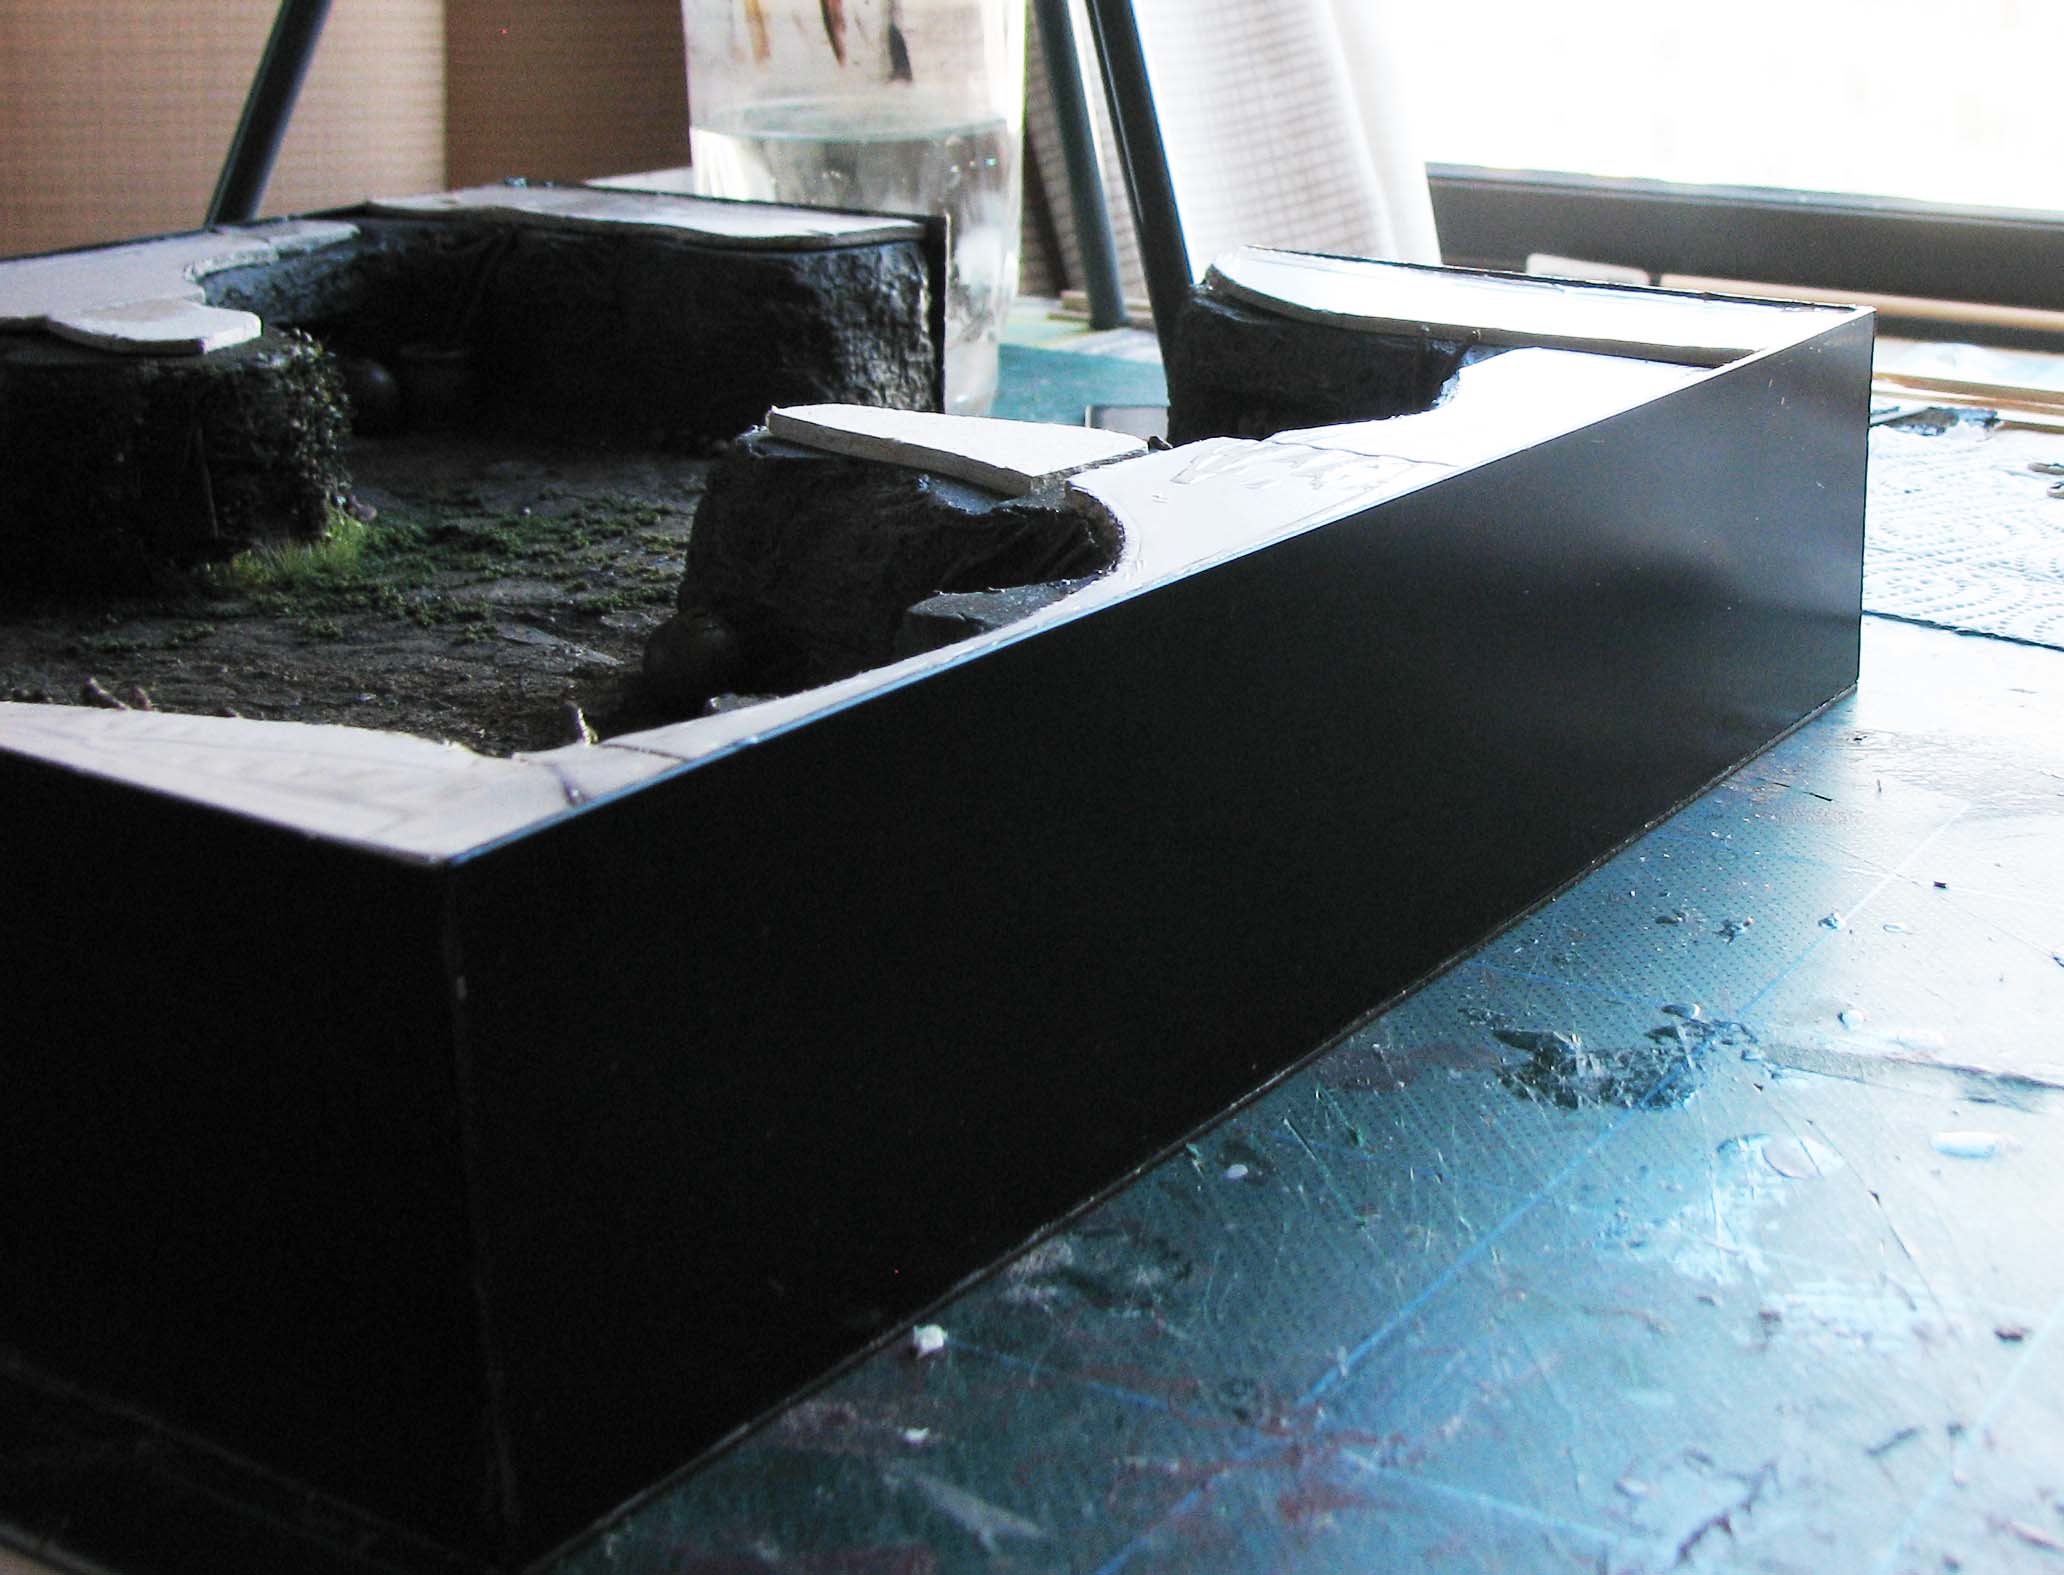
Cut the self-adhesive vinyl film to size. I went for a continuous piece, as this gives a bit of leeway. Slowly but steadily pull away the backing of the film and attach to the sides. Trim away any excess.
Finally, using some acrylic matt gel fill in any small gaps between vinyl film and styrene sheet. This will prevent the film of coming loose.


Outstanding work again. I’m really looking forward to seeing the next one in the series.
Thank you. I guess after a short intermission of some ancients and SYW miniatures I’ll start work on three more modules.
This is really a piece of art! Brilliant! …and thank you for the tutorial
Thank you very much! Much appreciated. I am also glad the tutorial is of use and (hopefully) inspires to some more Dungeon environments being created.
Aah, always nice to see cleaned up edges 🙂 It’s like finishing a chapter of your thesis *and* having all the references in order. 😛
Yeeees…*cough* but it is true, a feeling of accomplishment, even if it is only a gaming piece, does motivate to continue with the other aspects of life…like research and stuff and other crypt modules ;)..