
Browsing my blog it becomes apparent that I have a thing for modelling trees, evidenced by earlier posts on oaks and birch trees. But what about bushes, shrubs or hedges? There is a variety of shrubs and bushes that one could depict on the gaming table and construction will be very similar in most cases. That said I chose to make a hazel bush for this tutorial given they have a distinct, very appealing bark texture and the fruit lends itself for base decoration. Oh, and I think squirrels are adorable, so why not give them some scale hazels to forage?
Per usual a step-by-step tutorial will guide you through the creation process, with additional background information and scenic shots of the finished bushes.
Botanical background
Hazels (or Corylus) are a genus of deciduous trees and shrubs. The genus is usually placed in the birch family Betulaceae. 14 accepted species of hazel exist. Some are single-stemmed trees reaching up to 35m in height and some species are multiple-stemmed shrubs reaching normally 3-8 meters, but can reach up to 15m. The leaves are deciduous, rounded, 6-12 cm long and have a double-serrate margin. They thus indeed resemble the leaves of some birch species and we can use MiniNatur’s birch foliage to depict a hazel. Naturally the fruit of the hazel is the hazelnut.
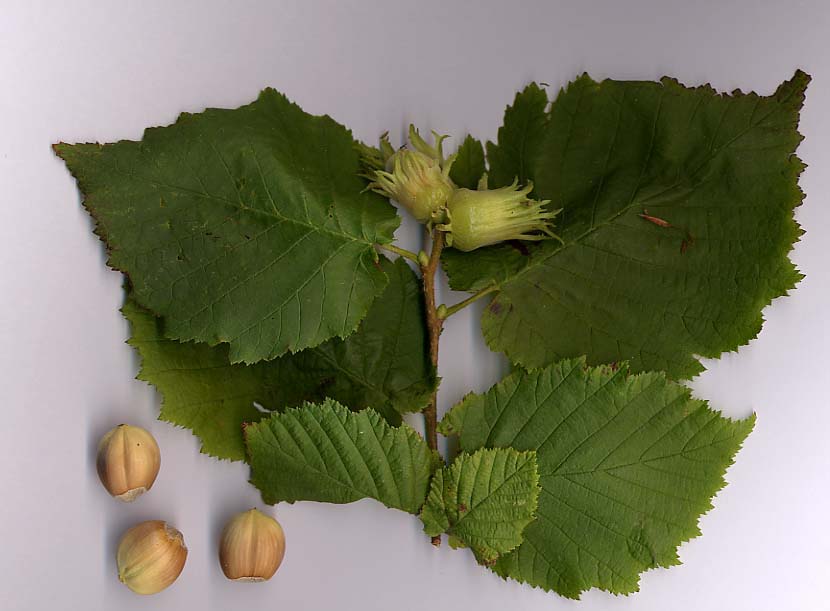
The common hazel (Corylus Avellana), which we are going to model, is native to the Northern Hemisphere and can be found in most temperate regions in Europe. It is a shrub with multiple stems and thus more interesting than the single stemmed larger species.
The hazel has been cultivated for millenia its nut being consumed by humans and animals alike (see for instance Plin. Nat. 15.24). Hedgerows in England were traditionally composed of hazels and served as field boundaries. The wood was often grown as coppice and the thin poles used for wattle-and-daube buildings and agricultural fencing. We can thus use these shrubs throughout history without any problems in an agricultural setting or as wild shrubs.
Its bark is quite distinctive and resembles birch bark to some extend. The bark is dark grey with white specks and at least to me is visuallly very pleasing.
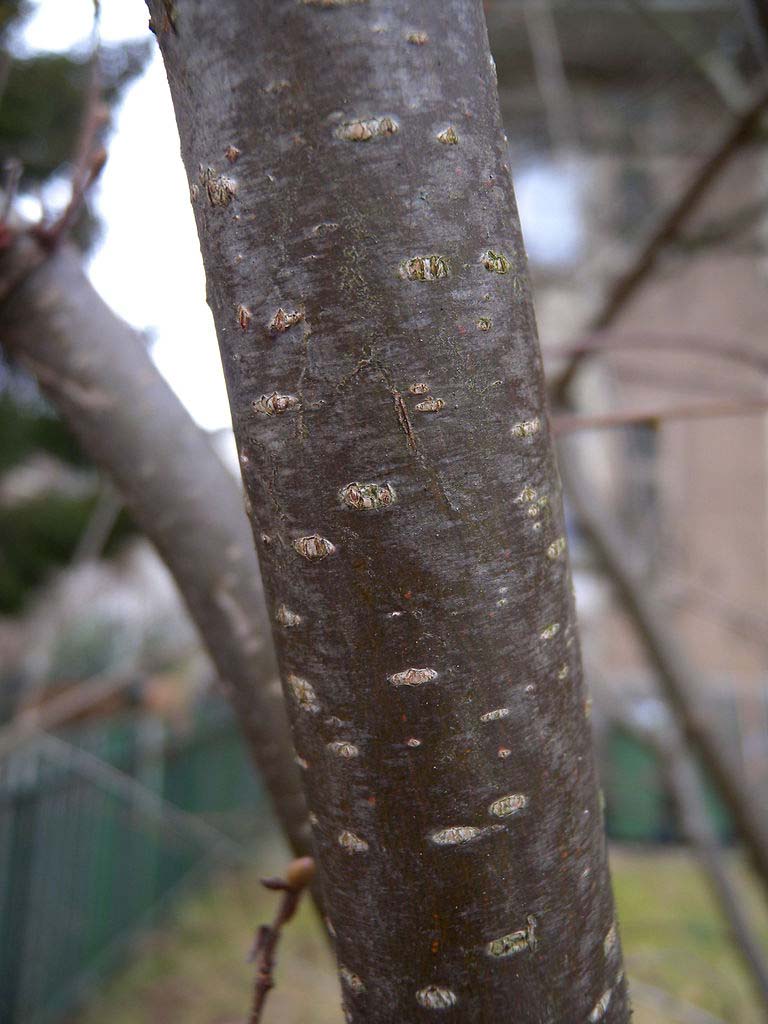
We can easily convert a technique I used to model the bark of a birch tree. However, this time we invert the colours.

Materials
To make a hazel bush you will need:
Armature
- Thin wire. We will make all the stems out of this.
- A piece of styrofoam. We stick the wire into it, while we work on the branches.
- Wire cutter.
Bark
- Acrylic caulking to apply a first flexible coat to the wire.
- Woodfiller to depict the bark and give it some texture.
- Acrylic gel to harden and protect the woodfiller.
- Dark brown, grey and white craft paint. Brown wash.
- A small brush to draw the fine white lines and a bigger brush to paint the stems. You will also need a brush to drybrush the bark.
Foliage
- Super glue to attach foliage and basing materials.
- No more Nails construction adhesive for the heavy-duty stuff.
- Some small scissors to shape the foliage net.
- MiniNatur Birch Summer foliage nets or your choice of foliage product.
Base
- A piece of plastic card for the base.
- Air-dry clay or any other putty to build up the base.
- Soil for the base.
- Single leaves, small stones and bushes to decorate the base.
- Coloured poppy seeds (marron preferred) to depict fallen hazelnuts. Just toss them in some acrylic paint and fish them out again.
- A squirrel from the Busch Kleintierset (optional) to add some “life” to the base.
How you do it
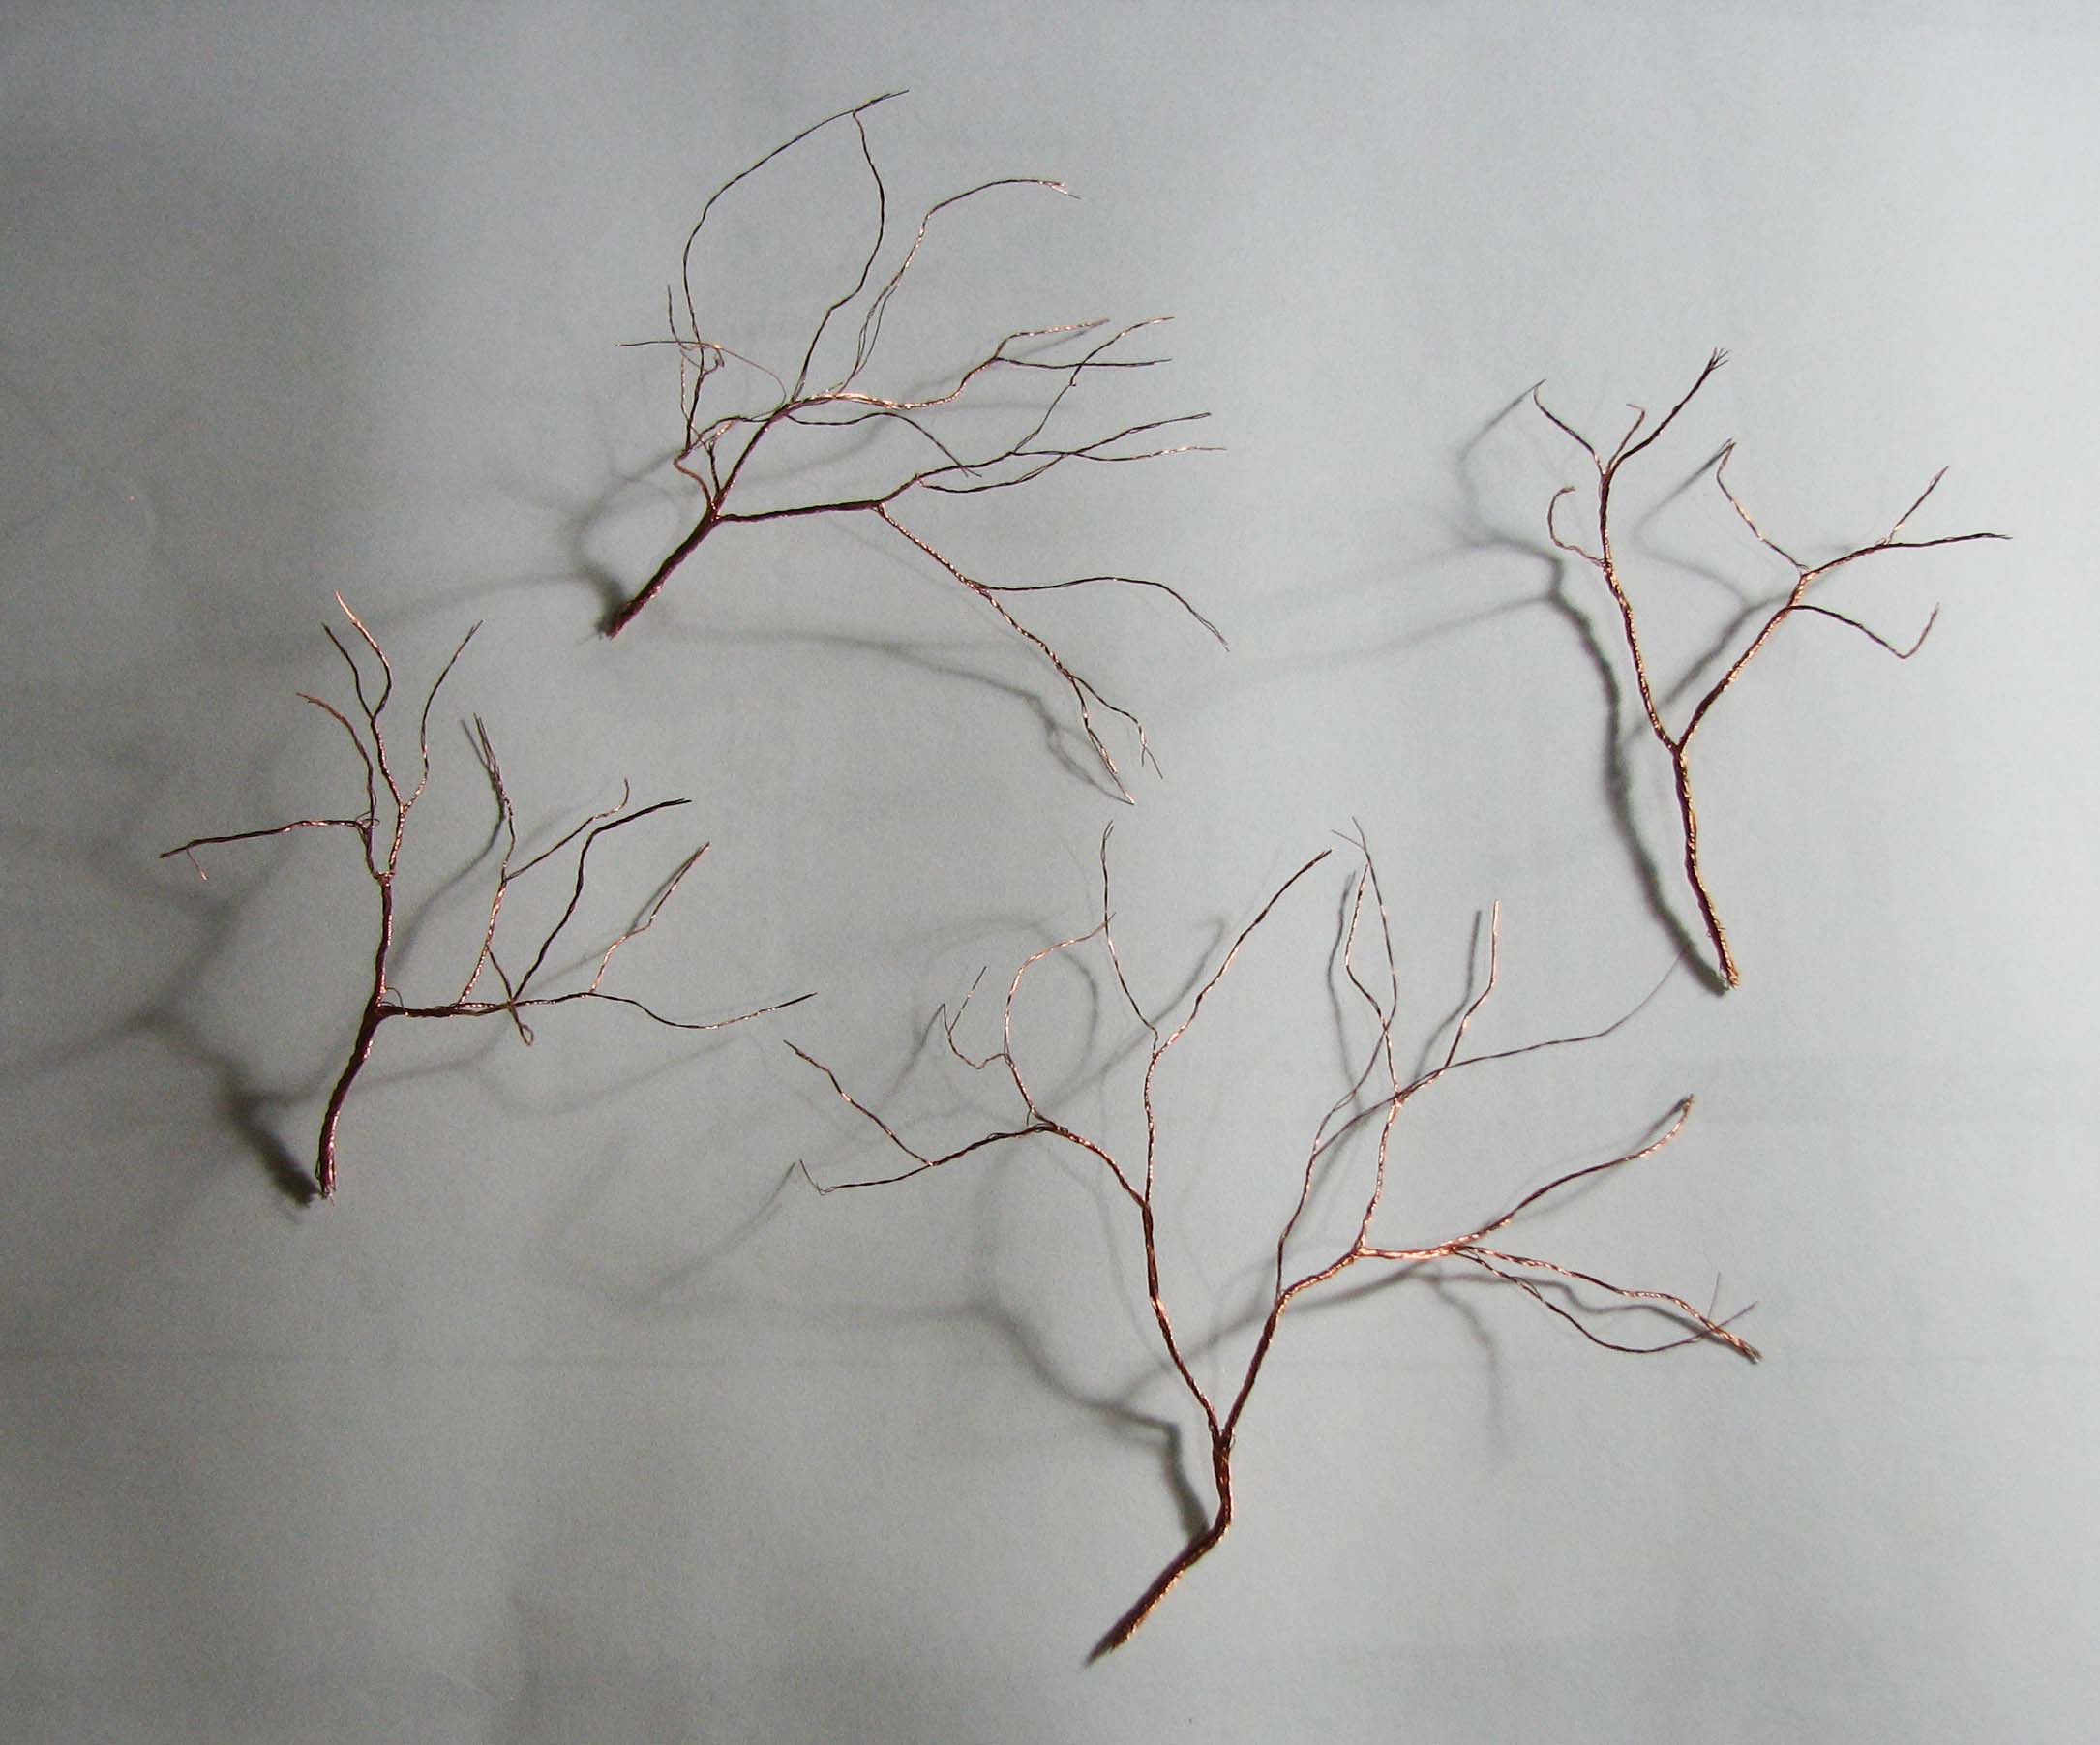
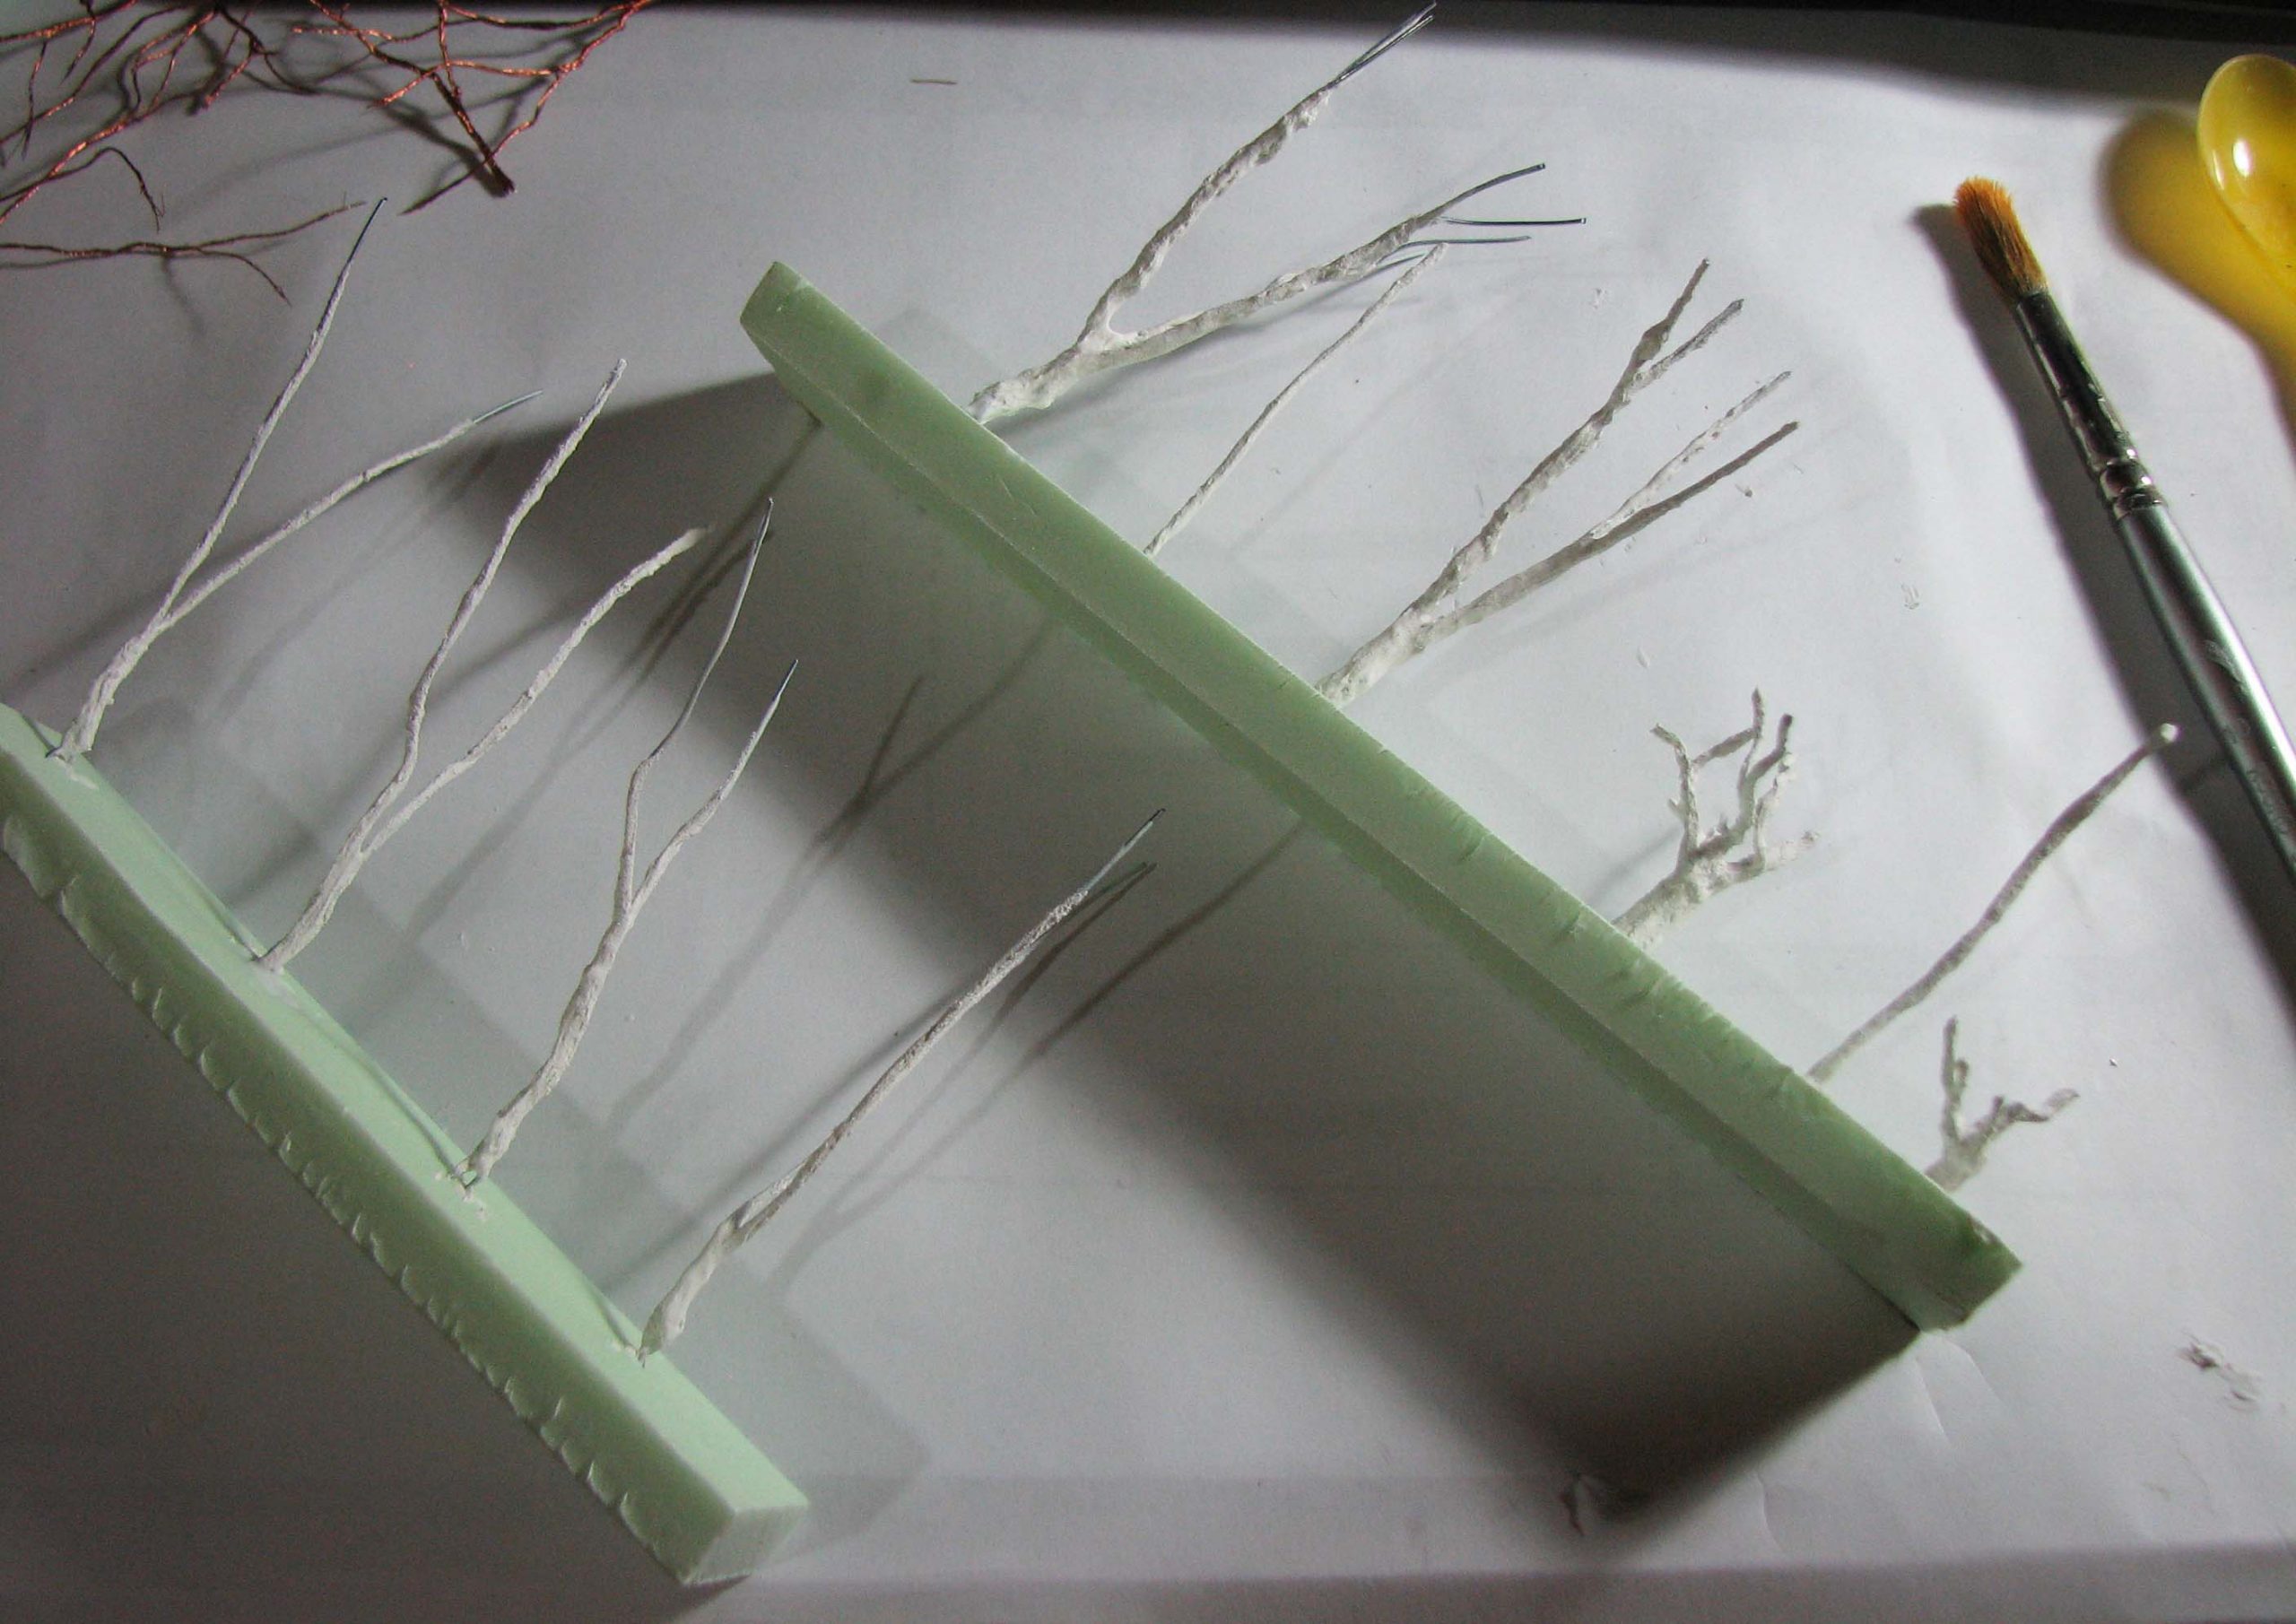
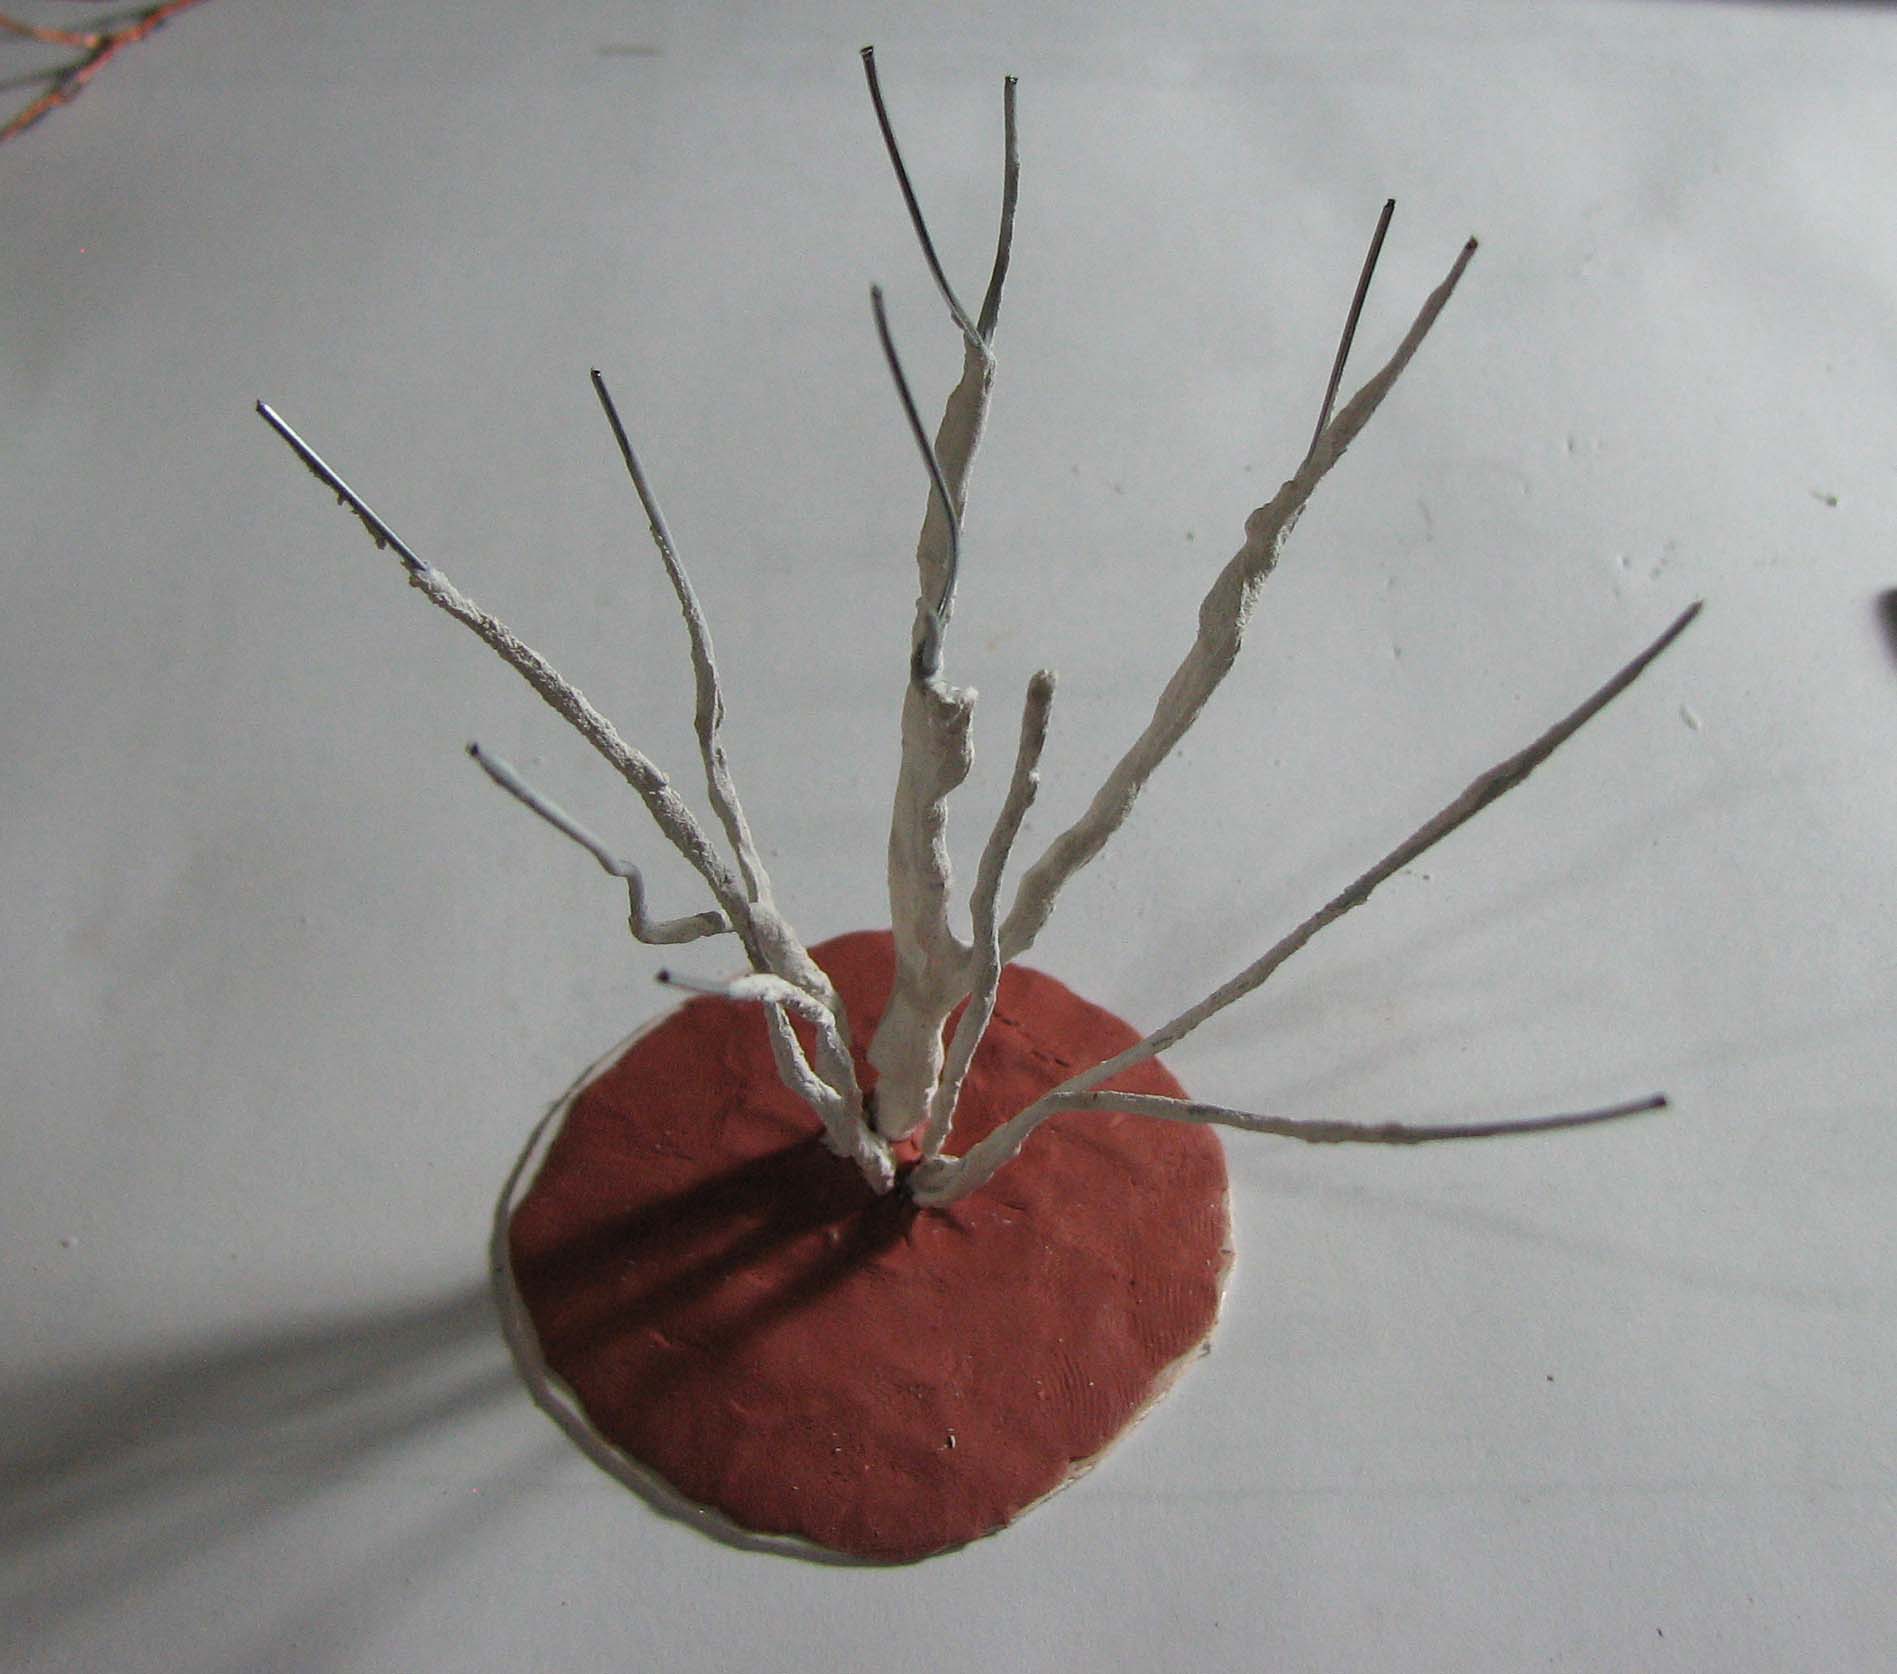
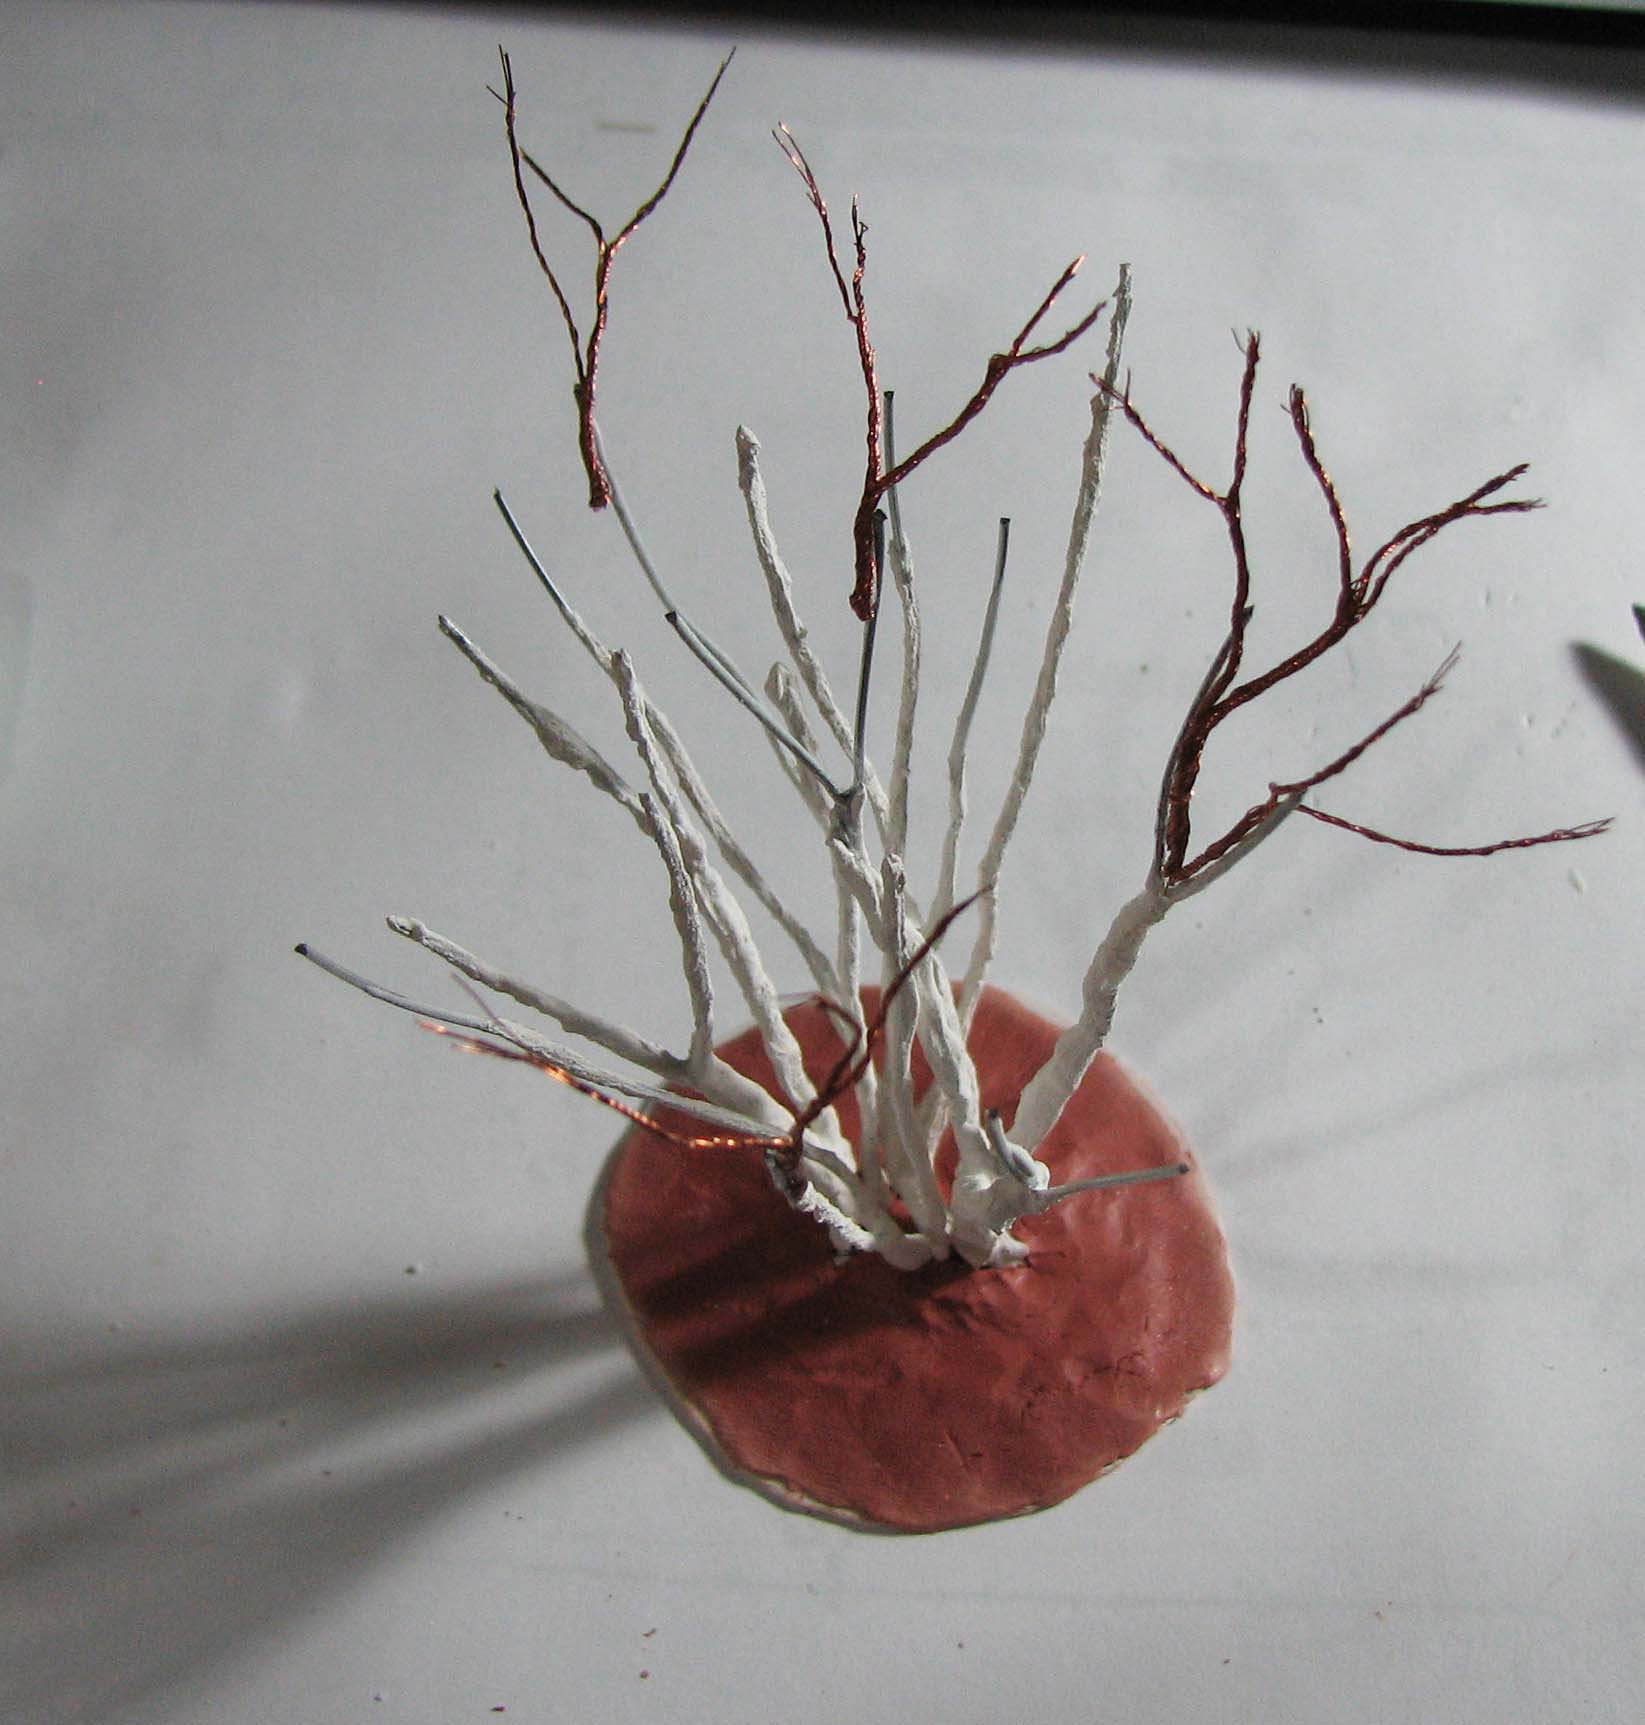
Cut some wire into around 15 strands, each 10 cm long, and twist two or three to a stem. Add ramifications if you want. You can also use single strands to depict thinner stems. You can use copper wire or steel wire for this, as long as you can twist it easily. Using some copper wire you can add more ramifications to the stems either now or at a later stage. I use super glue to fixate these ramifications. Stick the wire in some styrofoam when you are finished.
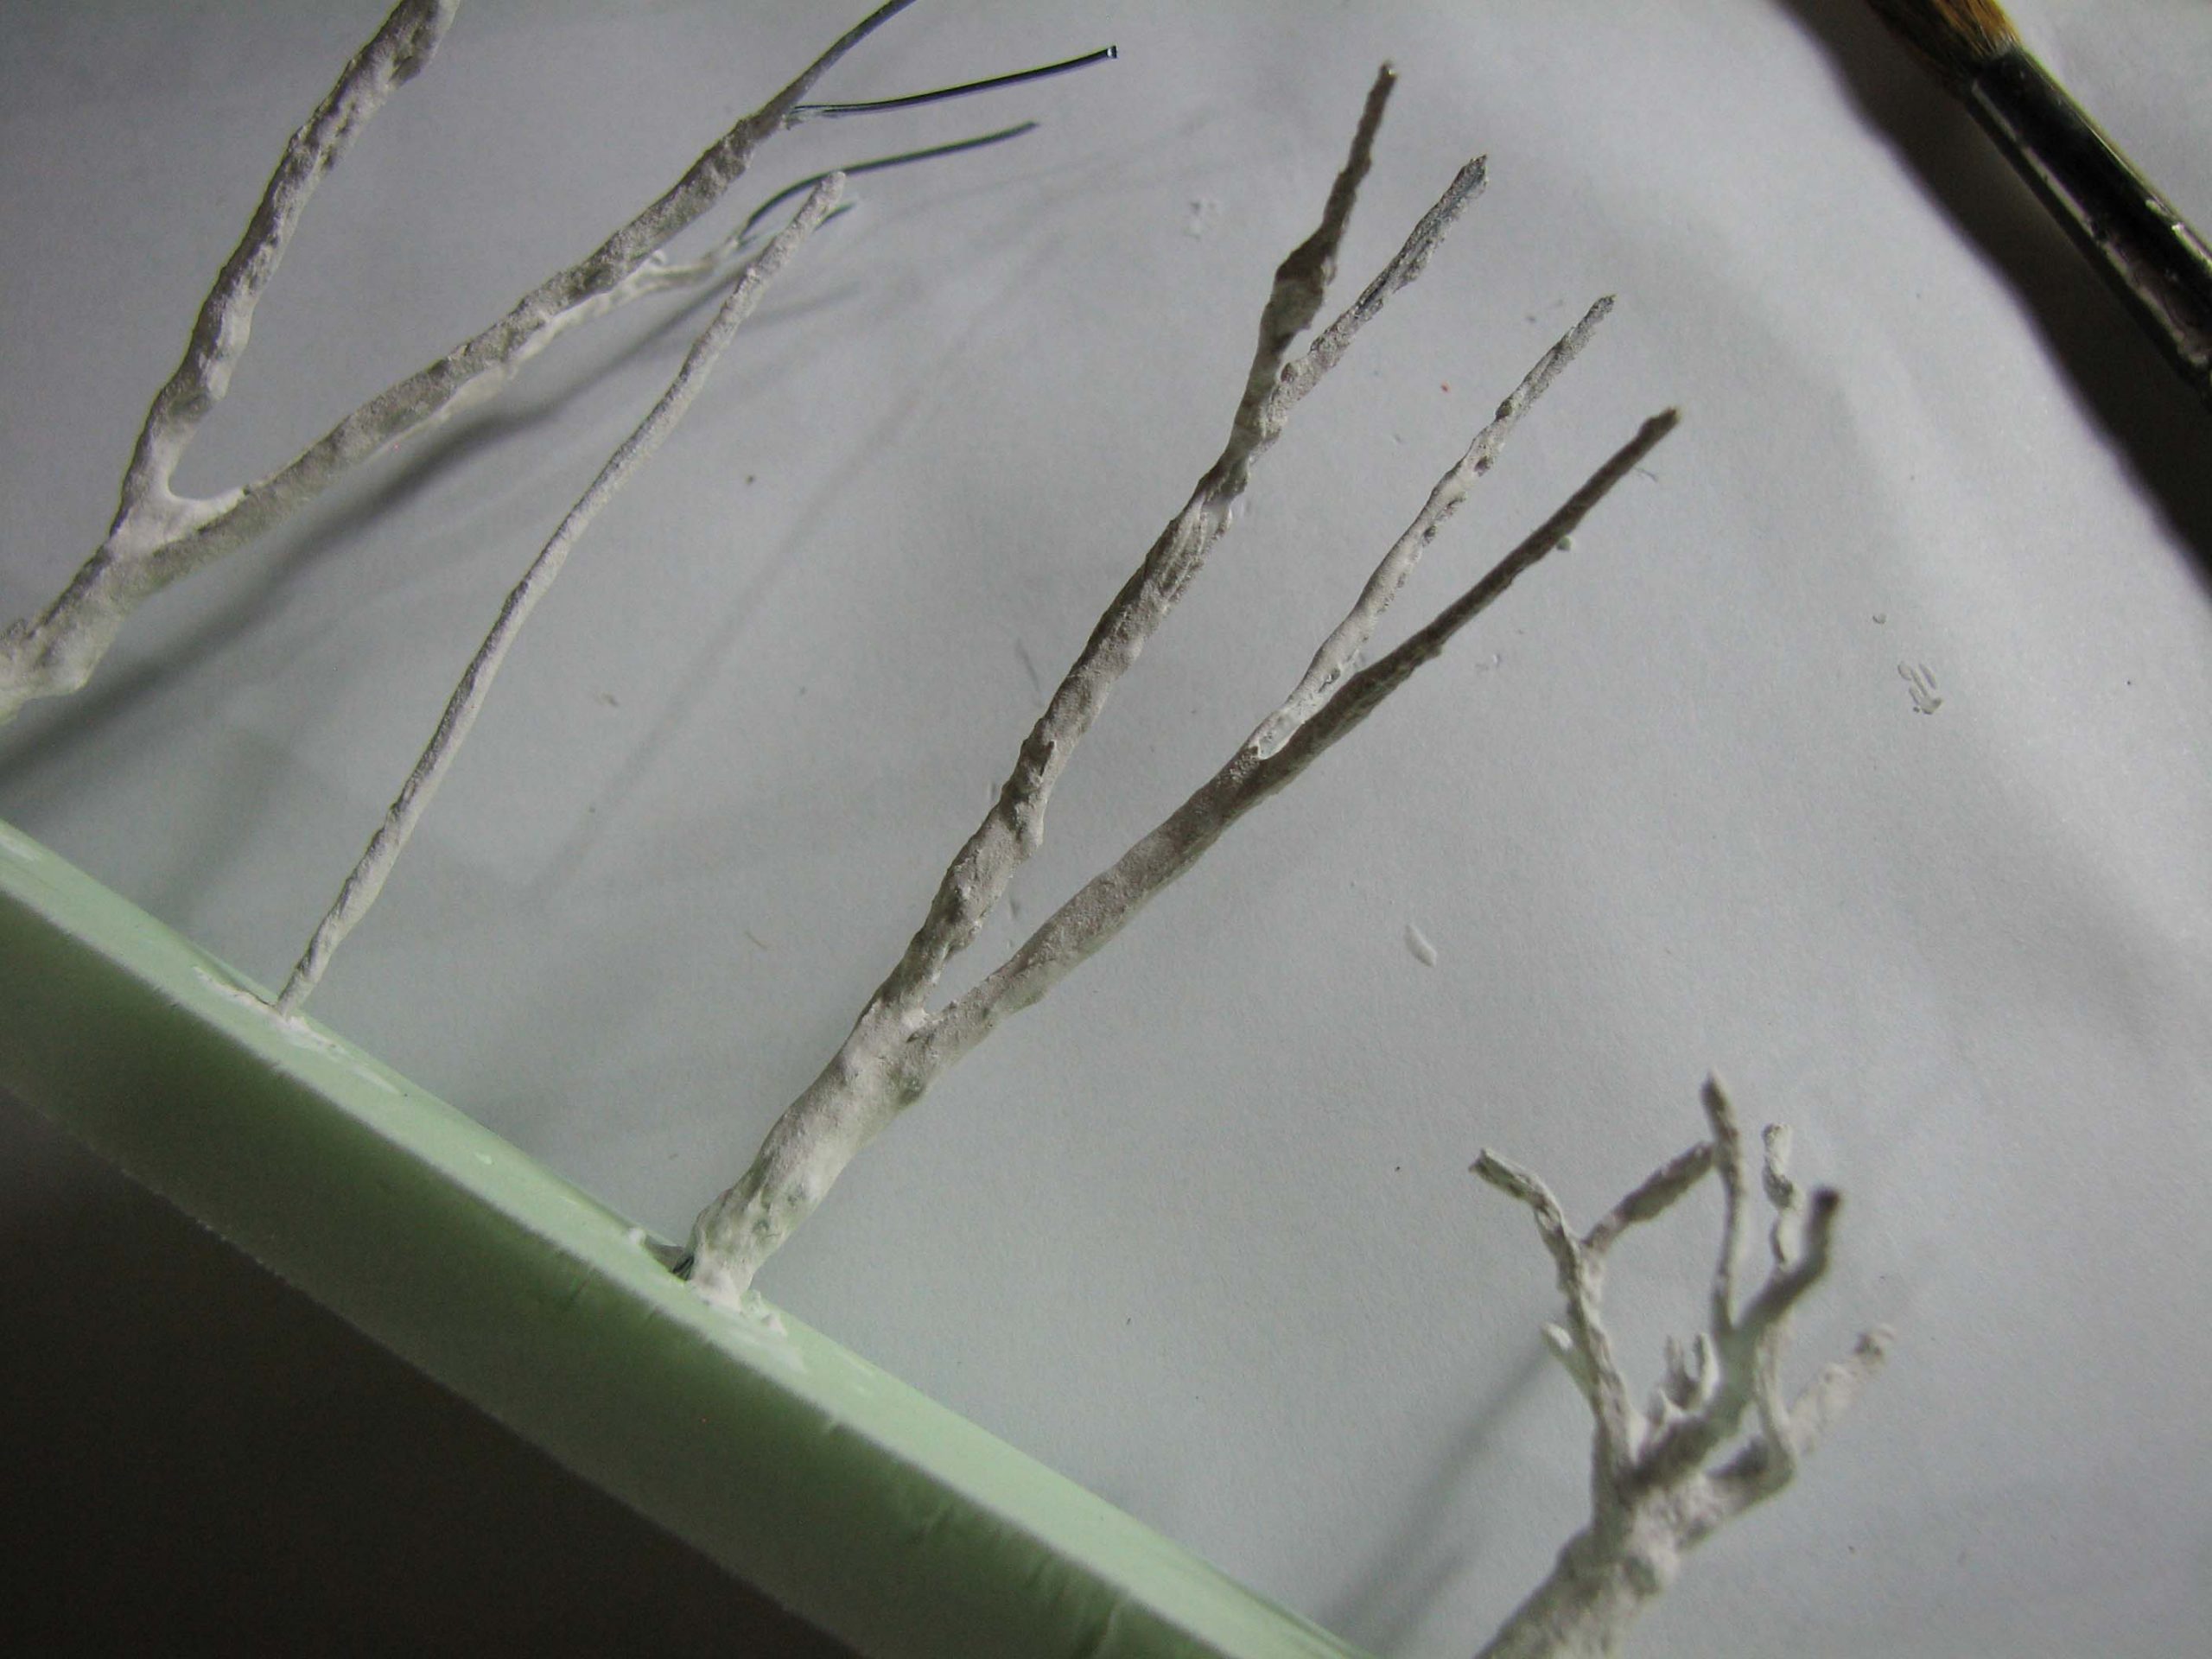
Now prepare some acrylic caulking and cover the wire with it. After this is dry add a second coat of woodfiller to give the bark some texture.
Let again dry and start painting the stems. First apply some dark grey followed by a drybrush with a lighter tone. Wash the stems to add depth. Now carefully drybrush a second time.
Using a fine brush add the white specks/lines. Try to make them relatively irregular. You can apply a wash to fuse them into the surrounding bark. Do not use pure white, but rather an off-white or very light brown.


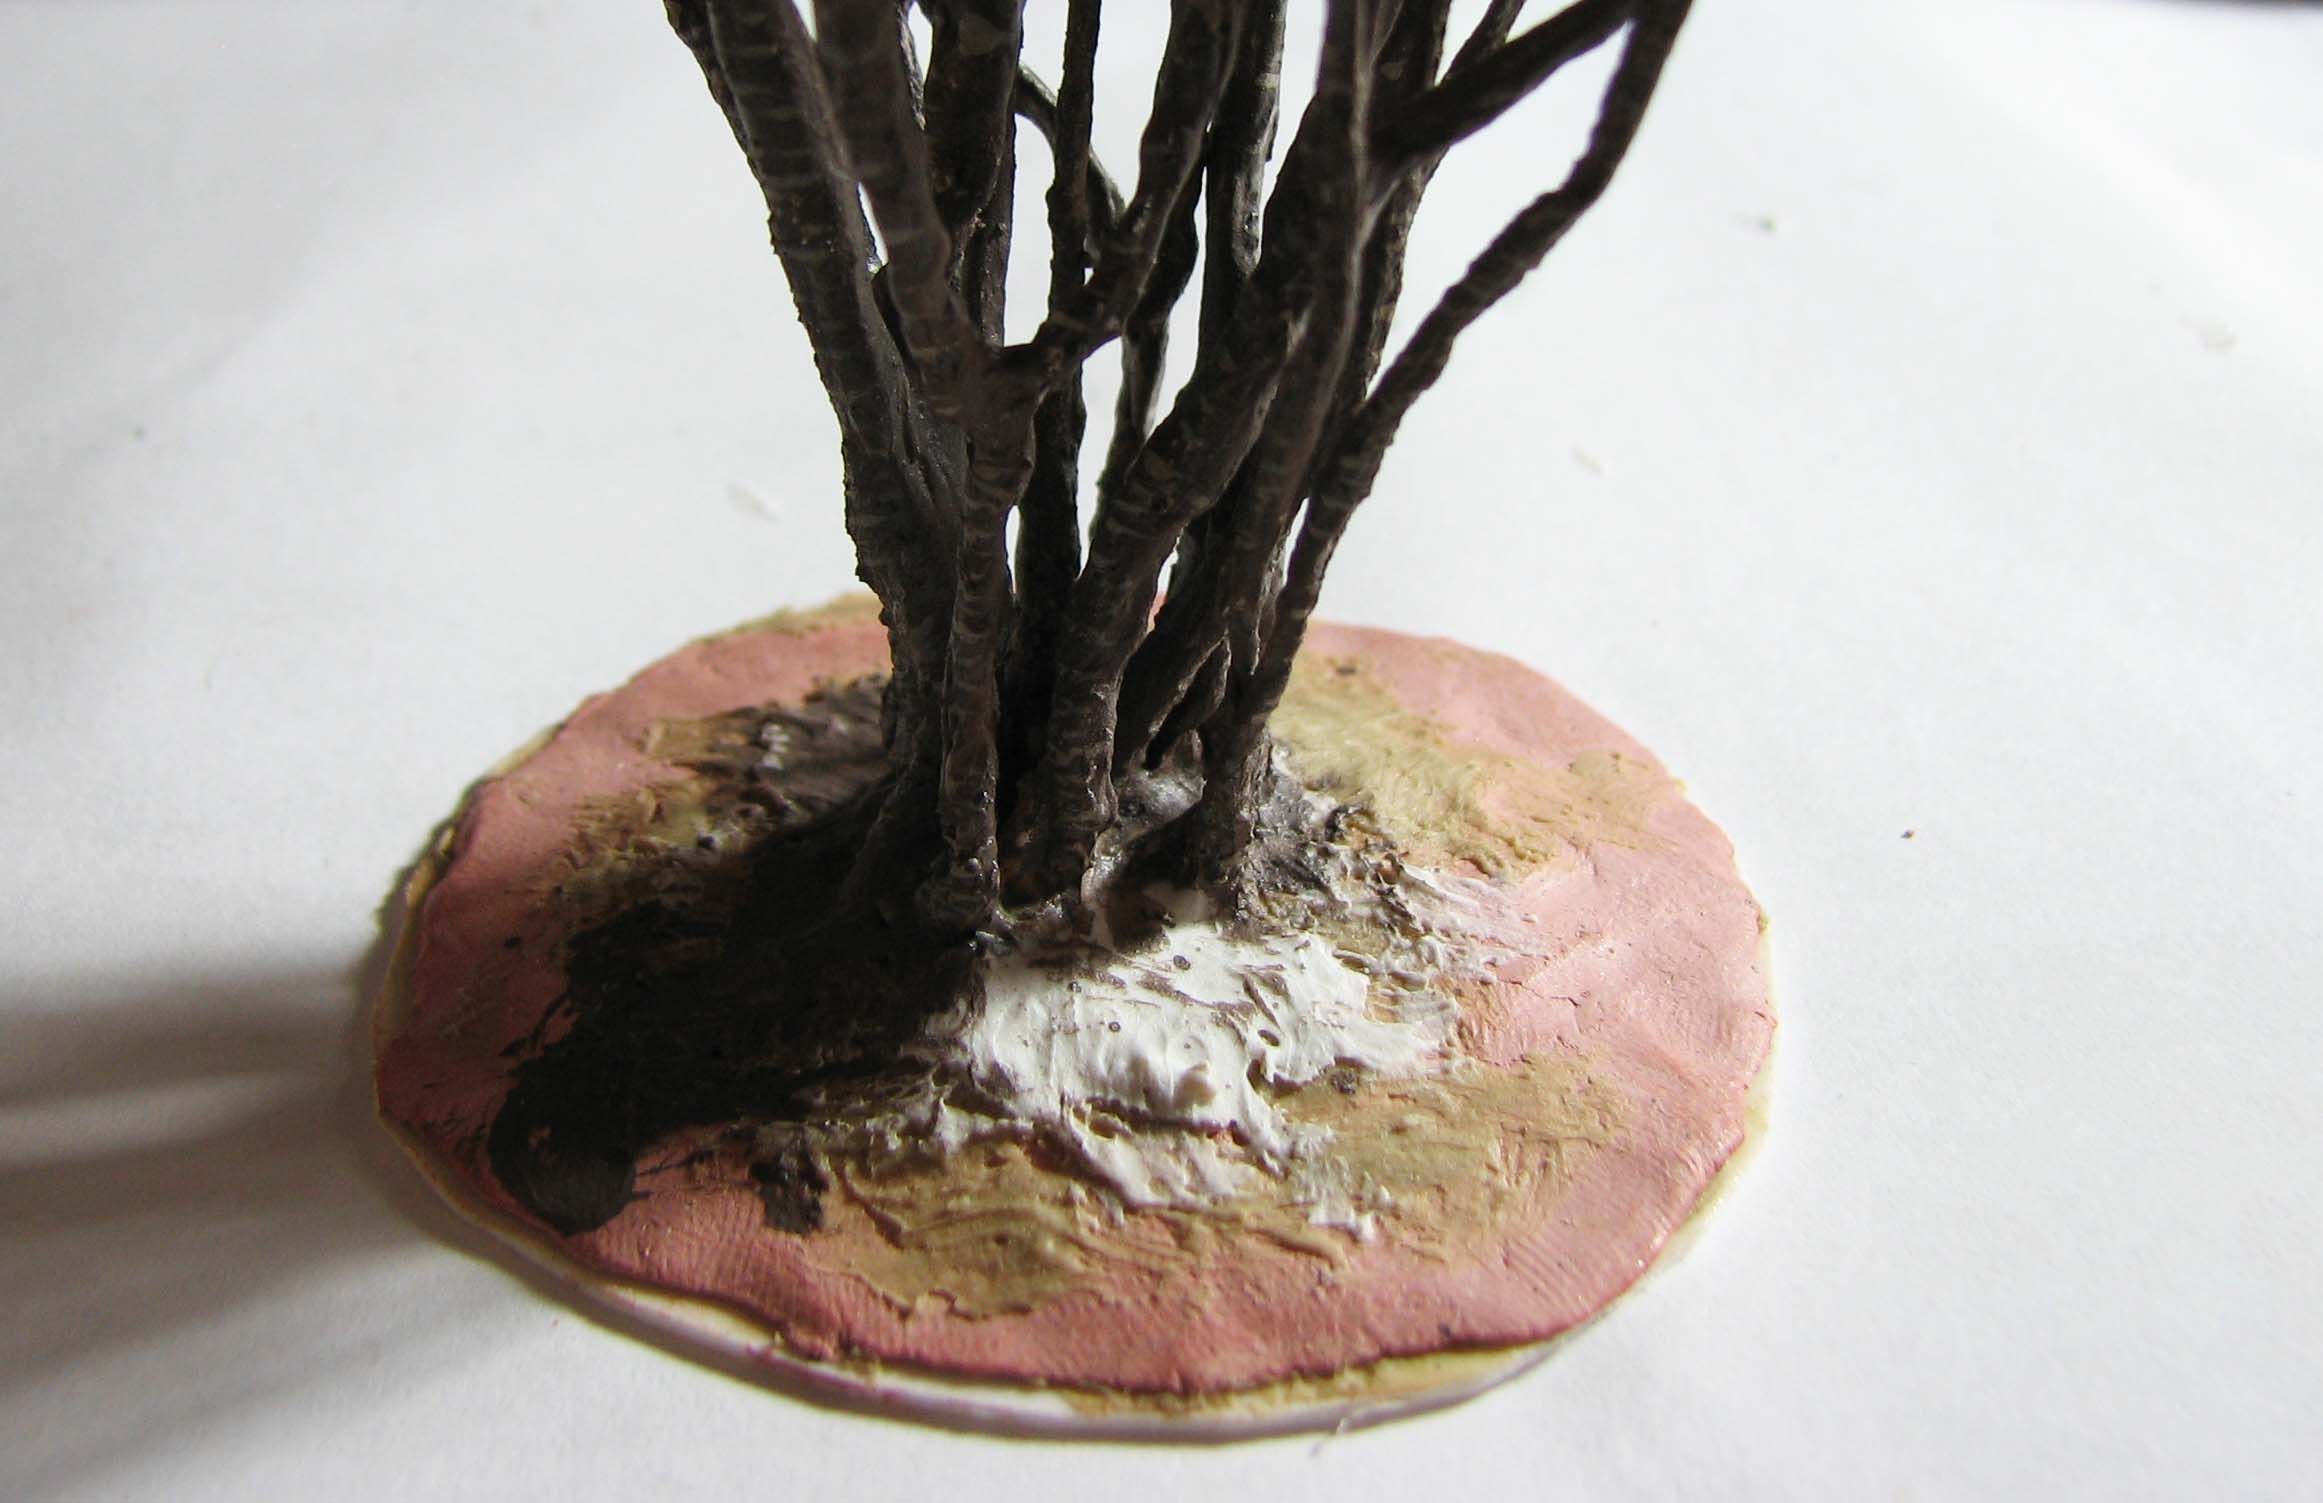
Basing the hazel
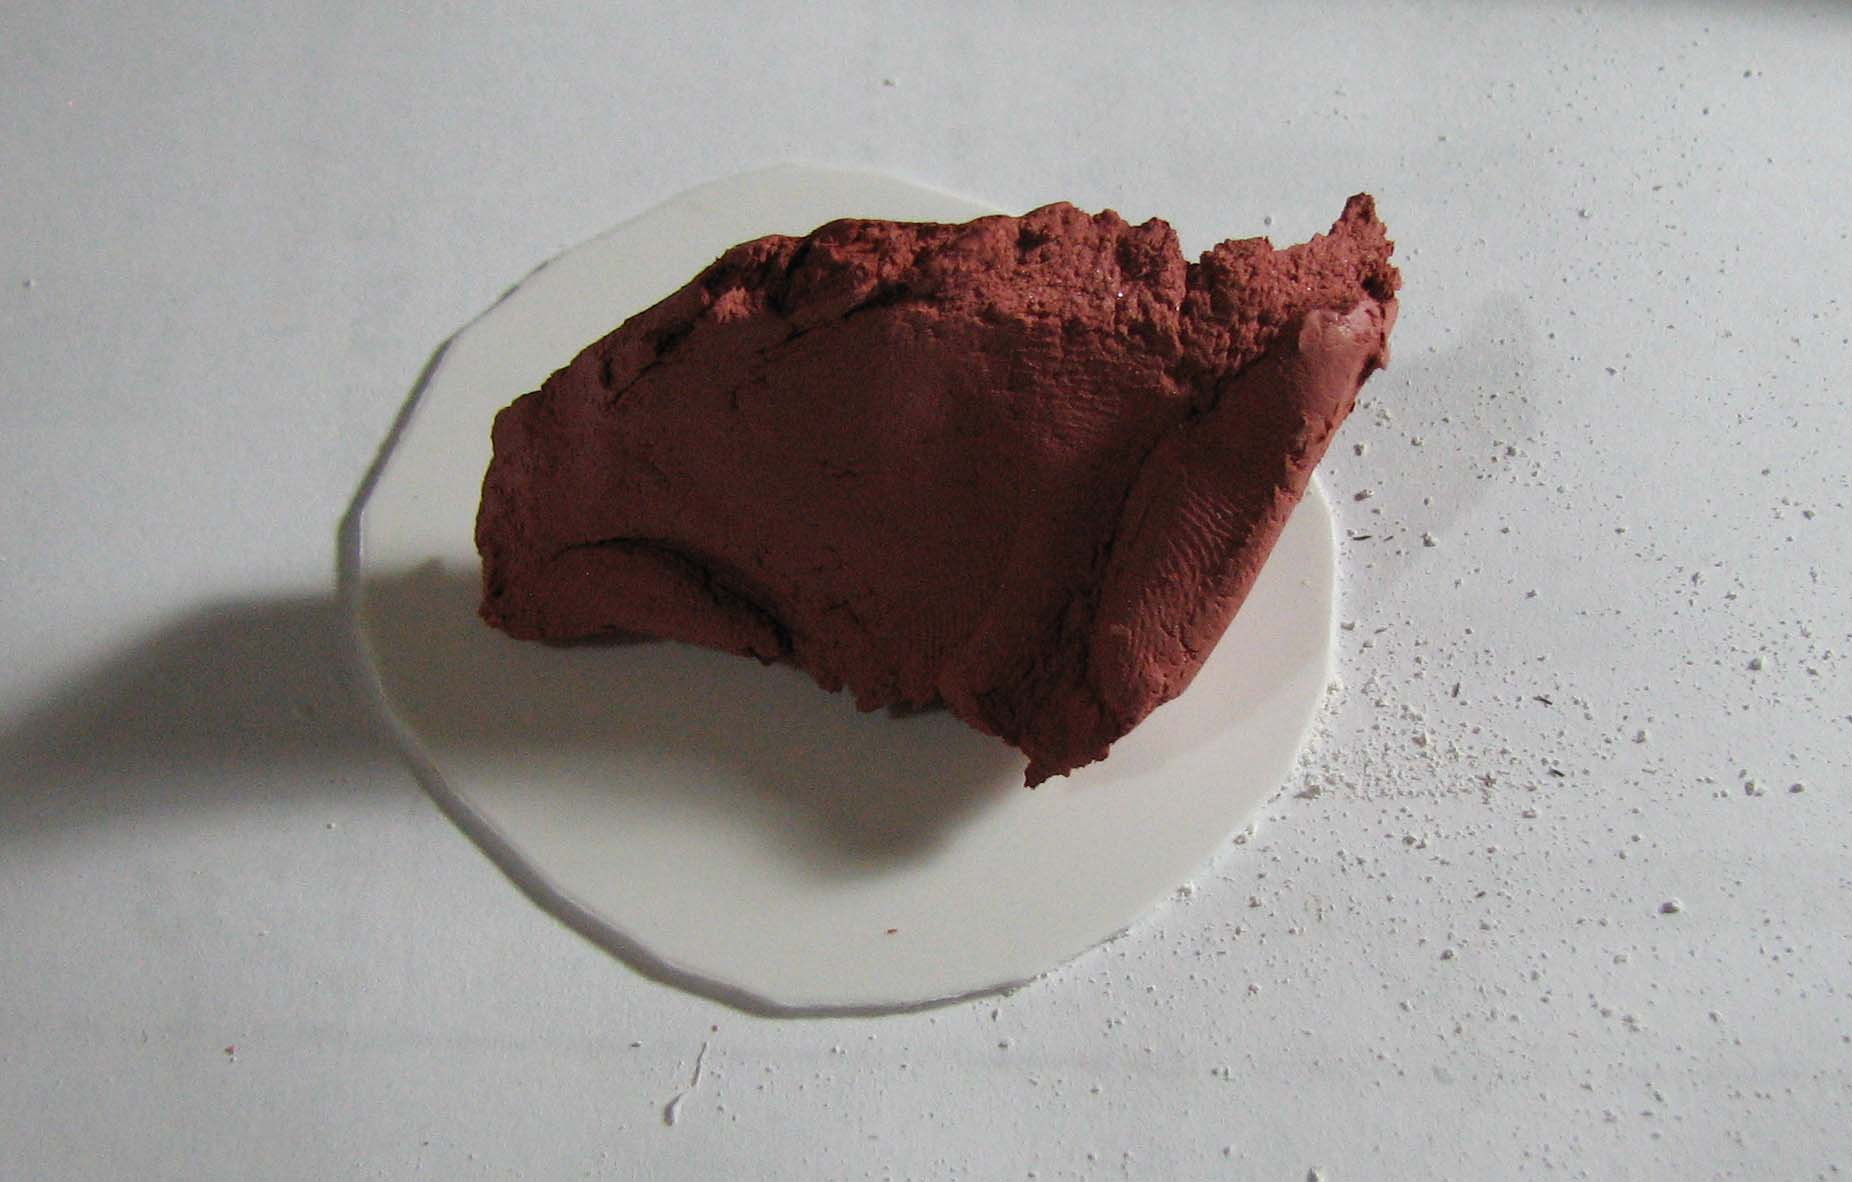
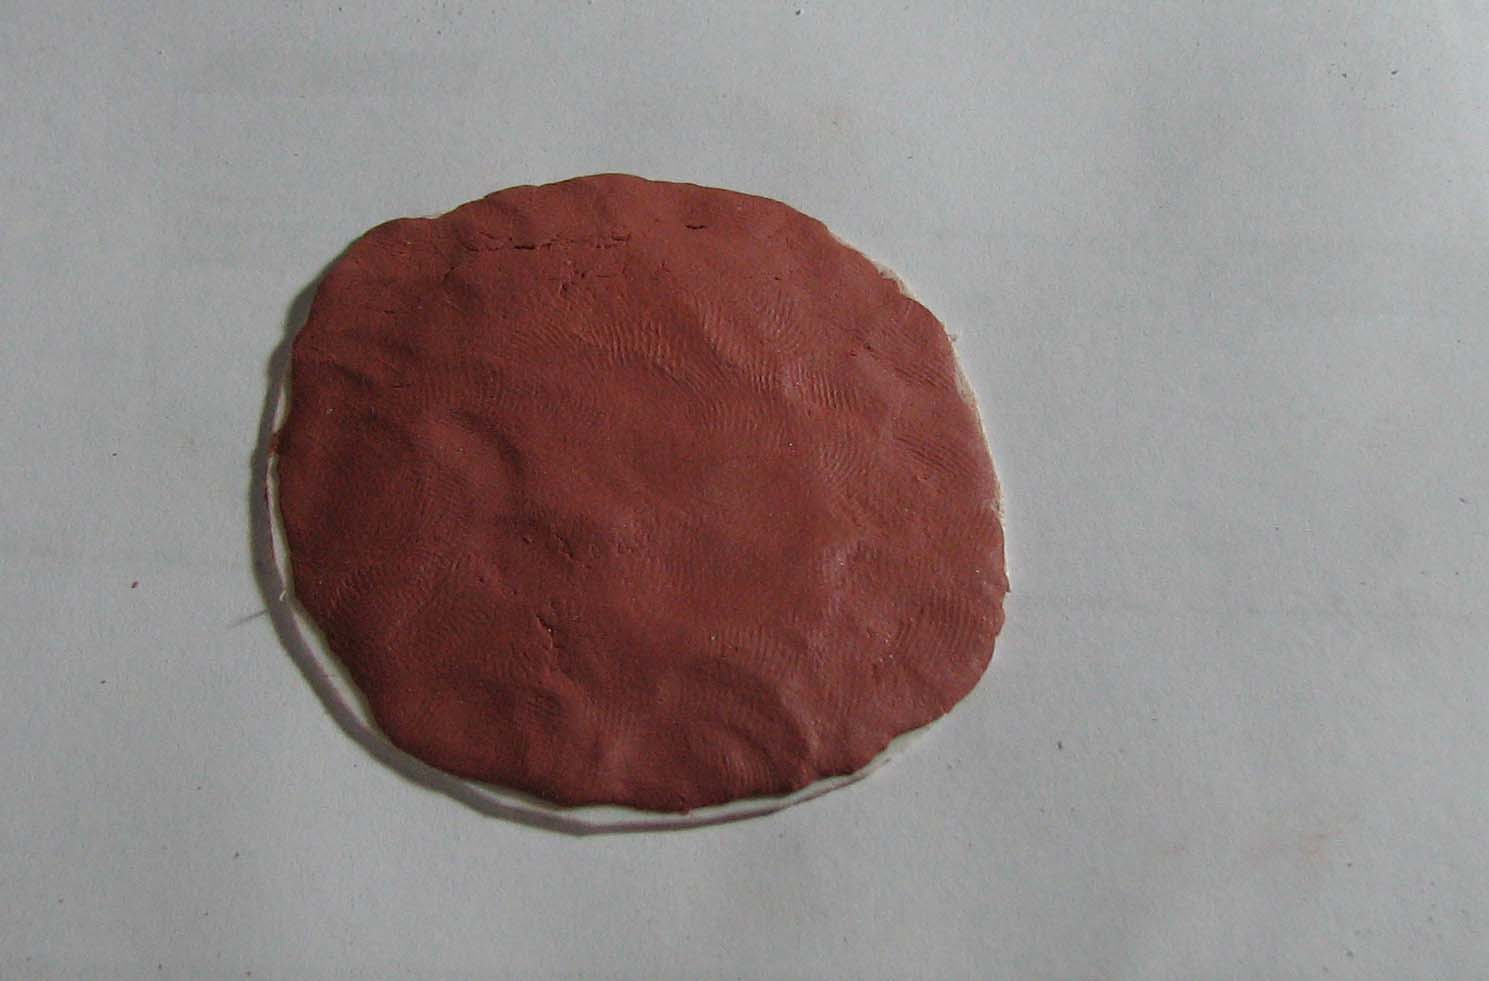
Now place some air dry clay or putty on the piece of plastic card and smooth it out. Remove the stems from the styrofoam and press them into the clay. Given you have a bit of wire left on the bottom, you should be able to secure the wire in the clay. Let dry completely.
Use the No More Nails to glue the air dry clay to the plastic card. Make sure the stems are properly secured and fully embedded in the adhesive. Let dry completely.
Cover the base with PVA and apply soil. You can also use the AK Gravel and Sand Fixer. I recommend this product for a topcoat to preserve the look and texture of the soil. You can also add smaller stones to the base at this stage and fixate with the AK product, thinned down PVA or acrylic medium.
At last it is time to add different brushes and other details, such as fallen leaves and hazelnuts.

Foliage and finishing touches
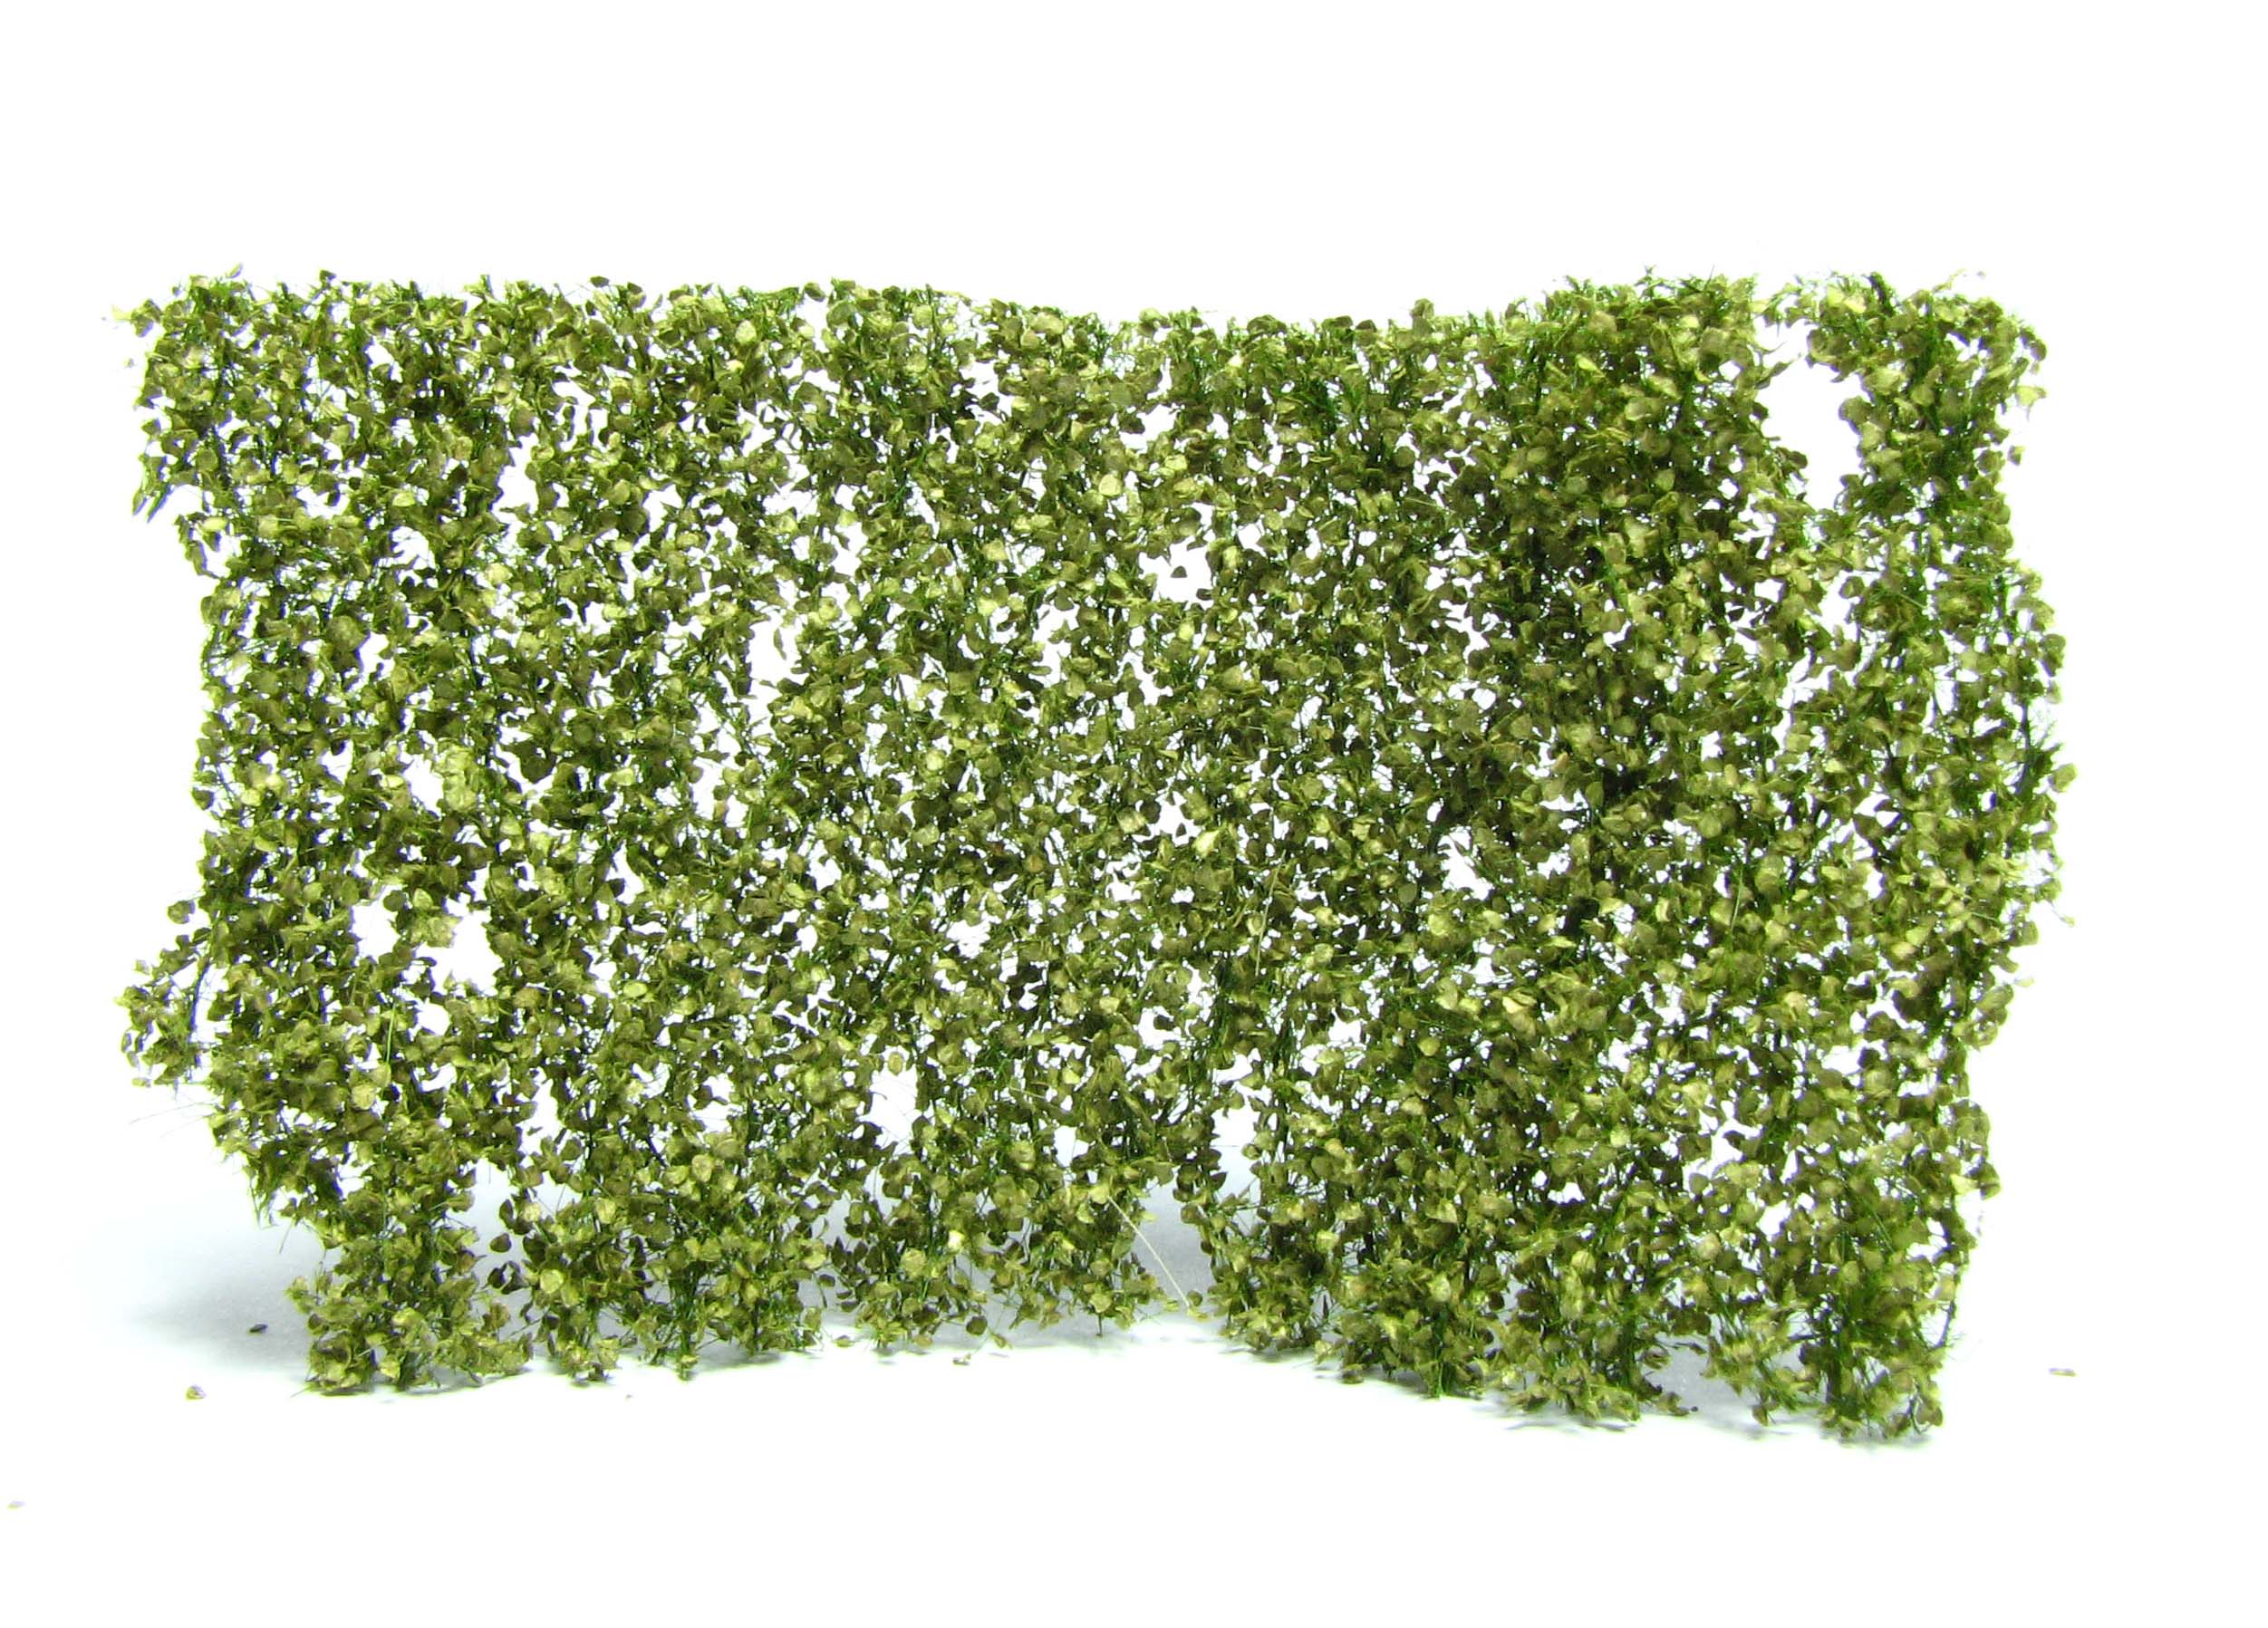
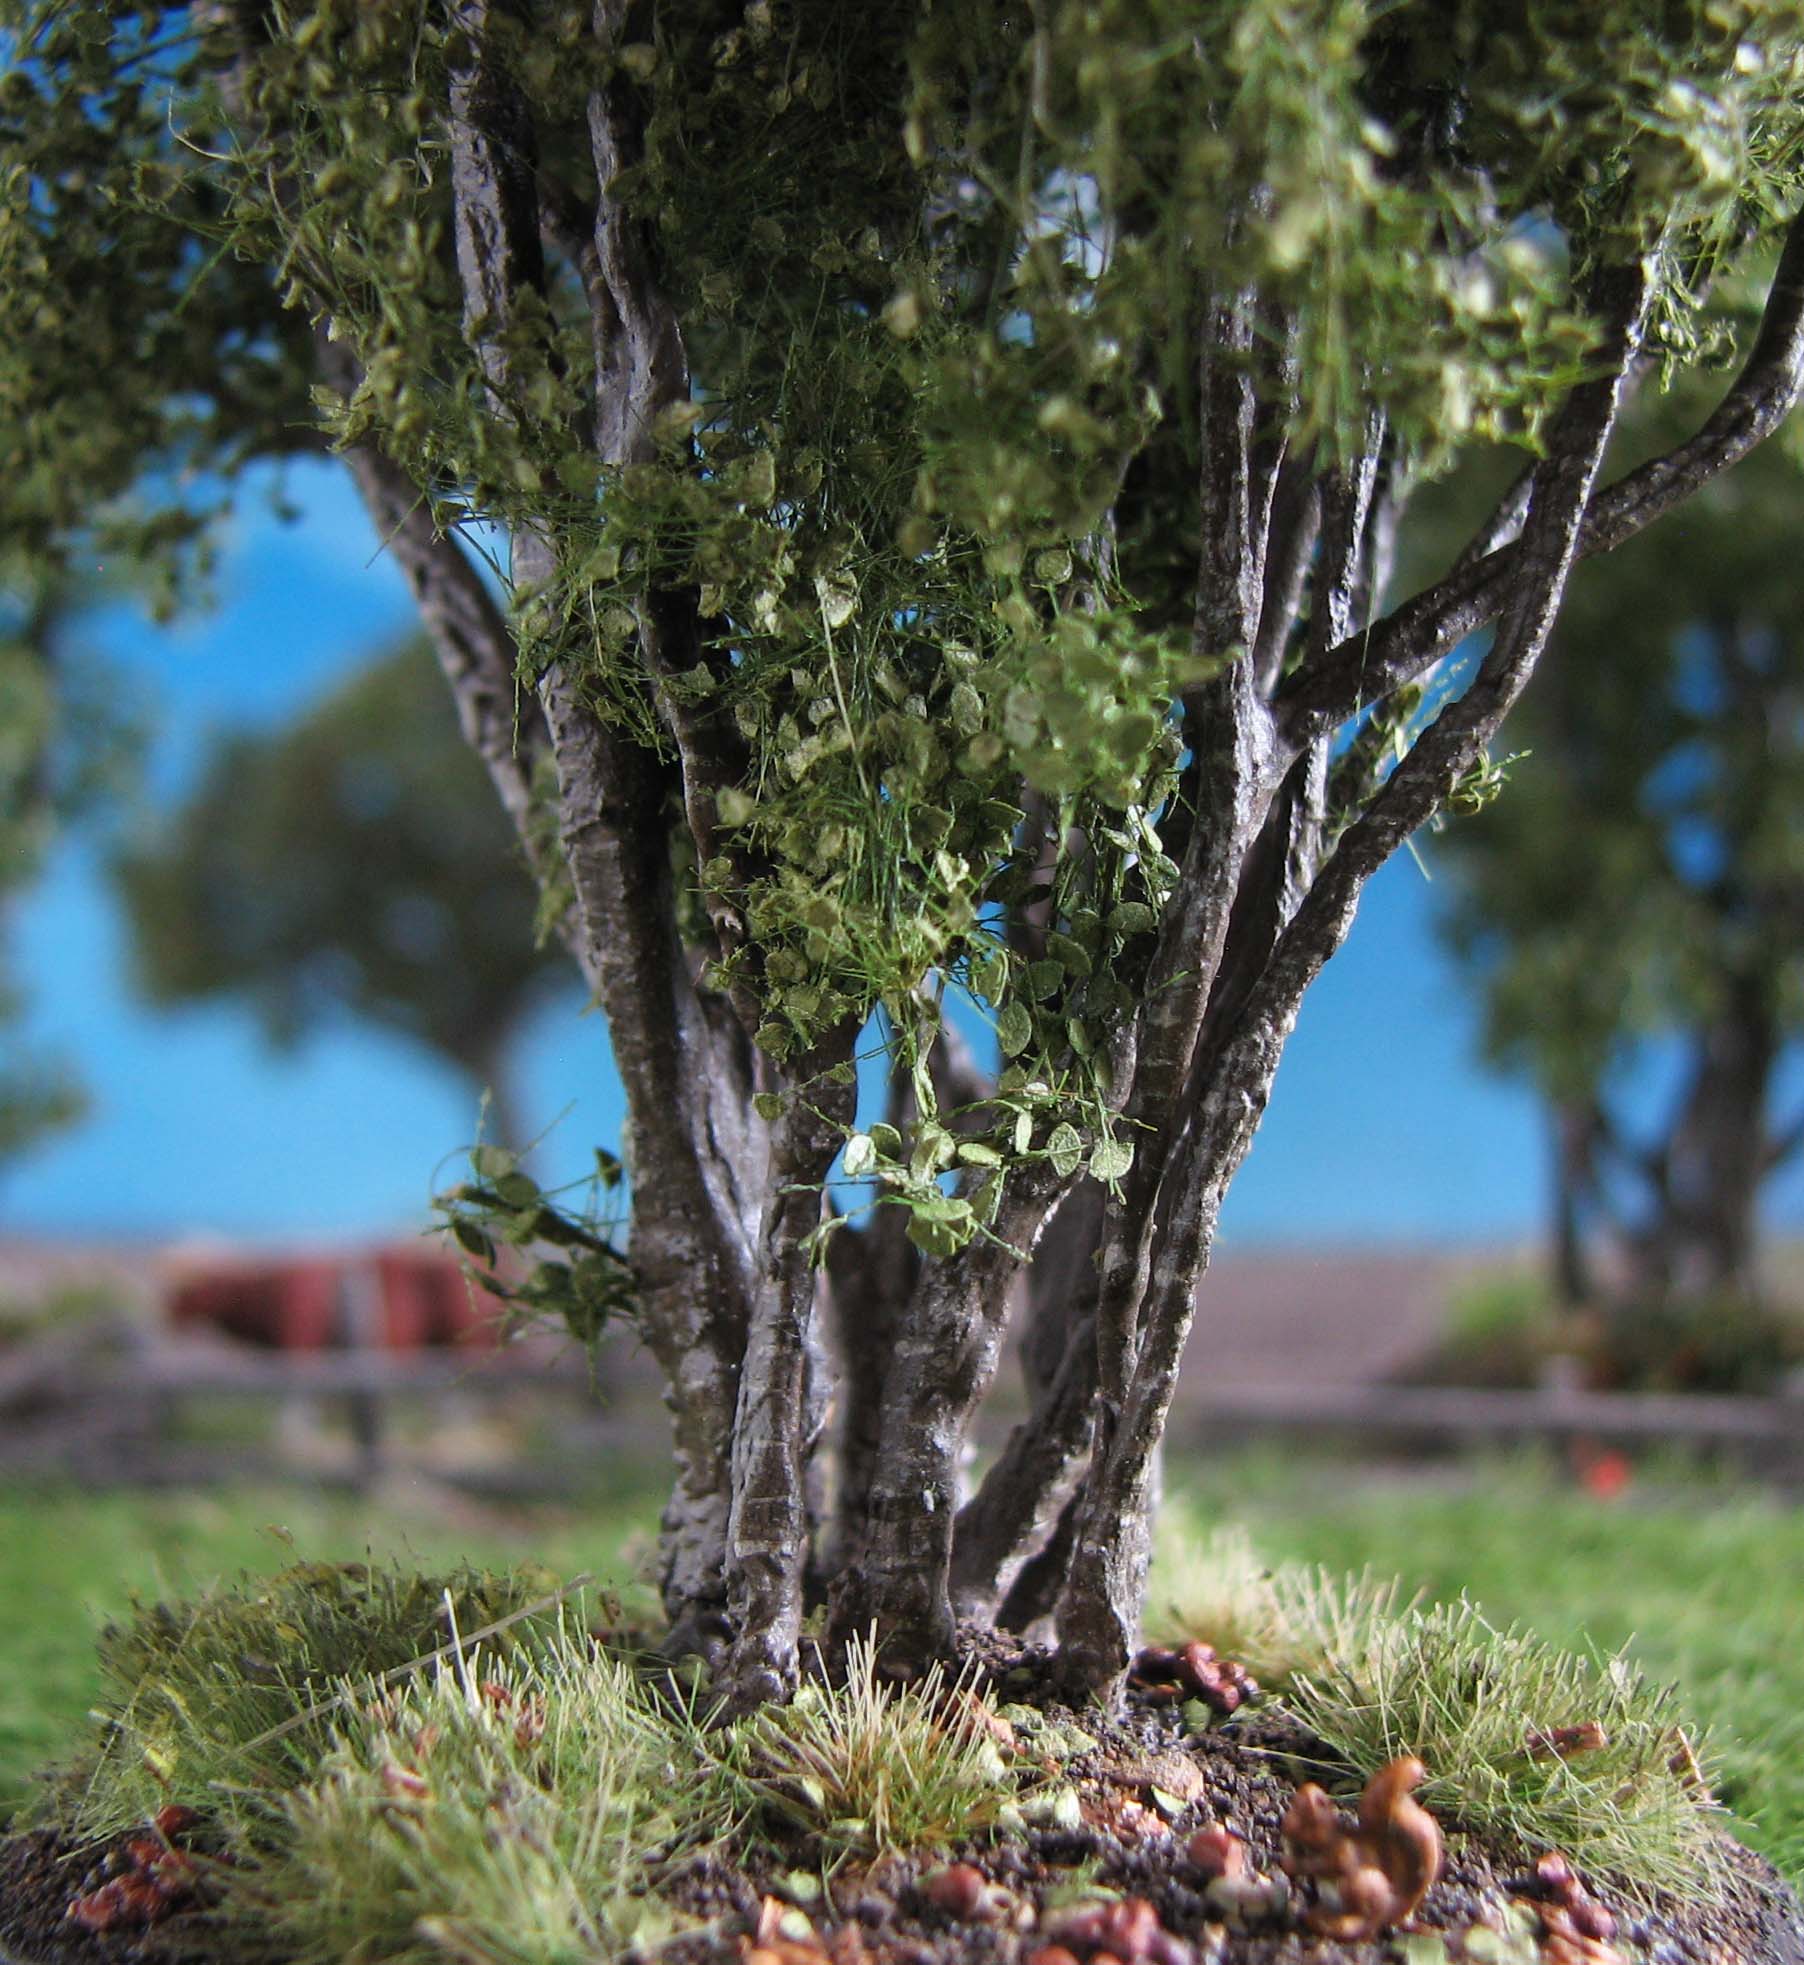
After the base is finished, cut the foliage into small triangles and pull it slightly apart. Attach to the bush with super glue. Keep in mind that the leaves will start growing relatively close to the ground. Shape the foliage with some small scissors and after everything is dry, fixate with some matt varnish, fixative or even hair spray, depending on your preferred technique. Finally, if you have the Busch Kleintierset, paint up a squirrel and place it close to some hazels on the base.
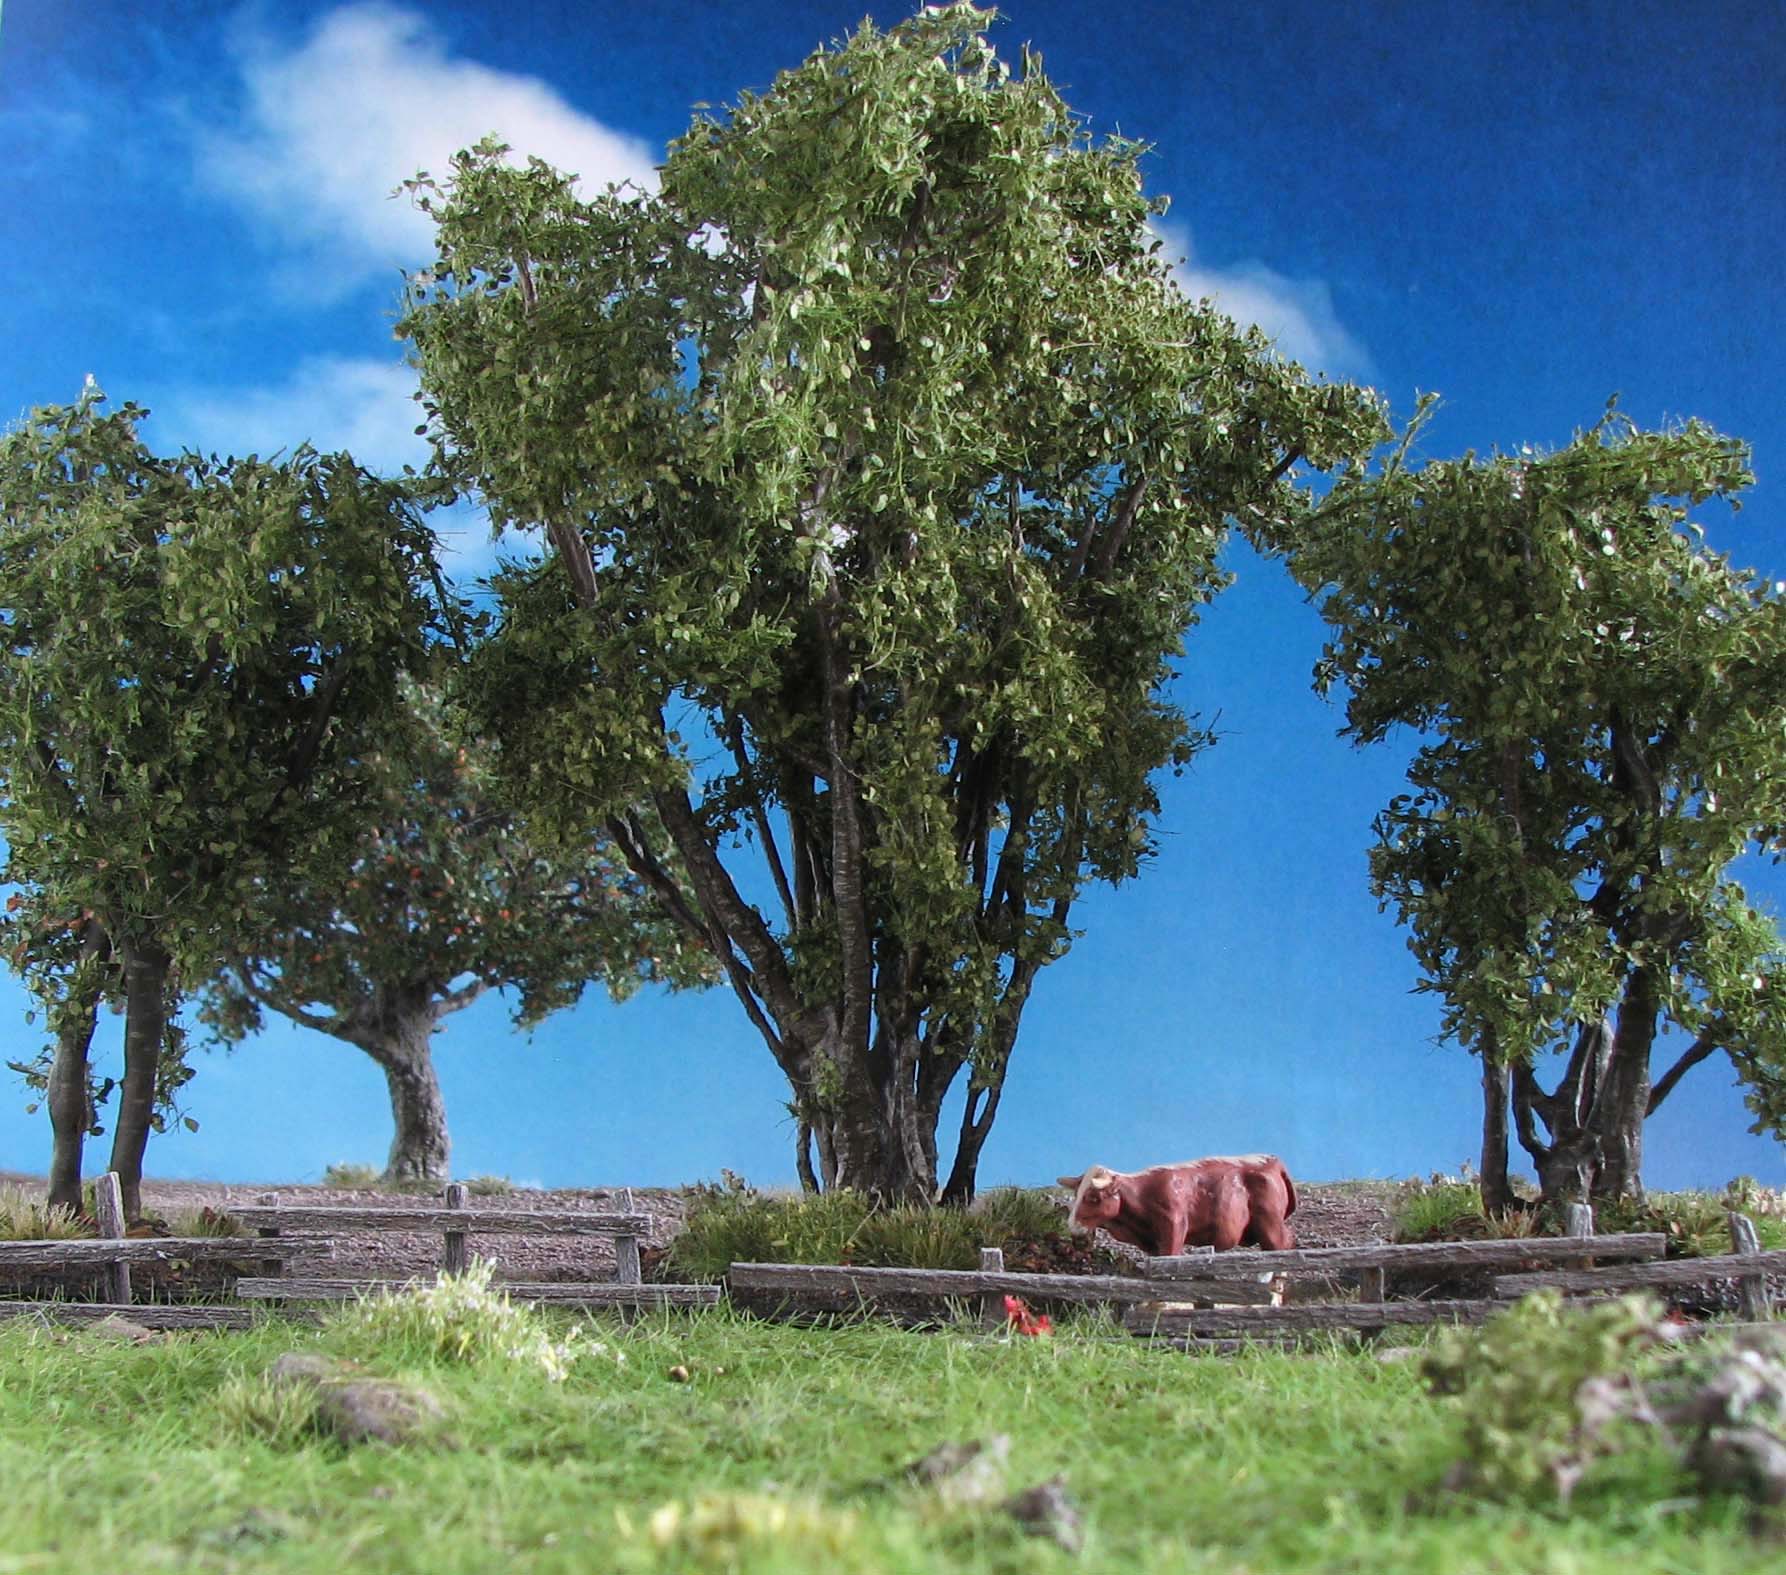
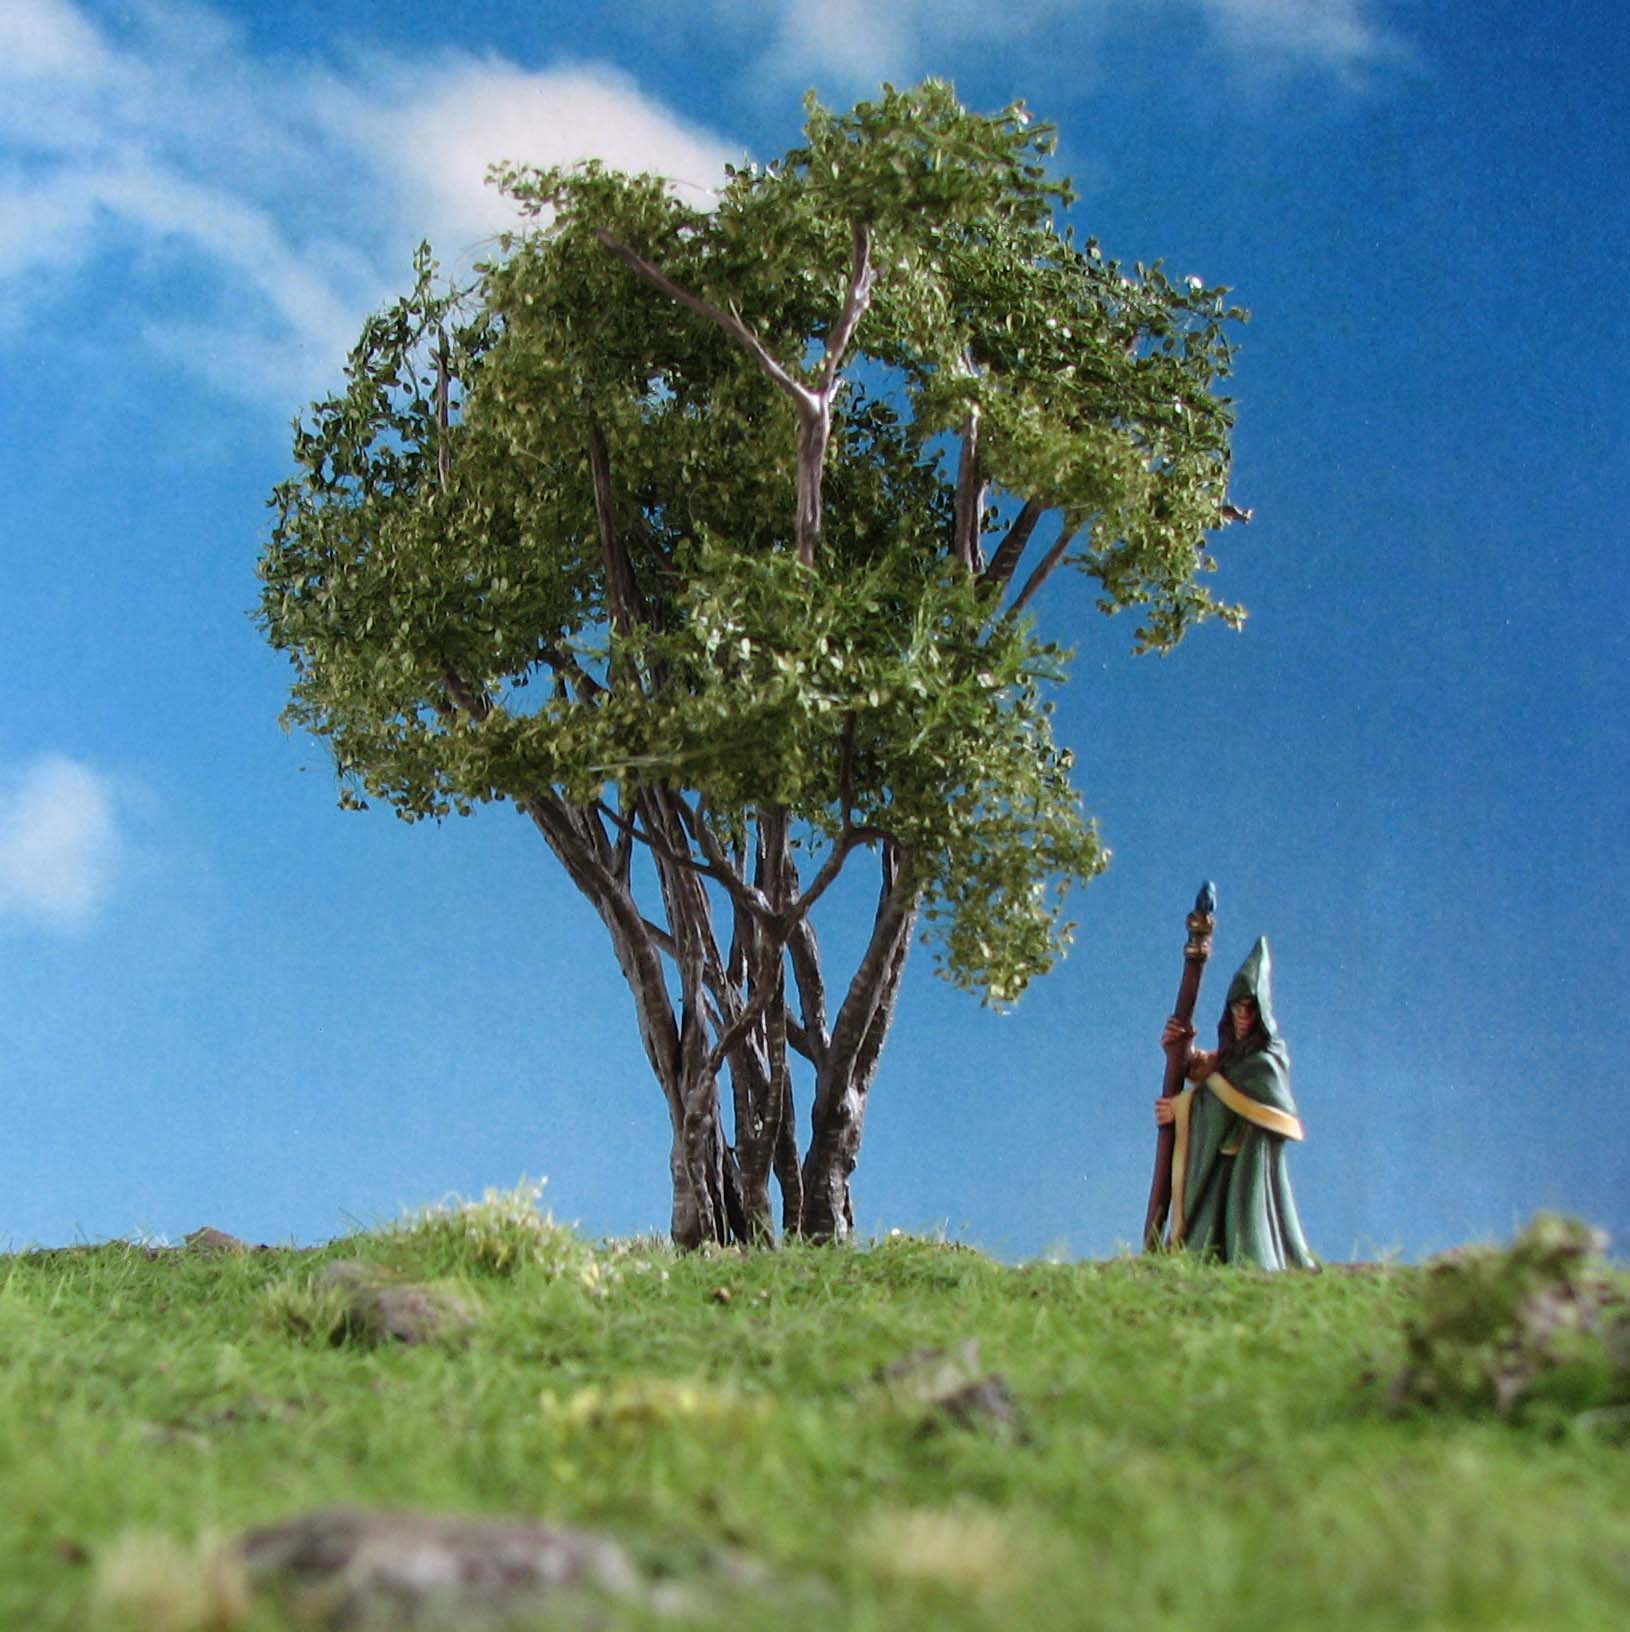
An there we have it. A nice hazel bush that will add some variety to your diorama or gaming table. I ended up making three shrubs, one bigger and two smaller ones. The bigger one works well with both 28mm and 15mm miniatures.


I hope this tutorial was of interest to you and maybe inspires you to give it a try yourself. If you have any comments, suggestions or questions do not hesitate and ask below in the comment section.
Wow really great looking results.
Thank you for your comment. Glad you enjoy the look of the finished bushes.
Superb work as always D&B, your trees really are a work of art!
Cheers Roger.
Superb as always, your trees are a work of art!
Cheers Roger.
Dear Roger, thank you for your comment, much appreciated. I am glad you like the trees and even consider them as art ;).
Wonderful, well-researched and hyper-detailed work as always. Always a pleasure to read these posts, even though I know I’ll never make any myself.
Thank you Azazel. Glad to read that the tutorials are interesting as a read alone. You can always simplify the approach a bit. For instance just apply the woodfiller and paint brown, no markings. Foam cluster foliage is also a good option to safe money.
Nice work
Thank you, much obliged.
Fantastic work! I’ve been planning on doing some bushes soon and will be using this technique.
Dear Brian, glad you find the tutorial of use for your own project. What will you use the bushes for, something specific or just as general terrain?
I’m not sure if I’ll try to replicate anything in particular. It will all be a part of dressing for a Thirty Years War project.
Sounds excellent. The TYW is a vibrant period with lots of potential in terms of painting and terrain creation. I am tempted myself by the period, but first I have to finish what I have, instead of adding to the plastic/lead mountain ;).
This is, as always, fantastic! Excellent work!
Thank you Captain Shandy. Good to know you enjoyed the tutorial.
Very well explained and a fantastic outcome. A I shall be having a go shortly👍
Thank you for commenting. I will be very interested in your version.
Fantastic tutorial with undeniably great results!
Thank you Arkie. Thinking about it this should also work for denser hedges in France.
Indeed it would. I’m not sure it would be an effective strategy for the quantities I need, though.
I’d really like to make some scenery vignettes that I could use as backdrops for miniature photography. If I ever get around to it, I’ll definitely be using some of your techniques.
I think a more abstract approach would be in order if you want to make lots. I think only the bottom stems would need to be depicted for very dense hedges and the rest could be made of foam clusters or the good old basil method.
Brilliantly executed, the really look the business!
Thank you for commenting. Glad you like the hazels!