
Wargaming terrain without trees would be a joyless and boring affair indeed. After all we try to recreate naturalistic surroundings for our games and even in arid or cold regions some tree species will dwell. As you will be aware, there are plenty of techniques out there to make visually appealing model trees. Some use prefabricated armatures made of plastic or metal, others go the scratch built route using wire, others again use natural products, such as twigs and sea moss (botanical name chenopodium aristatum). A large variety of foliage products exists, too: Clump foliage, either bought or self-made, fine turf in combination with loose ‘leave’ scatter or foliage nets.
In the end you want to combine the materials that give you the best results, but you don’t want to spend ages making trees either. I hear you! This short tutorial focuses on an easy and fast technique that yields very realistic results. We will make a simple birch tree for 15mm scale using sea moss and MiniNatur foliage nets to achieve a true to life appearance while keeping the time involvement at roughly one hour. If you are looking for a more involved project and even more realistic result have a look at my Oak tutorial or my ancient yew tree.

Some facts about birch trees
Birches are broad-leaved deciduous hardwood trees of the genus Betula, in the family Betulaceae. Given there are a number of varieties we first have to decide which species we would like to depict. Not all birch trees feature the black and white bark one usually associates with them. Given this feature really makes them stand out, I decided to make a silver birch (betula pendula). This species is native to Europe and can thus be used for many periods of time and regions. In southern Europe it can only be found in higher altitudes, so it might not be your first choice if you want to give your table a mediterranean feel.
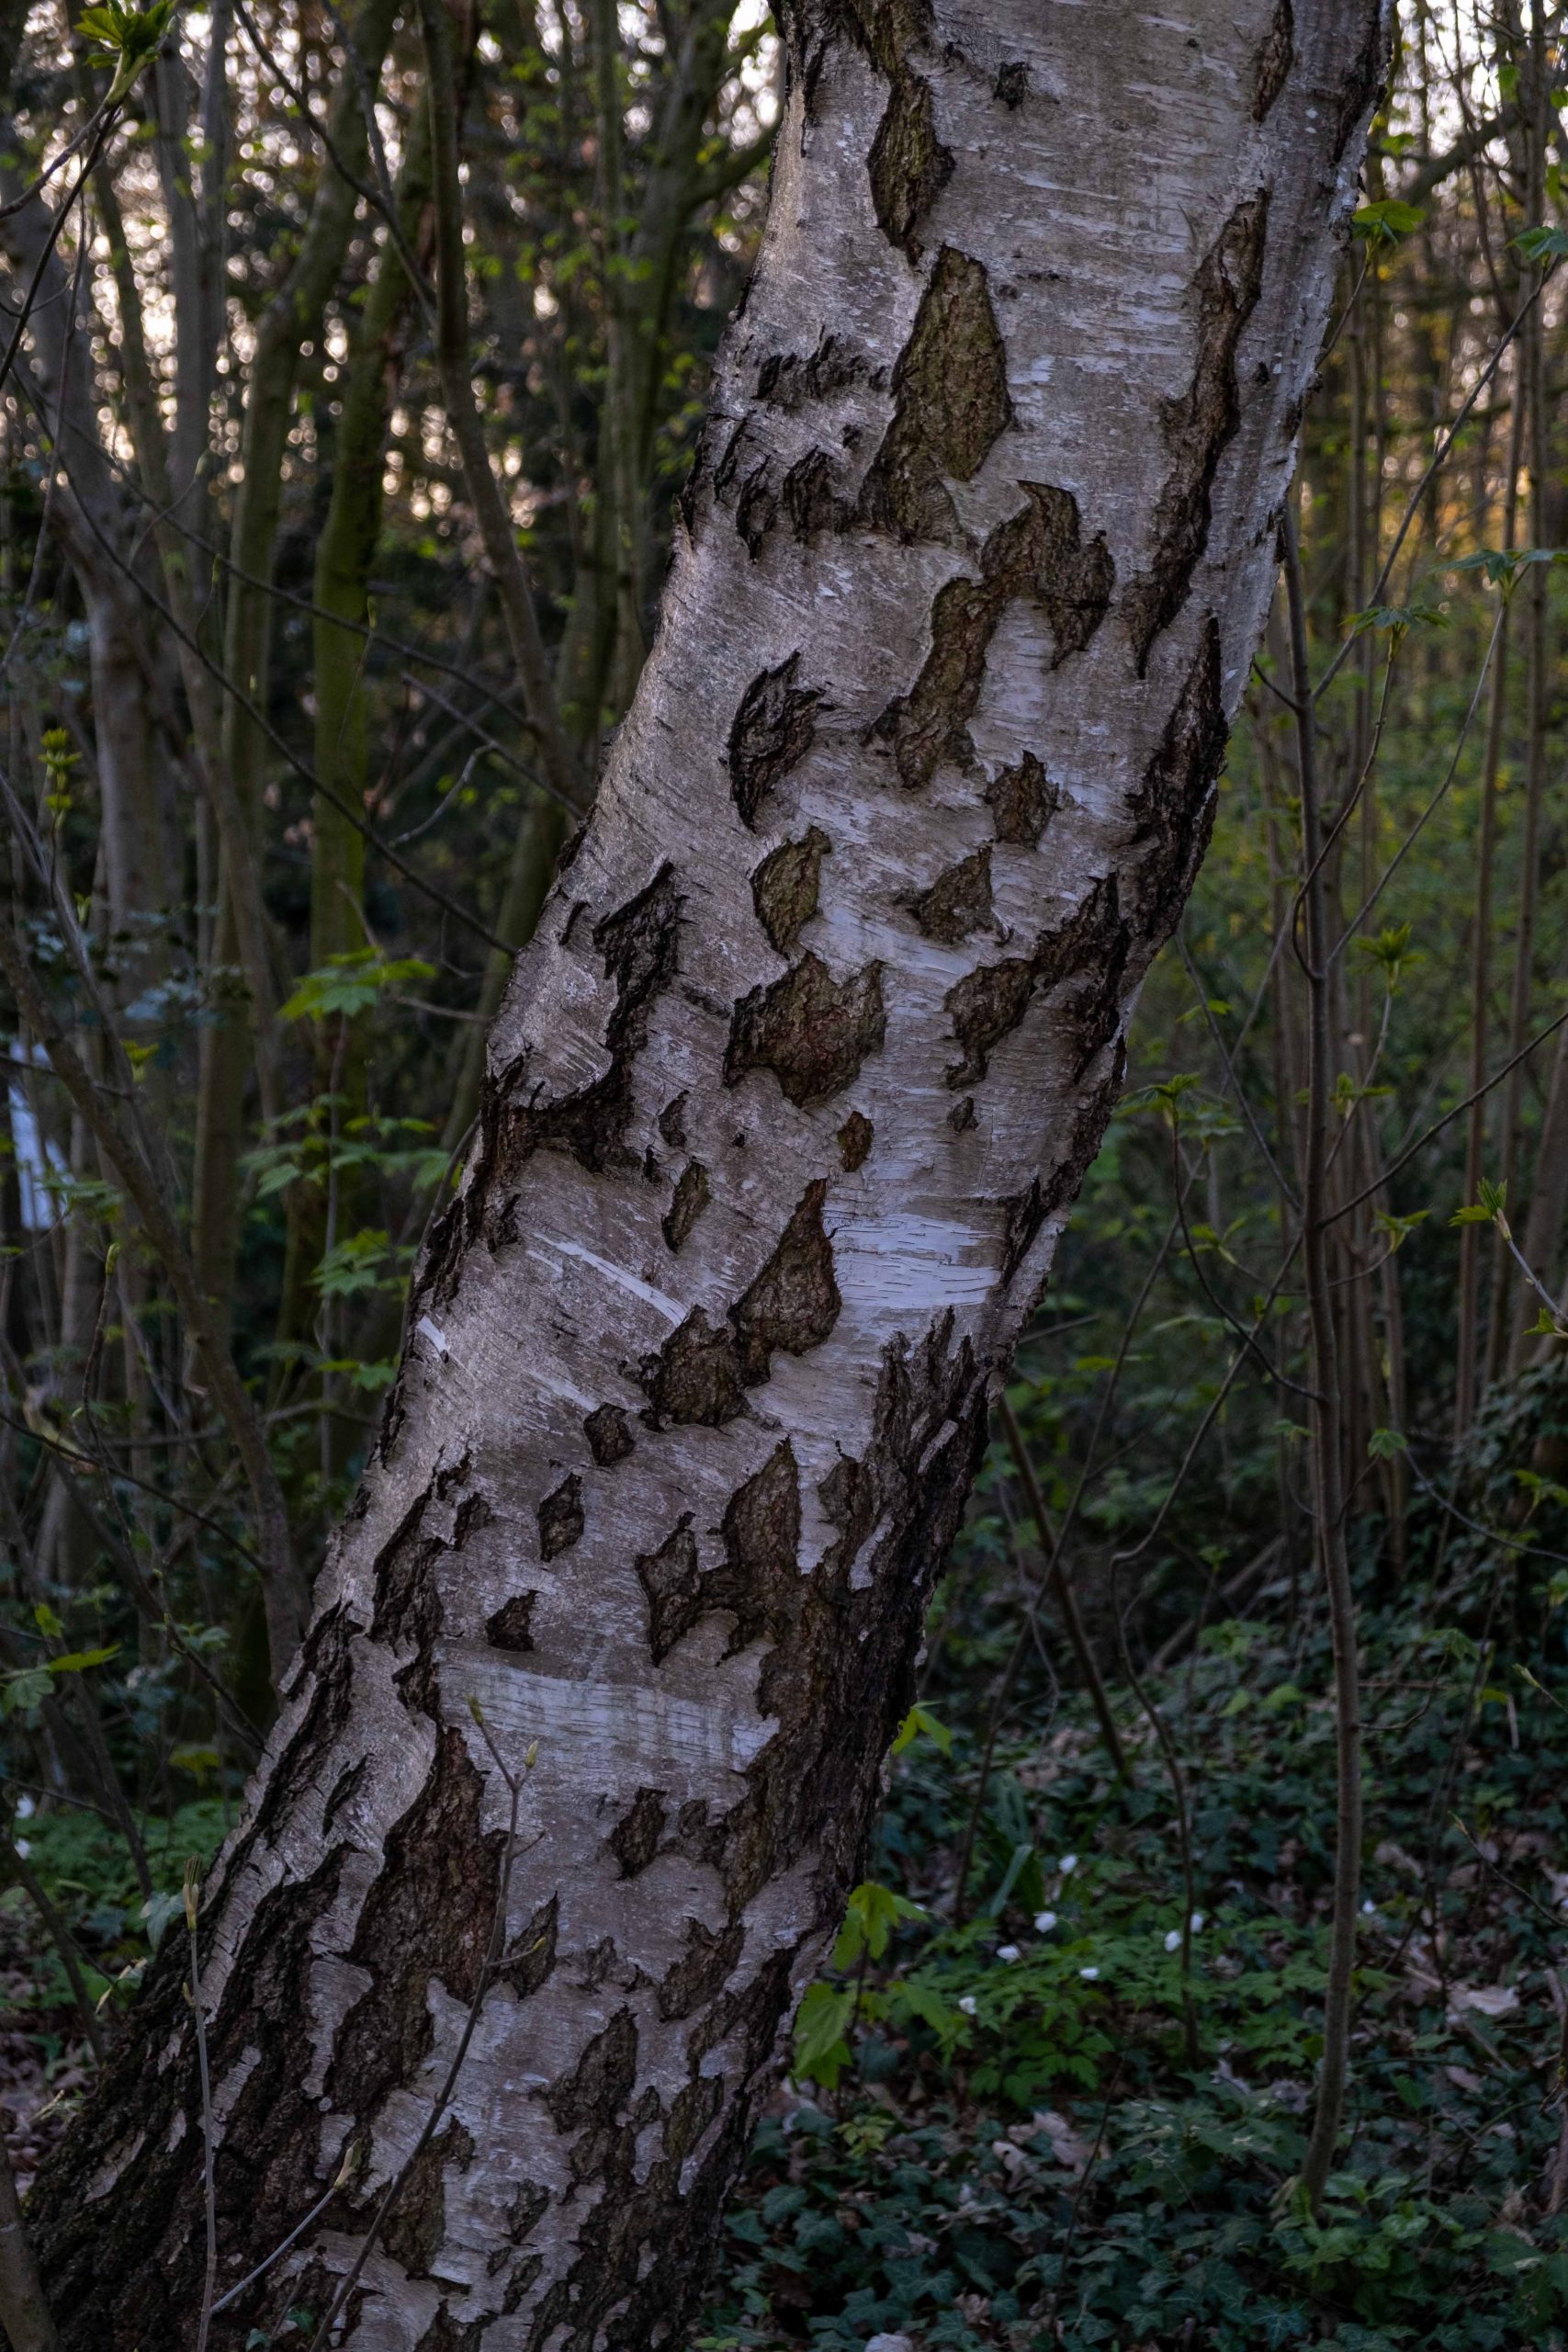
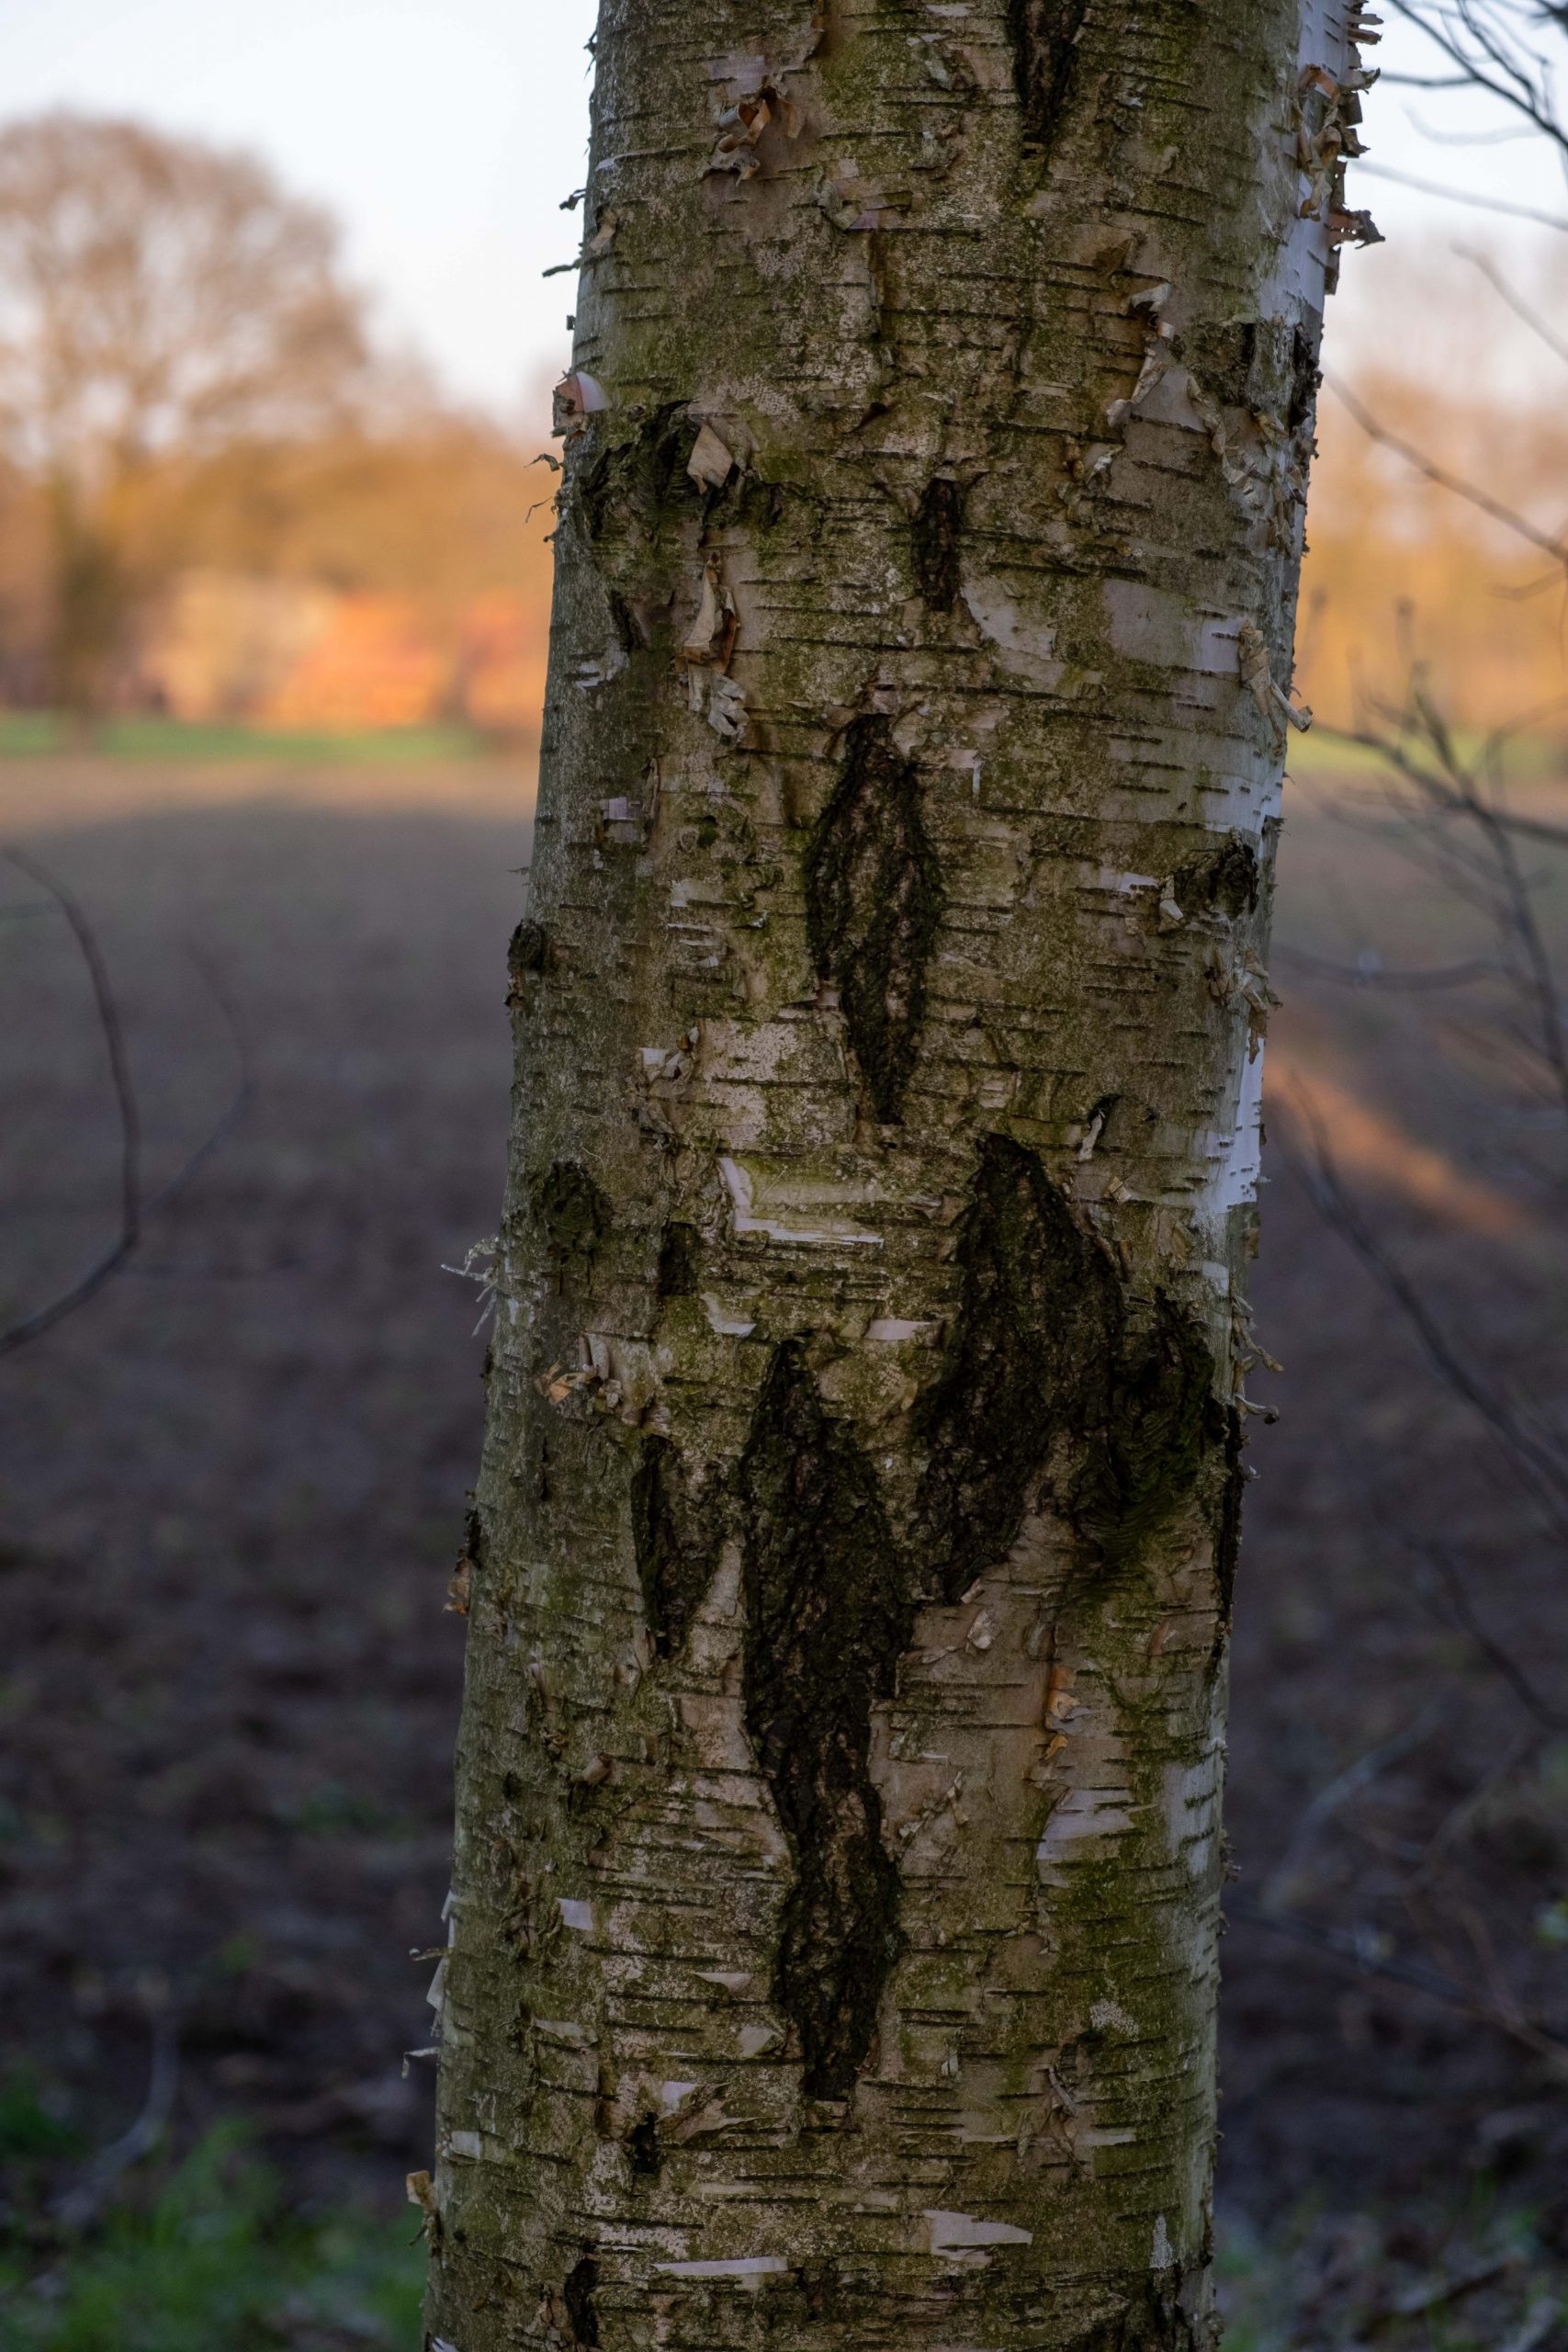
The twigs of the silver birch are slender and often pendulous, the leaves roughly triangular with doubly serrated margins. Comes autumn they turn yellow before they fall off and create a beautiful contrast with the white and black bark. On a related note, model builders and gamers love the seed pods of birch trees. They provide perfectly shaped 28mm scale ‘leaves’ for decorating bases.

Sea moss – practical considerations
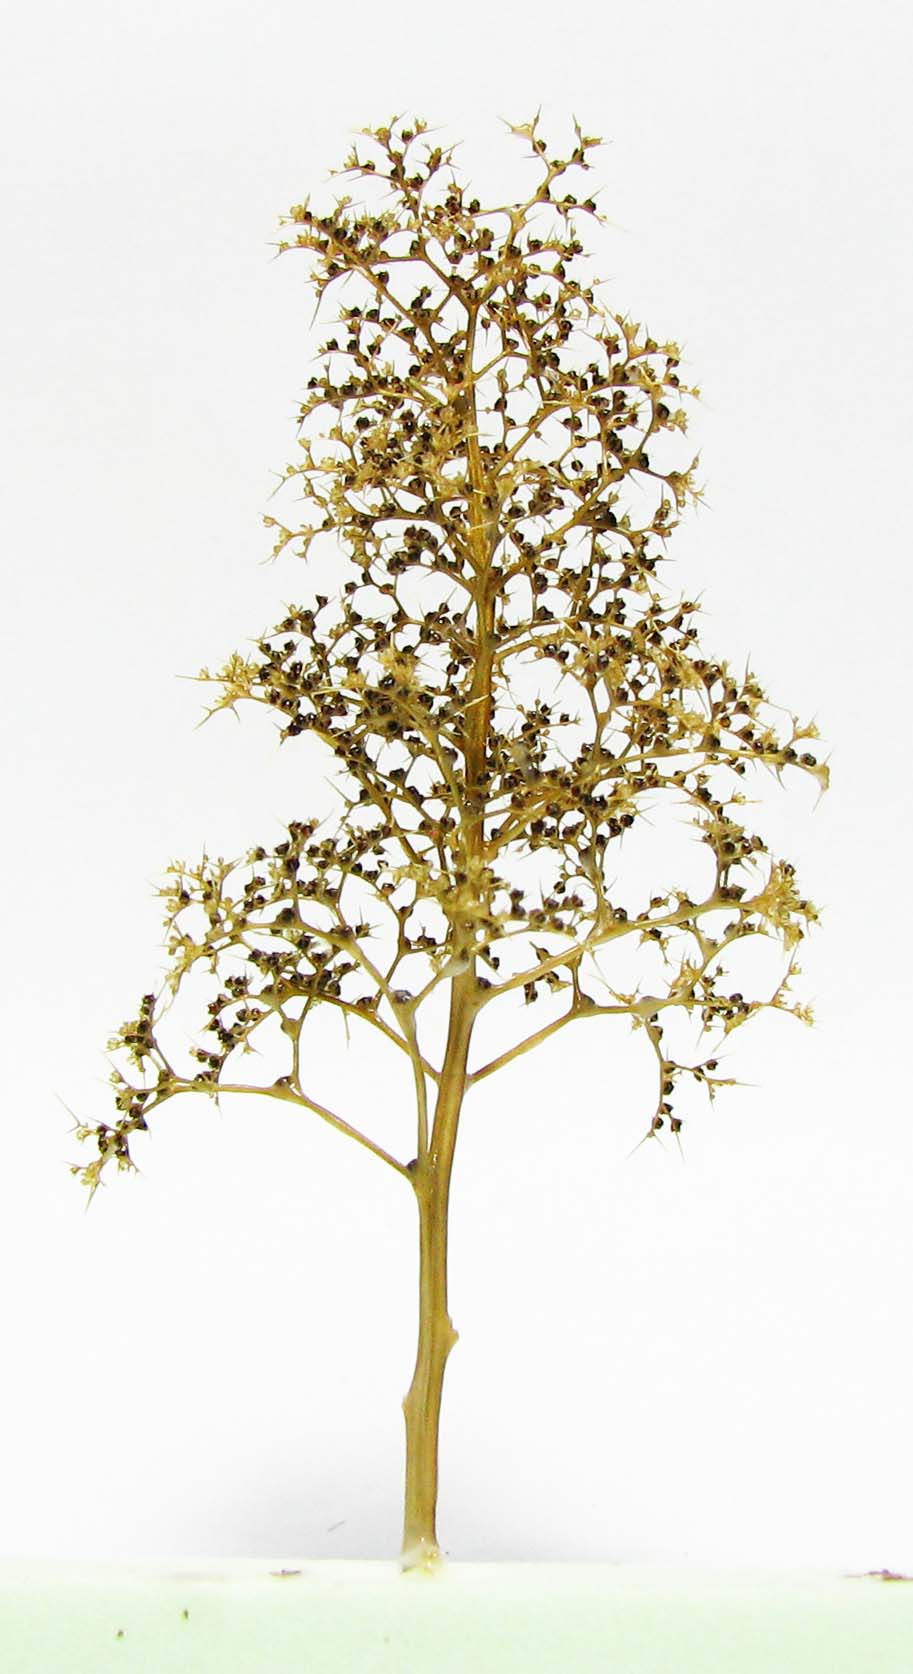
If we look at the sea moss branches out of the box their natural shape works well to depict the silhouette of a silver birch. One small twig is enough for a medium-sized birch tree in 15mm scale. If you intend to make birch trees for 28mm, you need a wire armature that you can add to using the sea moss. However, for 15mm all we need to do now is to shape the branch, add some bark texture and finally drape a foliage net over it.
The entire process without drying time takes about an hour. The tree holds up well to the trials and tribulations of the gaming table, but you cannot just toss them in a box and hope the best. They will break if handled without care, even though the Plastidip and filler add some strength.
What you need
- A small sea moss twig.
- A pair of small scissors to shape the twig.
- A pin vise with a 0.8mm bit to drill a hole in the ‘trunk’ and to insert a piece of wire for added stability.
- A piece of very thin wire or a needle.
- Plastidip to cover the entire ‘Meerschaum’ twig for added stability.
- Wood filler to create a realistic bark texture and to give the sea moss more strength.
- Acrylic paints: Black, grey and white to paint the bark.
- Fast setting glue, I use Insta-Cure+ to fix the foliage net in place.
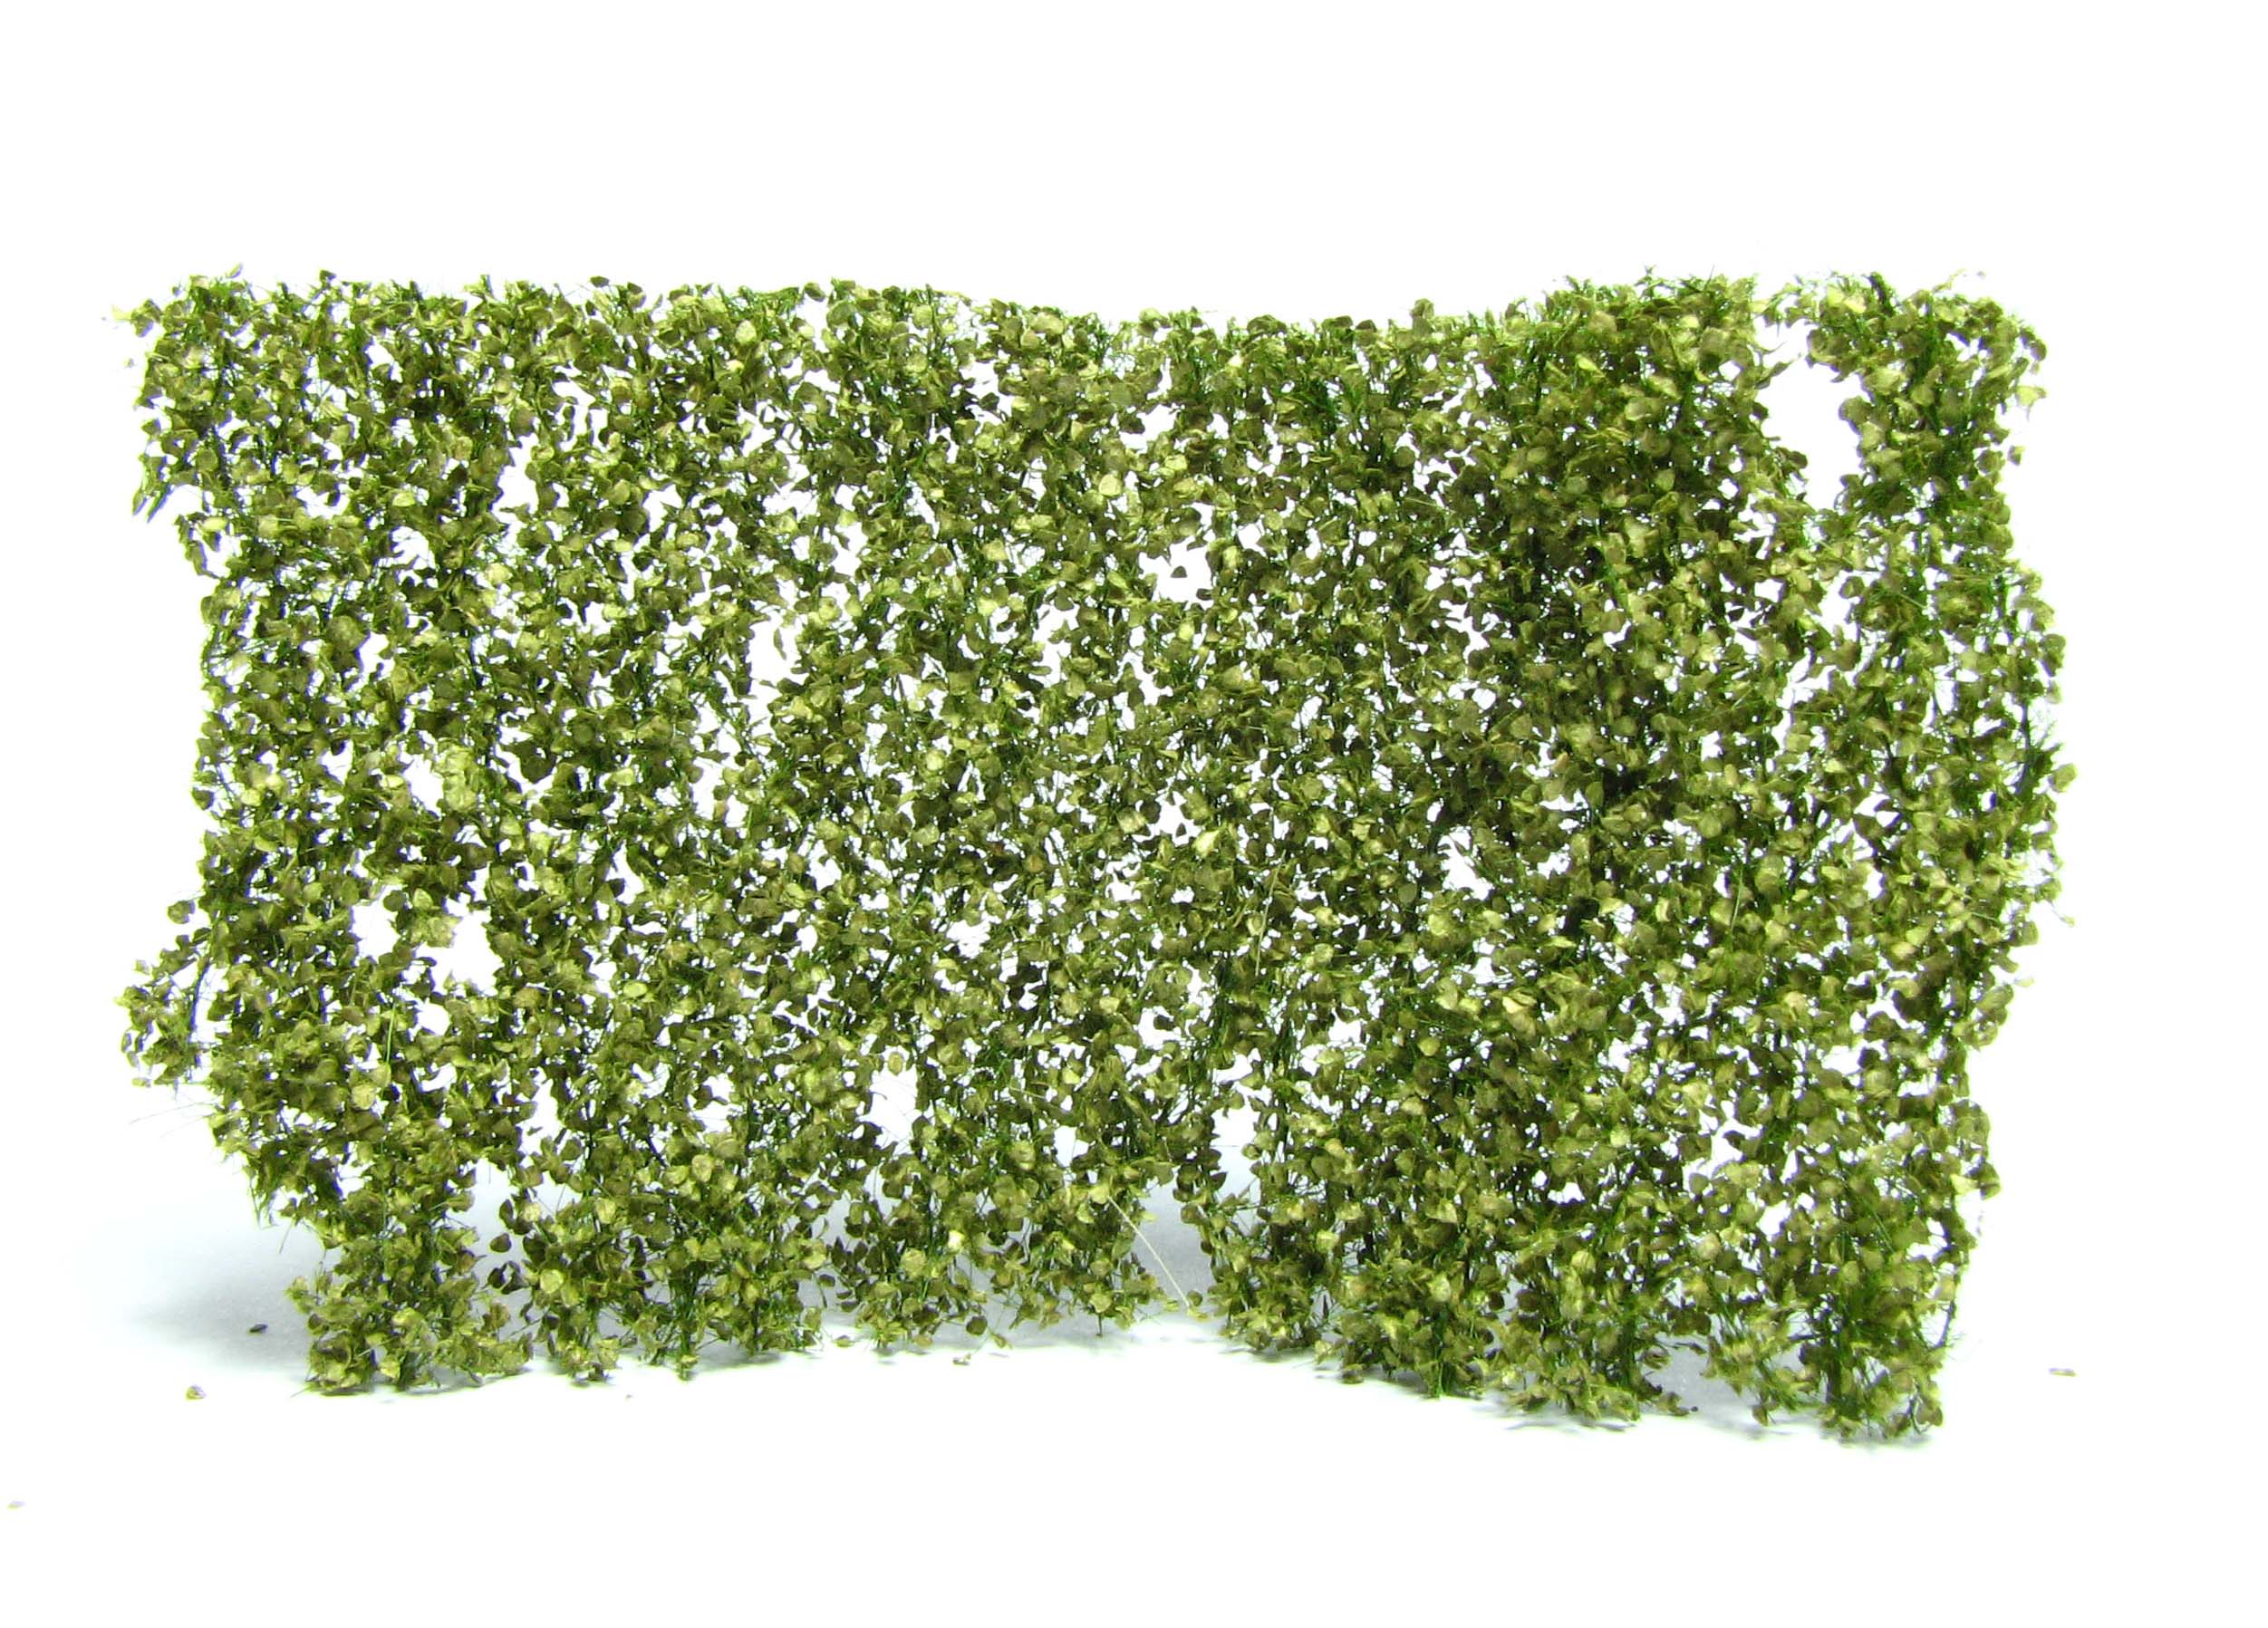
- MiniNatur foliage net. The birch nets come in spring, summer or autumn varieties. I used half of a small sheet.
- A broad brush and a very fine brush.
How you do it
Remove any dry leaves from the twig and clean up the lower section, carefully removing some of the fine twigs to achieve a clearly distinguishable trunk section. Mount the twig on a piece of styrofoam, but don’t drill a hole in the trunk yet.
Cover the entire twig in Plastidip. This pretty much rubberizes it. You can use the aerosol spray can for this step or decant some of it and use a brush. You might need several coats to achieve a flexible and durable coating. Let cure.
With the help of some wood filler add some texture to the trunk and other twigs in the lower parts of the tree. This also adds some thickness. You can also use caulking for this step if you want to preserve the flexibility of the rubber coating.
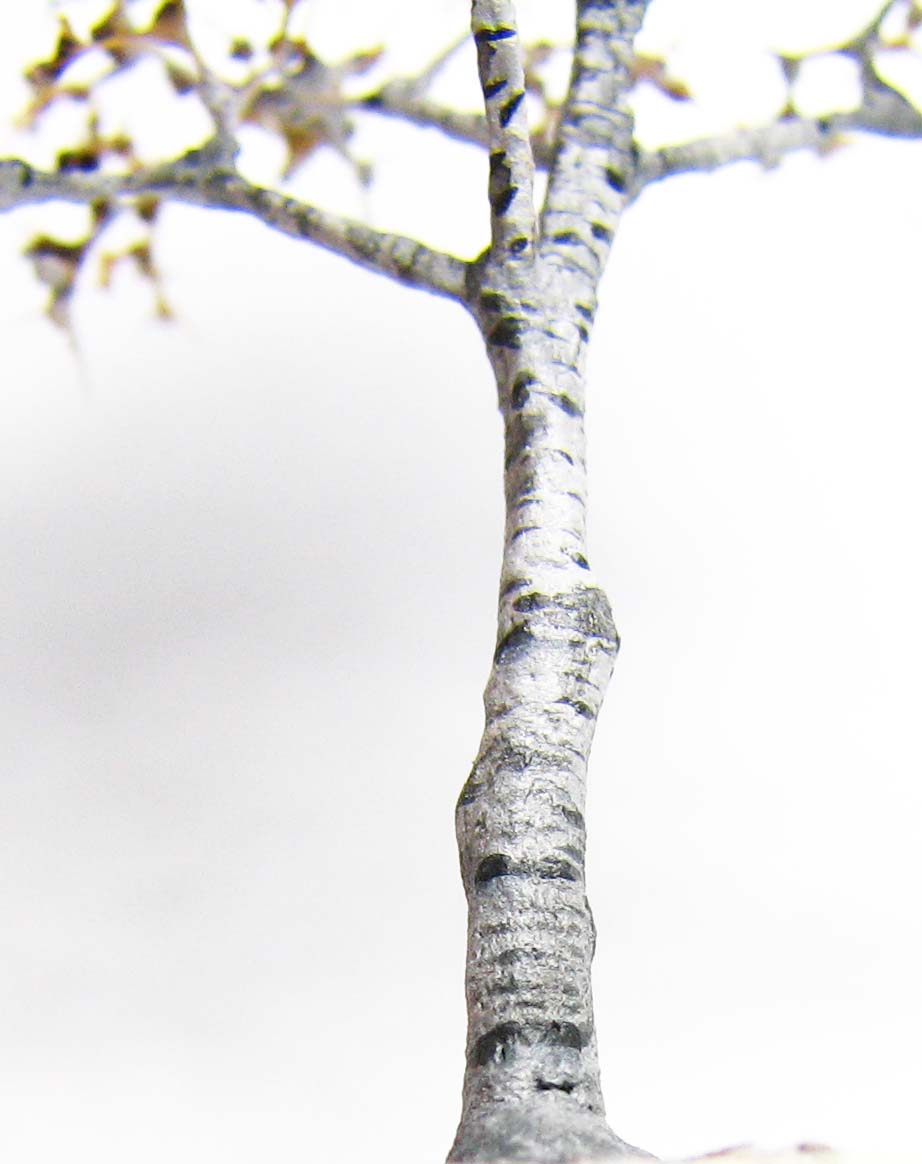
Painting the birch
Mix pale grey and paint the entire twig. If the natural colour shines through in some areas this will add some nice colour variations. Now mix a dark grey and add some irregular patches to the trunk and thicker twigs. With some more thinned down shades of dark grey you can add the characteristic horizontal dark lines birch bark has. Finally, with a very thin wash of grey add some colour variation to the lower sections of the trunk.
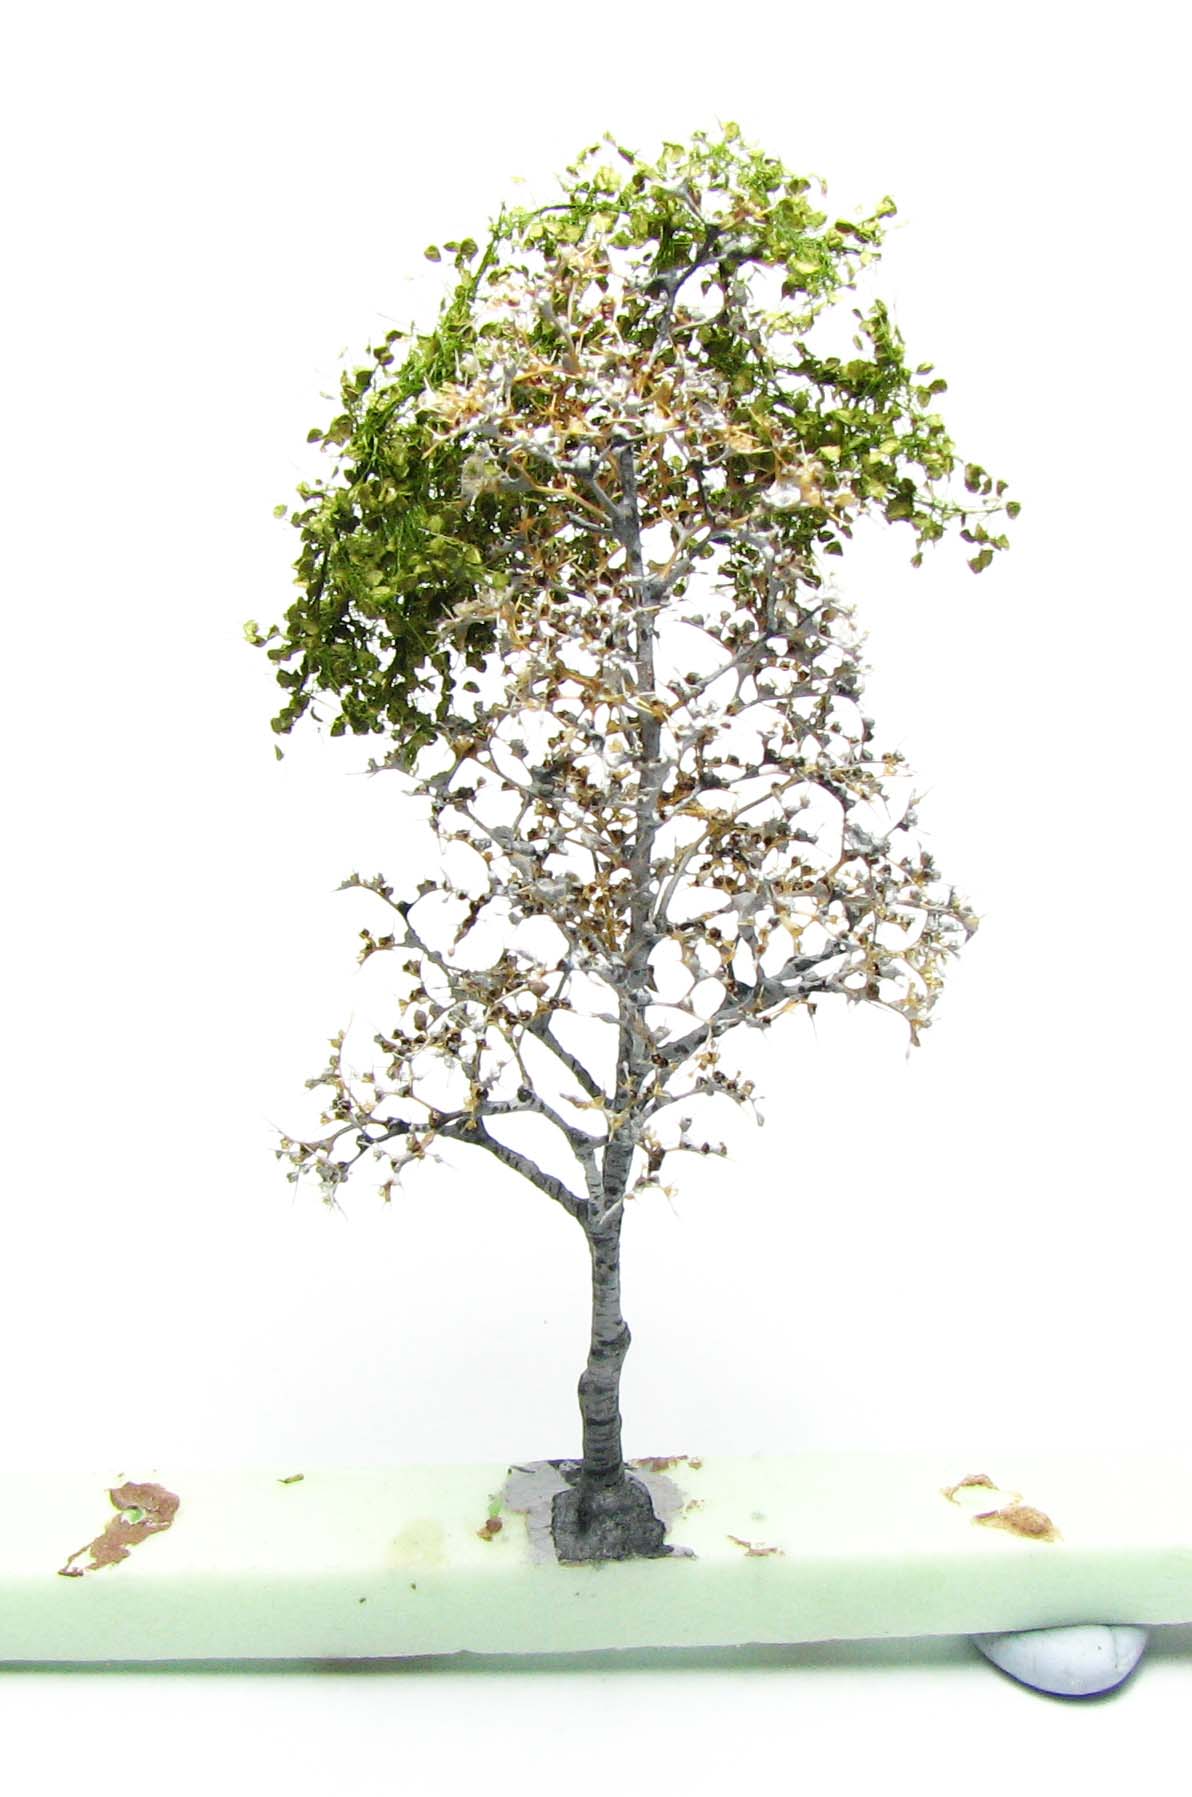
Adding the foliage
MiniNatur products come in sheets, so you have to cut the sheet to size and tease it carefully apart to make the shape more irregular. Apply some fast setting glue and attach the foliage to the twig. Less is more, as you want the tree to look light and airy.
After the netting is applied, remove the tree from the styrofoam base and drill a hole in the trunk. Insert a piece of wire and secure with glue. Now you can pin it to your gaming table and easily change its position or you could make a base for the tree featuring a magnet to make transport easier.
I hope you enjoyed this tutorial and please comment down below if you have suggestions or would like to share your own techniques to achieve realistic trees.
I have only just found this (slaps forehead!) How resiliant is the Meeschaum once the tree is completed. I like the idea very much but currently use etched brass which is eye-wateringly expensive. I need tio be re-assured that this Plasti-Dip does the business on the Sea Foam.
Cheers.
Thank you for your comment Atelier-Robin.
The seamoss is relatively flexible after a bath in acrylic medium and plastidip has been applied. That said it will still break if you bend it too much or if the tree falls from the table. I say if you are a careful gamer and don’t just toss miniatures and terrain in a box after you finished there should be no problem.However, a brass tree is surely almost indestructable, you won’t get this using natural materials.
An alternative to the brass might be thin copper wire. You can either leave it flexible and coat it with acrylic caulking or you can use soldering tin to make it strong and rigid. I used copper wire covered in acrylic caulking for my yew tree and think the result looks good. Even without foliage a barren tree is no problem, as you can depict even the finest of branches with copper wire.
[…] Here’s a link to the Dagger and Brush guide to painting Birch […]
Fantastic tutorial! You make it seem so easy to produce such realistic trees.
Thank you for your comment. I am glad you liked the tutorial. Making the trees is easy looking at the techniques involved, but the necessary time involvment requires patience ;).
Tried it tonight and I’m really happy with how it turned out. Although I think yours still looks better. I may have gotten a little overzealous with the colors :p but it was fun!
Feel free to include a picture in the comment section, I would be very interested to see your take on it.
Hmmm technology seems to be winning the fight against me today, but I’ll eventually have pics of it up on my blog. I’ll talk about and link your tutorial to it too so hopefully others can get inspired to try some different kinds of trees in their miniatures.
No worries. If you like you can place a link to the blog post here, too.
Your pictures are wonderful. I use cork bark logs to make my woodland themes. This would be a great item to add as I only use natural things from our glen. My trees were the only things that were artificial so I am definitely going to try this if I can find out where I can buy the sea moss
Thank you for your comment Roslind. Glad you like the scenic shots. You can achieve excellent results in using roots and twigs when it comes down to trees. Especially if you enhance them further with seamoss and maybe a bark texture. Are there any pictures of your woodlands? Would be interested to see your stuff.
[…] trees I found 1, 2, 3 different ways of making […]
Thanks for the tutorial. Your works are always a source of inspiration
Thank you very much. I guess that is what I hope for when writing the tutorials, to inspire people and see other takes on terrain should they decide to give it a go, but also to get inspired in turn.
Klasse Beitrag!
Aber wo ich ein bischen skeptisch bin ist die Stabilität?!
Im Urzustand ist das Zeug doch fast gummiartig.
The stability is something to improve on. I guess some wire around the bottom part of the twig would further enhance its rigidity. As of now it is already quite sturdy with wood glue, wood filler and the needle inserted. The net also protects the finer twigs. I’ll conduct some experiments with sea moss to see how I can further improve overall stability. A layer of acrylic gel might also work.
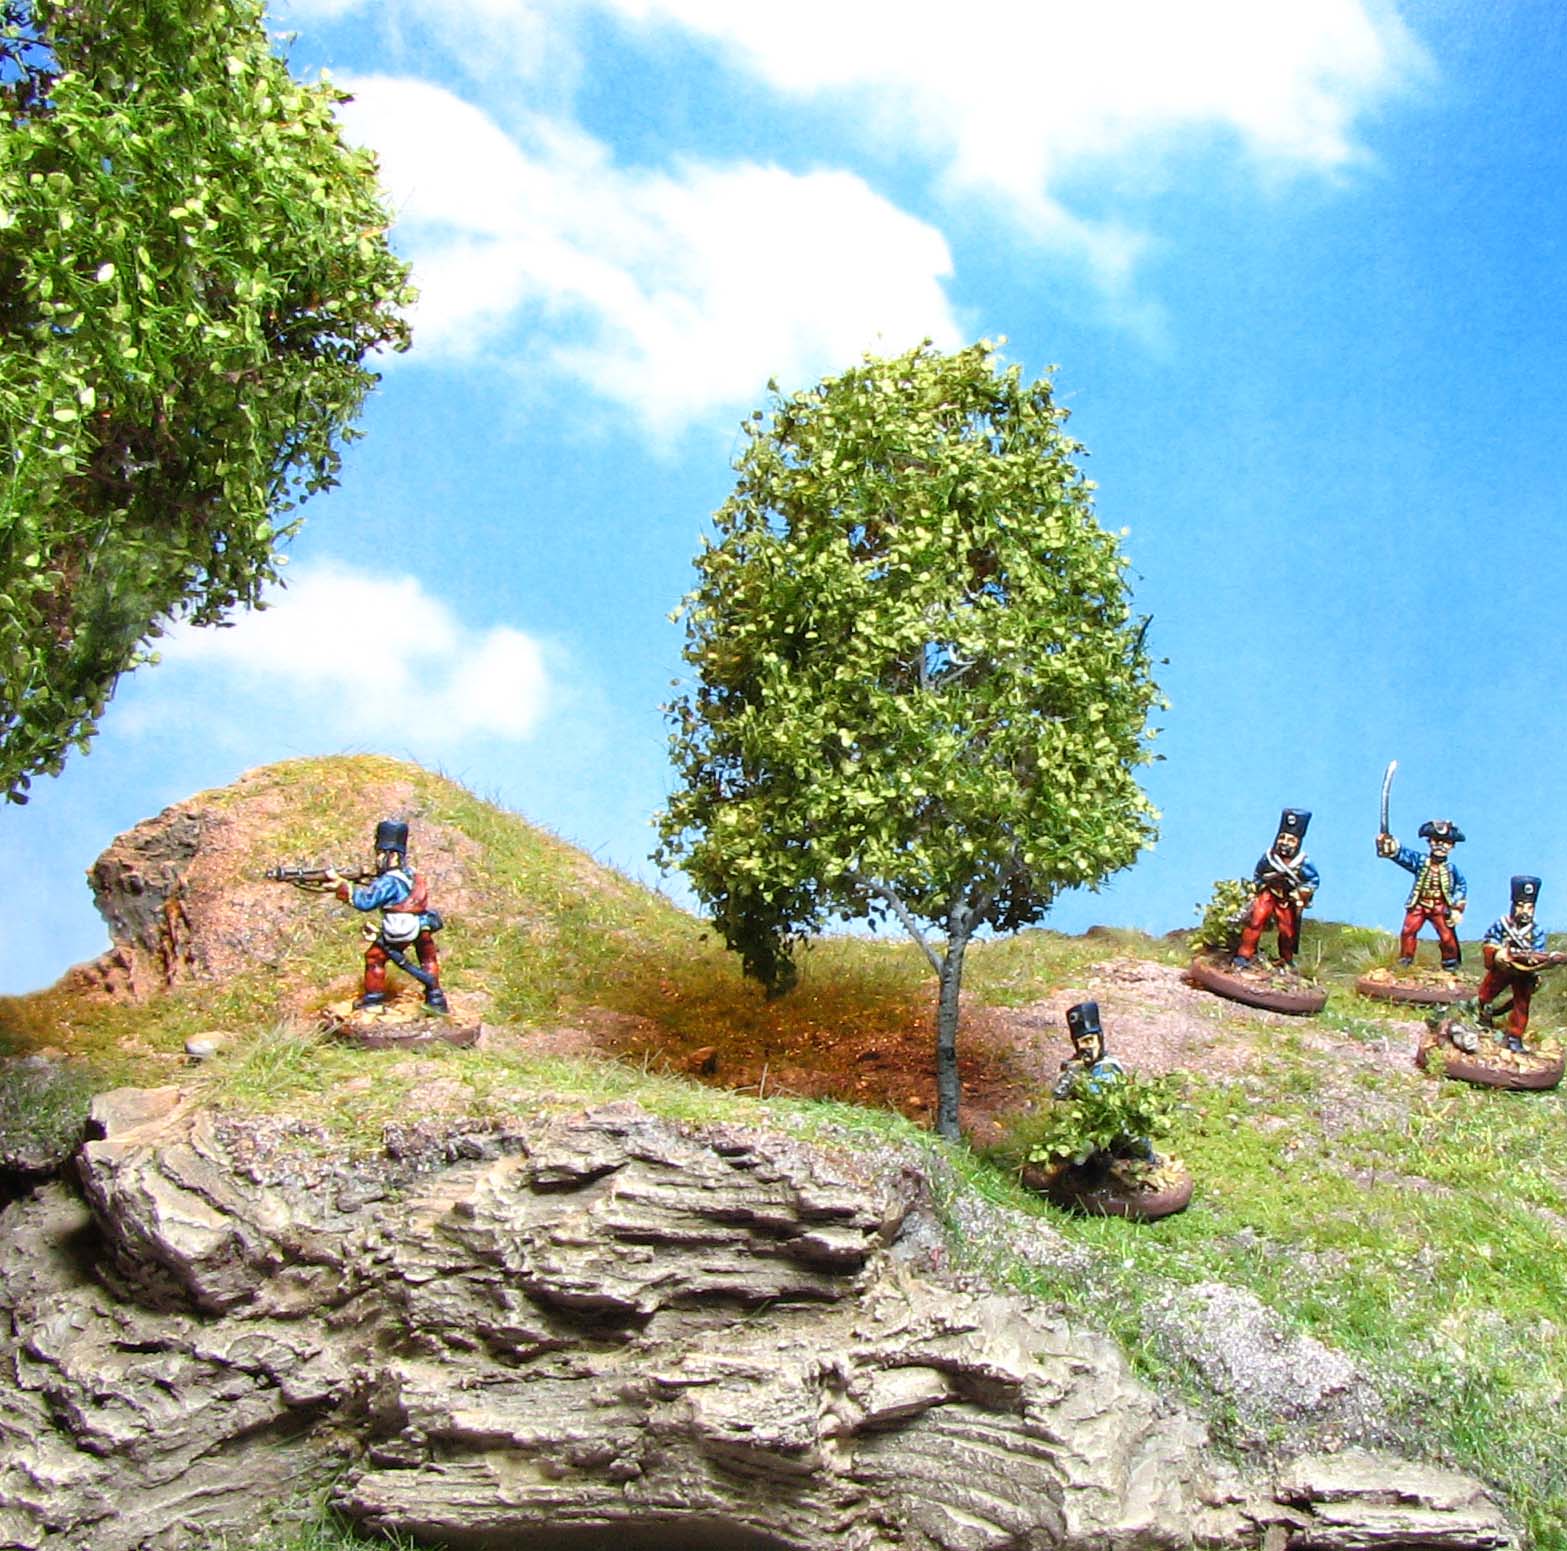
What a brilliant looking set of trees you have there, I have to say I am very fond of your miniature photography, it looks amazingly realistic!
Thank you very much! In some point I’ll make a short tutorial on how I take pictures. My setup is pretty simple.
I look forward to it!
Great tutorial I have to get making terrain as I am currently stuck with a green cloth and books to contour hills.
Thank you for your comment. You might try the flexible gaming mat method (caulking with paint and sand on canvas). With some books underneath you really get natural looking hills.
Great tutorial thank you for the link.
Tony
Thank you. You are welcome. The guys at Mininatur are fairly quick in sending out orders. They don’t have an online shop as of now, but you can drop them an email. Buying in bulk is also worthwhile, as you safe quite a bit.
Another excellent detailed tutorial. Lovely results!
Thank you arkiegamer. Glad you like the tutorial and how the birch came out. Price aside, do you think the foliage nets might work for your normandy stuff, too? If anything they are resilient, but I would wonder if they model hedge growth convincingly.
I think they would. The price might not be such an issue-I think the biggest single improvement to my bocage would be to increase the variety of foliage. If you look at photographs of the real thing, the hedges are wild, not some sort of unkempt mono-culture. A few foliage nets might really spice things up. I need to buy some and try it out.
I really want to try your birch tree painting method. I think it would work on my twigs, with a few minor adjustments.
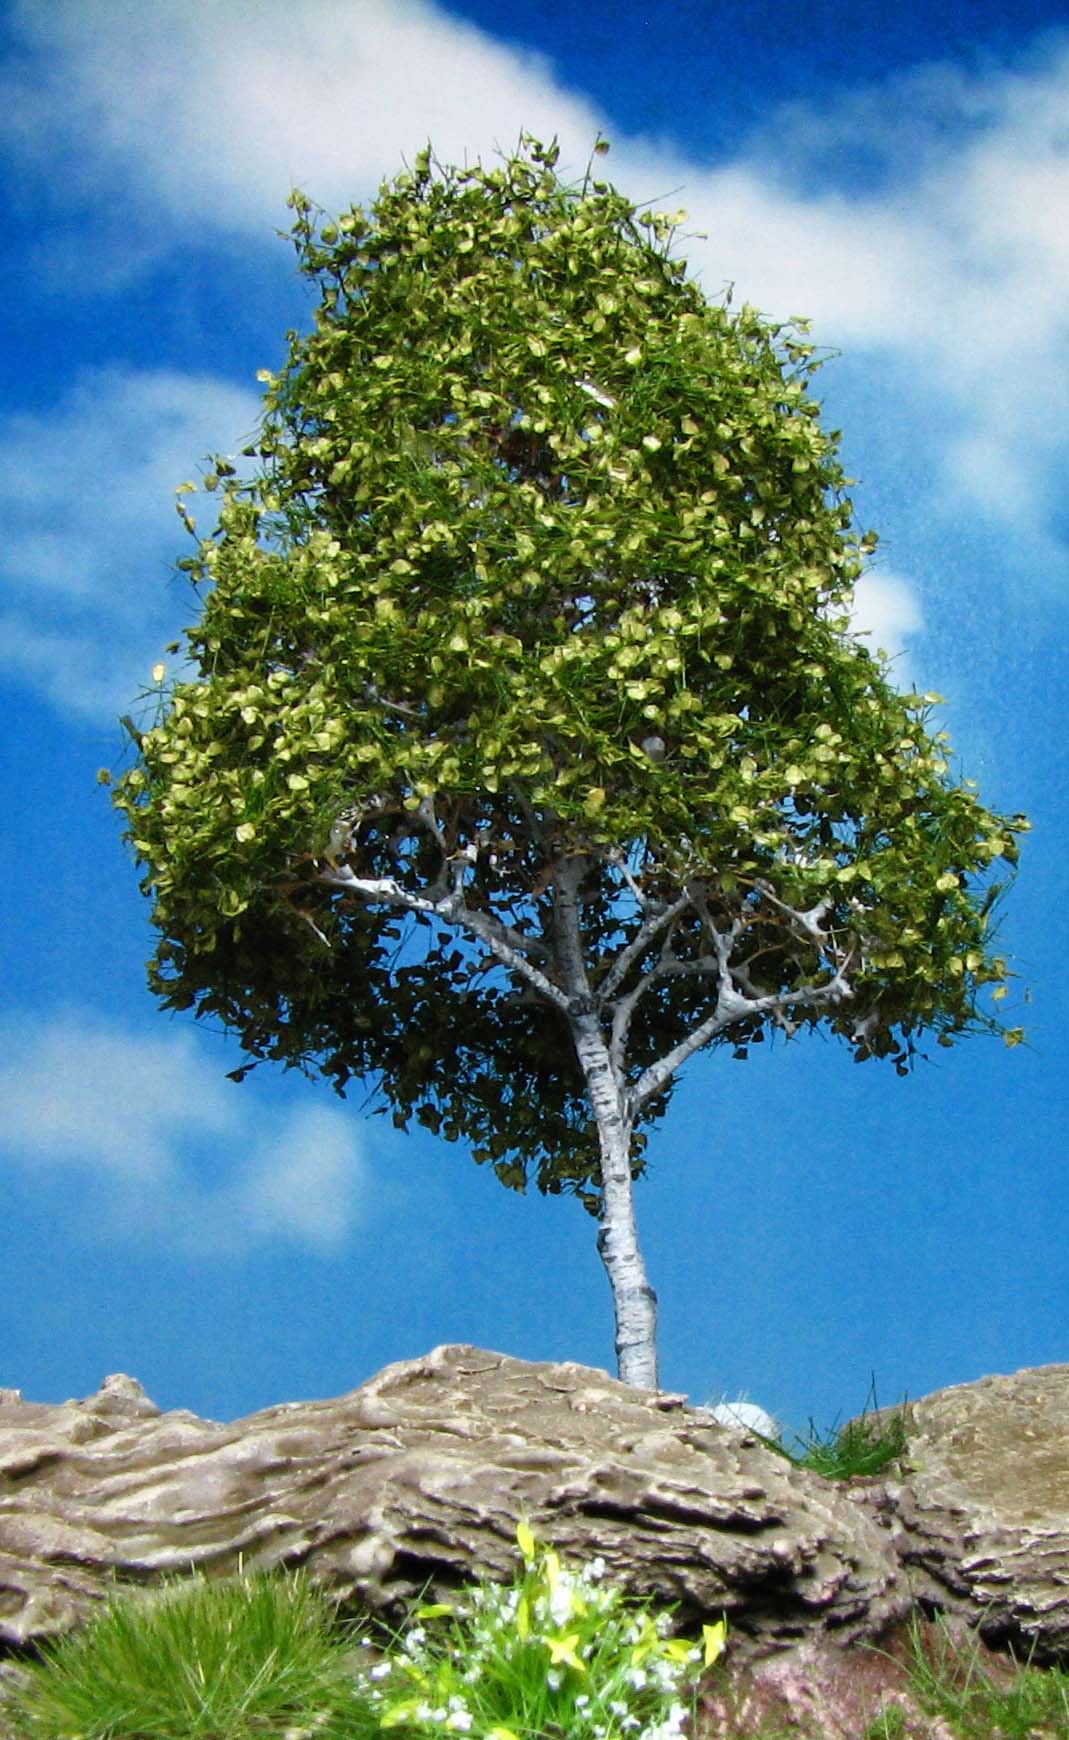
Lovely looking trees and great tutorial 🙂 What are you using for your beutiful backdrop for the pictures ?
It does depend. In this case one of the many terrain pieces I built over time works as a base. The backdrop is a picture of the wonderful New Zealand sky during a hot summer day I took years ago. I just printed it A3 and glued it on a piece of thick cardboard. I use it all the time as it matches almost all the outdoor scenes. For dungeon interiors I use a plain black cloth that came with a light box, as well as wall segments I made some time ago. If there is soe interest I would write short article on how I take pictures including the backdrop for everyone to use.
It is something I need to get round to and I`m sure people would be interested if you wrote an article 🙂
The birch bark you’ve painted looks so realistic! Really reminds me of the many birch forests I’ve hiked through on various quests (in real life)…
Those MiniNatur nets really seem to be the ticket if you want properly natural looking foliage. I think it’s worth it to pay a bit more to have that kind of look at your fingertips, as opposed to having to sacrifice ‘realism’ or go flake by flake yourself 😉
Thank you very much. I am glad it came out nice and realistic. With the nets I guess the saying really is true: You get what you pay for. Superior quality for a fair price. Making it yourself might be possible, but if it takes you hours then I wonder if you save that much, after all time is also money or could be better spent on making more trees ;).
That’s pretty slick. I’ve always gone the Woodland Scenic route, but yours look a heap more realistic. Nice tutorial! 🙂
Thank you for your comment. I started out with premade ones, too, but they turn out to be more expensive at this quality level when you buy them,instead of just investing an hour.