Our yew tree stands already proud, but yew trees are evergreens, so we cannot leave it barren, instead we have to find a good-looking solution to depict coniferous leaves.
In part I of this tutorial we created the trunk, branches and scenic base of our ancient yew tree. In this second part we will conduct some experiments to find the best solution to depict the leaves, use some simple weathering techniques to add depth to the foliage and finally fixate it with thinned down PVA or acrylic medium. The last step is to matte varnish the tree and then glorious battle around its trunk can ensue! We will also revisit the fallen branches and add some finishing touches to the bases.
Squish or throw?
A wave of his hand and a huffed word later a sphere surrounded him, the roar became faint and the green of the forest hazed. It took him a few moments to regain his composure, but soon enough he saw Lykaion through the haze, shadowy his movements, teeth bared and eyes of blue steel.
Where he stood just a moment ago a sizeable hewn rock had smashed branch and water bag alike, accompanied by a satisfied sneer. Soon enough the sneer turned into a disappointed grumble and from the shadows of the nearby oaks a grotesque creature came forth, tall as three men, bulging with brawny muscle, and two heads sharing the same body.
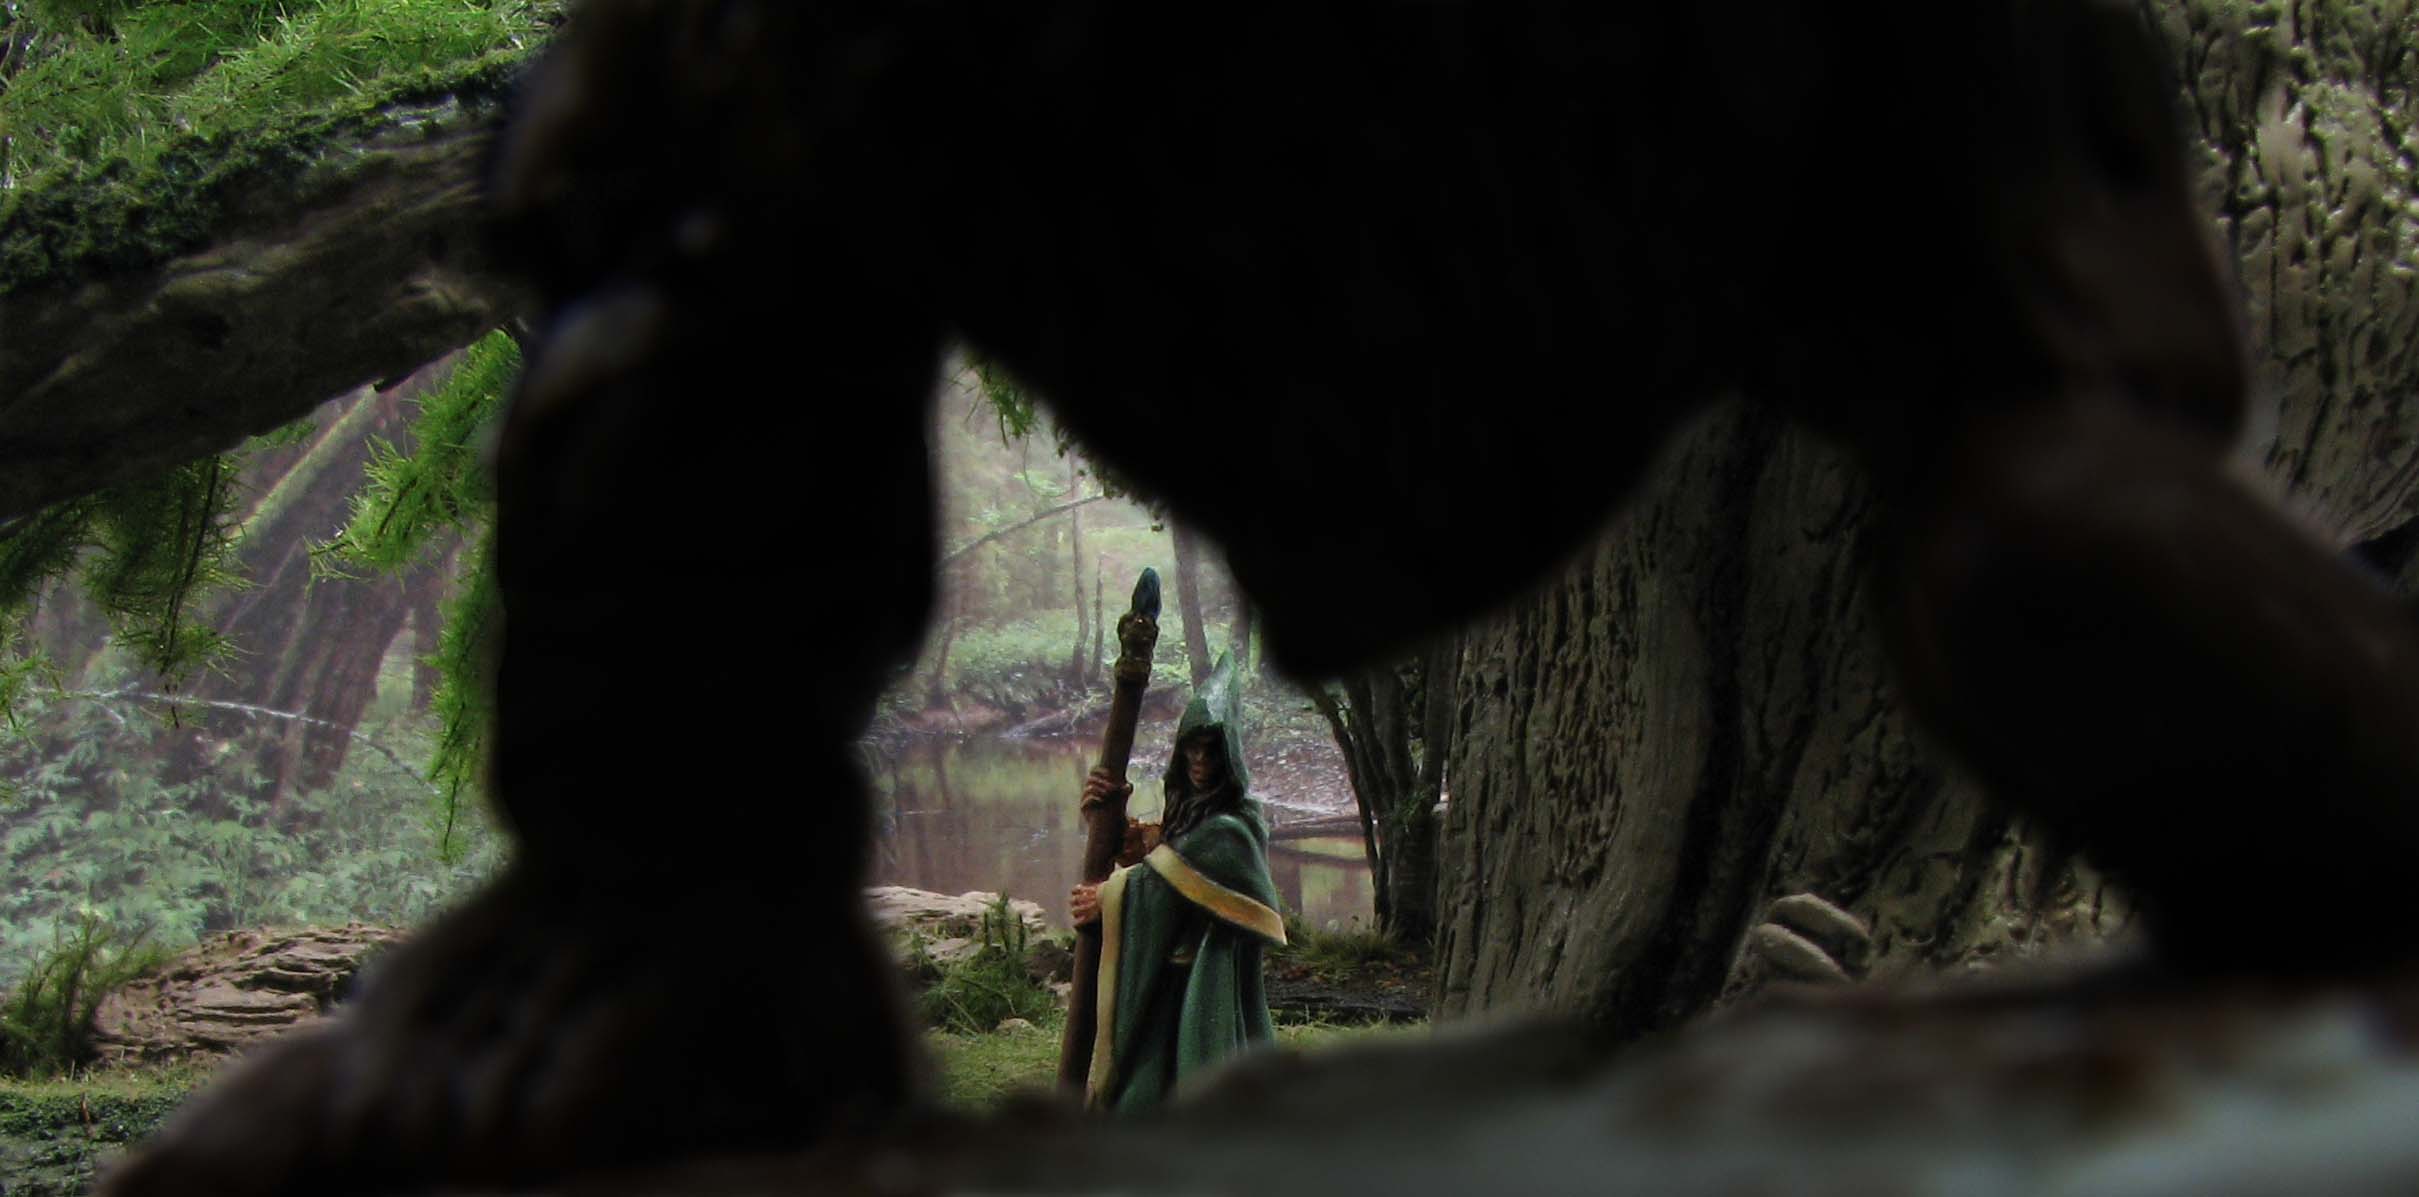
“Me brother Gruuk say throw rock, but Gruuk dumb. Me say squish with club. Easy”, one of the heads said. “Gruuk no dumb. Brock dumb. No can throw rock”, responded the other.
With a flicker of a smile on his face, Anirion spoke slow and loud: “Not Gruuk, nor Brock are stupid. Both are very clever indeed. They should first squish and then throw. Just to make sure.”
Gruuk and Brock looked at the elf, both apparently surprised by his ability to speak. “Ay, Brock no dumb. Little man can speak? Little men only scream or squish.” Gruuk nodded. “Yes, only squish, no talk.”
“But why squish them in the first place Gruuk and Brock?” he asked the towering shadow.
“Little men steal”, Gruuk replied. “Yes, steal our shiny”, Brock added.
“How dare they? But I am not a man you see, I am an elf. We desire nothing the short-lived folk spends its time chasing. All I desire is knowledge my friends. A book, is all. I believe it is amongst your treasure. Would you be so kind and sell it to me? Gold for a dusty old book?”
The two heads exchanged puzzled looks. “Book? We use for fire when cold. You fool!” Brock said, followed by a sneer. “Ha, aye, you fool little elf-man”, Gruuk repeated. Both heads guffawed, slapping their broad belly. “You funny elf-man. We not squish Brock, hmm?”
“No, no squish today. More funny to give book for gold. Har, you fool elf-man!”
“Yes Gruuk and Brock, I am simple-minded, but let me complete our trade, before I realise what a fool I truly am.” With nimble fingers he produced a small sack filled with coin. “Here it is my friends. You allow me to look for my book?”
The two heads nodded “No tricks elf-man or we squish, right Gruuk?” “Aye, first squish then throw rock.”
Anirion threw the sack towards them, a big paw snapping it greedily out of the air.
While the two were counting the coin he made his way into the hollow trunk and was quite surprised by the exquisite assortment of items this creature collected. Granted, swords and armour was rusted, but a big chest filled with gold, gems and trinkets stood in odd contrast to the mossy bark around it.
A small unicorn carved out of ivory caught his attention, but he quickly thought better of it and found a pile of books to the right of the chest. Some charred, the ones closest to the soil moldy and covered in moss they were in a truly sorry state. Yet the book he was after was in pristine condition, its spine slightly sticking out from the middle of the pile.
Scribing a small rune in the air with his left the books on top moved up slightly, levitating just long enough for him to retrieve his prize. His hands moved carefully over the thick leather cover and the heavy clasps on its side. The face of a sleeping woman graced its front, embossed in bronze.
“Hey, elf-man you finish?”, the harsh voice of Brock reminded him of the creature’s presence. He stepped outside and met Lykaion’s eyes, flaring with anger. “Not today my friend”, he thought by himself. He held the book above his head and turned the pockets of his gown inside out. “You see my friends, no trickery. Just this book!”
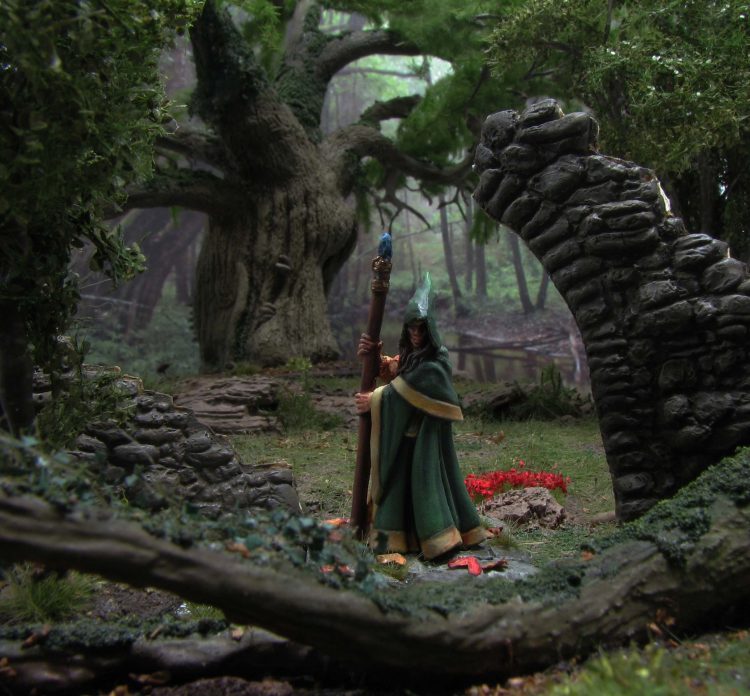
Gruuk and Brock smiled. “Ha, good trade. You go now before we squish and then throw rock.” “Certainly my friends”, Anirion replied, and removed himself from the old yew tree as quickly as possible. His feet moved lightsome avoiding branches and sink holes, the last he heard of the brothers was their bickering about who would get the bigger share.
Contented he wrapped the book in a clean silken cloth and put it in his satchel. Lykaion joined him soon after and licked his hand. “You saved my life today old friend, do you know that?” The wolf’s eyes looked at him knowingly, then he rushed away into the underbrush.
Anirion brushed a strain of auburn hair aside and smiled. It would be a good days journey to reach the small hamlet of Duskbridge, but at least he had some good reading for a rest.
Leafy experiments
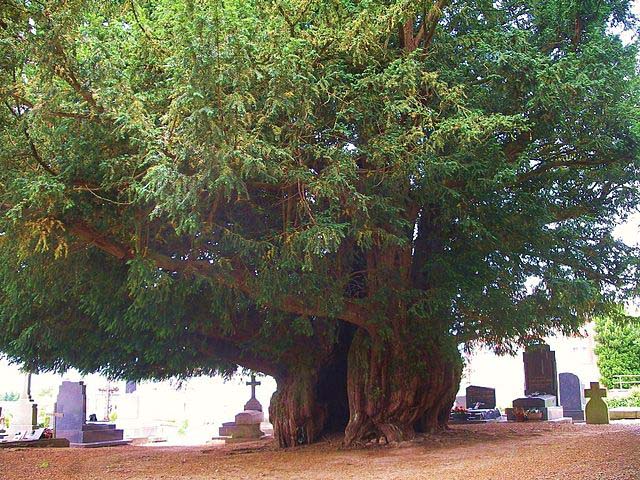
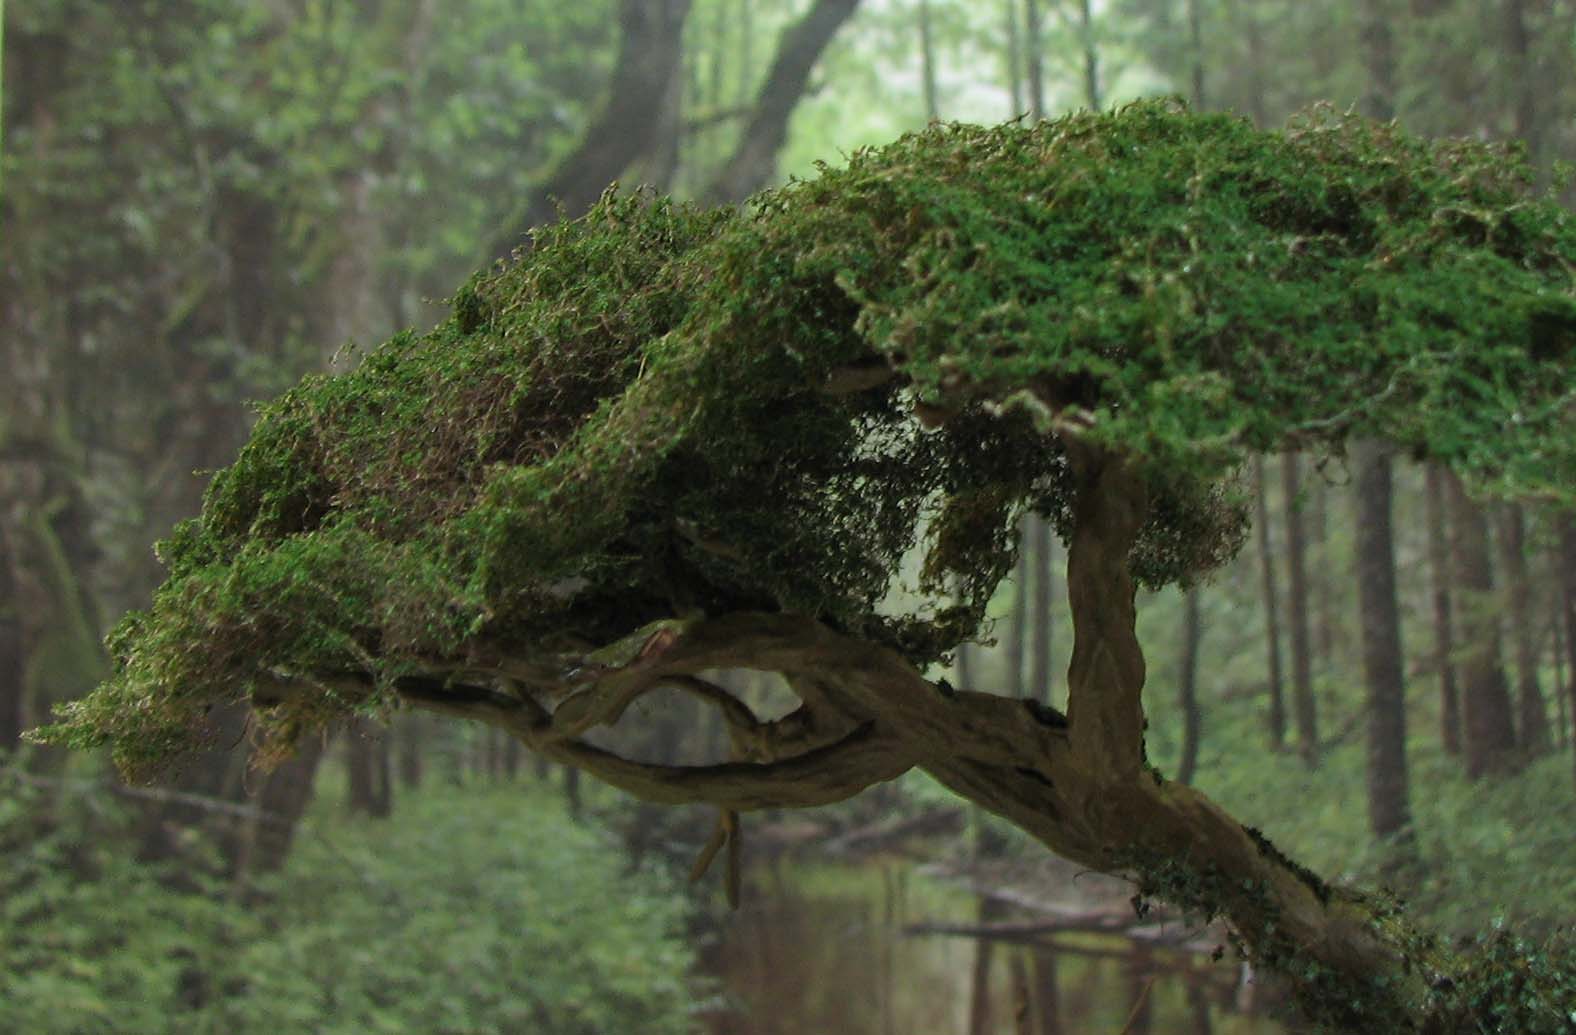
If we look again at the overall appearance of yew foliage it looks not dissimilar to fir leaves, but naturally grows much more haphazardly. We thus need to achieve a loose texture with the needles growing all over the branches. That said, given all the work we put into texturing the bark and creating wildlife scenes I wanted to go for less dense foliage to really show off the details. I tried three different approaches to achieve this effect: MiniNatur, feathers and filter wool.
MiniNatur foliage nets
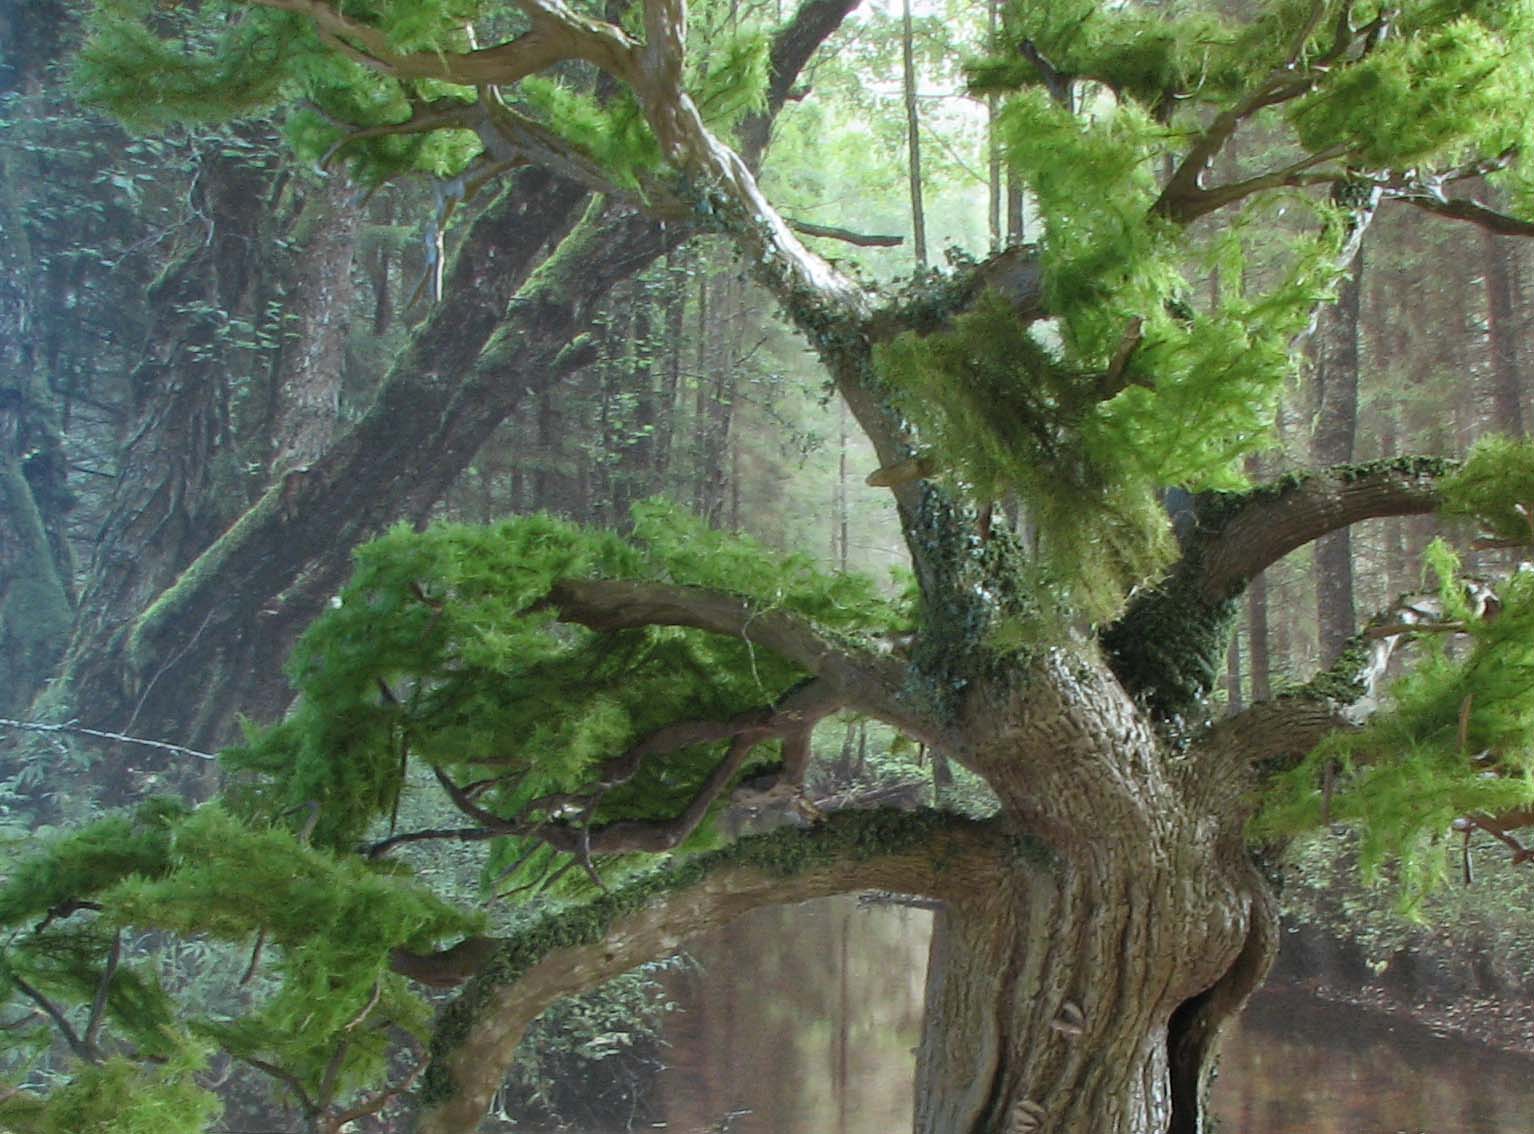
If you read any of my other tree tutorials you will know that I really like MiniNatur foliage. It is basically a nylon netting with either static grass or littel leaves appplied. With the Yew I tried their pine foliage, but really any dark green coniferous foliage would work.
Feathers and fine turf
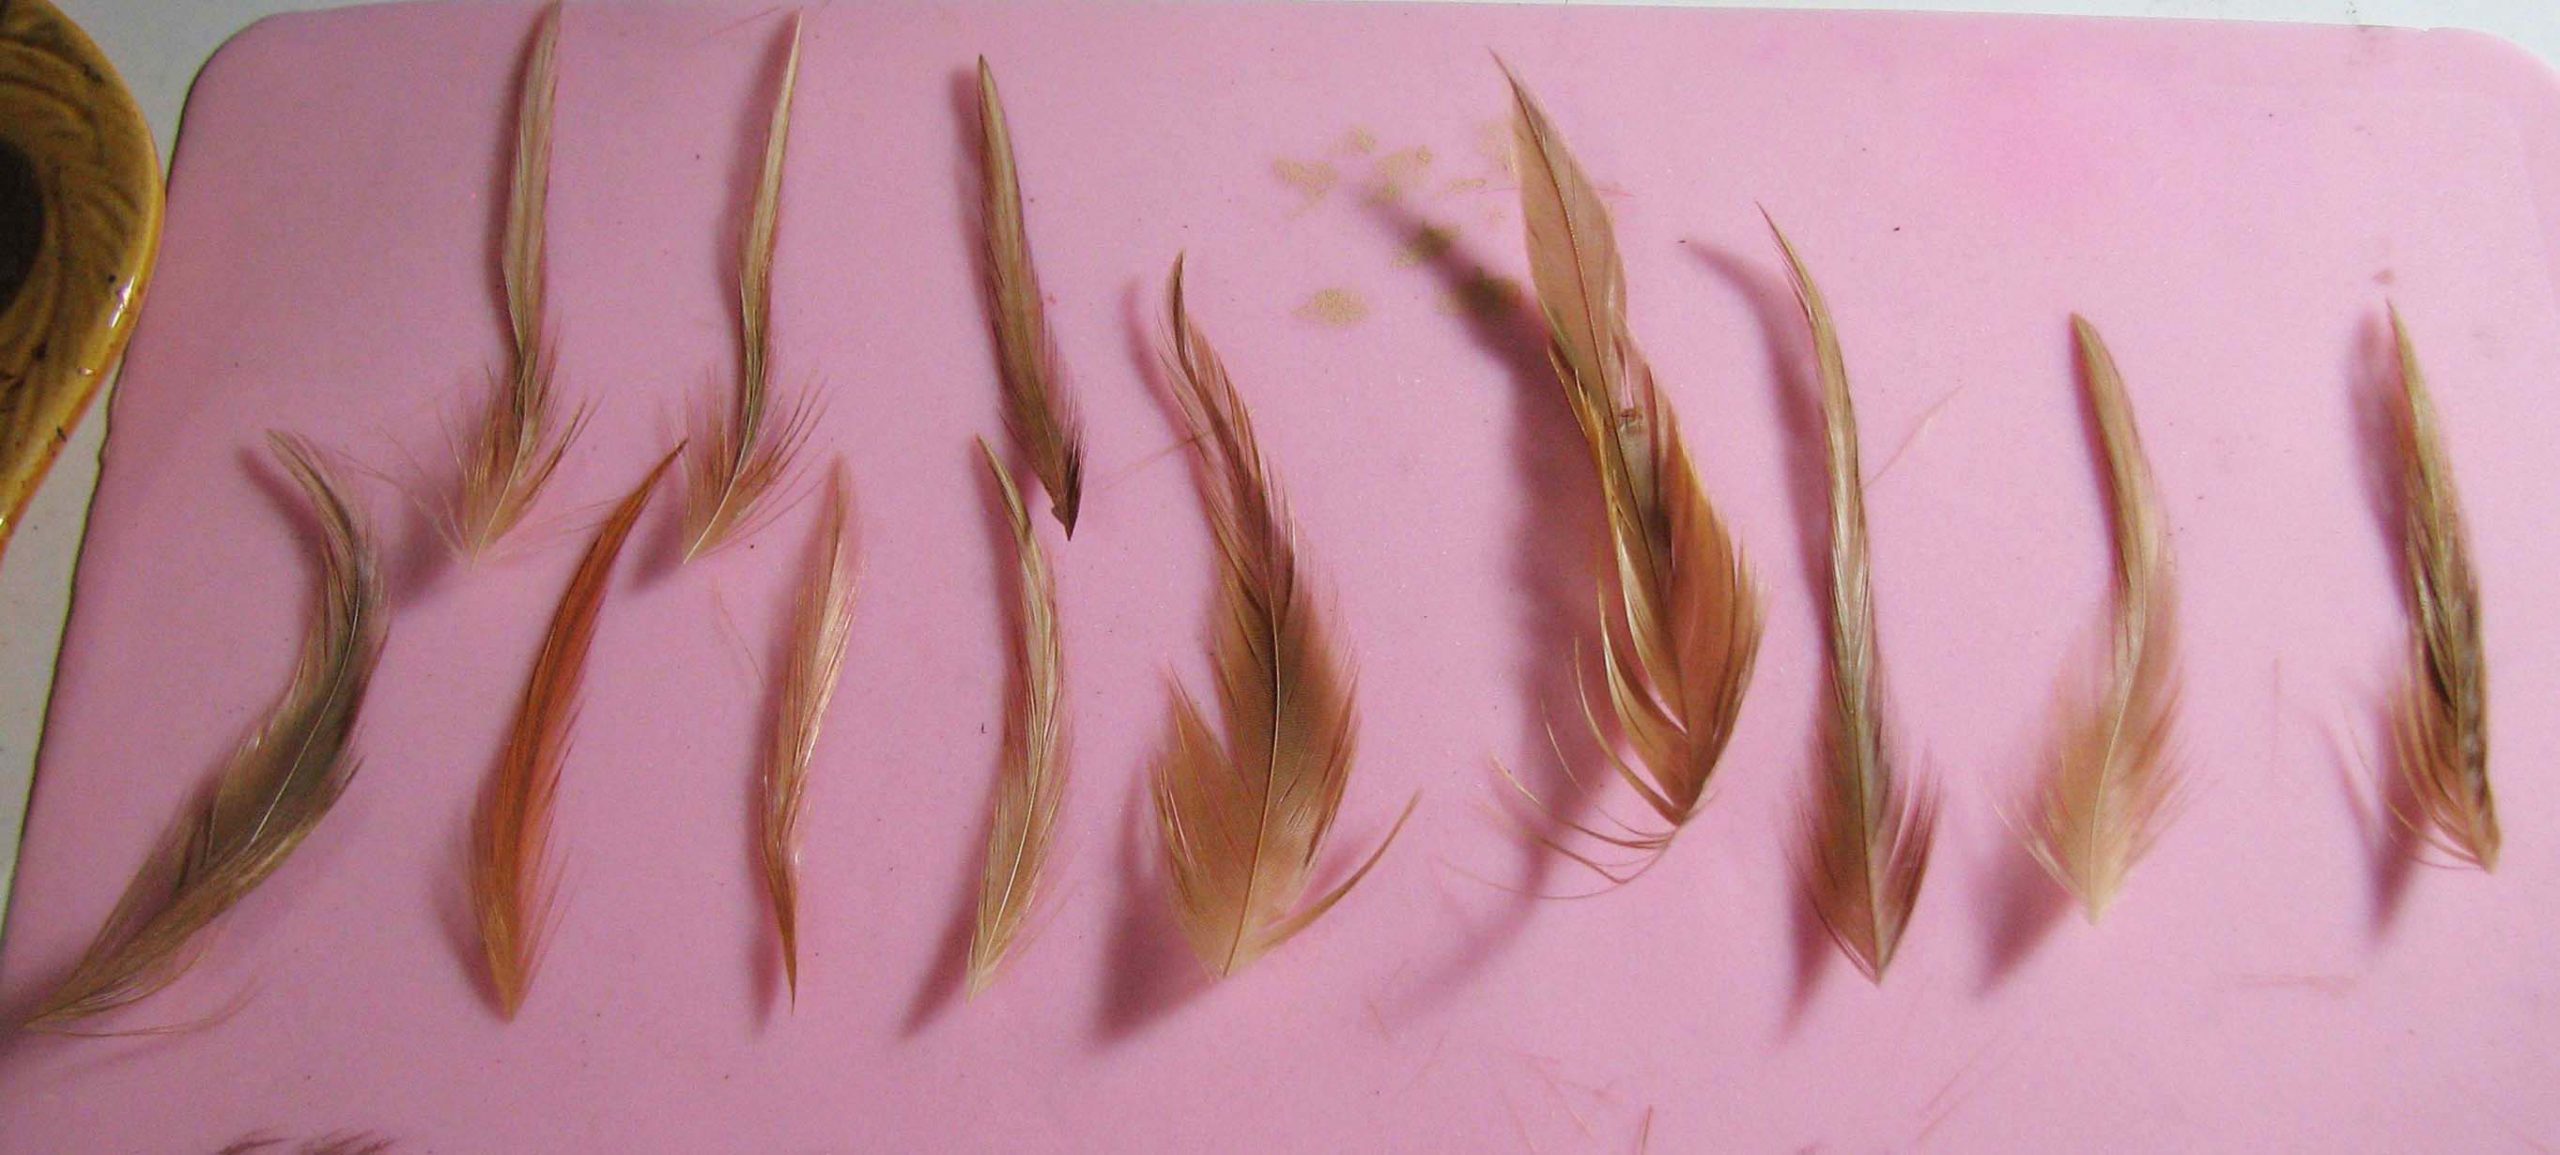
Another idea I had was to use feathers sprinkled with Woodland Scenics fine turf to both emulate the finer branches and the leaves. I don’t think it worked for the yew tree, but I will revisit the technique for fir trees (and palm trees) in the future.
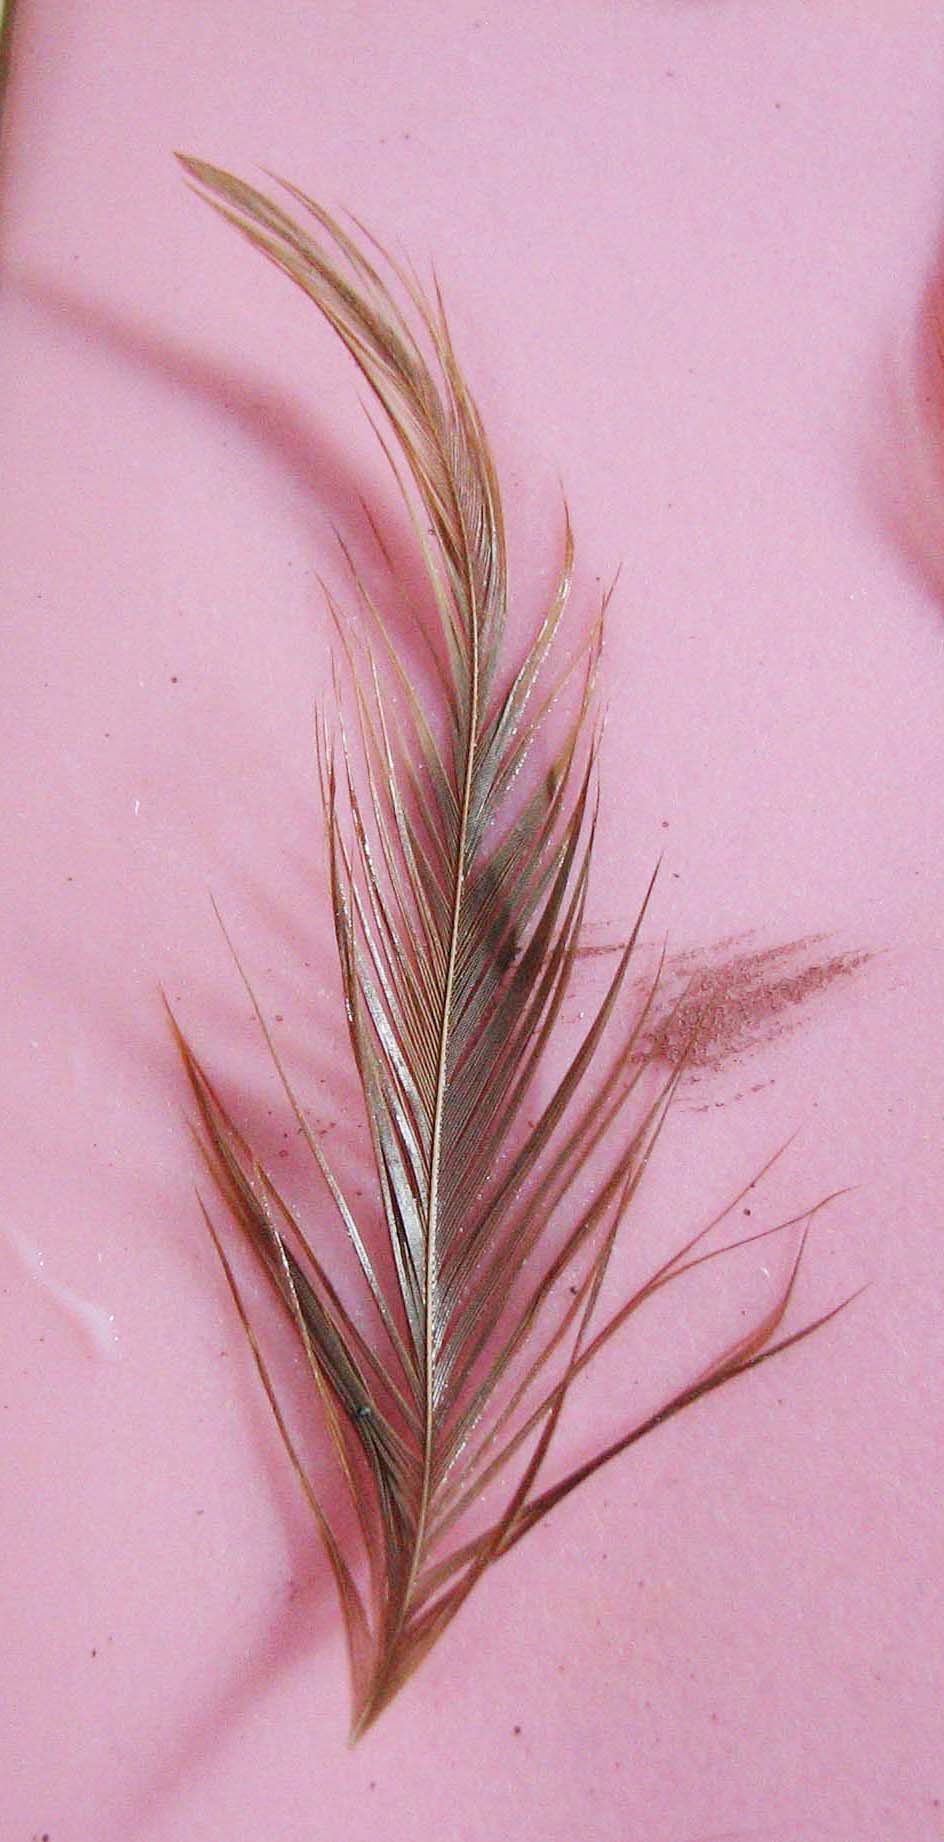
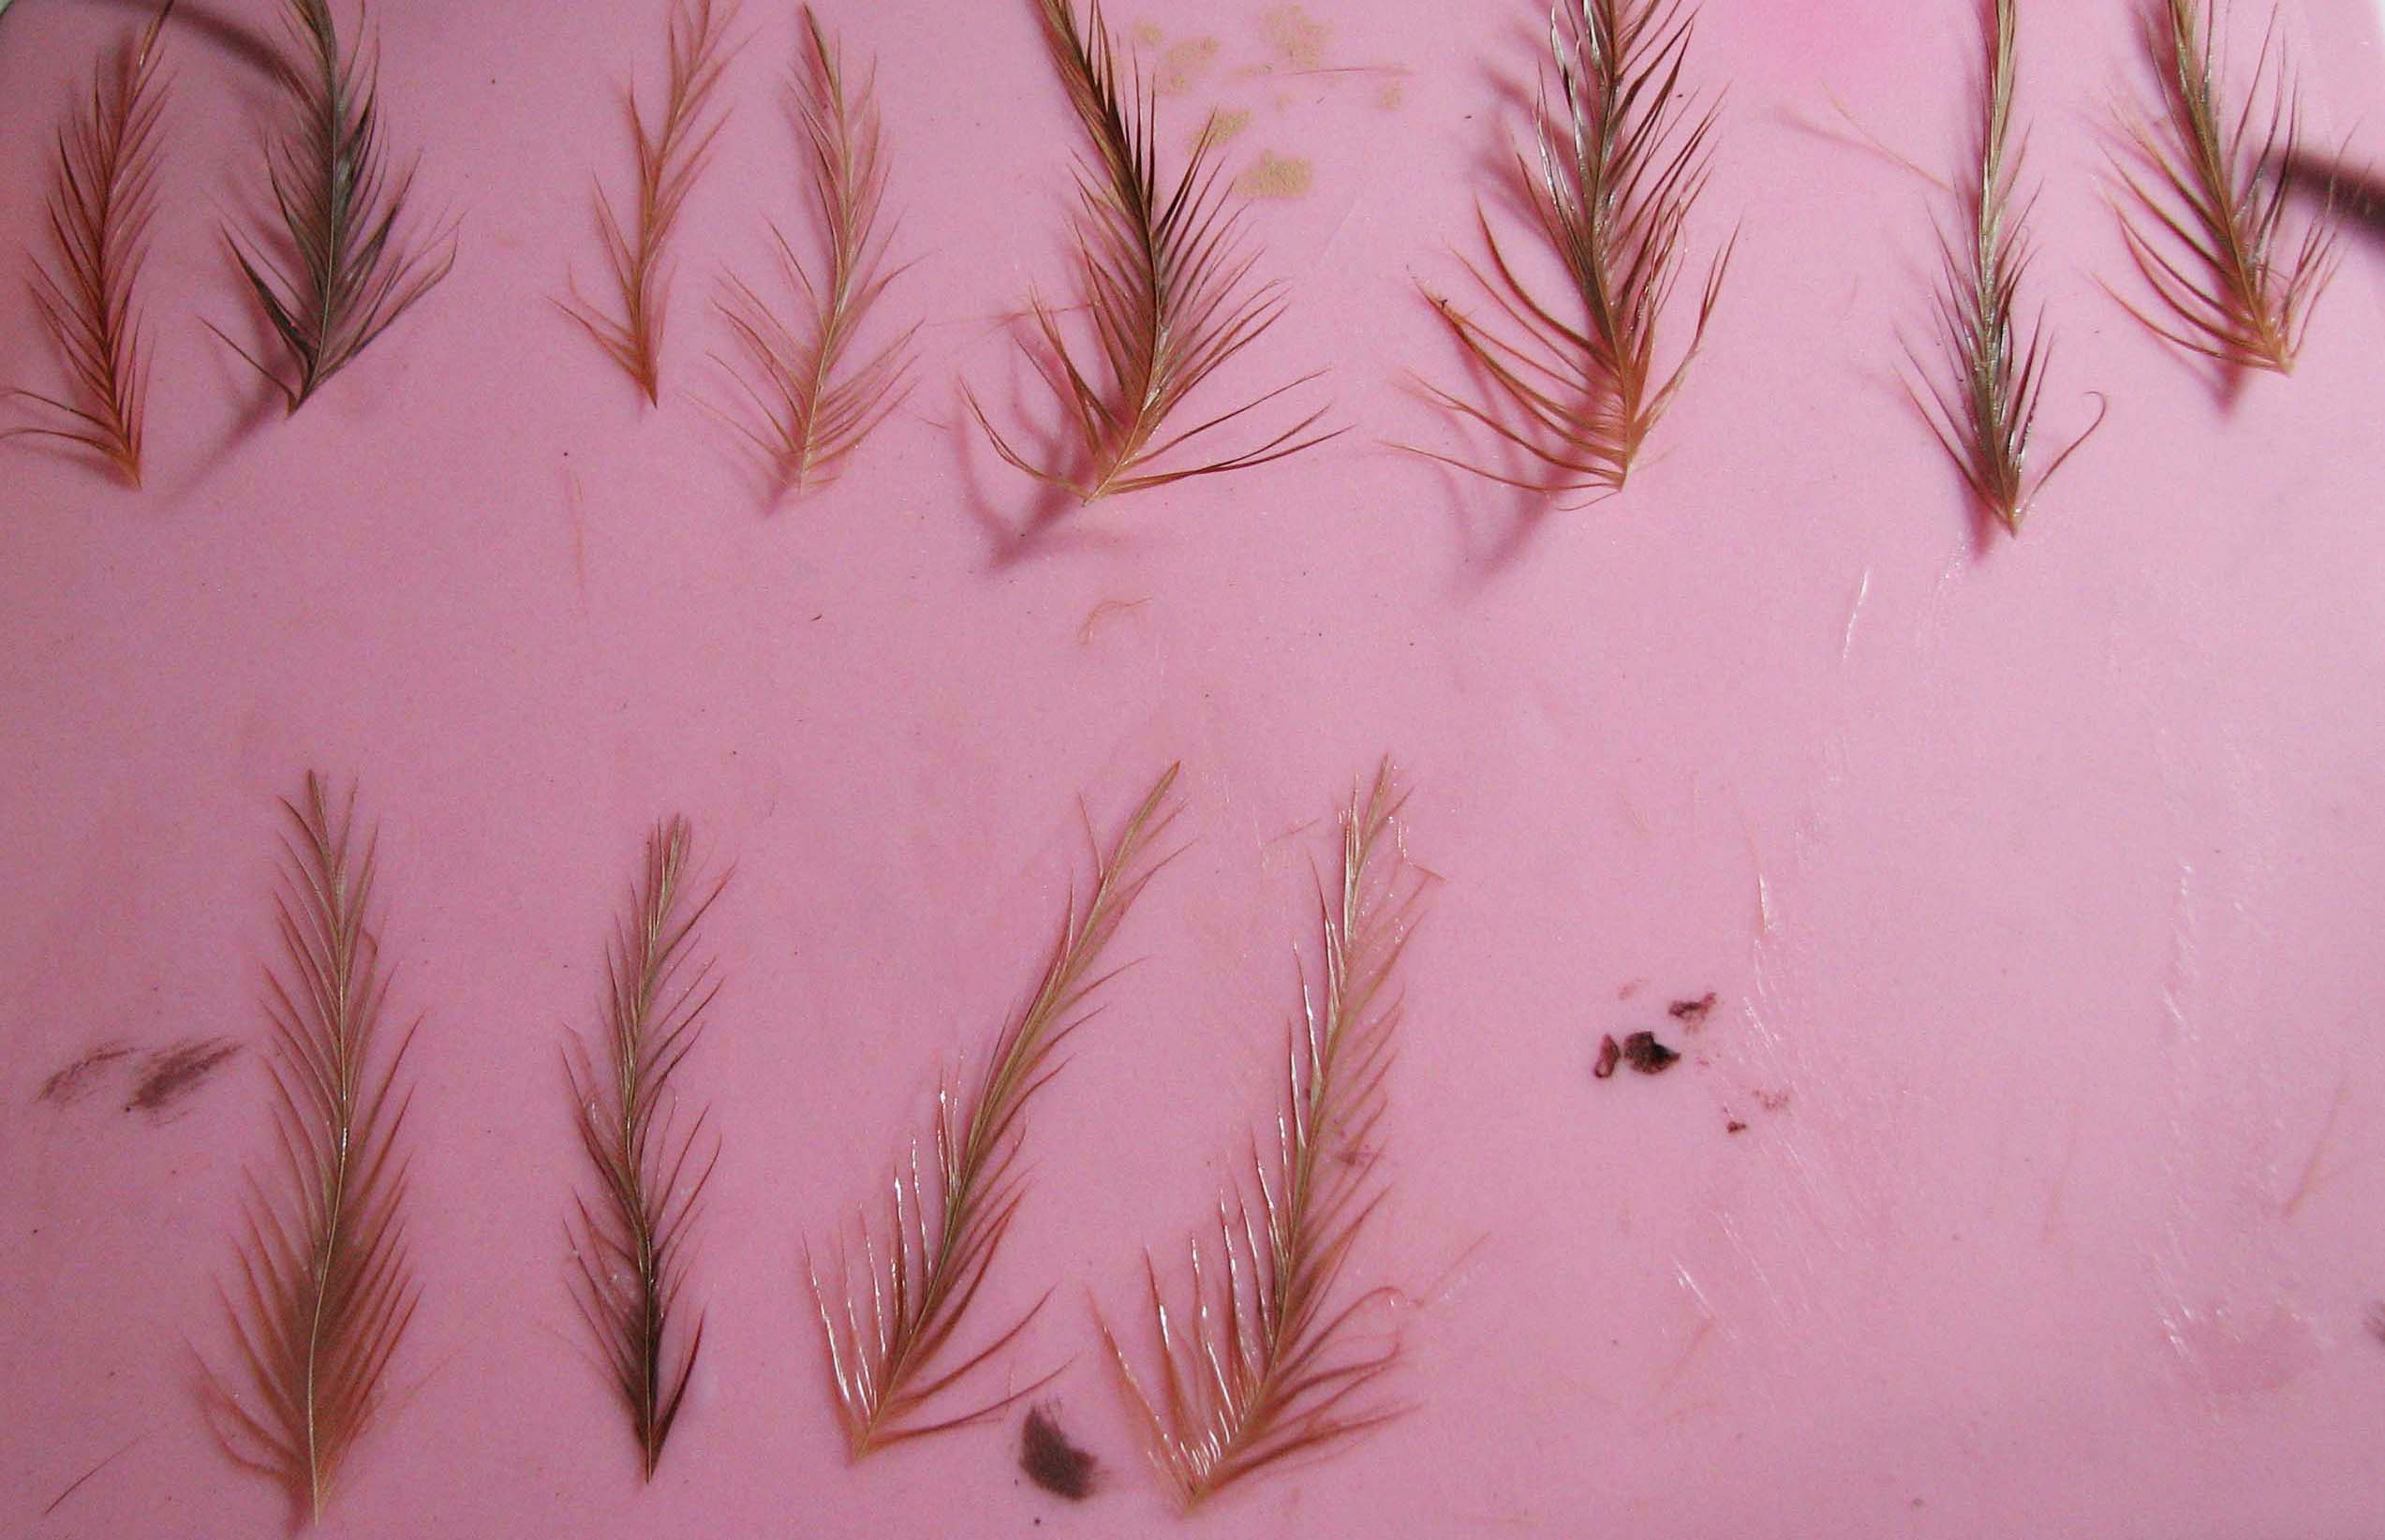
First I chose a number of suitable feathers, cut off any fluff and put them on a silicon baking sheet. I think the fluff could be useful for spider webs or to texture the trunk of a palm tree. The next step is to wet them with some thinned down matte acrylic gel. I used a needle tool to shape them, so that separate “branches” would form. This is also an excellent technique for palm leaves. Repeat this for the other feathers and let dry. You can now peel them off easily from the silicon sheet.
Give them a good spray with spray glue and sprinkle on the foam. After this is dry seal with watered down PVA or acrylic medium. While this is an interesting effect it does not quite work for the yew tree. That said, I could see this technique being an excellent choice for a fir tree. Adding some static grass first, may also improve the effect.
Filter wool
A third option is coloured filter wool with fine turf. You find this in the aquarium section of your local pet store. As the name suggests the wool is used in filtration systems to keep fish happy (as opposed to dead).
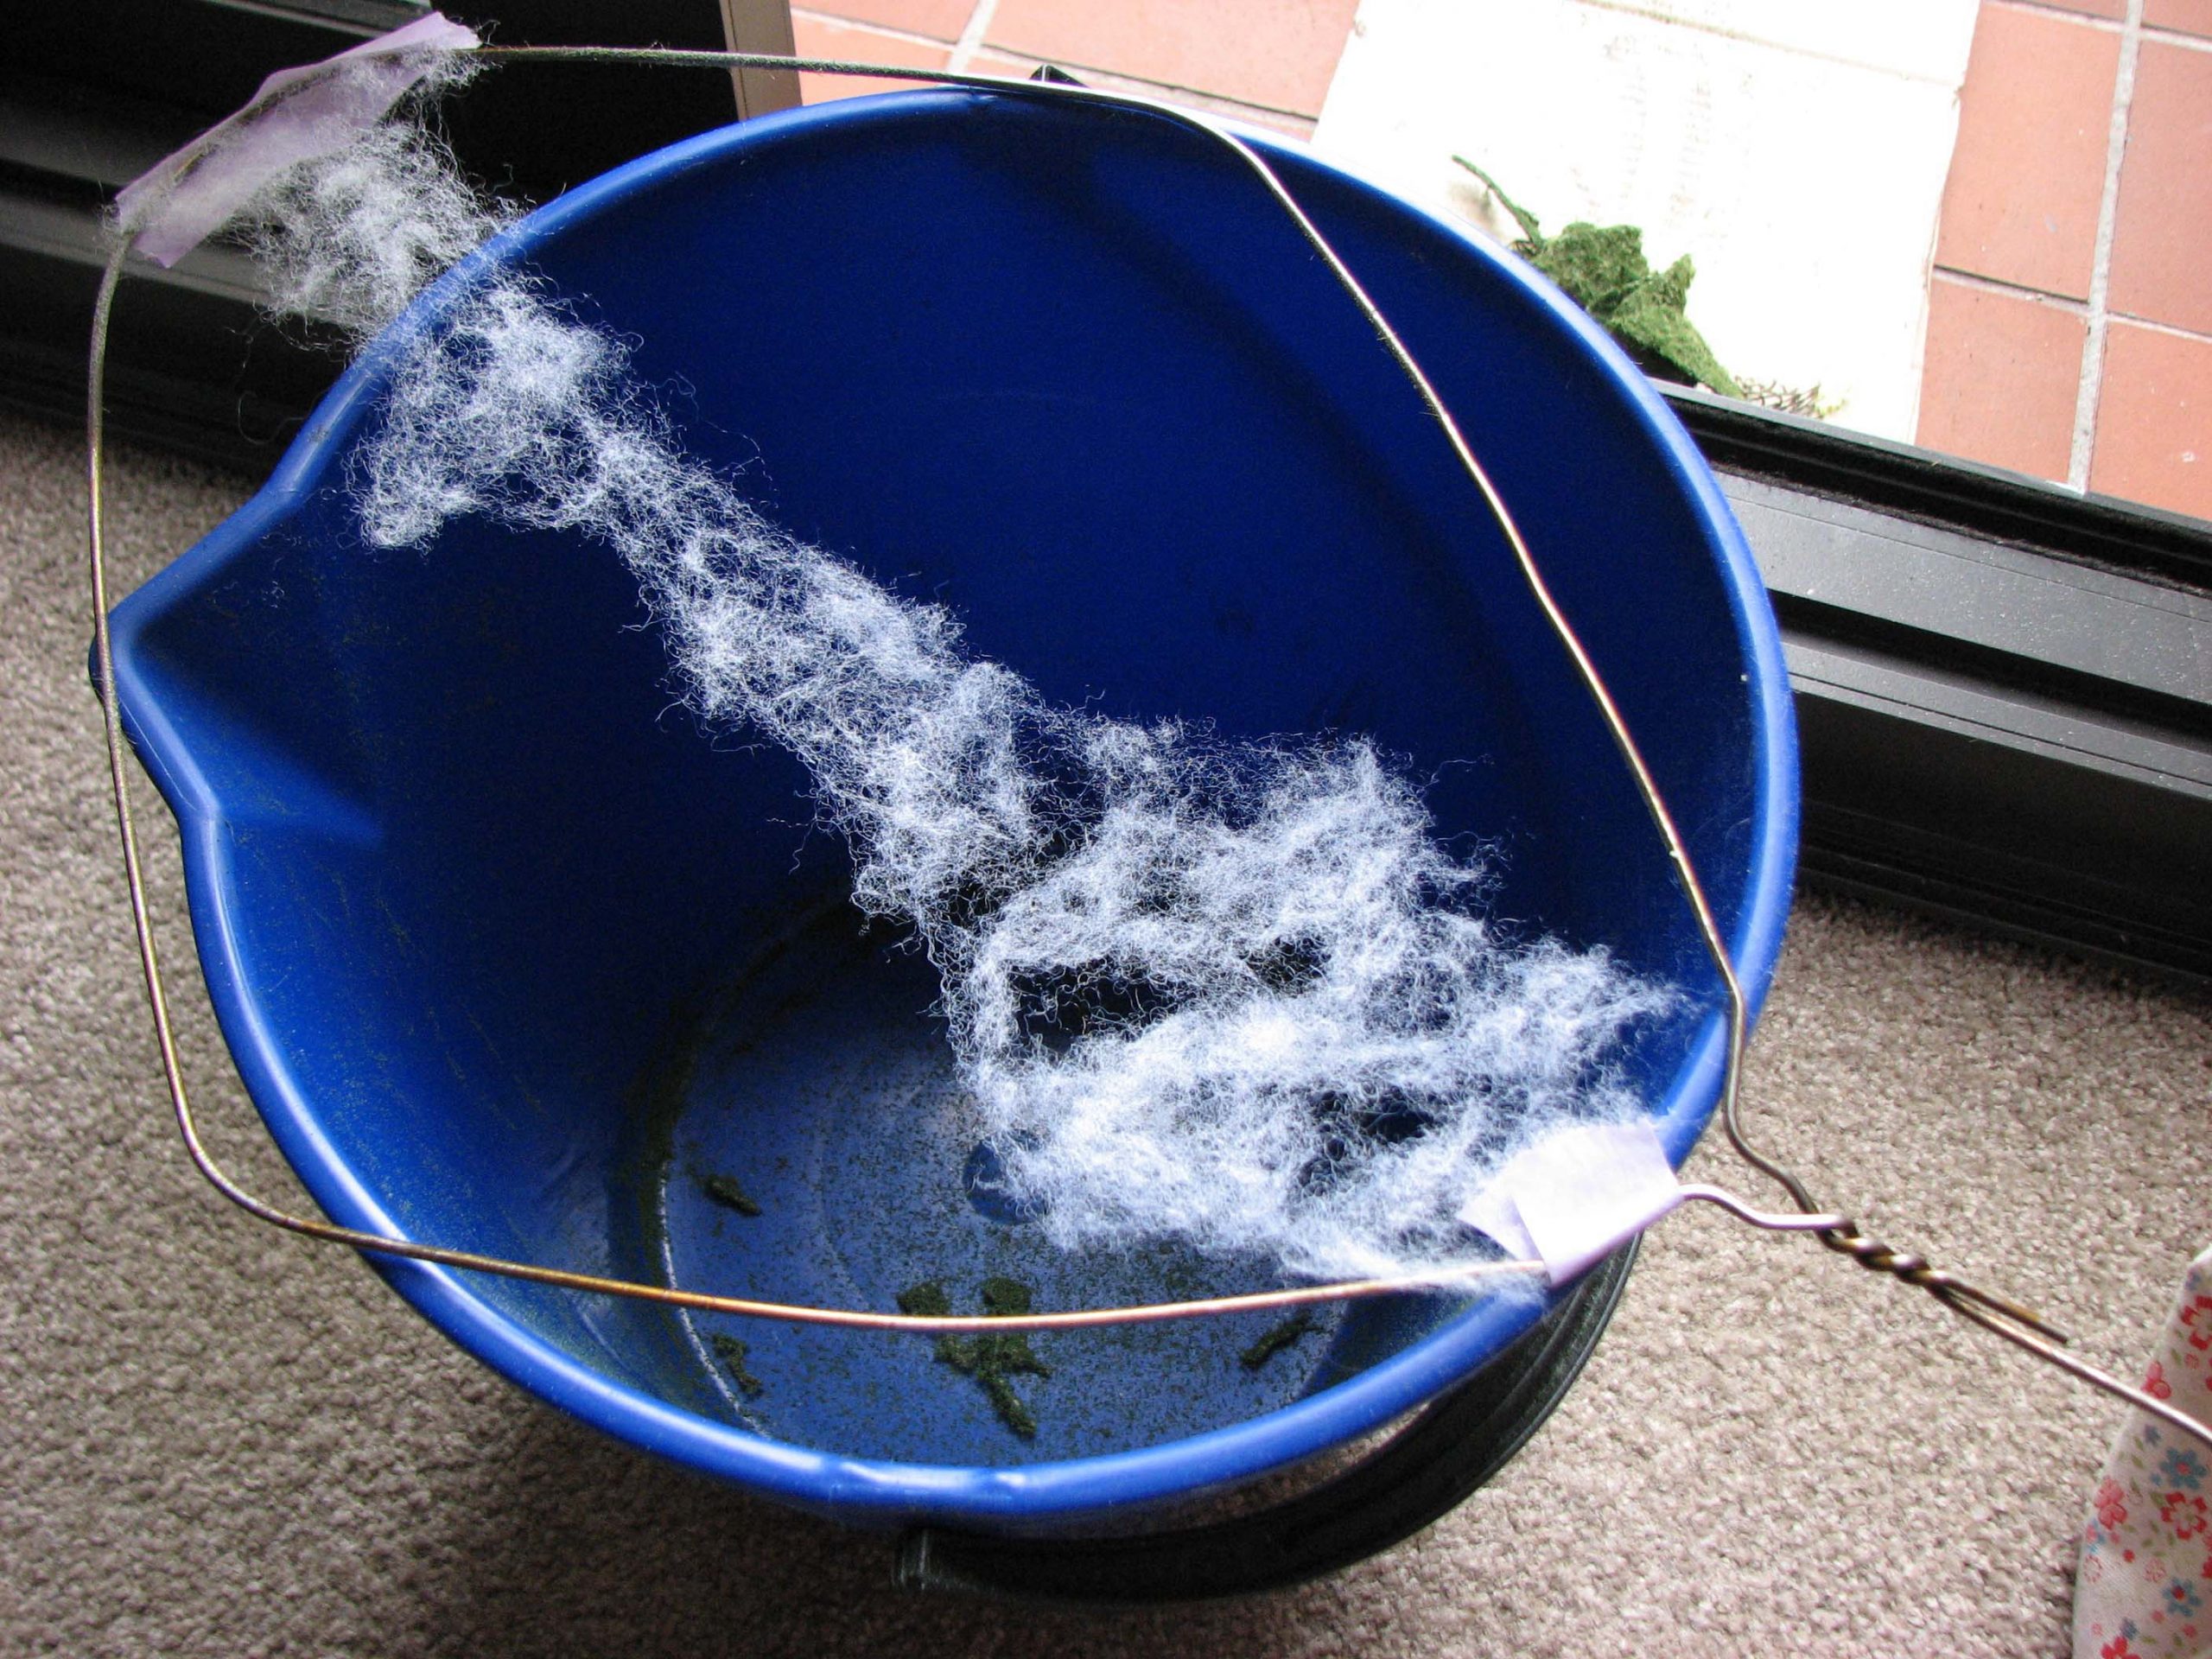
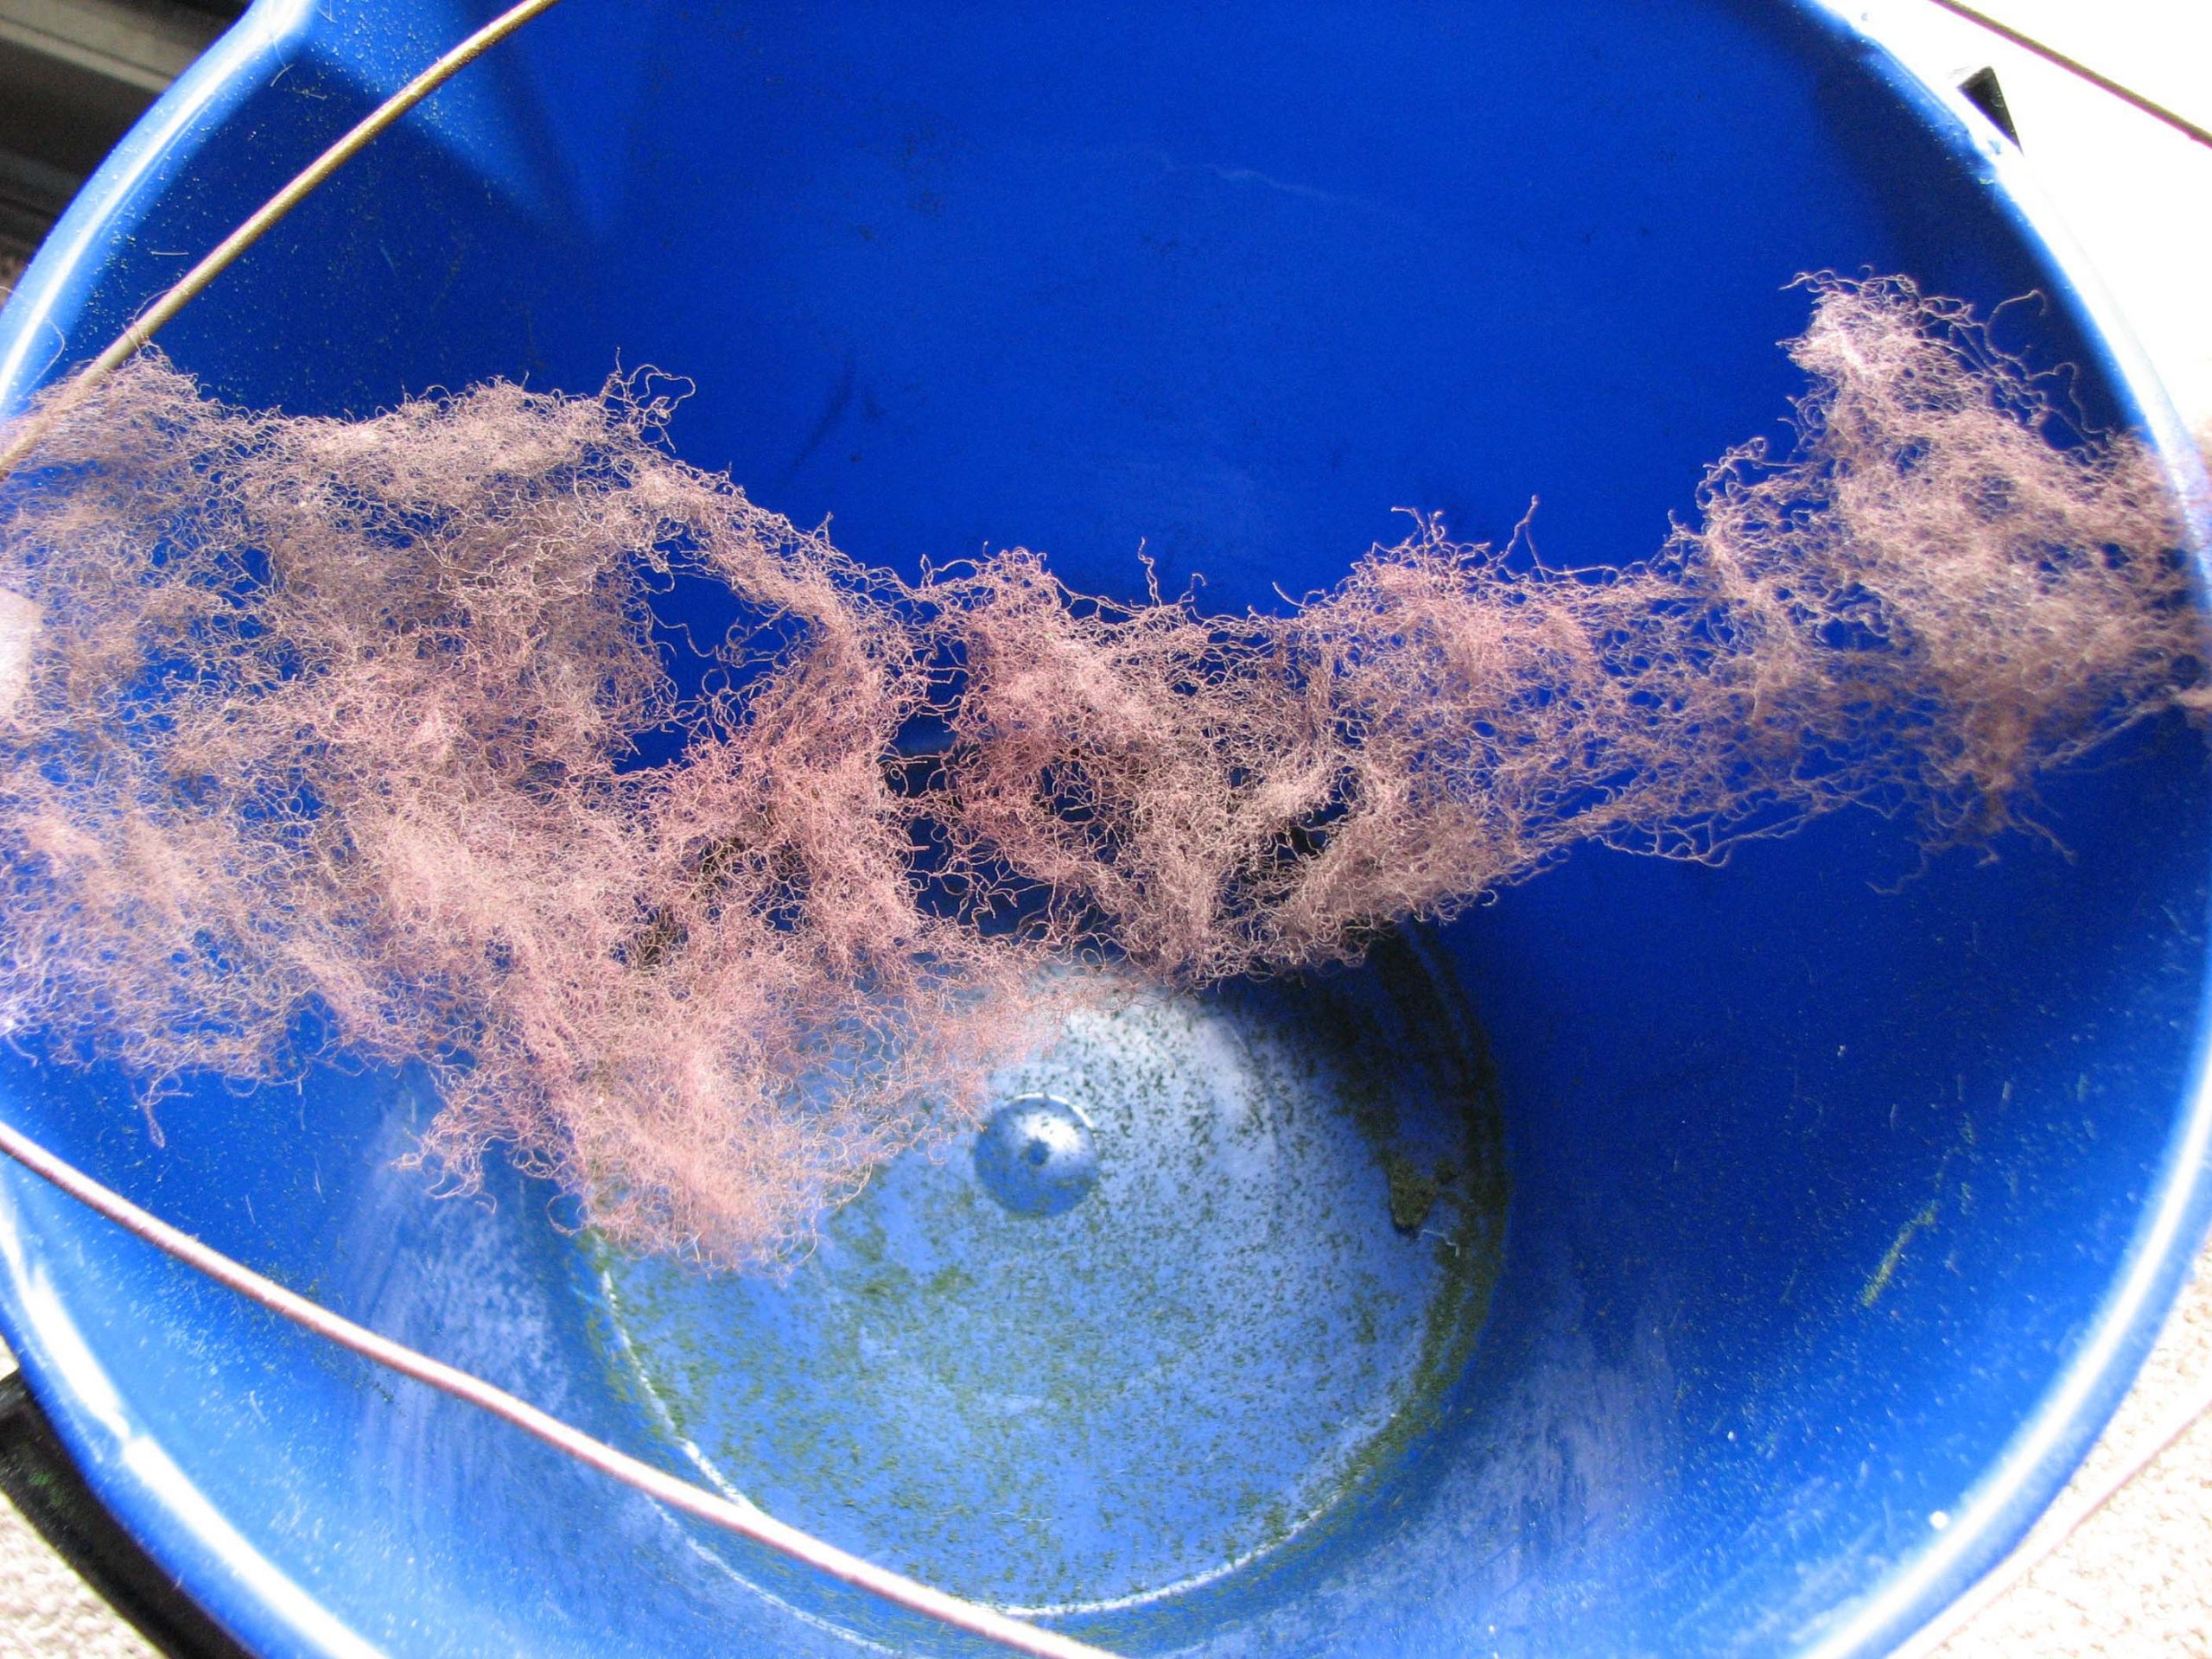
Spread the wool on a makeshift frame over a bucket, so that you can collect any surplus turf and reuse it. Using an airbrush or spray can colour the wool brown. This can only be done by spraying it, dunking it into paint will not yield a good result.
Spray the wool with spray glue, sprinkle on the turf and fixate with thinned down PVA or thinned acrylic medium. Then attach to the tree with the glue of your choice. The result is very nice and looks quite good. The only catch is the stability of the filter wool. Given two of the main branches can be taken off I decided that this solution might be better suited for trees without such a feature.
Finishing touches – adding the foliage
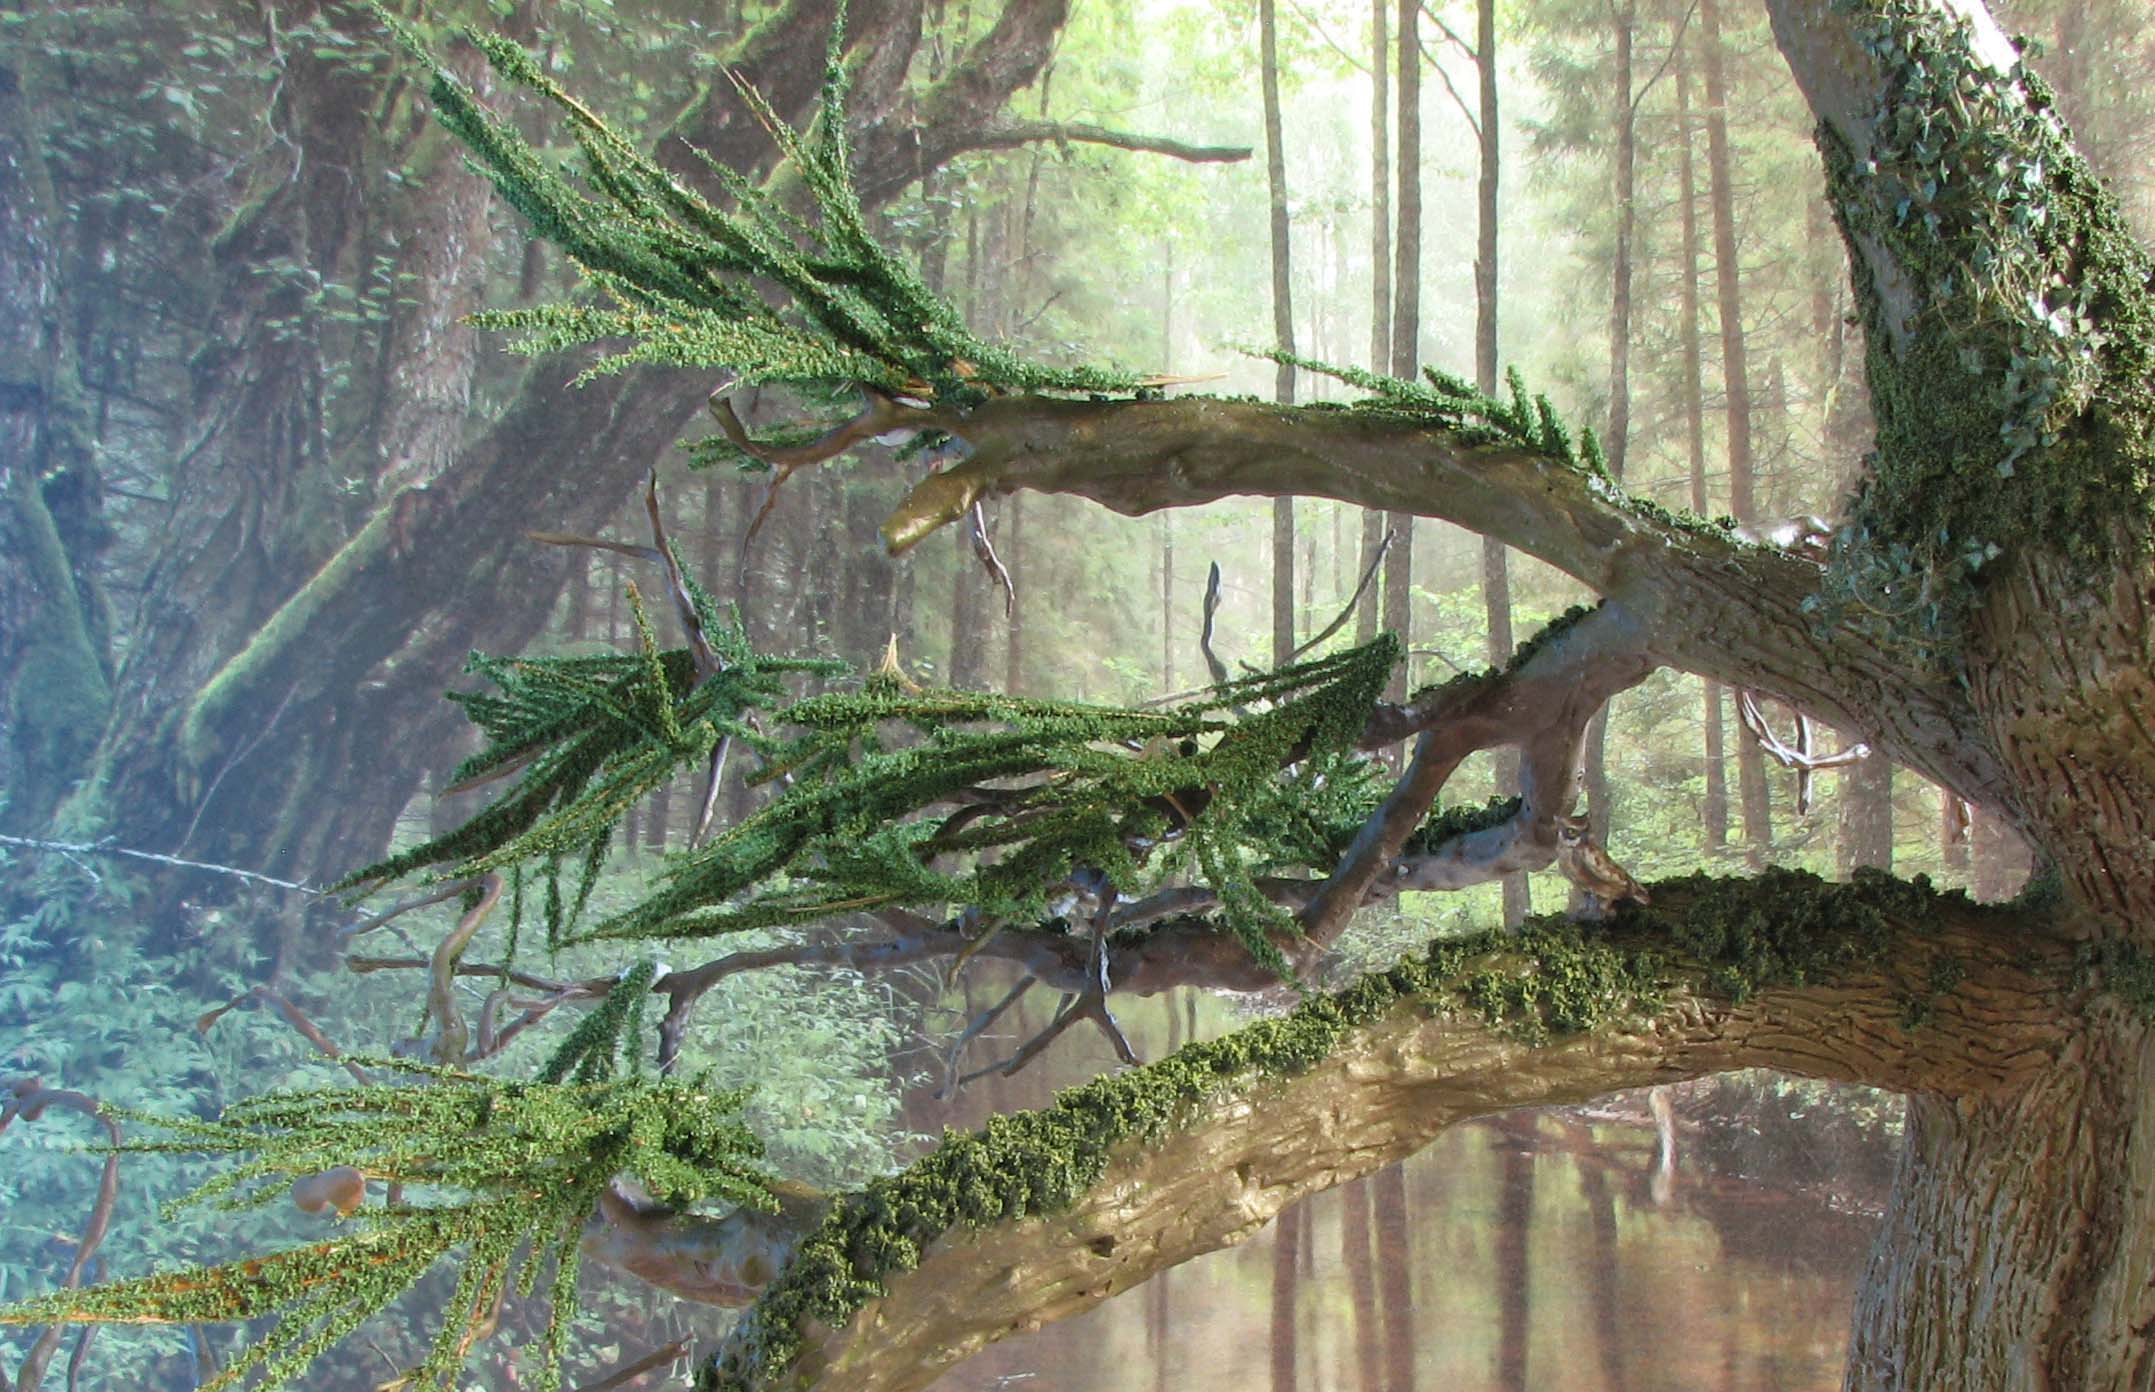
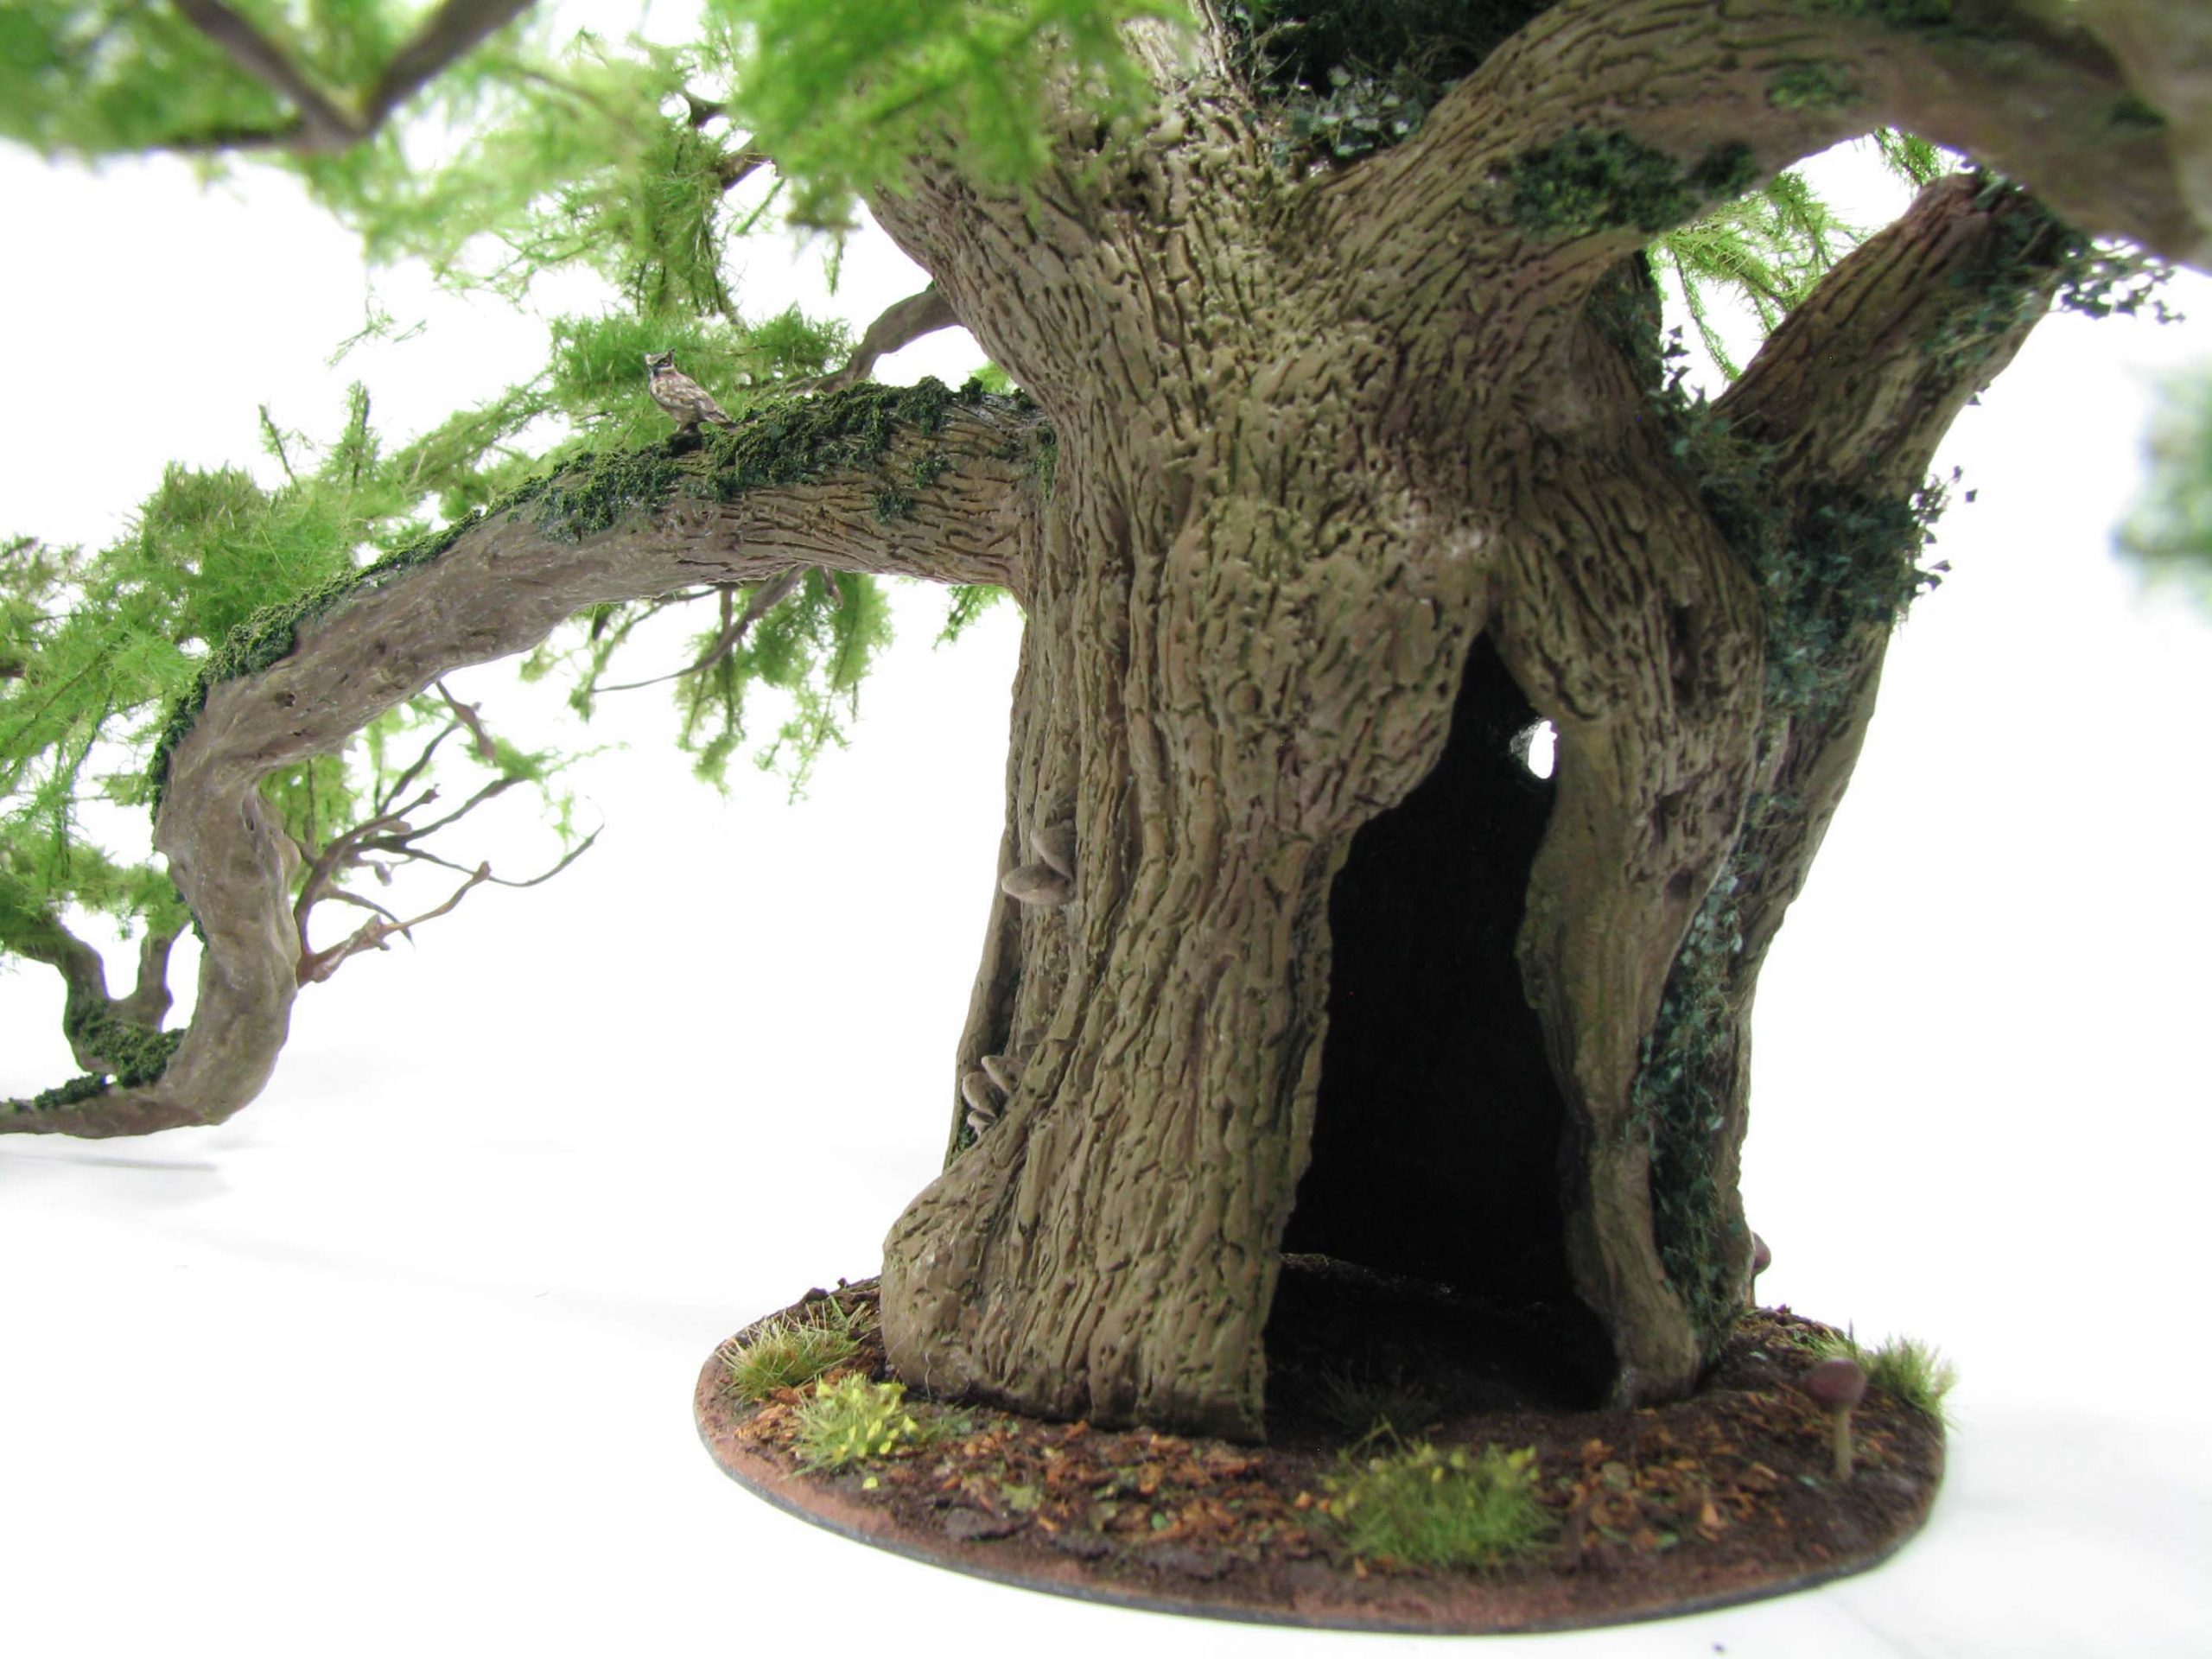
In the end I decided to go for the MiniNatur foliage nets. I liked the look and also the added stability, the only downside is cost. The tree can now be handled easily without the danger of filter wool coming off.
I used one and a half medium-sized packs of MiniNatur foliage for the yew. The nets come as sheets, so you should cut them in triangles and then try to affix them forming a V, with the two legs pointing outwards. Using the nets in this manner we can simulate smaller branches that grow out of the thicker ones.
With the main branches added the tree foliage gains more density, but to emphasise the form of the tree and to show off the texture of the bark I did not overdo it. If you prefer a denser look you would need to add more foliage nets or even add a third branch that can be removed.
Fixing the foliage and reducing glare
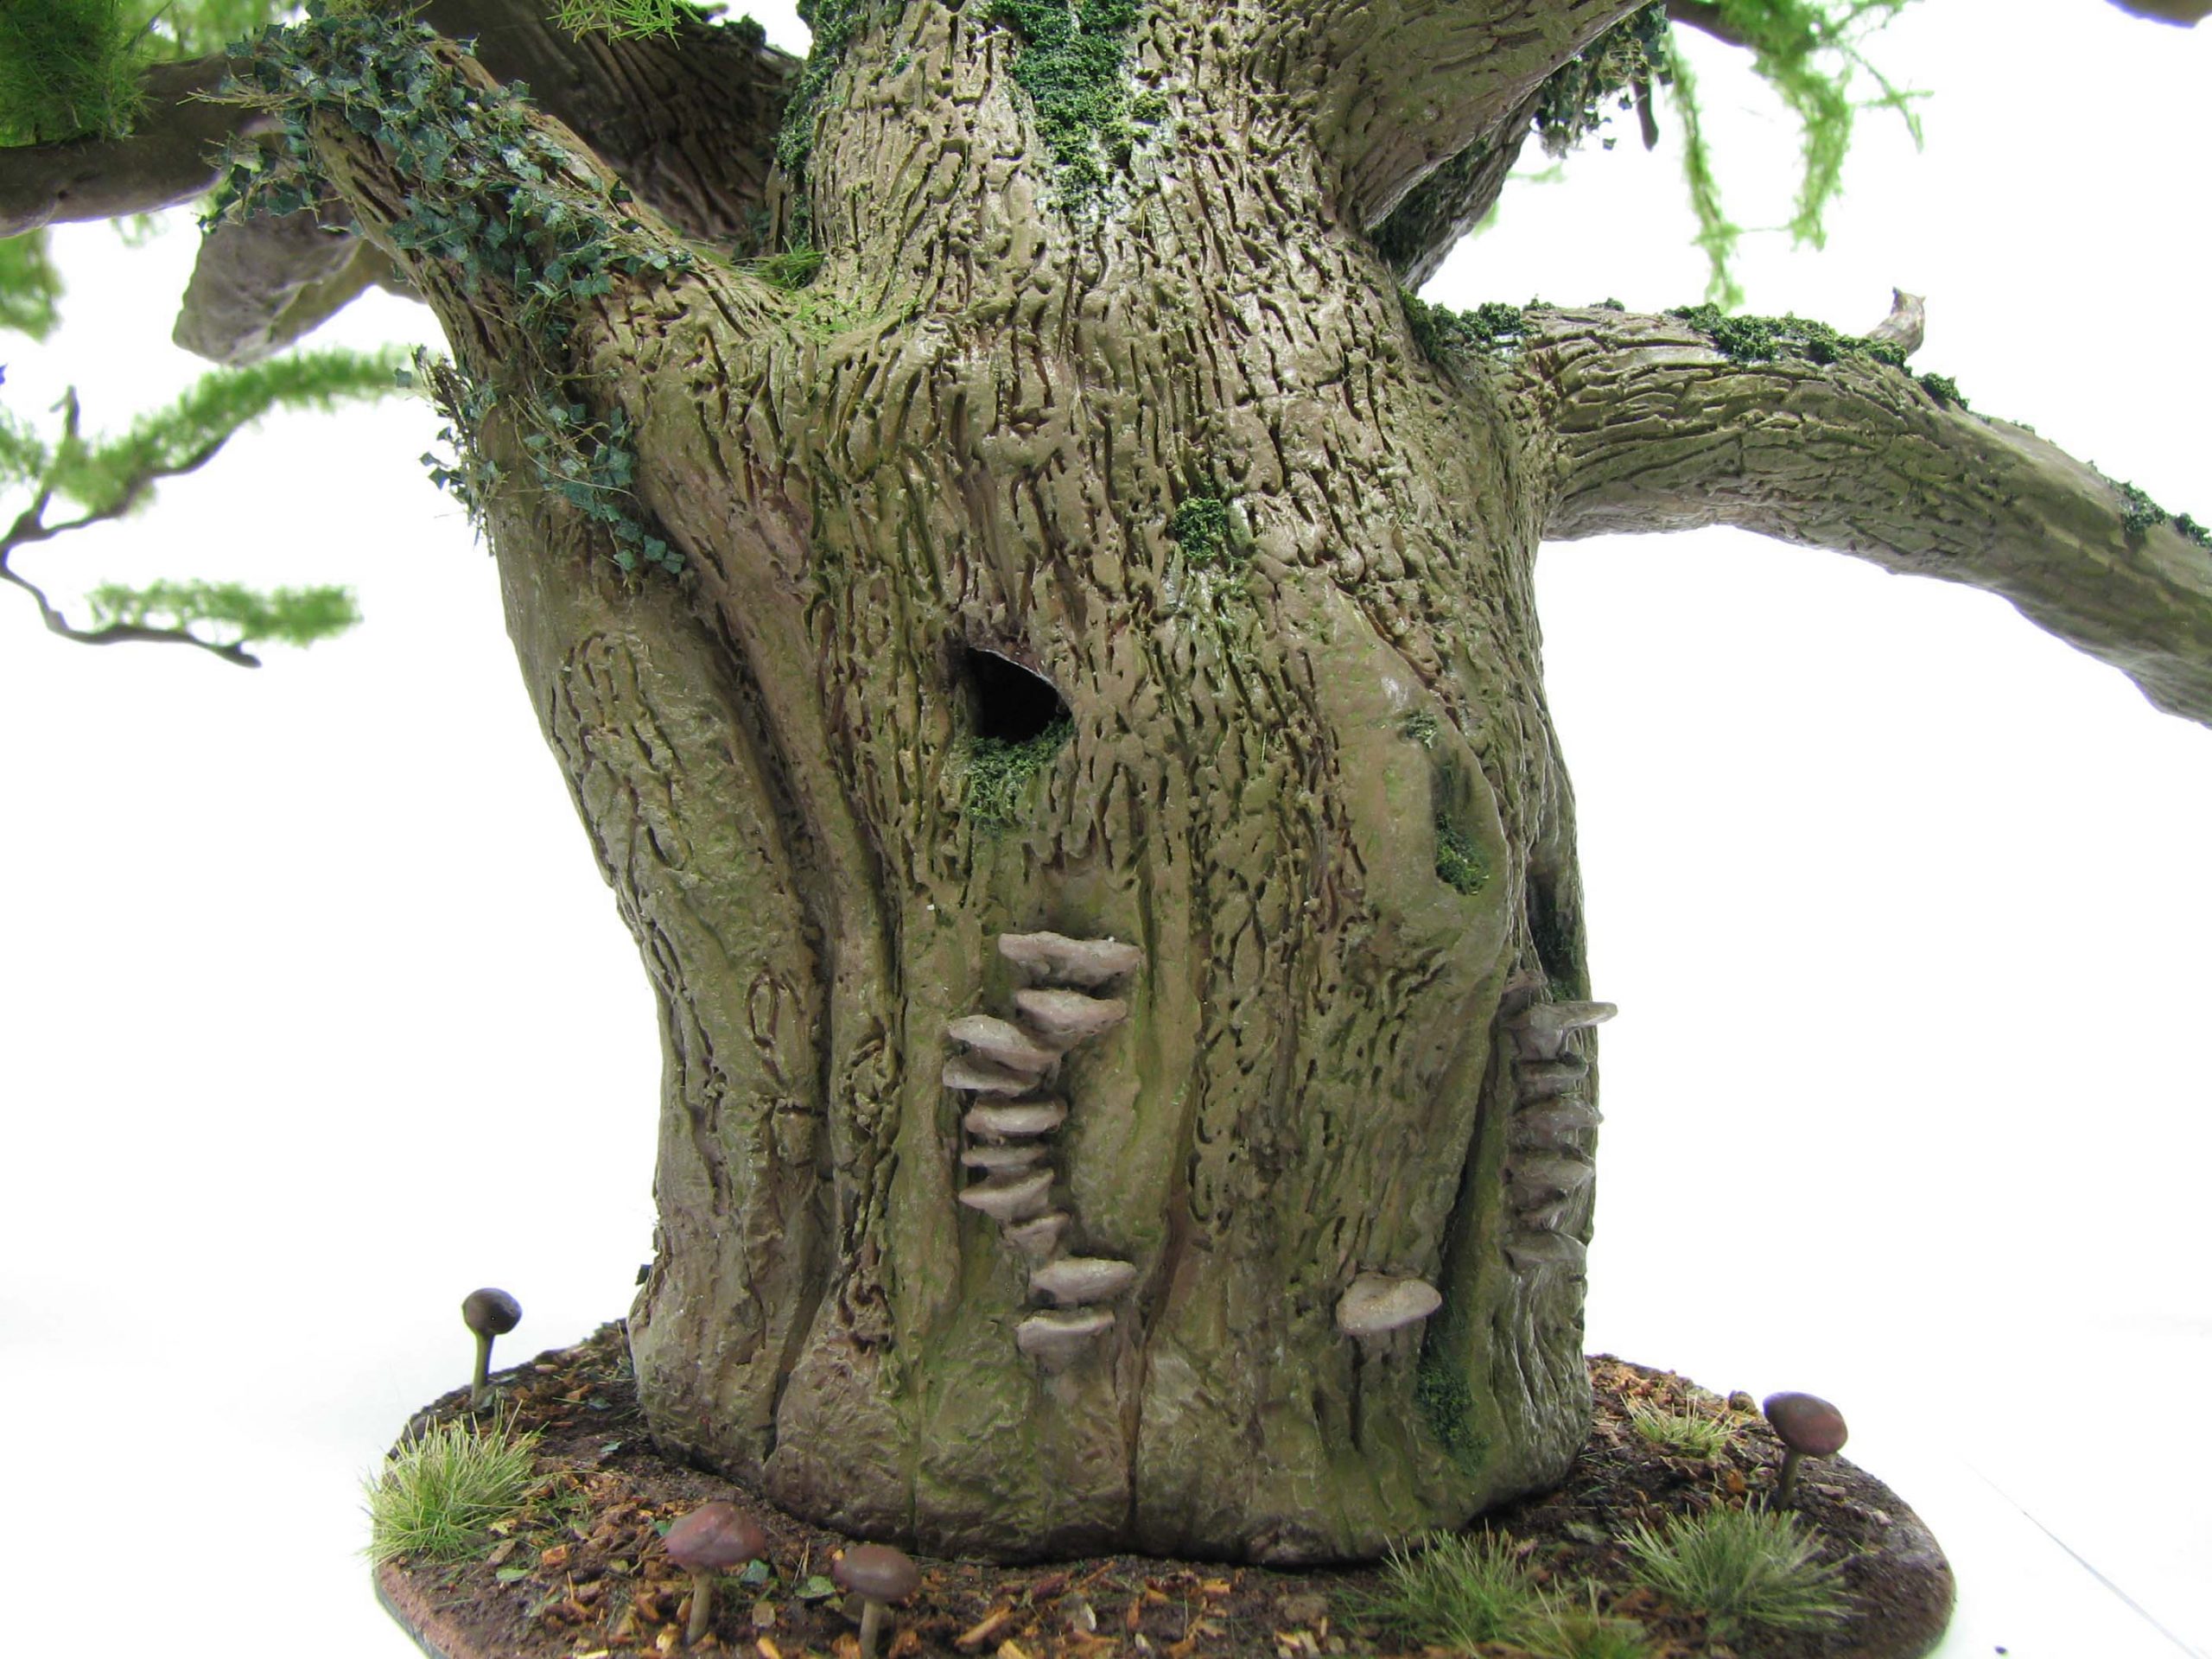
Using my airbrush I applied a very subtle brown filter to the nets. Just to add a bit of colour variation and depth. I also applied a coat of thinned down PVA to fixate the foliage. A final coat of matte varnish was then applied to the bark to tone down any glare and to give it a more natural appearance.
Finishing touches – the fallen branches
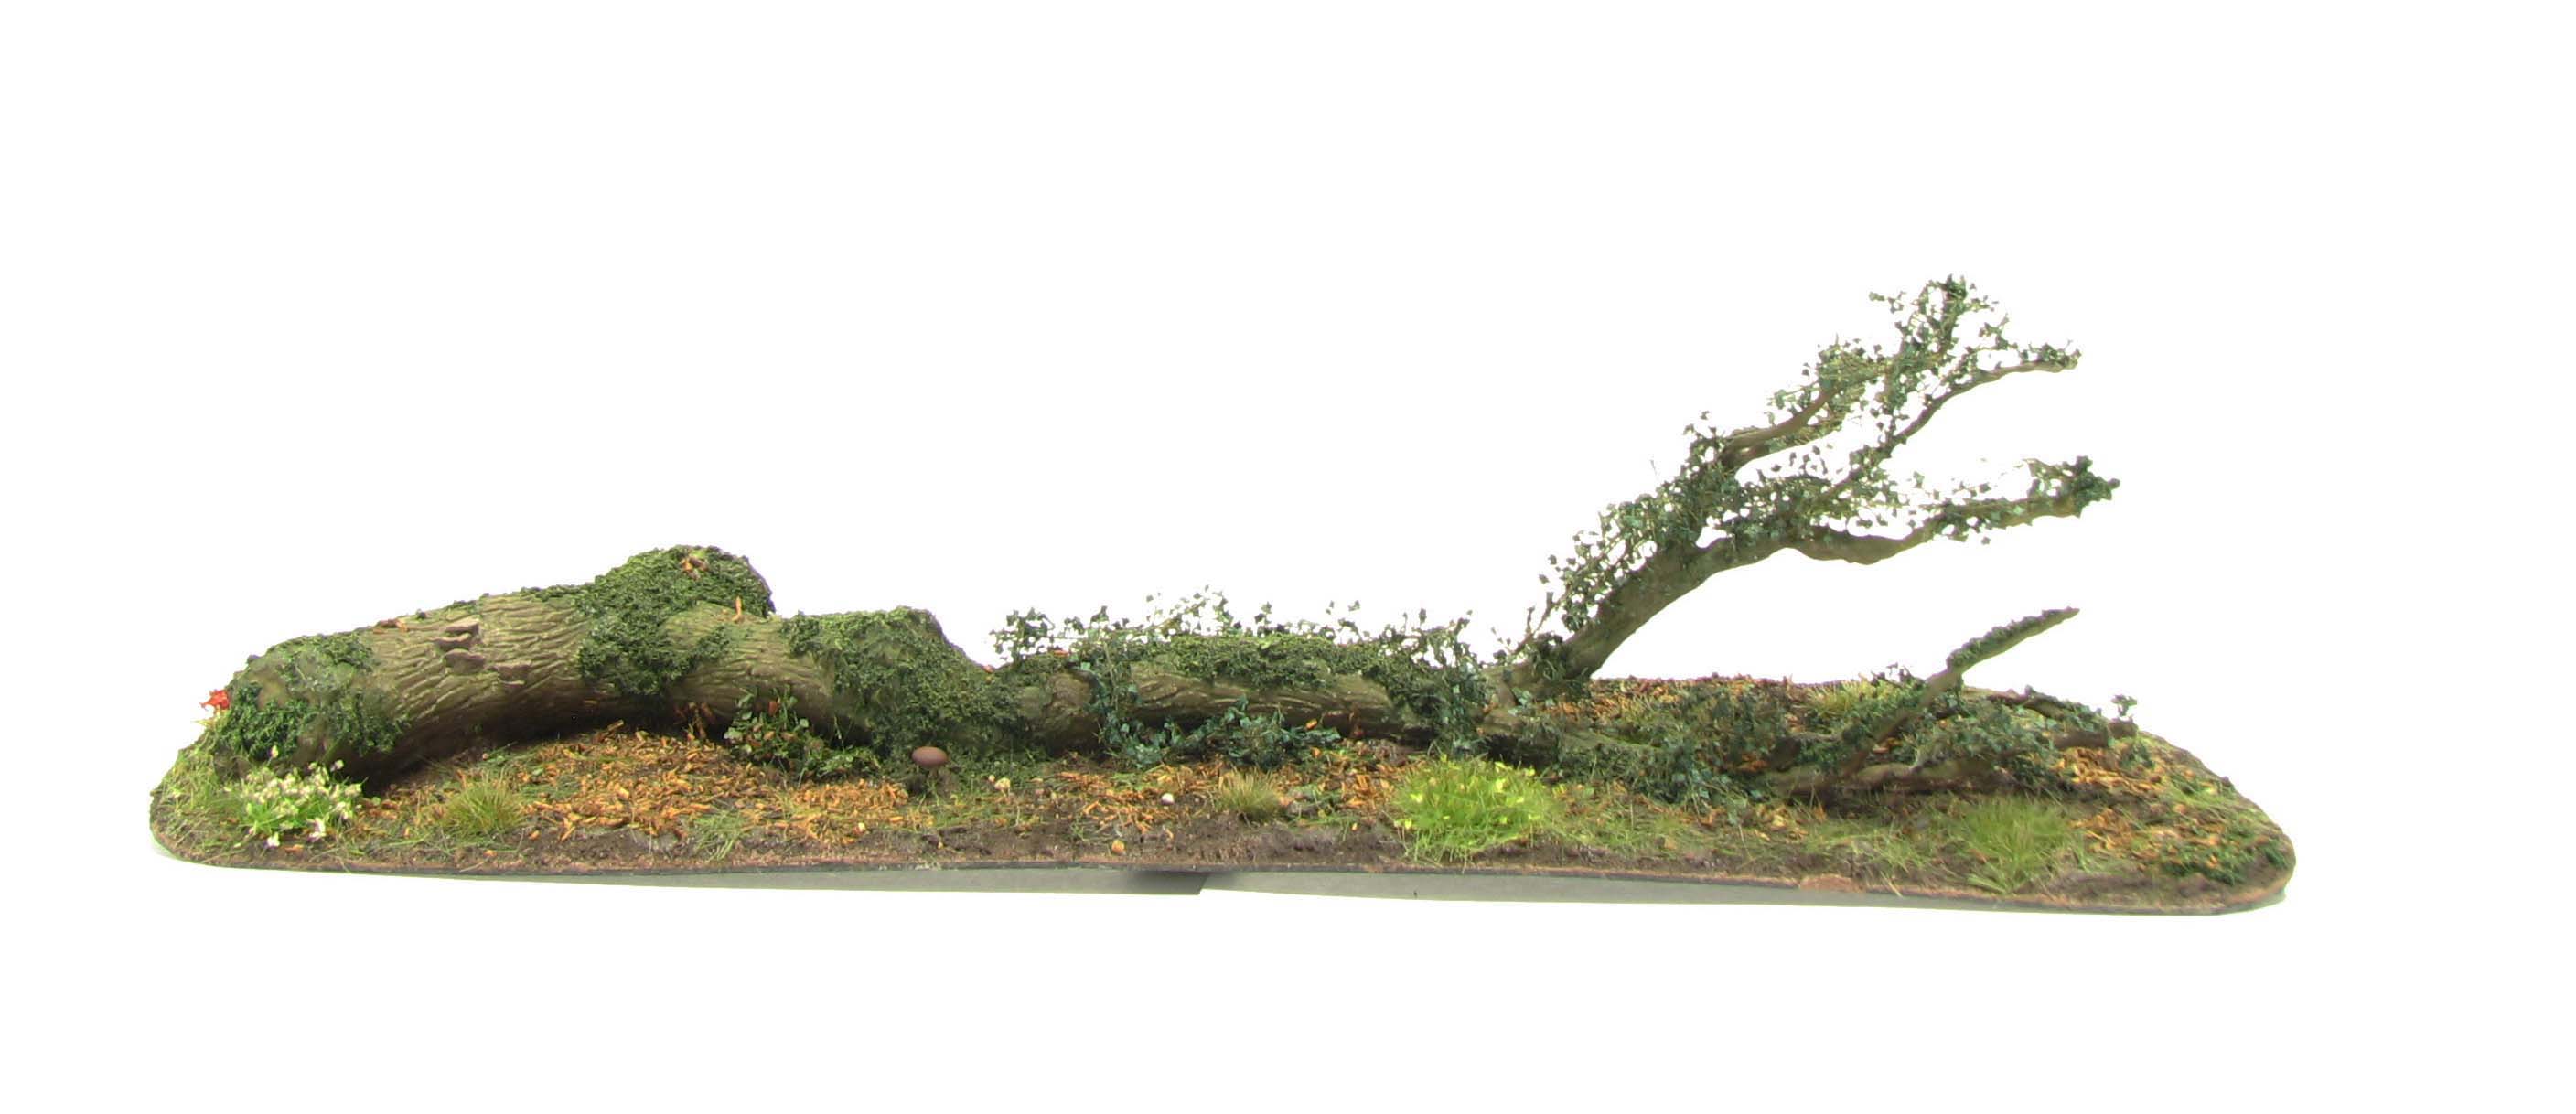
You will recall the fallen branches from part I. These got now a similar treatment to the yew’s base and now look the part: With the addition of grass, brush and dead leaves the branches are nicely framed. The poison ivy and the mushrooms add further interest.
Final thoughts
This was actually more of a show-off combined with some experimentation. I hope you found it interesting and a fitting conclusion to the project. Working on the yew tree had its ups and downs, but in the end it worked all out. The feather technique will definitely end up in a future tutorial on fir trees (maybe even the snowy kind to fit a Frostgrave campaign).
If you have suggestions or questions please comment below. Until next time and always wield your brush with honor!


[…] The first pick is a tutorial by DaggerandBrush. As always the tutorial is well written and the quality of the tree is outstanding. Honestly, most of us won’t be able to build such a piece of art, but at least we can use tutorials like this to step up our game. The tutorial is split into two parts, so make sure to read part one and part two. […]
Great stuff – really impressive
Glad you like it. It took quite some time and experimentation, but I think it came out nicely in the end. I will revisit Olive trees and Umbrella Pines next.
Cheers
Christopher
Truly a work of art, as always Sir! fantastic tutorial and way beyond the toilet brushes I use on my table. I am in total awe.
Cheers Roger.
Thank you for your comment Roger, much obliged. The only drawback is obviously that you can’t just throw them in a box, but then I think for participation games and rough players I would rather use brush trees to avoid heart ache ;).
Fantastic work on the leaves. Using the feathers was a brilliant move, and I’ve never seen that used before – but would make for great looking fir trees. The details you add to the tree are awesome.
Thank you Joe for commenting. Glad you like the ‘leaves’ or ‘needles’. I, too, will be intrested to see how the feathers work out. I may apply some static grass to them to depict needles. For palm leaves you can use them without flock, just paint the green.
Truly awesome work. Thanks for sharing this – will keep many of your tips in mind for future projects!
Hi Mark. Glad you like the yew in its final form. What projects are you working on at the moment?
I have a few in the queue as I believe you Brits say (apologies if you are not!)! Where are you located?
I am from Massachusetts so that’s New England anyways.
As I am temporarily out of work for minor health reasons I can only work on miniature projects so no golf for a bit.
I have in process: some swarms, a 4 1982 Ral Partha Fire Breathing Salamanders, 6 Ziterdes walls of flame, 1 1986 (?) Grenadier Skeleton bolt thrower, and a 21-figure battalion of original Ral Partha Rooman War Party pikemen (well kangaroo beastmen) from 1977. These took me over a year to amass on eBay and there scarcity is amazing, which is why I decided to get back into casting.
Enjoy greatly your blog and hope to have entries on all when I can again physically sit down at the computer!
Take care, Mark
Hi Mark,
I am currently located in New Zealand, but come originally from Germany, so quite far away from the old country at the moment.
Your oldschool projects sound very interesting indeed. I can imagine that it is hard to get the more obscure ranges on Ebay. I had trouble enough getting my hands on some old Rackham Goblins, but those are comparatively young.
Reminds me that I need to get more into painting miniatures again. I did mostly terrain this year.
All the best with your project. Will you present the outcomes somewhere?
Wow, that’s interesting. You’re on the other side of the world! Usually when I see the British spelling of the word color – my first assumption is always Britain, but I should be thinking more broadly.
I was lucky enough to be stationed in Karlsruhe from 1986 to 1989. Where was home for you in Germany? I traveled extensively through the old West Germany when I was there.
My blog is where I put all my projects markamorin.com . I basically found myself getting back into the hobby after 30 years absence. Better late than never! I am always happy to have folks follow my blog and give me feedback. I also like to share what I discover similar to what you did with the yew tree. Funny, I don’t remember seeing you trees I was in Germany, but I must have.
Hi Mark, the WordPress App didn’t show me your blog, so now I shall have a good look.
I did learn British English at school, so I guess “colour” comes more naturally. I lived in Mannheim and Oldenburg, so both southern and northern Germany feel like home to me :).
I actually not sure if yew trees are that often planted in Germany. I guess graveyards would be a good starting point, but back in the day I rarely looked at trees with the terrain maker’s eye.
Thanks for looking – I will be posting this weekend some updates. Would love to have you and others as followers! Btw I have been to Mannheim and loved it!
Fantastic work! I like the technique with the feathers something I’ll have to keep in mind for the future.
Glad you like it Brian. The feather technique has indeed potential, lets see where this can be used for best effect.
On another note: Whatever I do I am not able to post a comment on your blog via my Google account. I can simply not procceed further than the entry mask. When I click submit it does not seem to do anything. Is there a way to get around the google account log in? I lost a number of posts to this already and I would really like to comment on your stuff :D.
I’m afraid I have no idea. Google really doesn’t seem to support Blogger much anymore and there always seem to be errors and problems with it. It makes me regret choosing it as the platform for my blog but now it seems like too much work to switch over. I’ll try to find a solution cause I know other people have had the same problems. I do appreciate the attempts at commenting.
I think it is Google profile related. I have one for DaggerAndbrush and a private one, but neither works and I tried it on different PC’s, too. This is especially strange given I was able to post comments in the past.
Maybe you can use an alternative commenting app (I understand blogger is relatively easy to customise) that does not need a Google profile.
Fantastic result! Loved the story. Squish and throw rock, indeed.
Thank you! Glad you liked the story. I have a soft spot for Ettins ;P