
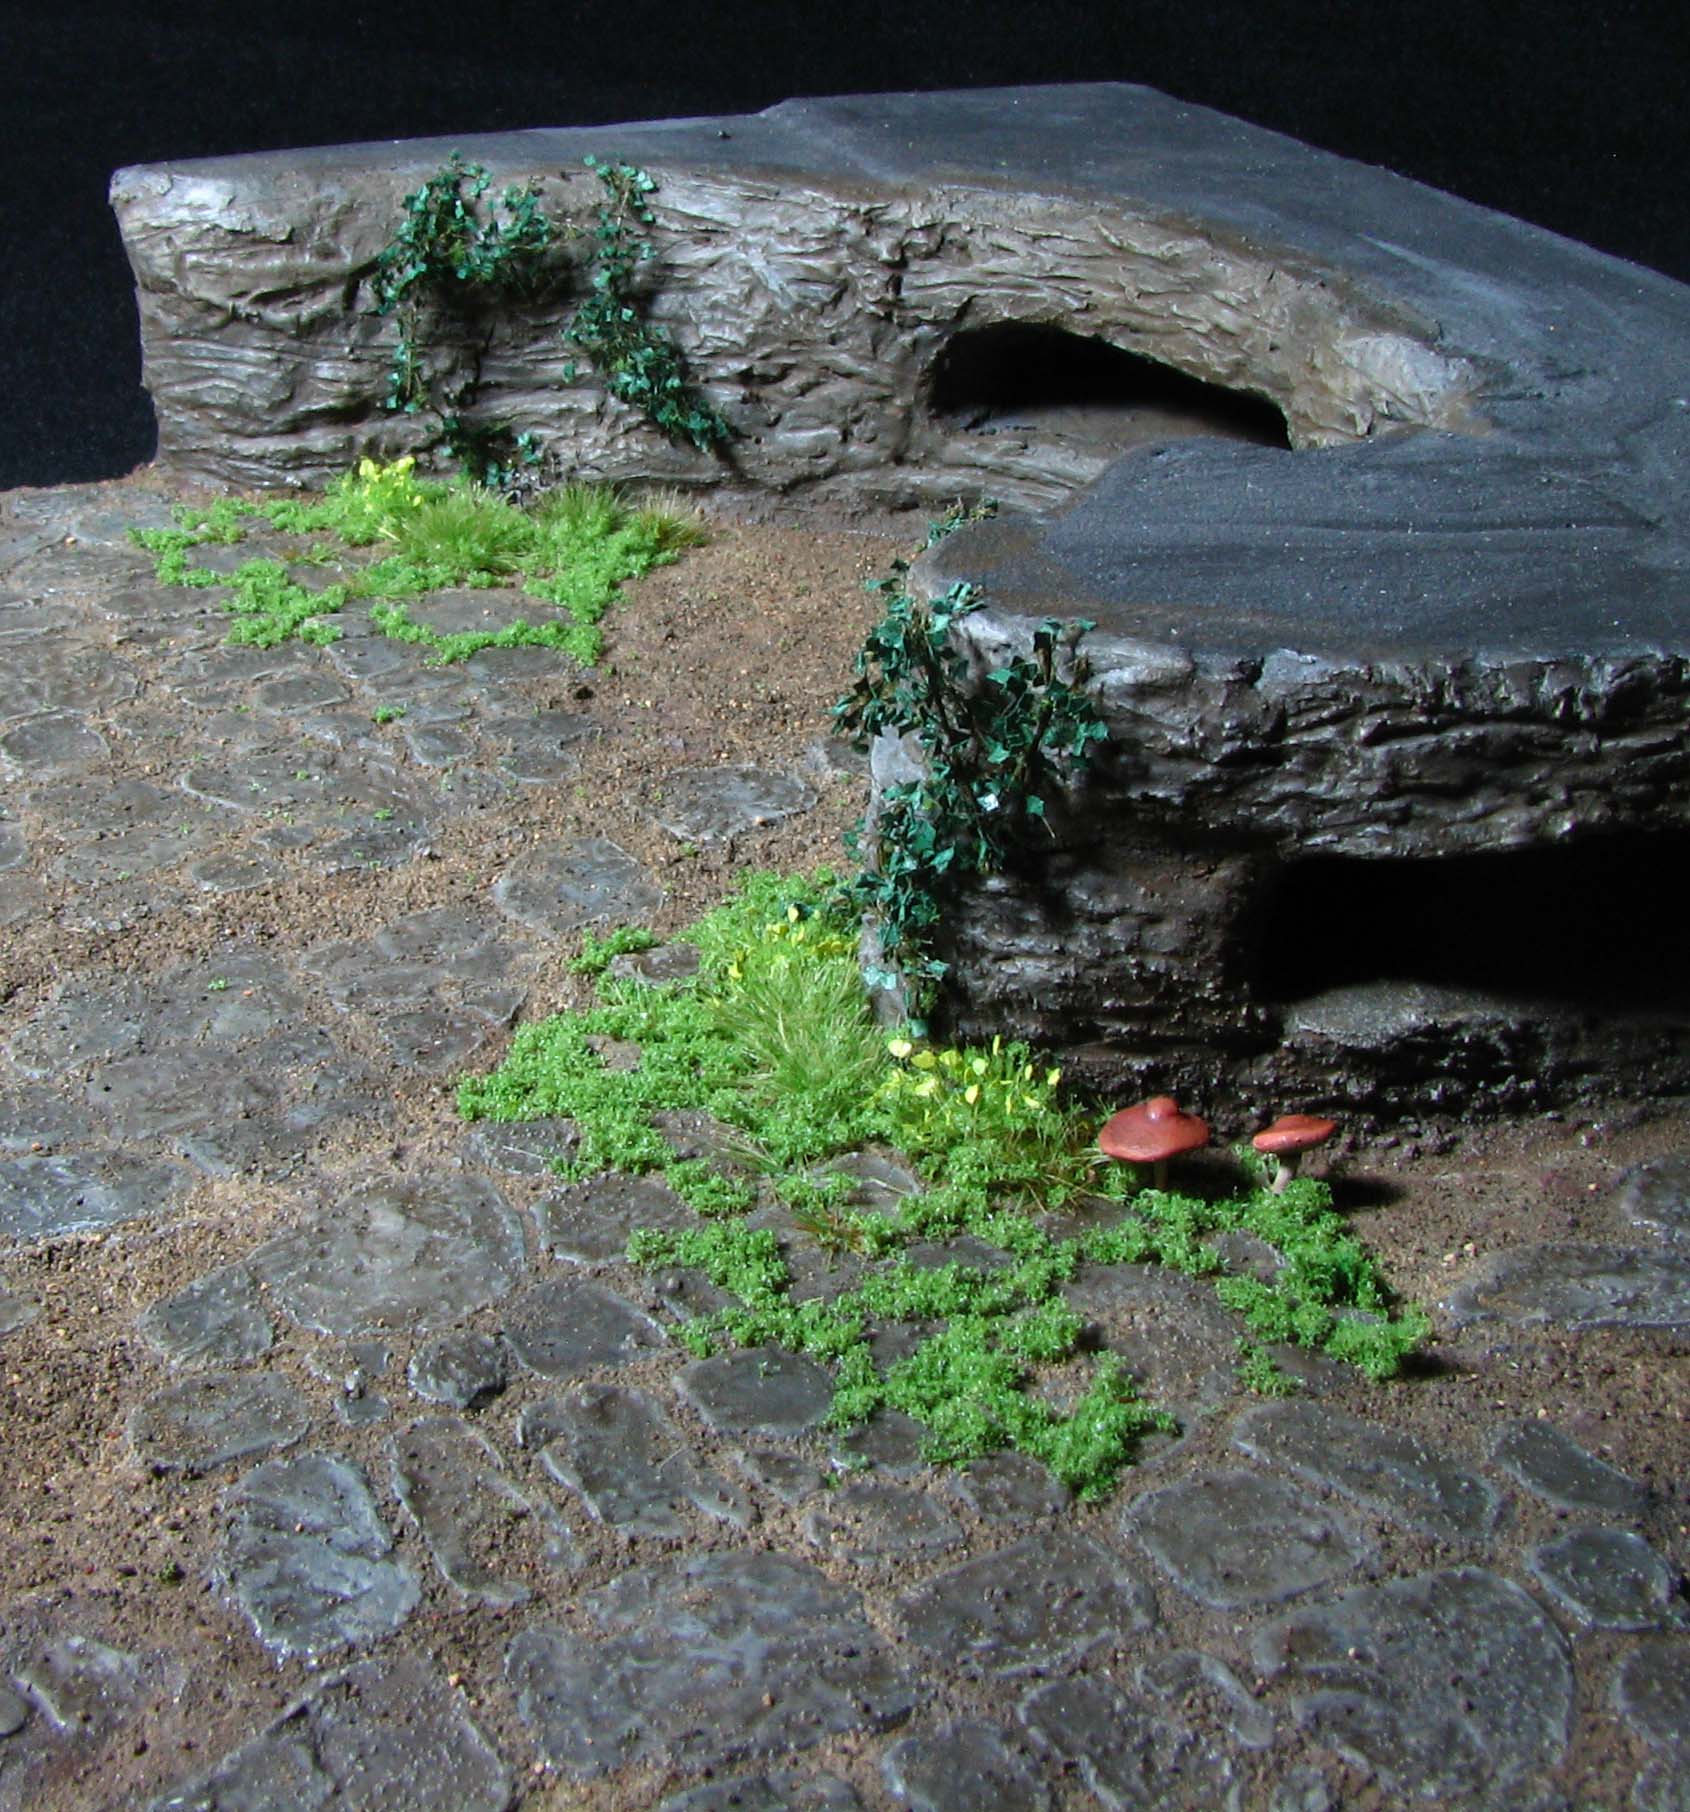
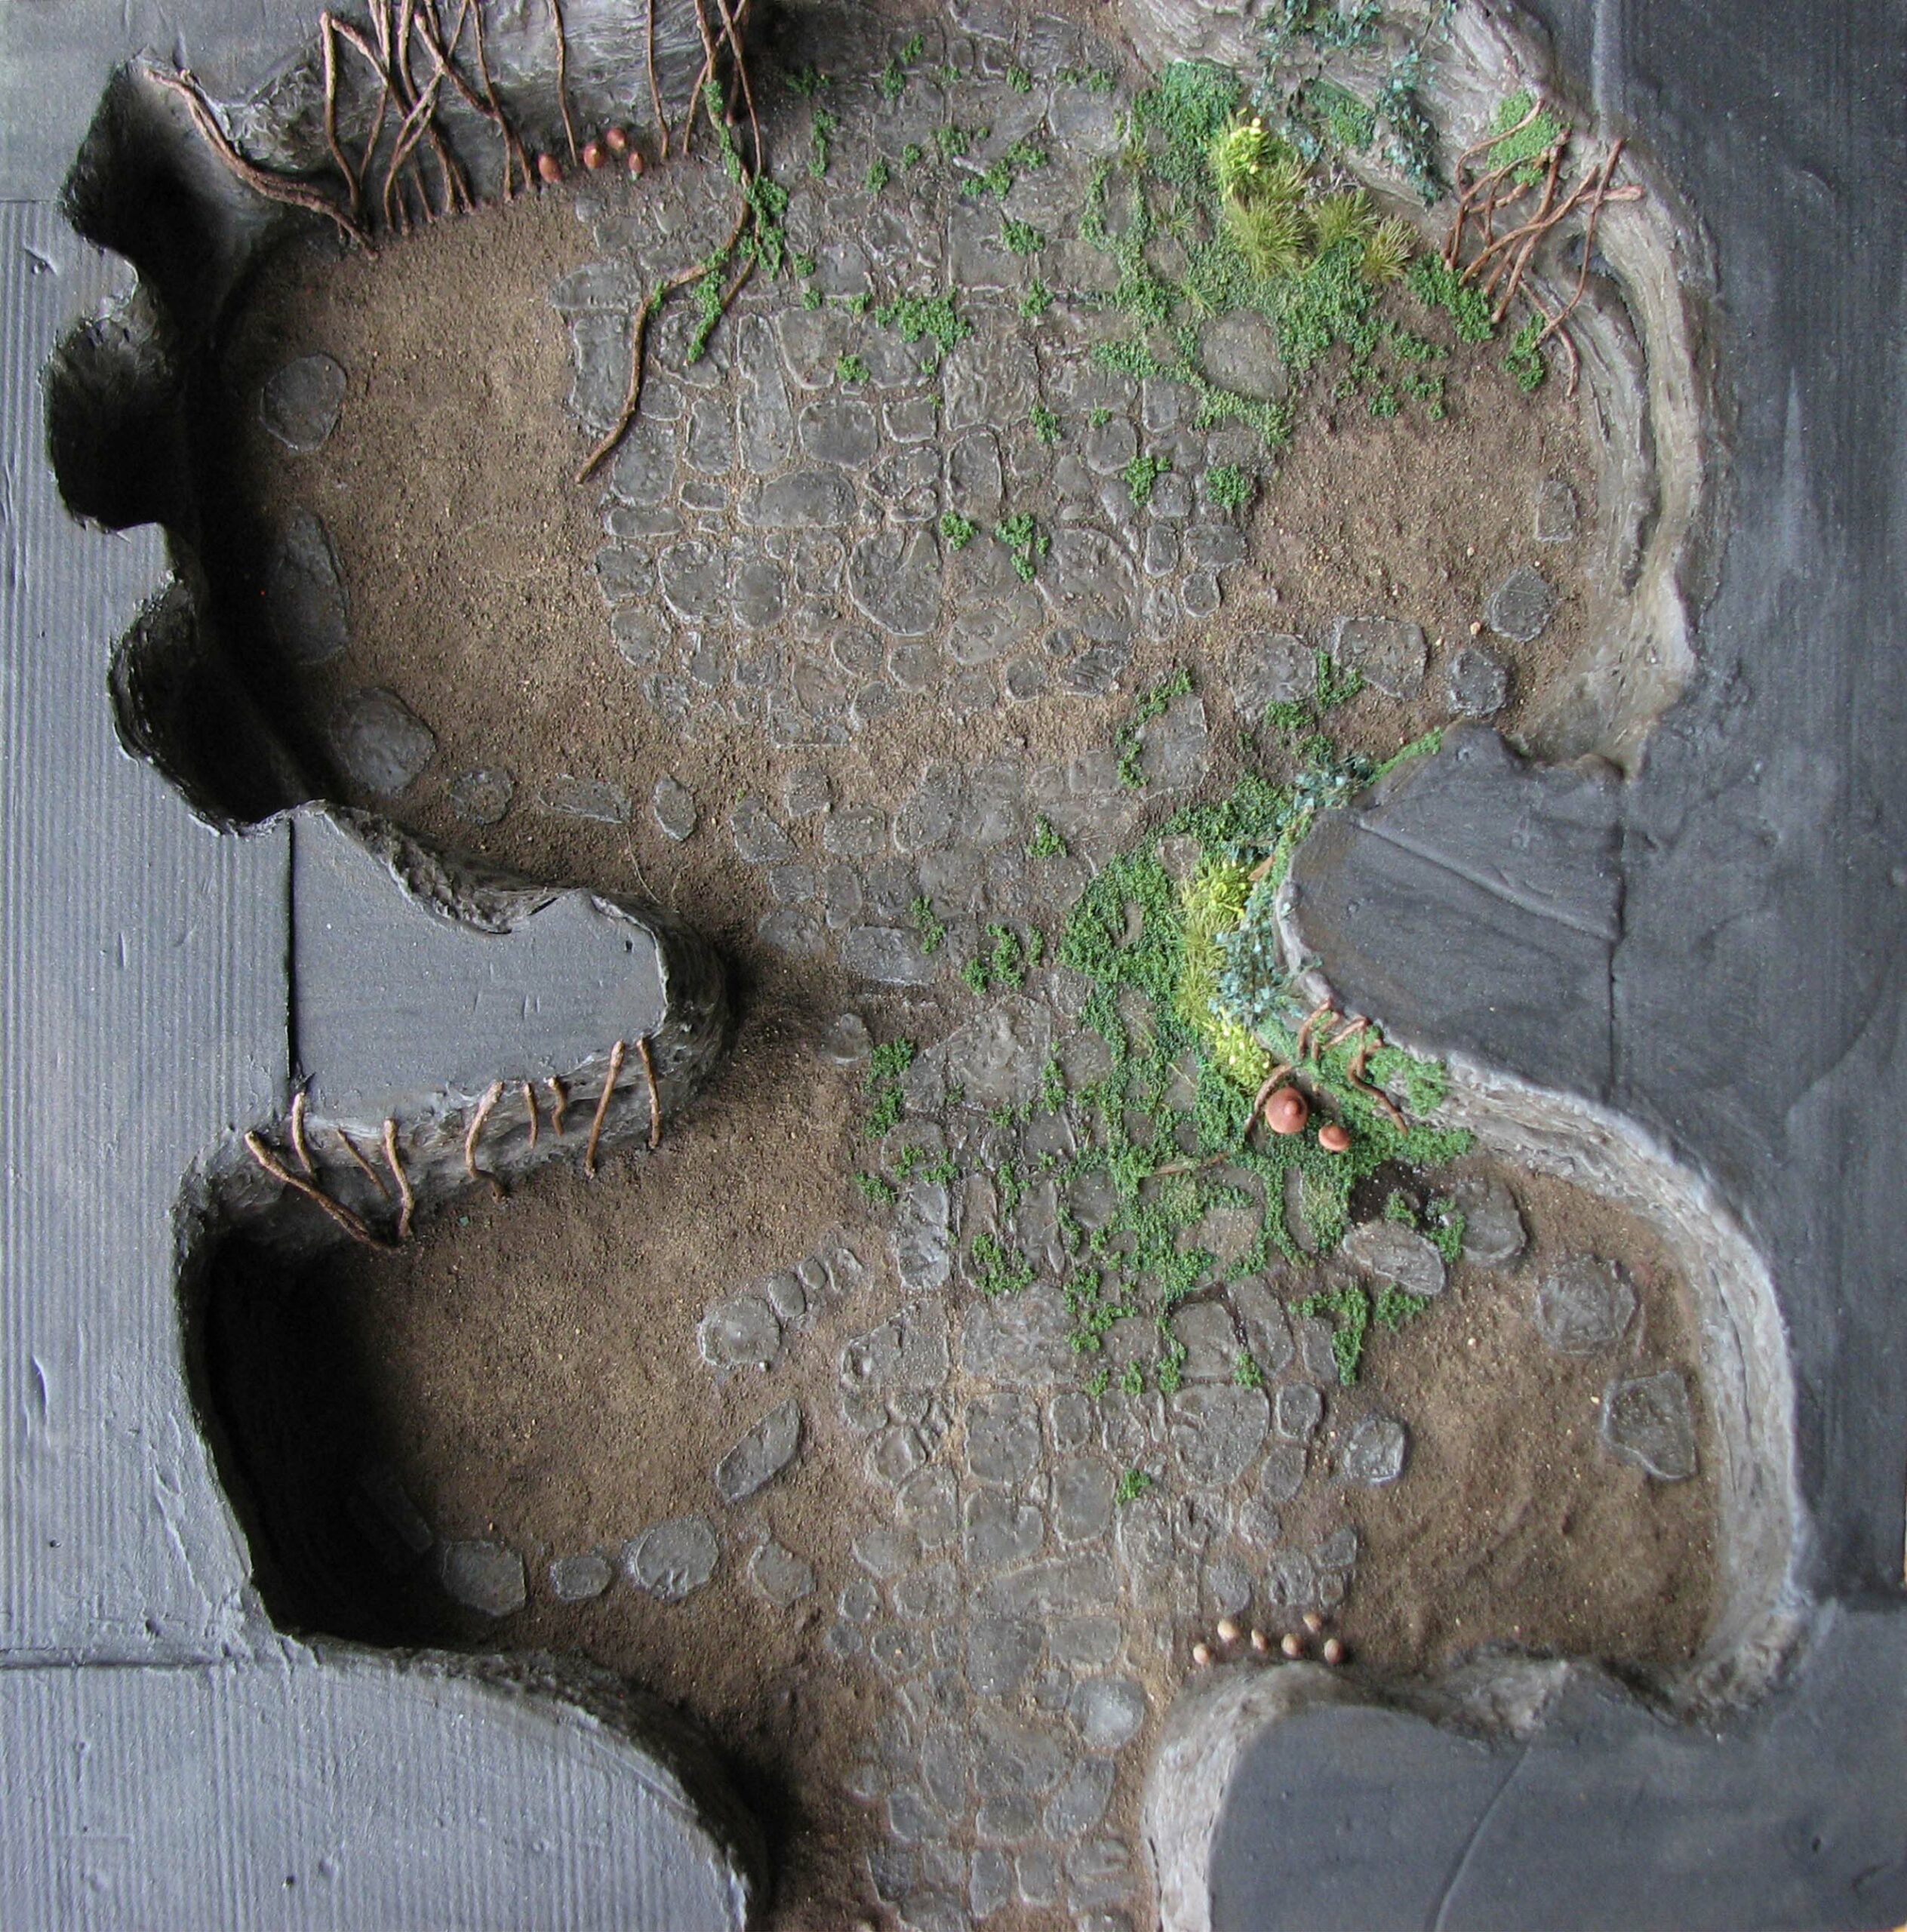
The undead were diligent and not only completed a degree in interior design, but also branched out into botanics! In Part I of this tutorial we created the basic layout of the Crypt of the Damned featuring natural rock walls, rough-hewn stone and dirt floor.
In this part we will focus on adding vegetation, such as roots, moss, mushrooms and floor and wall creepers. Once again I will provide the reasoning behind my design choices, a list of all materials needed and detailed step-by-step instructions.
Some thoughts on caves
While Skyrim is a good inspiration, it is not necessarily a very realistic rendition of a cave’s ecosystem. Unfortunately, I am not an expert in this field and had to go by some web resources, common sense and the “Rule of Cool“.
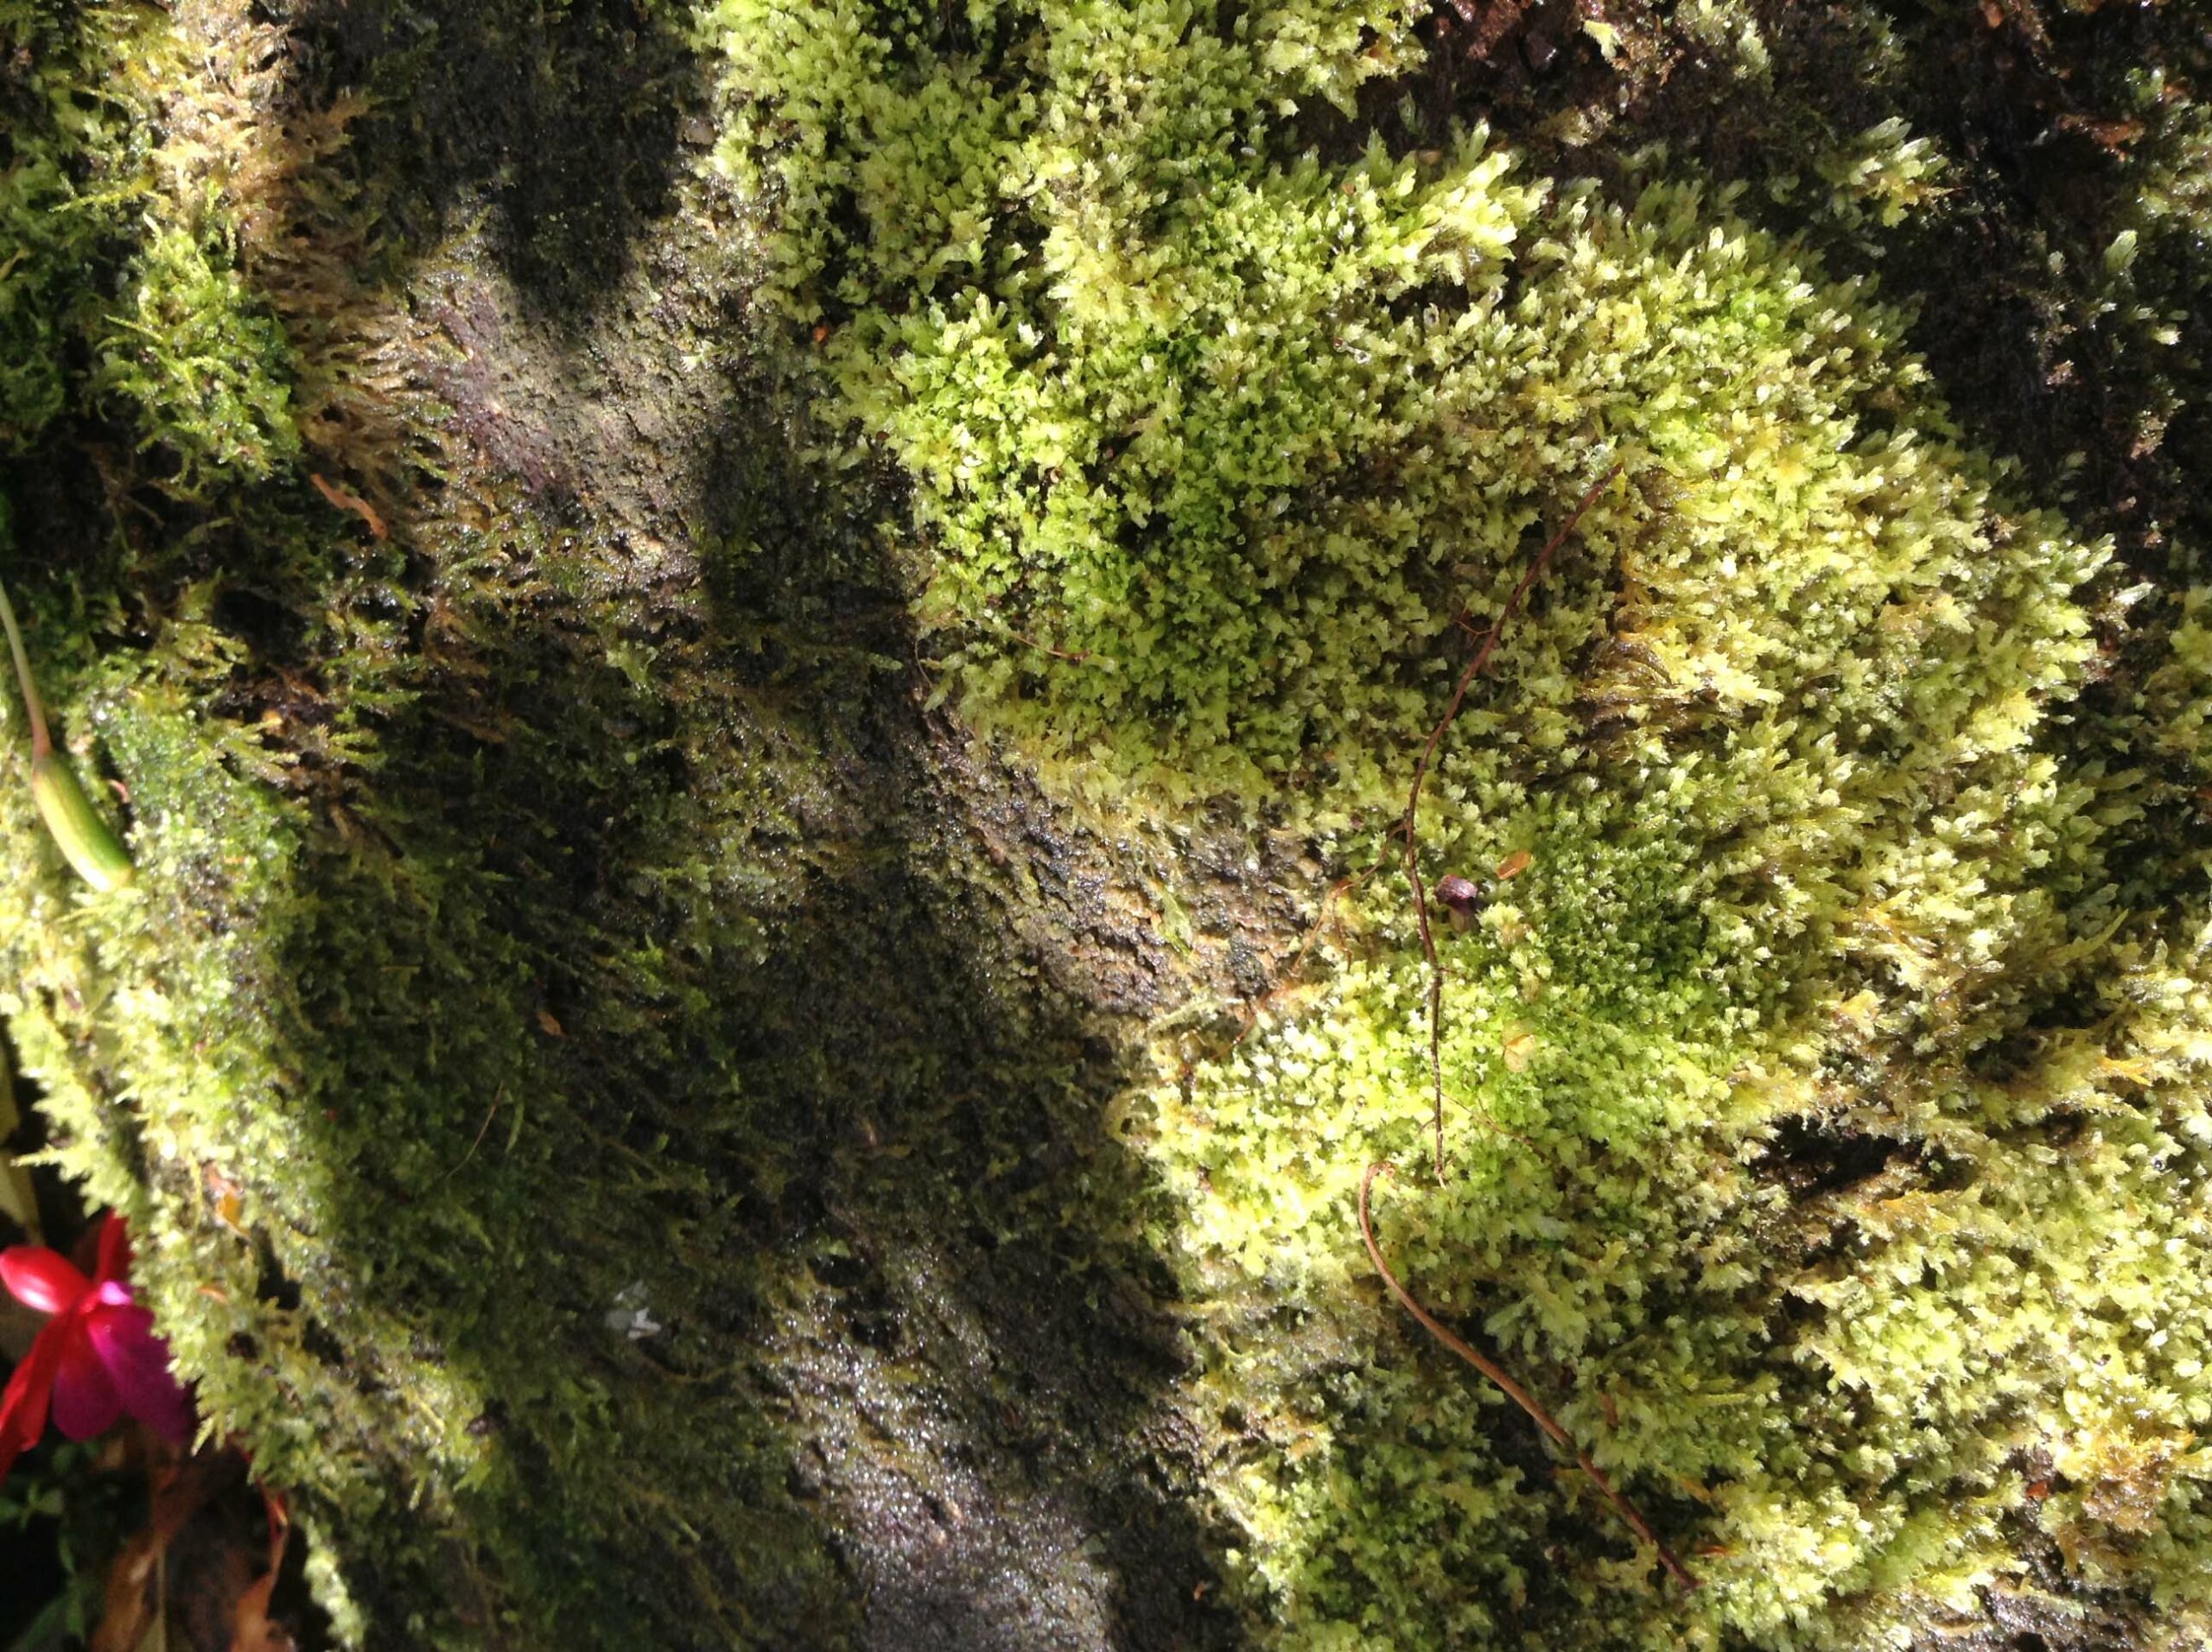
First, we have to consider that any green plant needs at least some light to allow photosynthesis. Thus the cave needs at least a light shaft or air shaft to allow seeds, spores and sunlight to enter. We also need a humid environment to allow the growth of moss and mushrooms. While the former dislikes direct sunlight and prefers shady, humid environments, the latter does not rely on sunlight, but needs water to thrive.
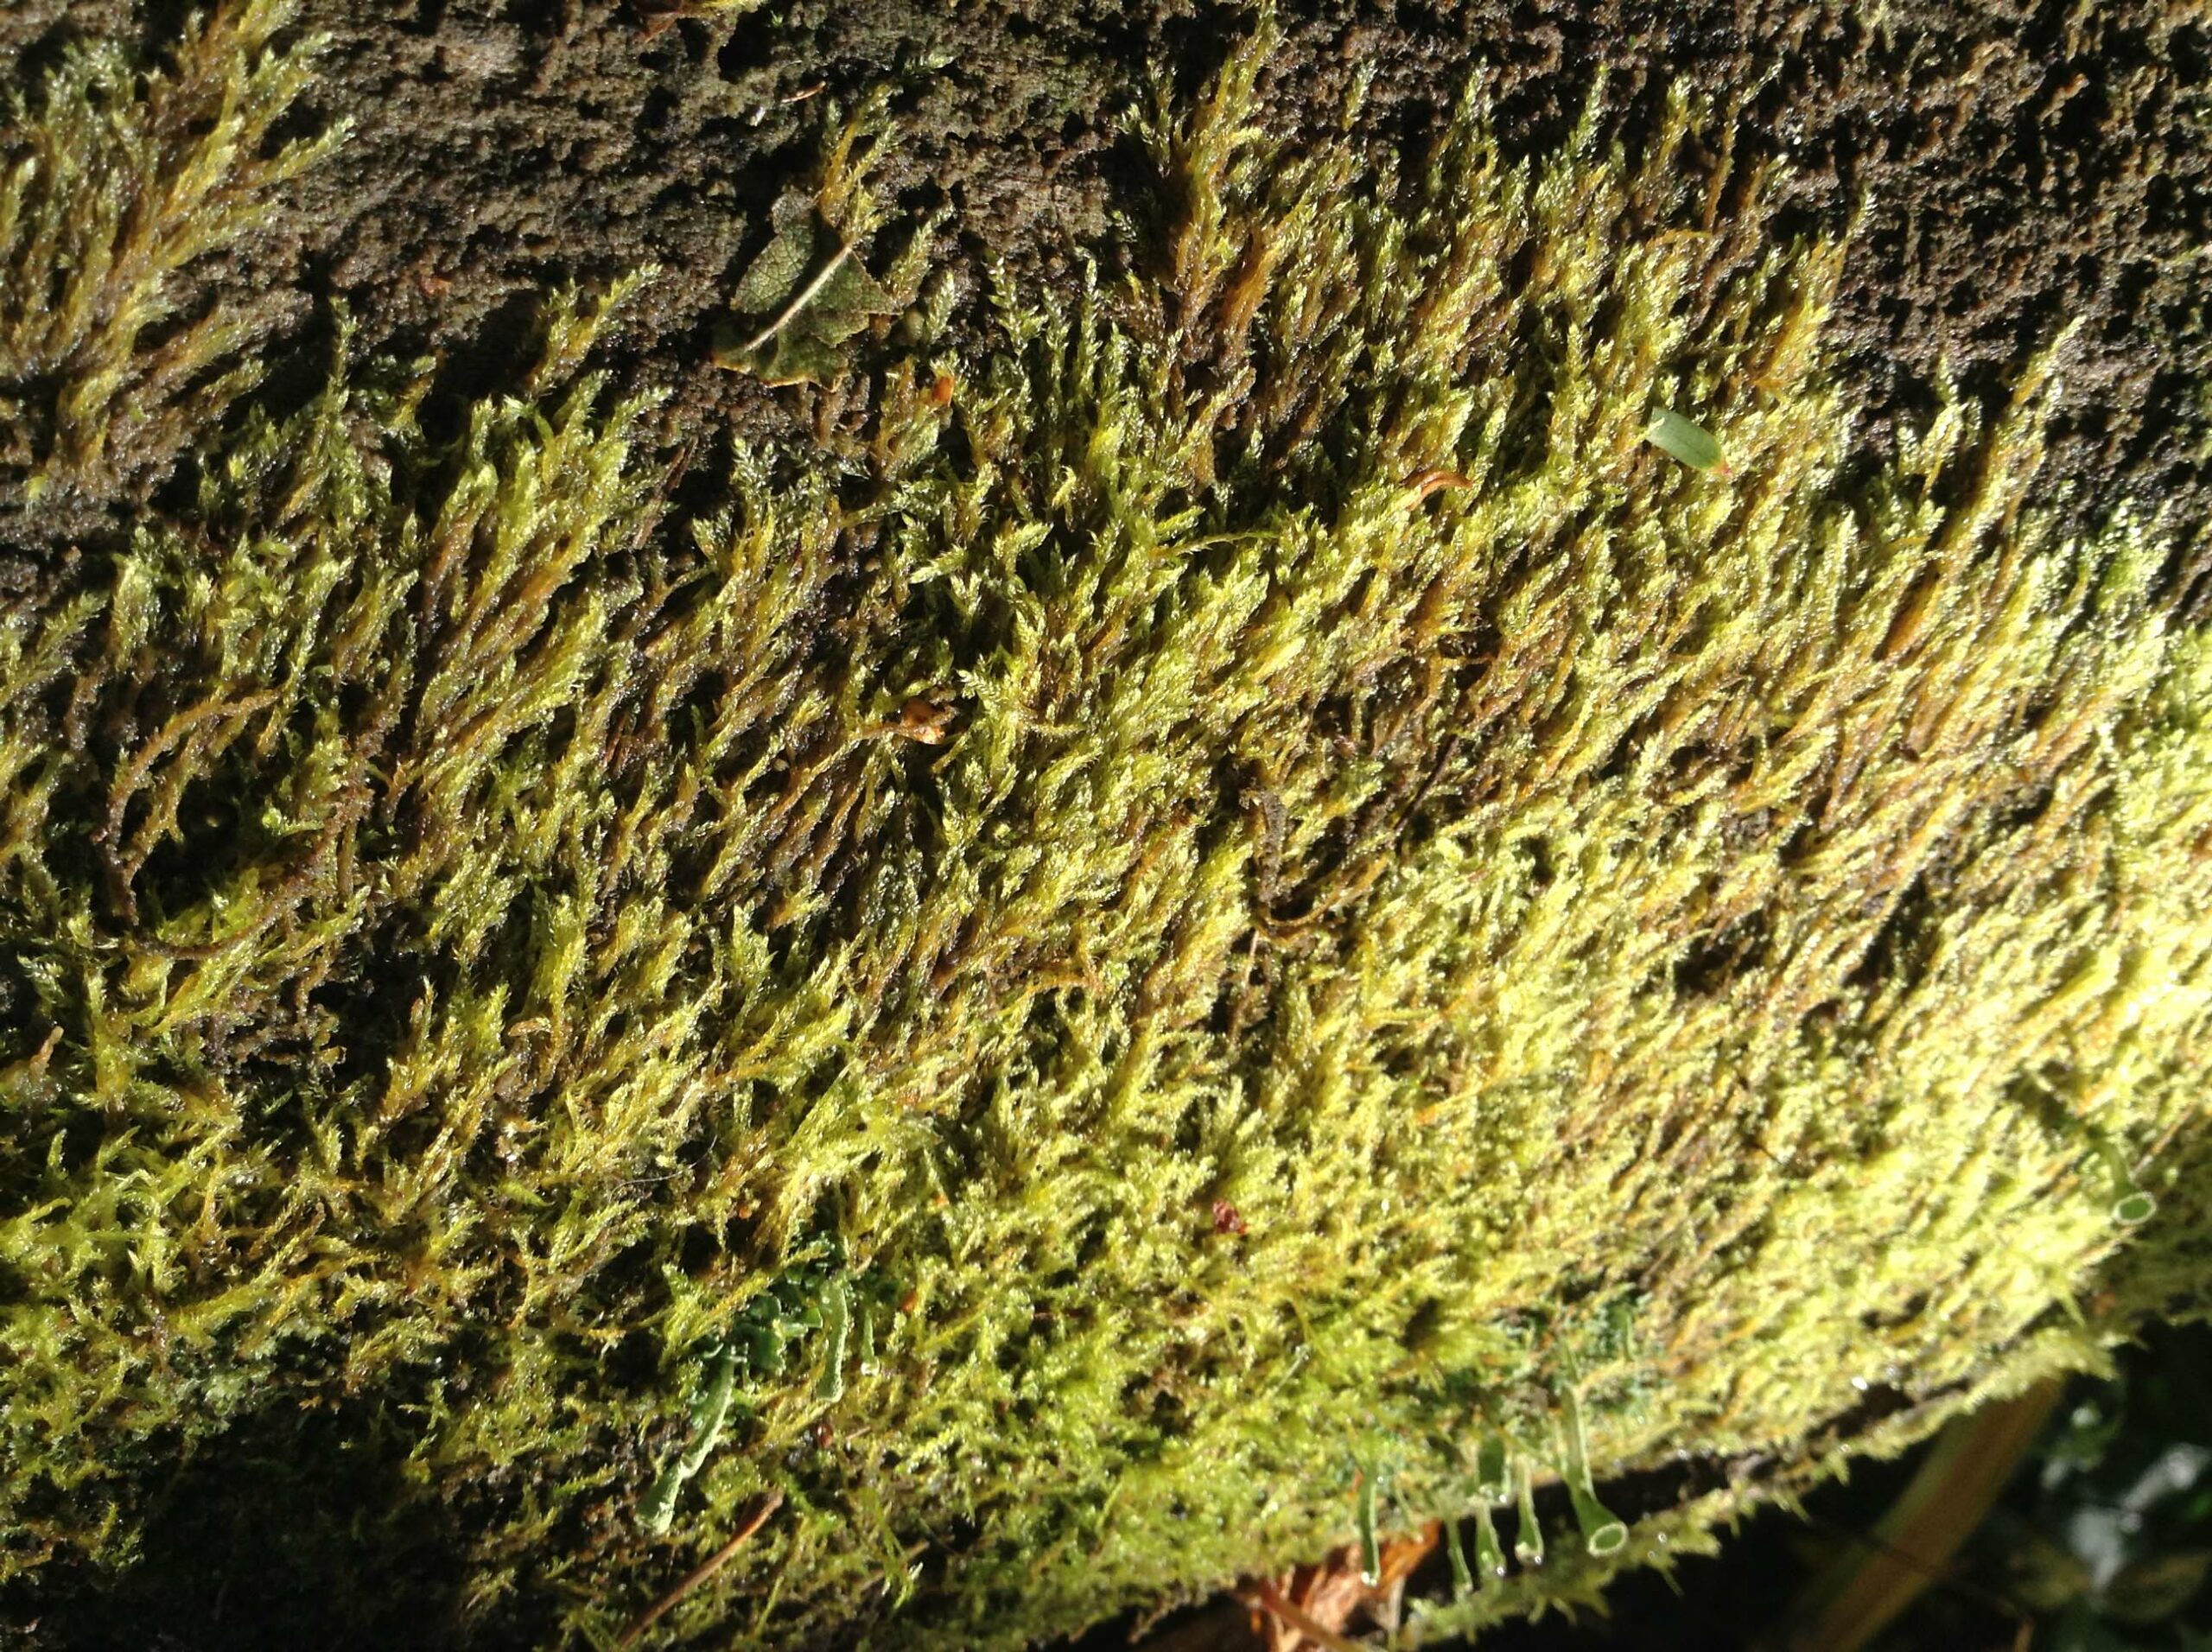
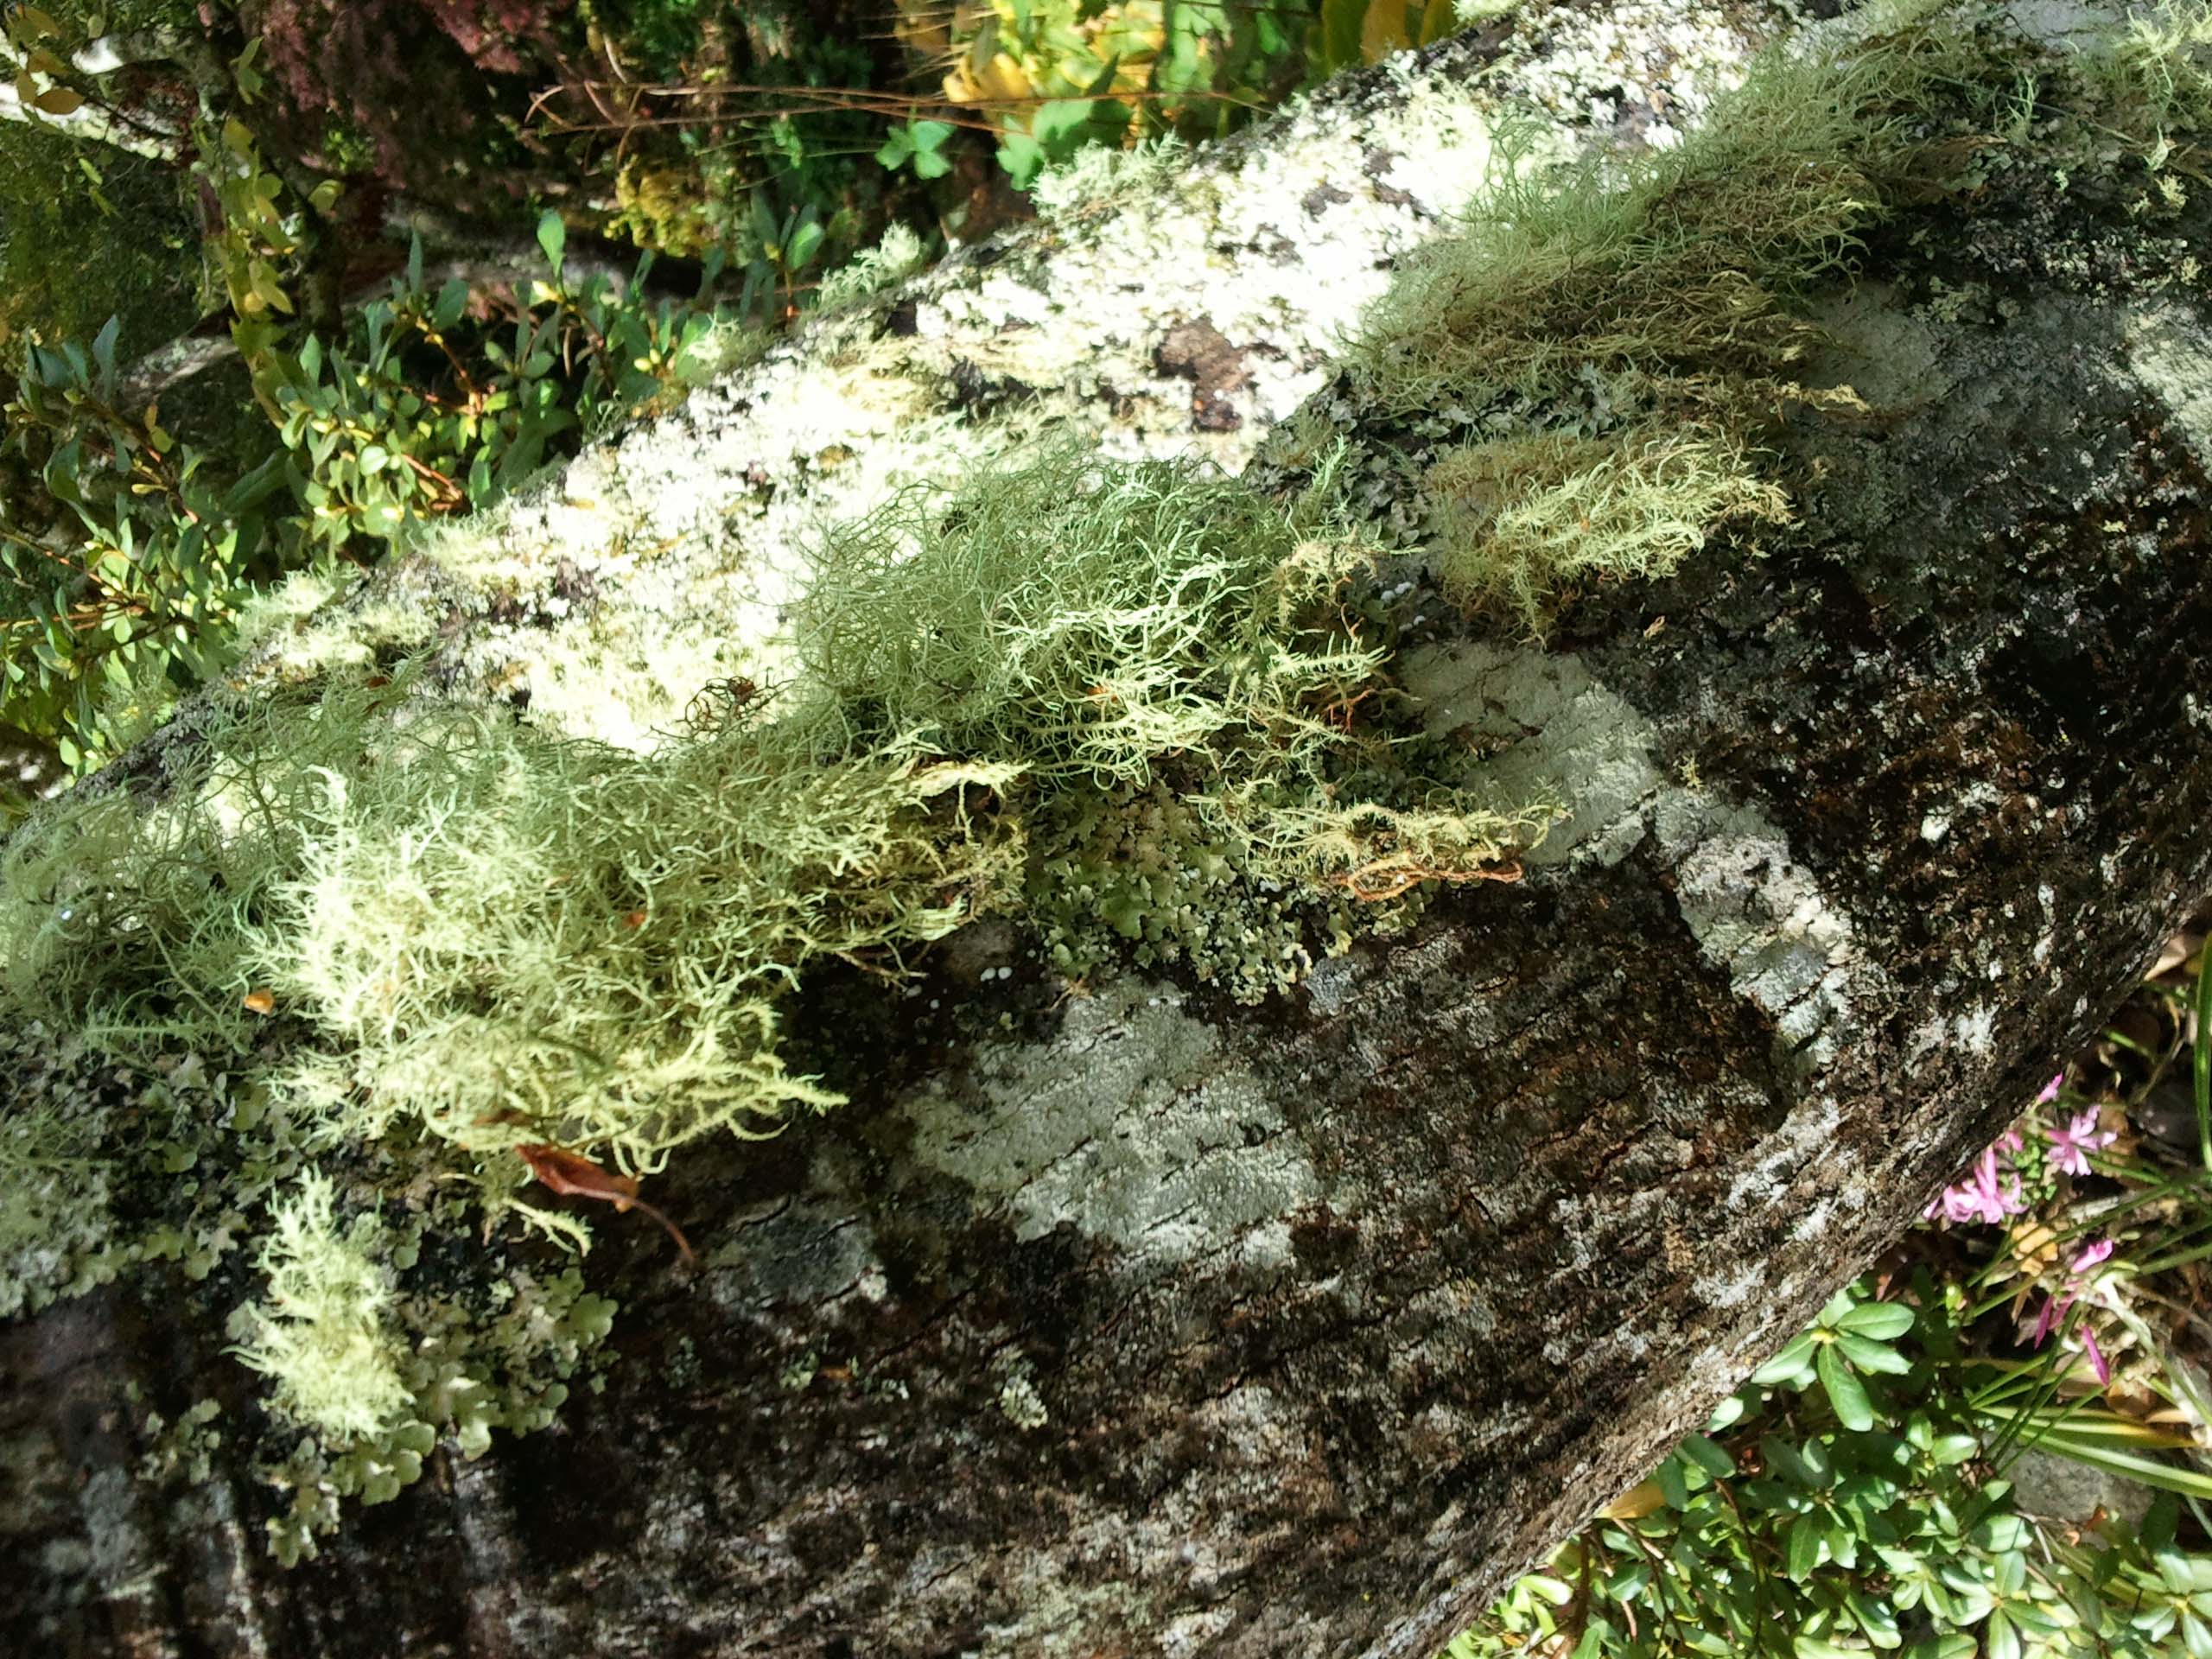
Per usual, some reference pictures come in handy. So I went to the great outdoors and took some for you. As you can see, there is quite some variety texture-wise.
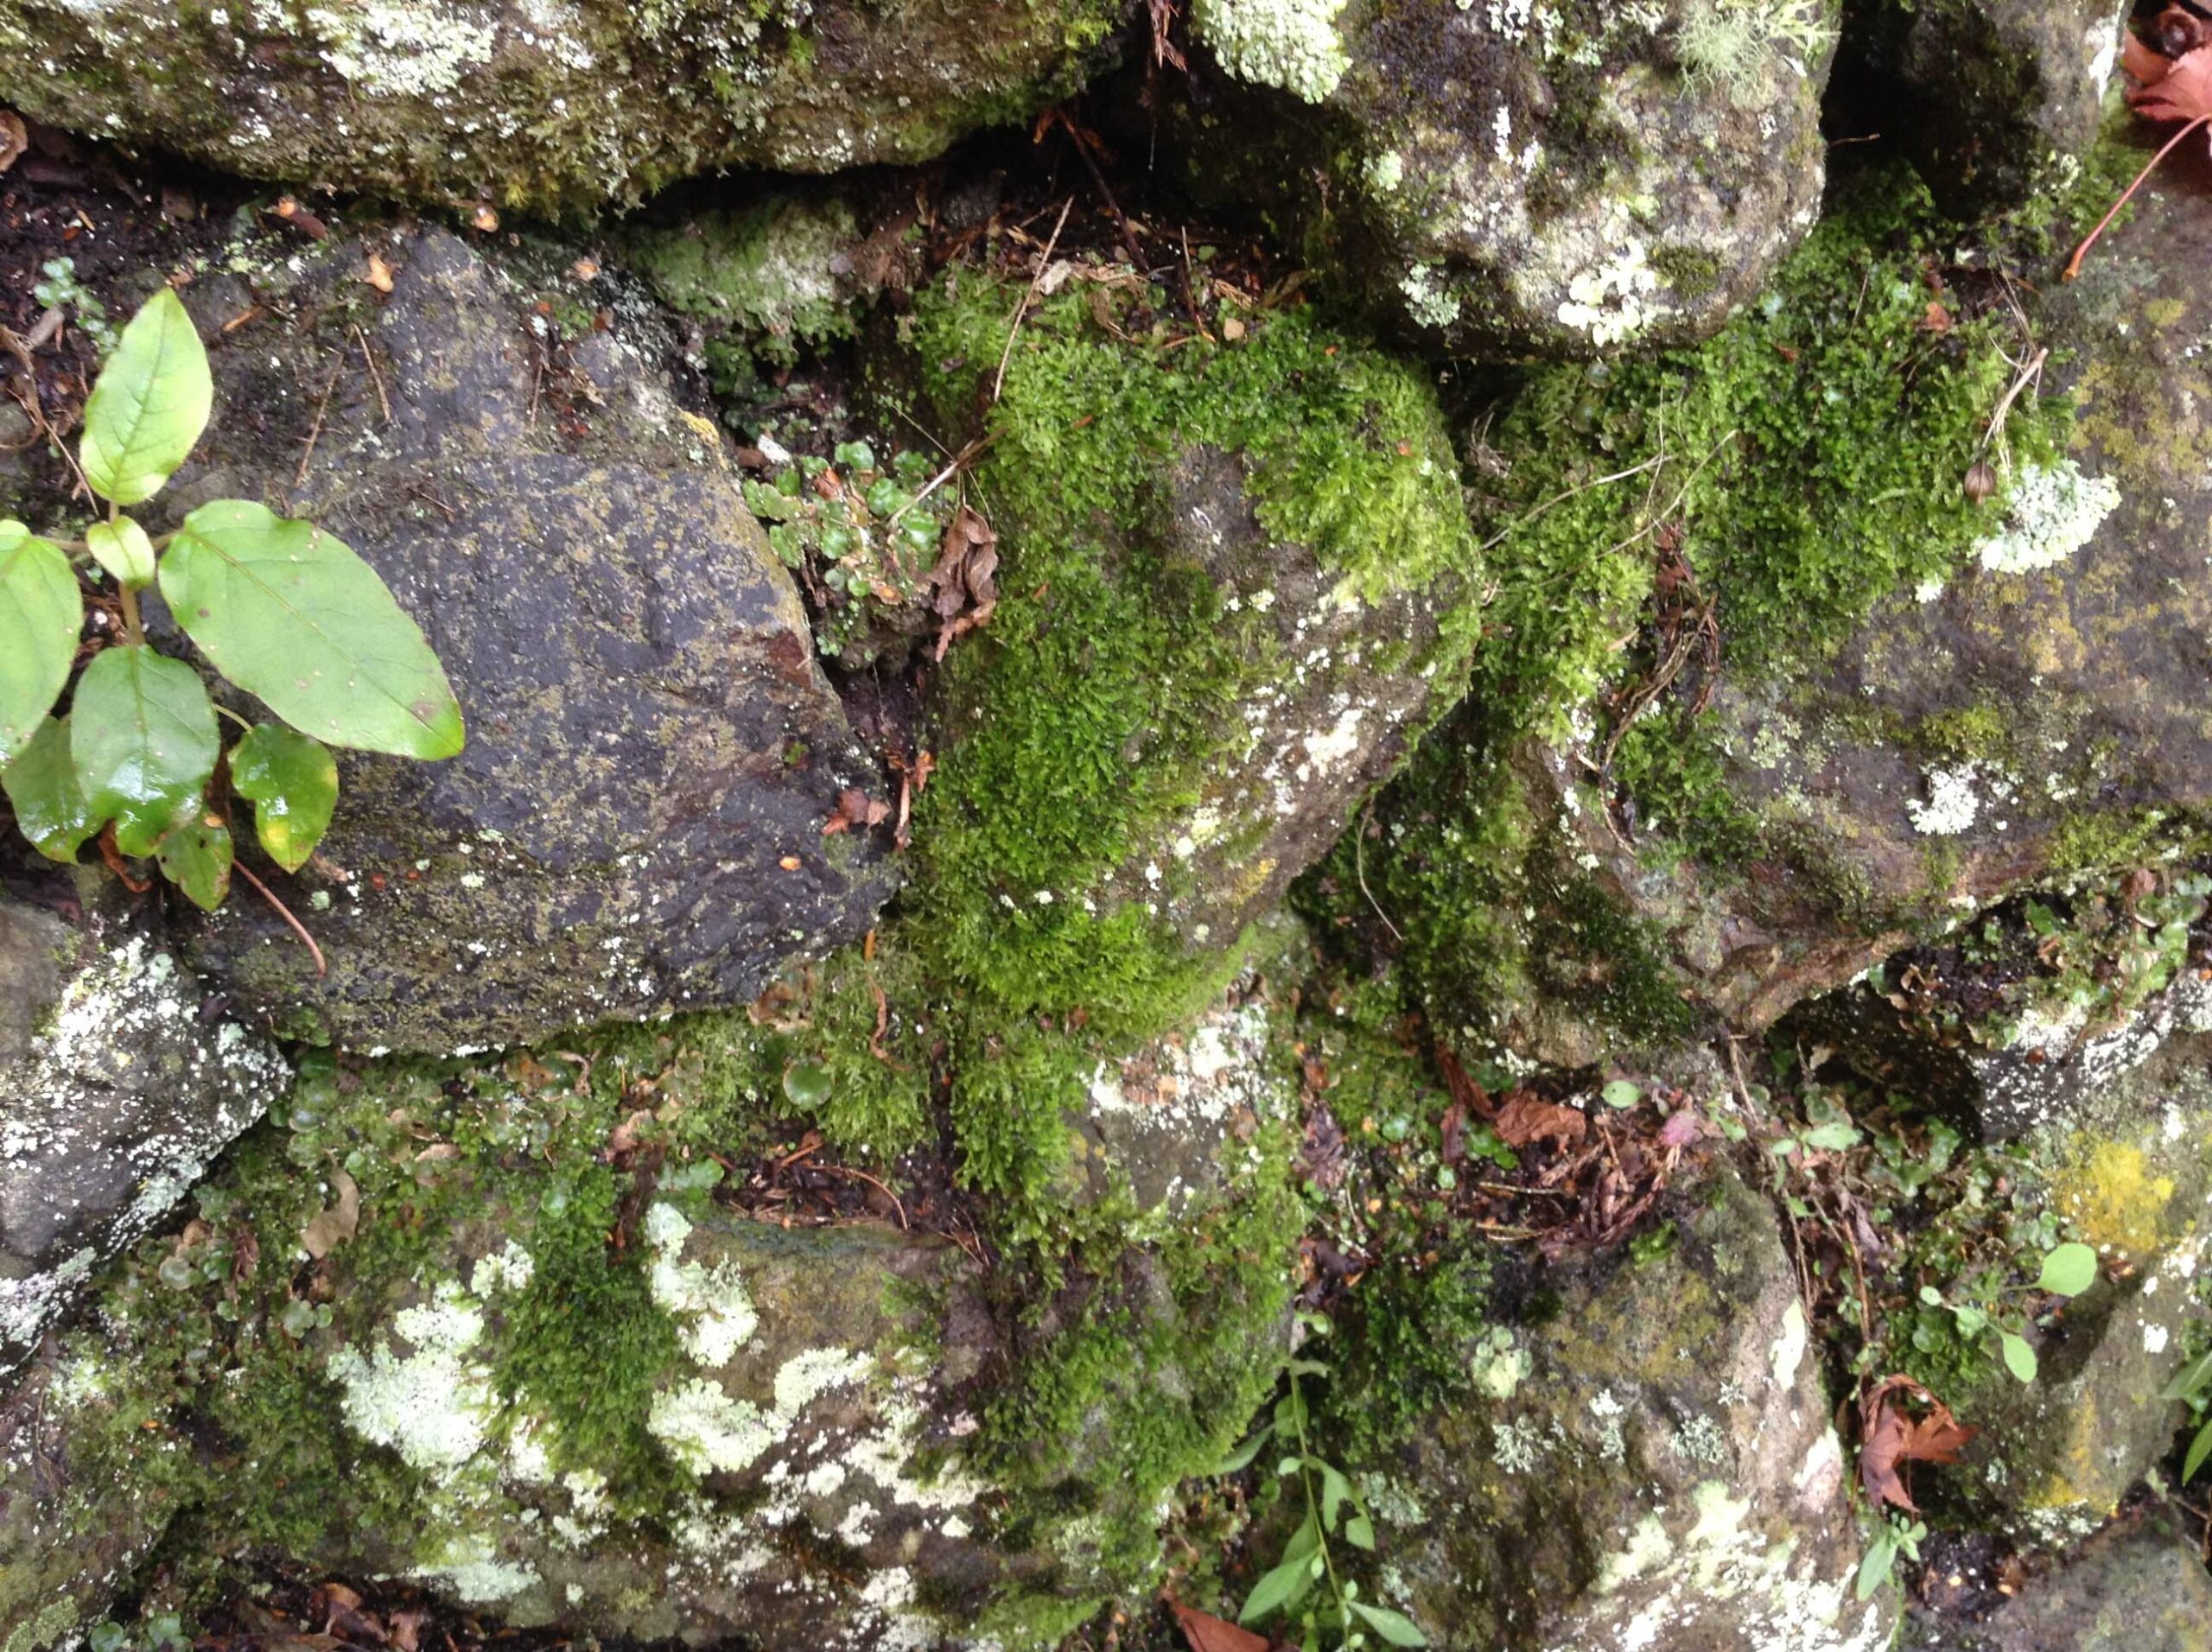

Tree roots obviously do not need sunlight and can be a good opportunity to indicate where openings to the surface are, or where the cave ceiling got penetrated. It also makes sense that the roots would attempt to grow into the dirt floor or cling on moist walls, while changing their direction of growth, when confronted with the solid rock floor.
This dictates some design choices:
- The soil may not look too dry in areas where moss or mushrooms dwell.
- In addition, any plant life dependent on sunlight needs to be grouped around the openings to the surface.
- The roots – if possible – will cling to walls and grow either into soil or make their way over the rock floor to find a suitable substrate.
With these guidelines in place, onwards to the construction process!
What you need – nature finds a way
For the mushrooms
- Thin malleable wire or alternatively steel pins for the mushroom stems.
- Any air-drying modelling putty to form the mushroom heads and cover the stems (Liquid greenstuff works well, but I don’t see any reason why the much cheaper alternative of Golden Acrylic Gels e. g. Soft, Heavy Body etc. should not do the same).
- Fast setting glue to attach the heads to the stems.
- Acrylic paints. If you go for psychedelic fantasy mushrooms any colour suits. I went for more natural colours like brown and off-white. GW Agrax Earthshade comes in handy, too, or any dark brown wash for that matter.
For the roots
- Malleable wire with different gauges to form thicker and thinner roots.
- Golden Acrylic Medium matte to cover the wire and improve adherence.
- Wood filler to cover the sealed wire and achieve a wood like surface texture.
- Brown and beige acrylic paint (can be cheap stuff) and GW Agrax Earthshade.
For weeds, moss and wall creepers
- MiniNatur Ivy and different grass tufts. I used a selection off autumn grass tufts.
- Matte spray varnish to reduce the shine of the static grass. I use Tamiya Flat Clear.
- Brown acrylic spray paint, to slightly darken the tufts.
- Fine turf e .g. Woodland Scenics range of fine turf in dark green or any other fine turf. This is basically very finely ground coloured foam.
- Wood glue.
- Dark or medium green, yellow and beige acrylic paint. GW Agrax Earthshade.
- Water.
Tools needed
- Brushes of various sizes to apply paint and wood glue. Old bristle brush for dry brushing.
- Sculpting tools.
- Wire cutter.
- Hand drill.
How to make vegetation
The mushrooms
Cut as many pieces of wire as you need mushrooms. The wire should be slightly longer than the actual stem, so that you can drill a hole and insert the wire later on, fixing it securely to the dirt floor.
If you use metal pins, shorten them slightly, but keep the part with the pin head. Bend the wire slightly, so that the stem will not be absolutely straight, resulting in a more realistic appearance. Stick the wire in a piece of styrofoam, with the future stem section poking out. Cover the stem with liquid greenstuff or a comparable product.
Using a small ball of modelling putty form the mushroom head. Depending on the kind of mushroom you would like to depict, this can be a flattish head, a tapering head or more like a spherical shape. Don’t forget to add some lamella on the underside of the head with a needle or sculpting tool. For the crypt I made three different kinds of mushrooms differing in size and shape.
If you use a steel pin and would like to depict very small button mushrooms you can just cover the pin head with some putty and leave it at that and save yourself a step.
After everything is cured, glue the heads on the stems.
Painting time! Basecoat and paint your mushrooms. Any colour is possible in a fantasy universe or stick to some reference pictures if you prefer a realistic look. I used dilute paint for this step to achieve smoother transitions and finished it of with a wash of Agrax Earthshade.
Remove the mushrooms from the styrofoam block, drill a hole where you want to place a mushroom and glue in place.
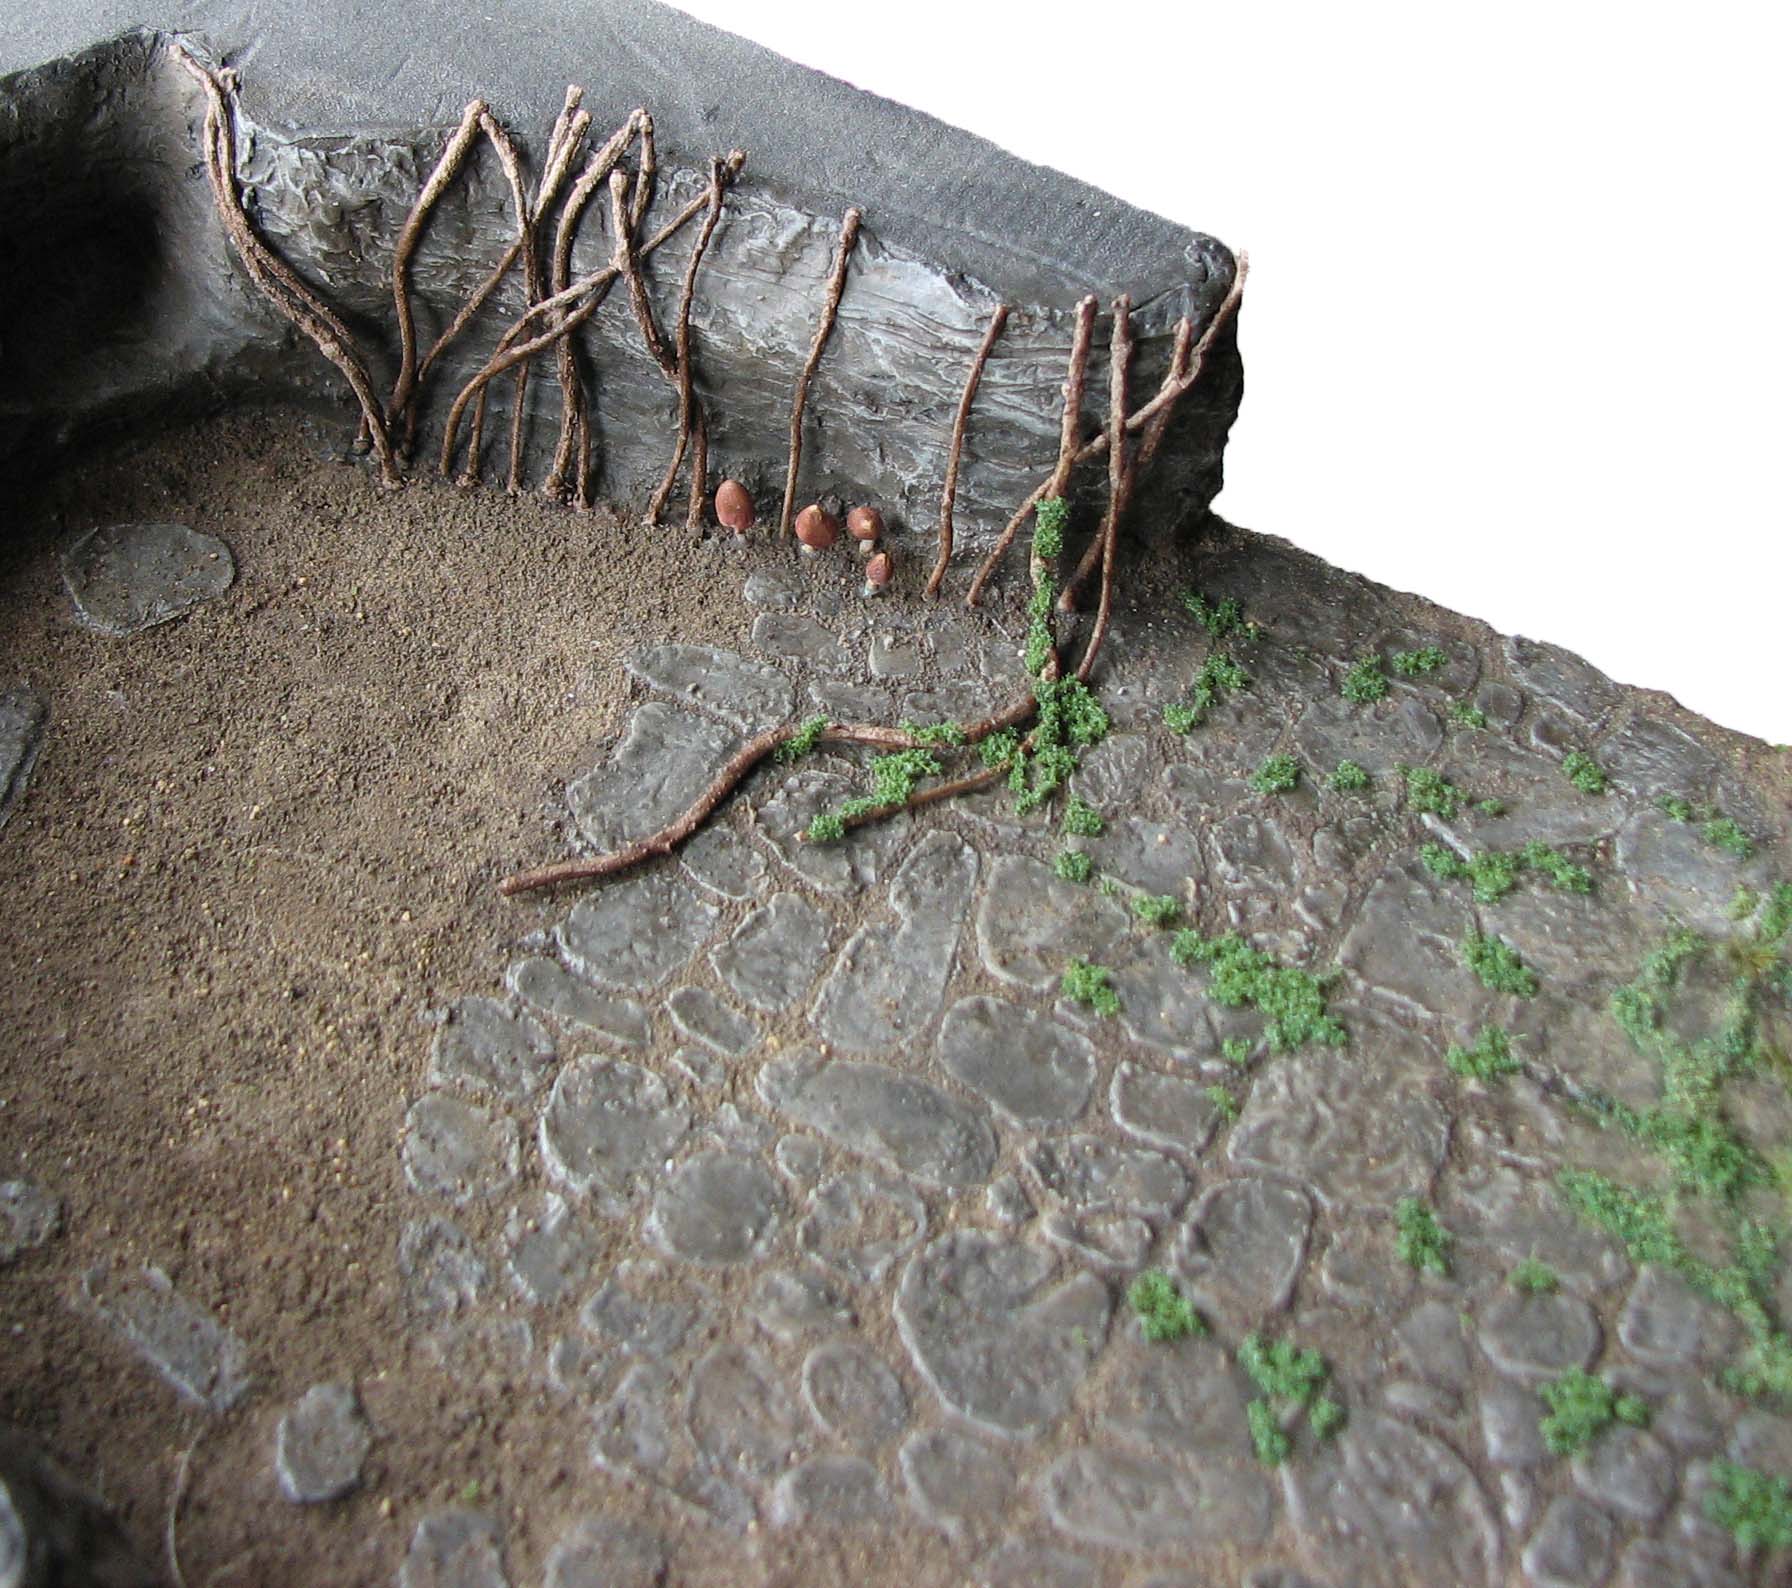
The roots
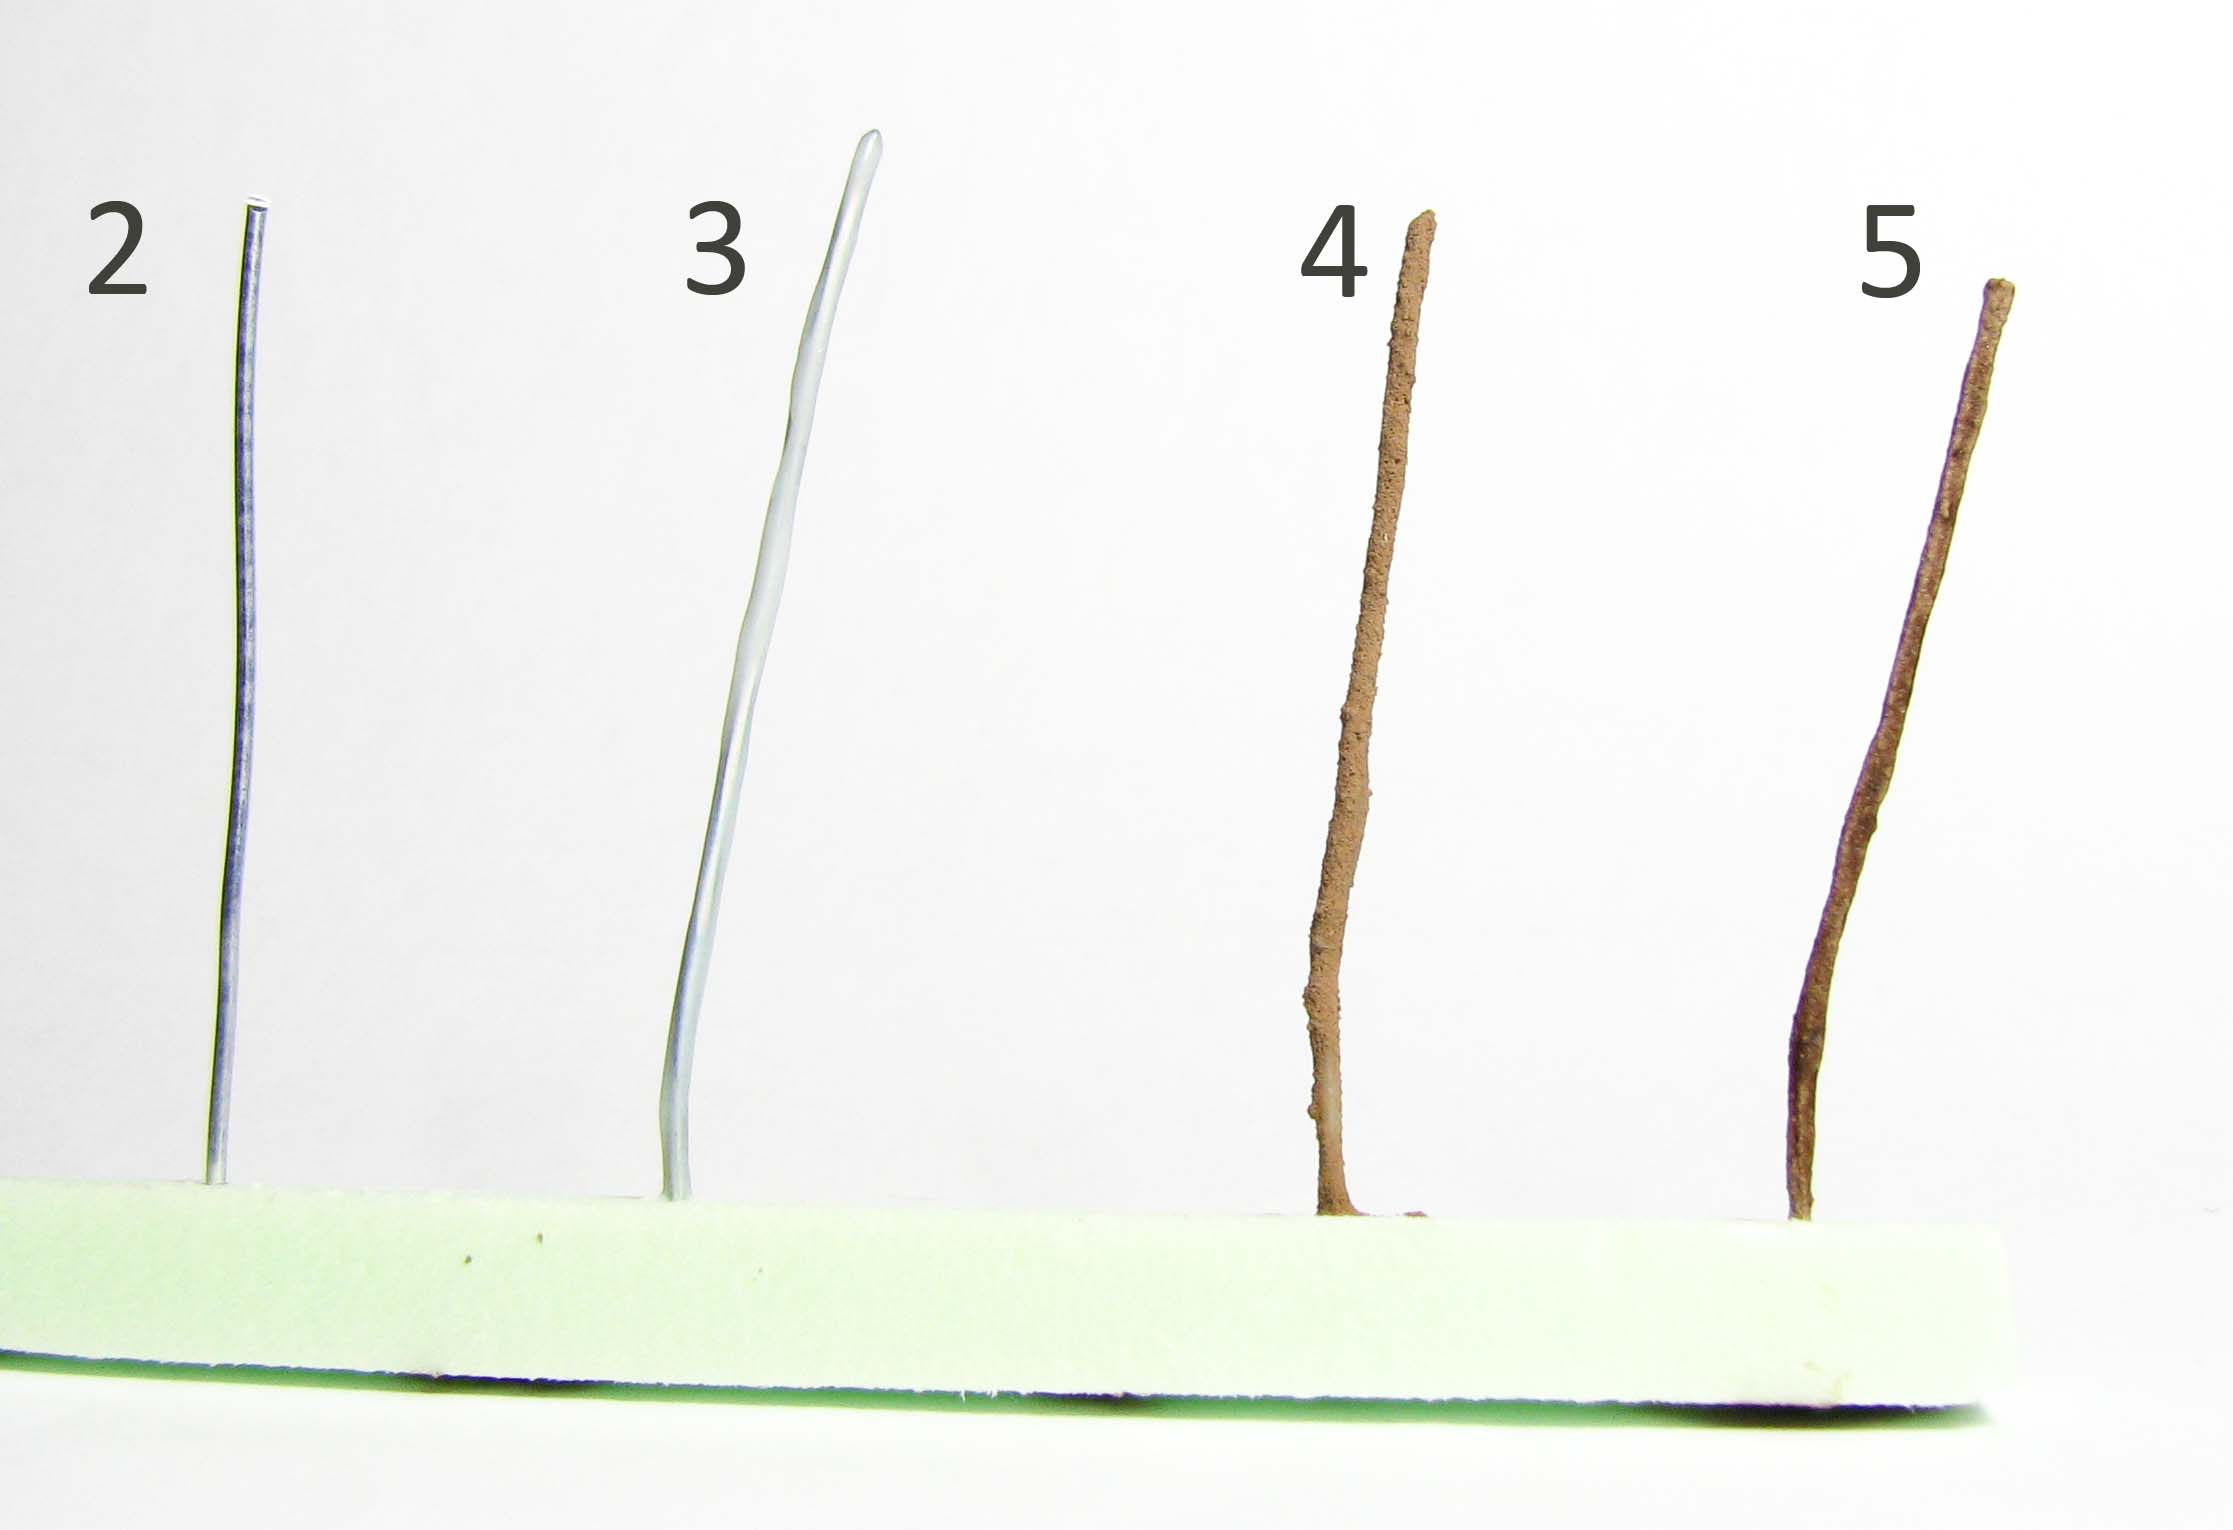
Cut as many pieces of wire as you need roots. The wire should be slightly longer than the actual root, so that you can drill a hole and insert the wire later on, fixing it securely to the dirt floor.
Just as with the mushrooms stick the wire in a block of styrofoam. Cover the wire with Golden Acrylic matte medium. This step is very important to assure that the other layers will adhere to the wire. The acrylic gel is slightly flexible after drying and also provides some “tooth” for the succeeding layers.
After the acrylic medium is dry, mix some wood filler with beige acrylic paint and water, just so that you achieve a consistency you can easily brush on. Given that the wood filler is white, you might need more paint than you expect.
When the filler is dry, cover with Agrax Earthshade. In my opinion that is already enough to make the roots look the part. You can apply subtle highlights here and there, but on reference pictures such roots look very pale and featureless.
Now you can remove the roots from the styrofoam block and bend them carefully into the preferred shape. This way you can easily fit them to a wall, a floor section and so on, without having to worry about getting paint on the finished parts. This is also why step three is so important. Without, the wood filler will crumble away under your very hands. You may have to cut the roots to lengths. Cover any small cracks or open ends.
Glue the roots in place and make sure, that you don’t block areas, that you want to work on later.

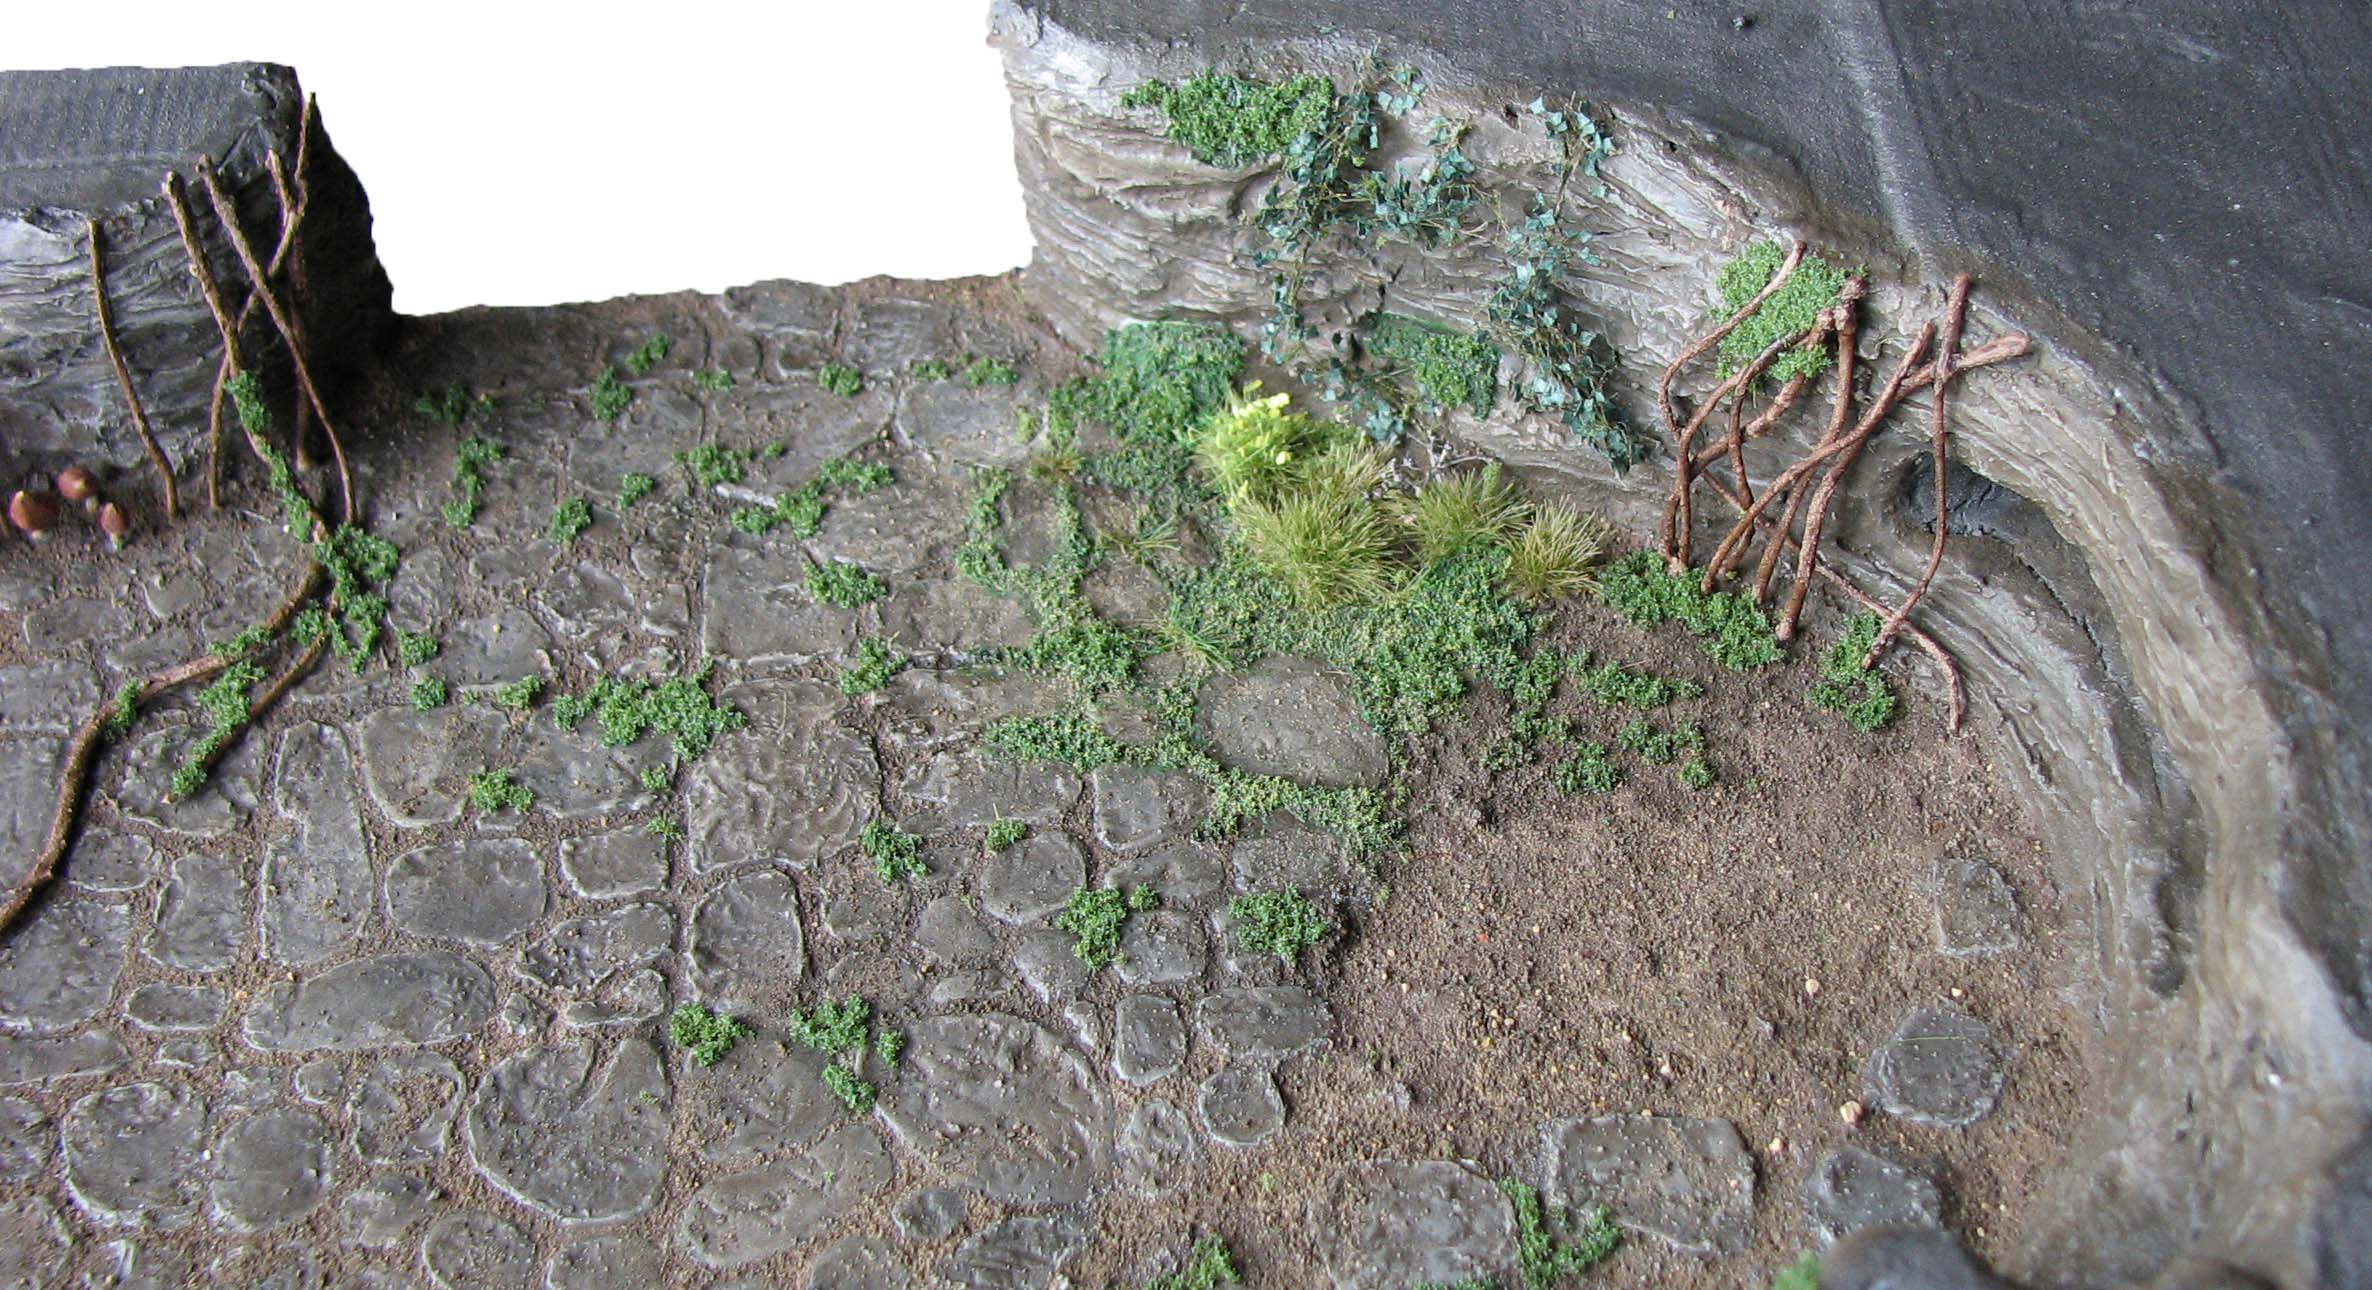
Floor creepers
Pretreat the tufts and vines with a bit of matte spray varnish and brown spray paint. Really only lightly mist them, don’t overdo it. This way we can reduce the gloss of the static grass and also dull the stark green colour a bit.
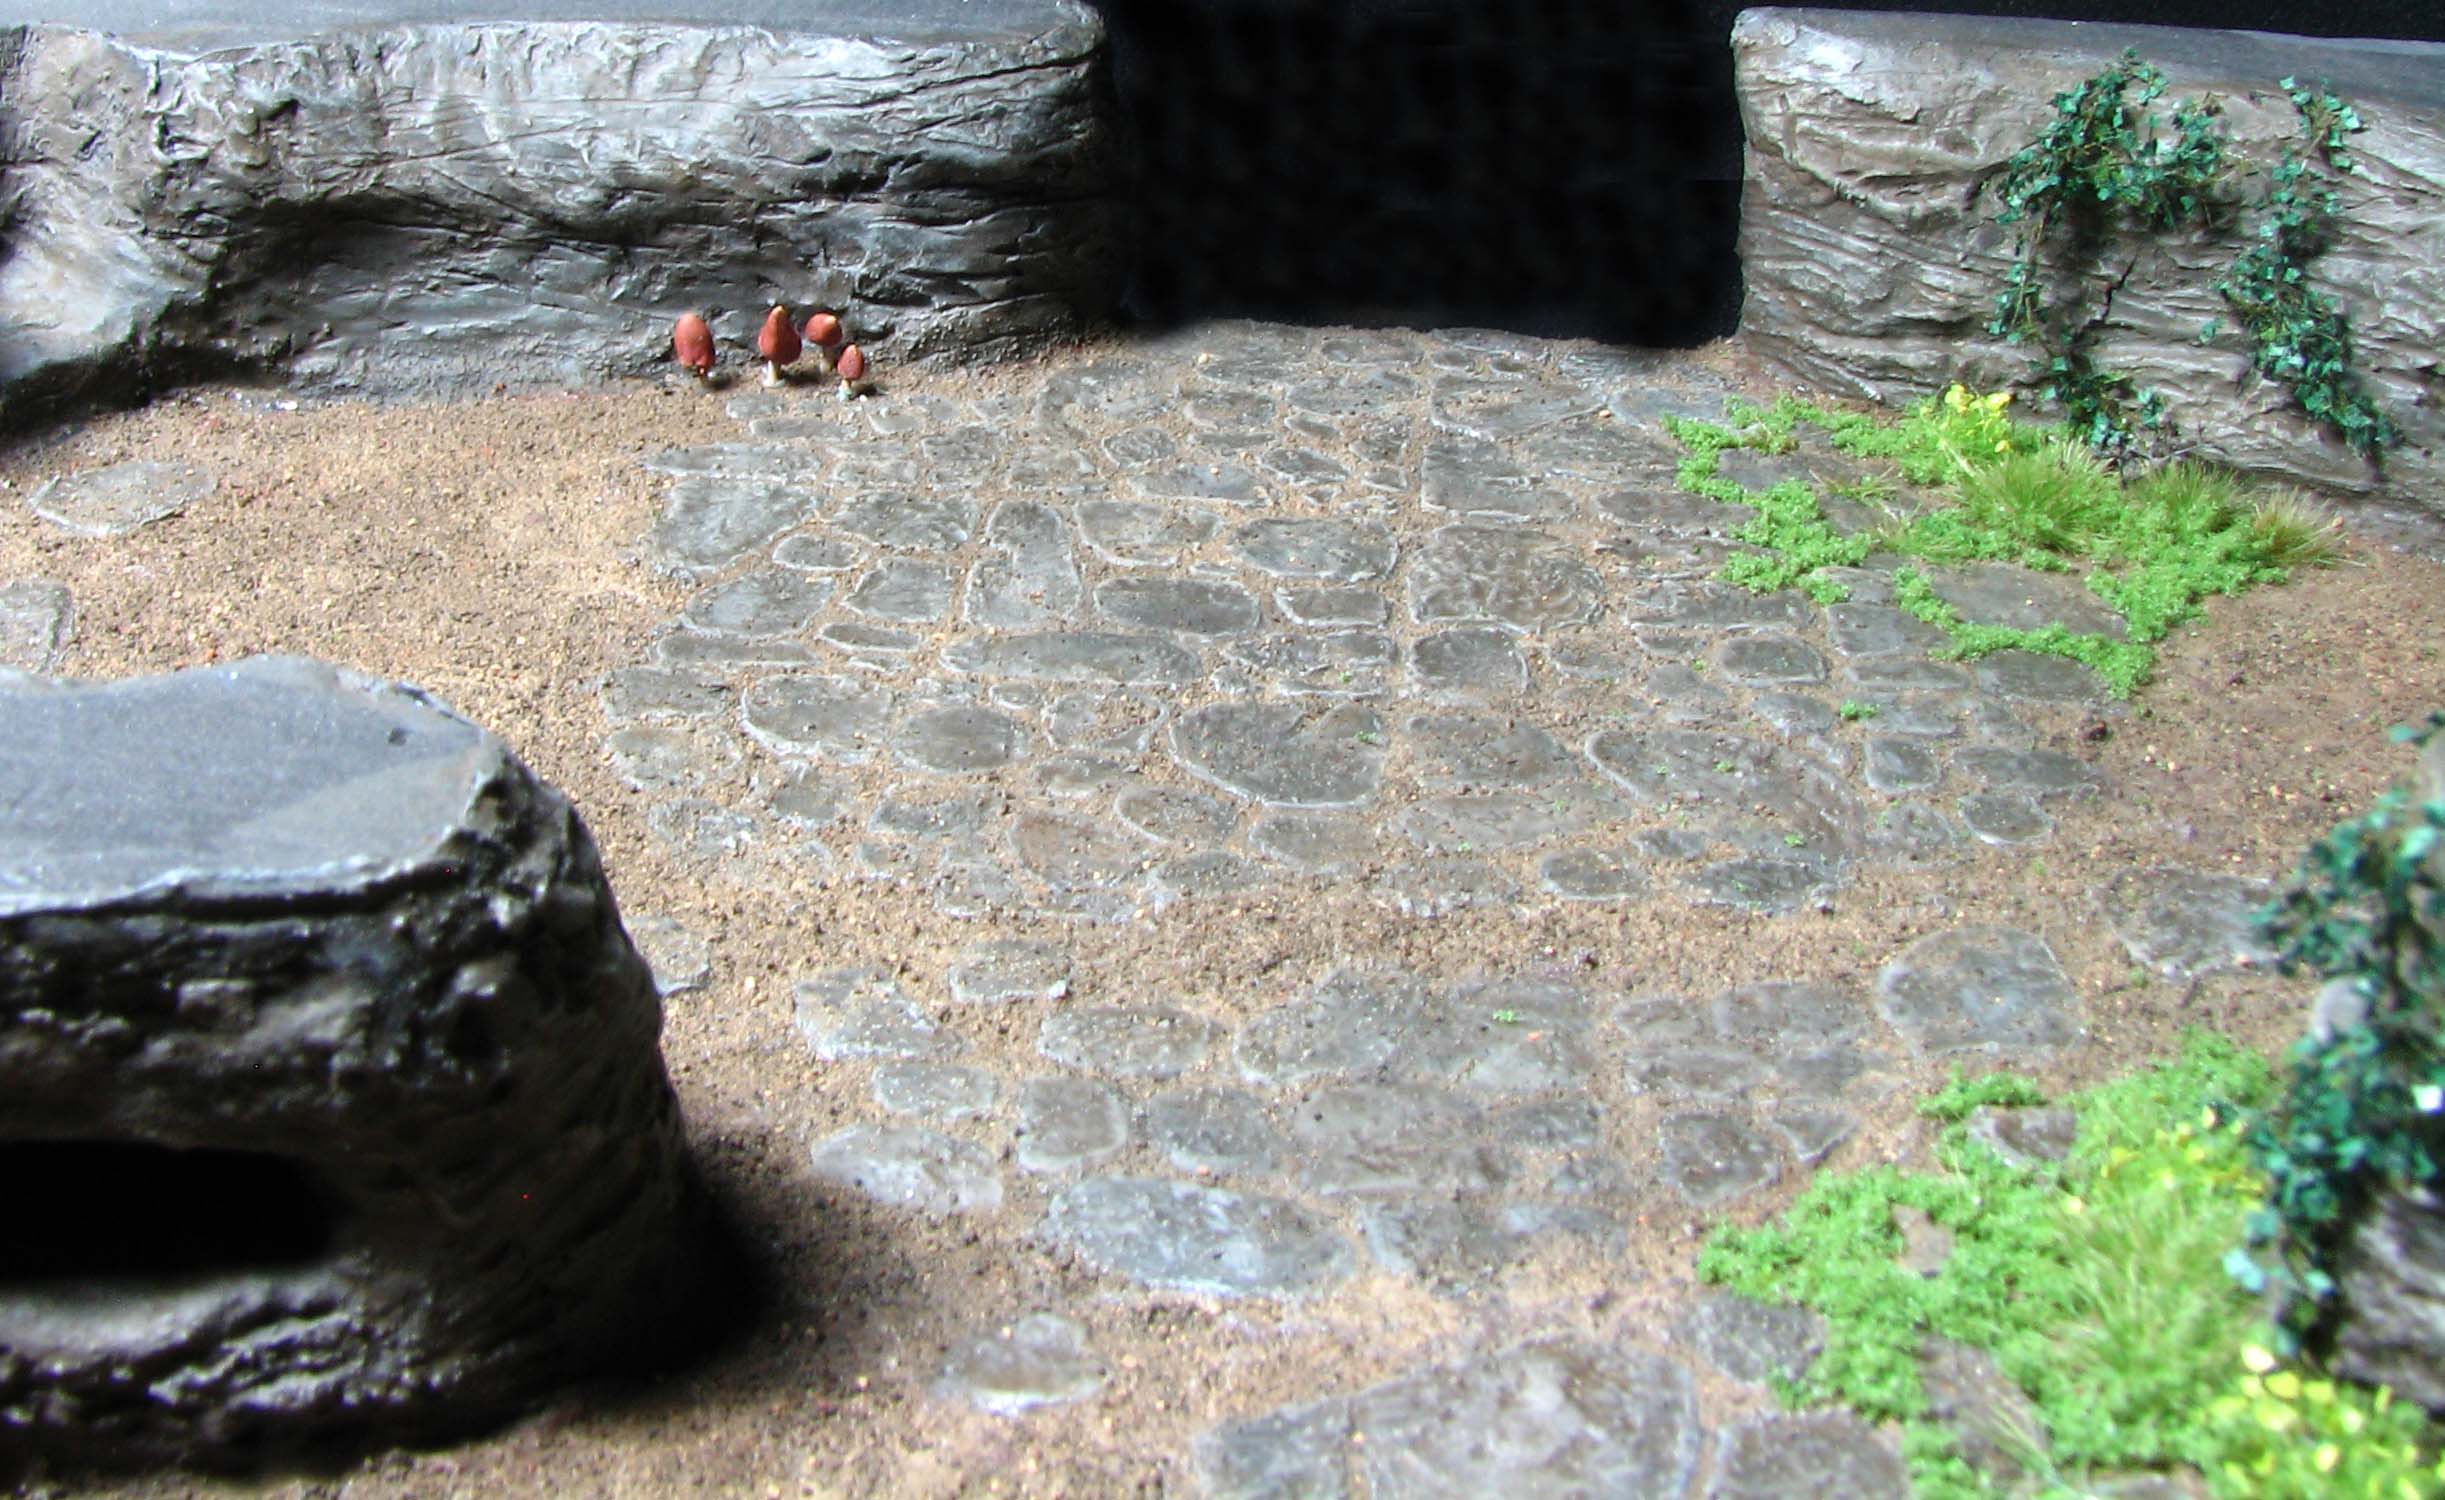
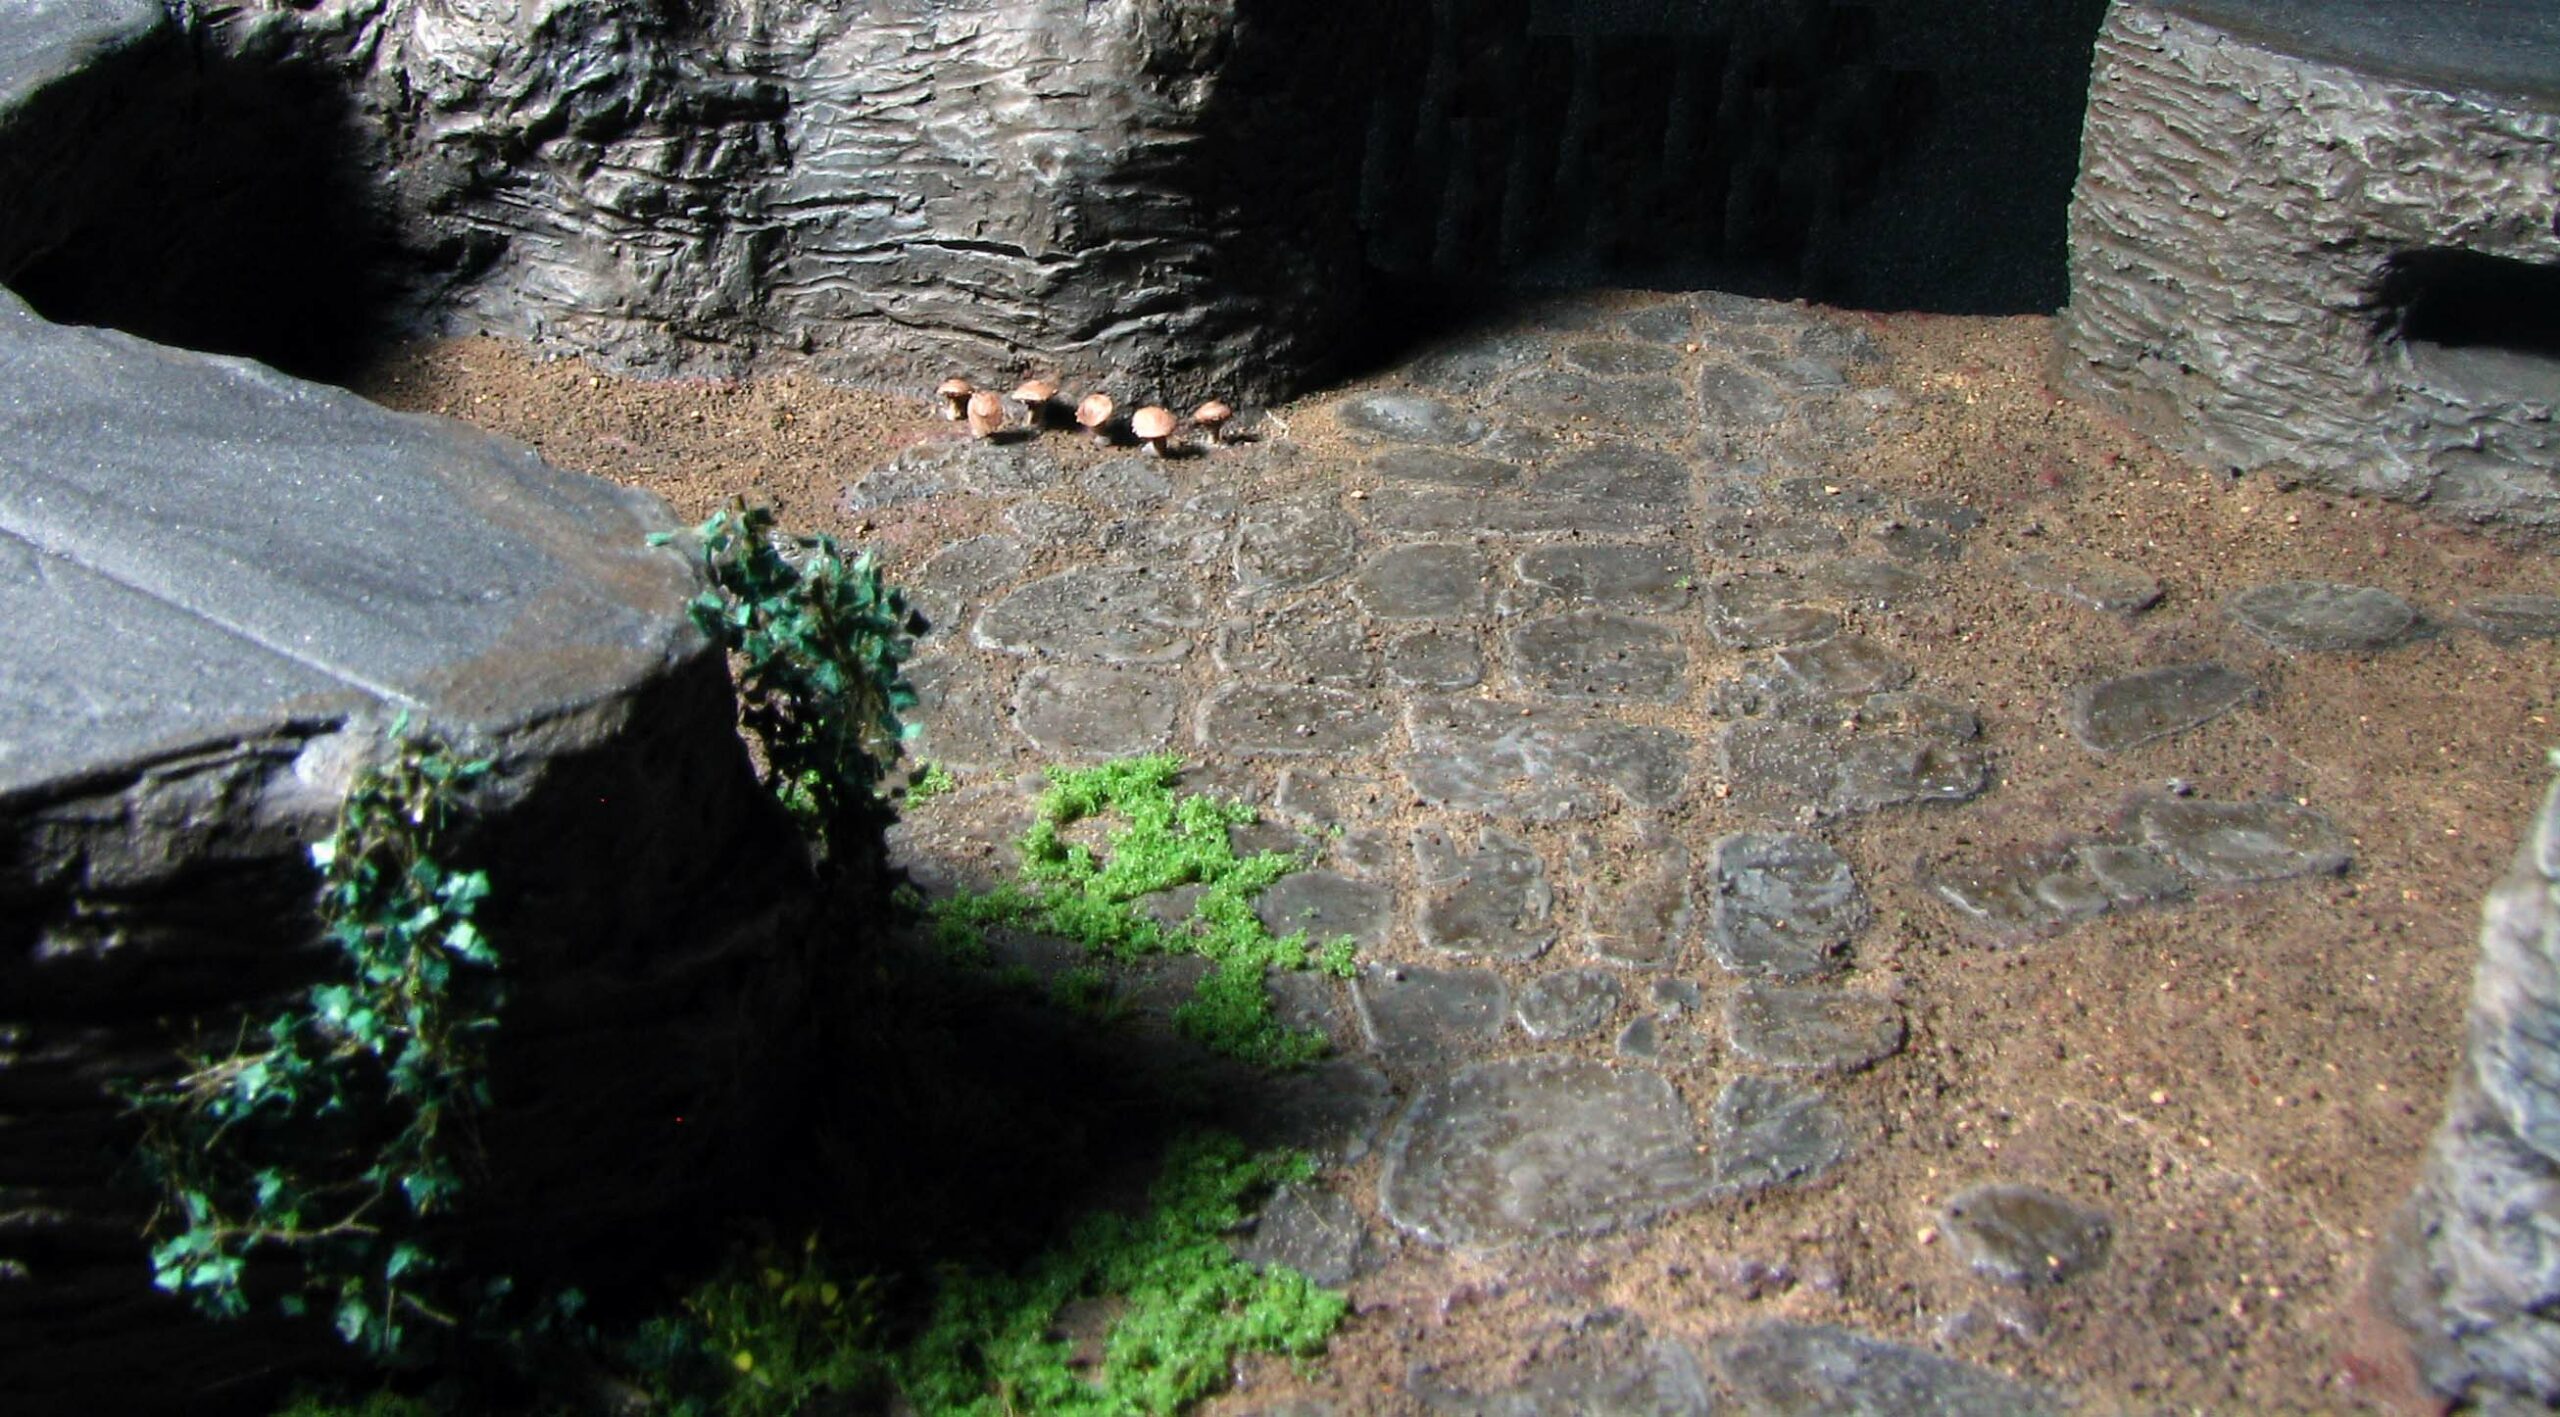
Using wood glue or acrylic medium, glue the MiniNatur vines and tufts in place. I decided on two narrow light shafts and placed the vegetation only where I imagined light could hit the ground directly.
Drybrush the tufts lightly with beige acrylic paint, just to soften the stark green colour further and take away any remaining shine.
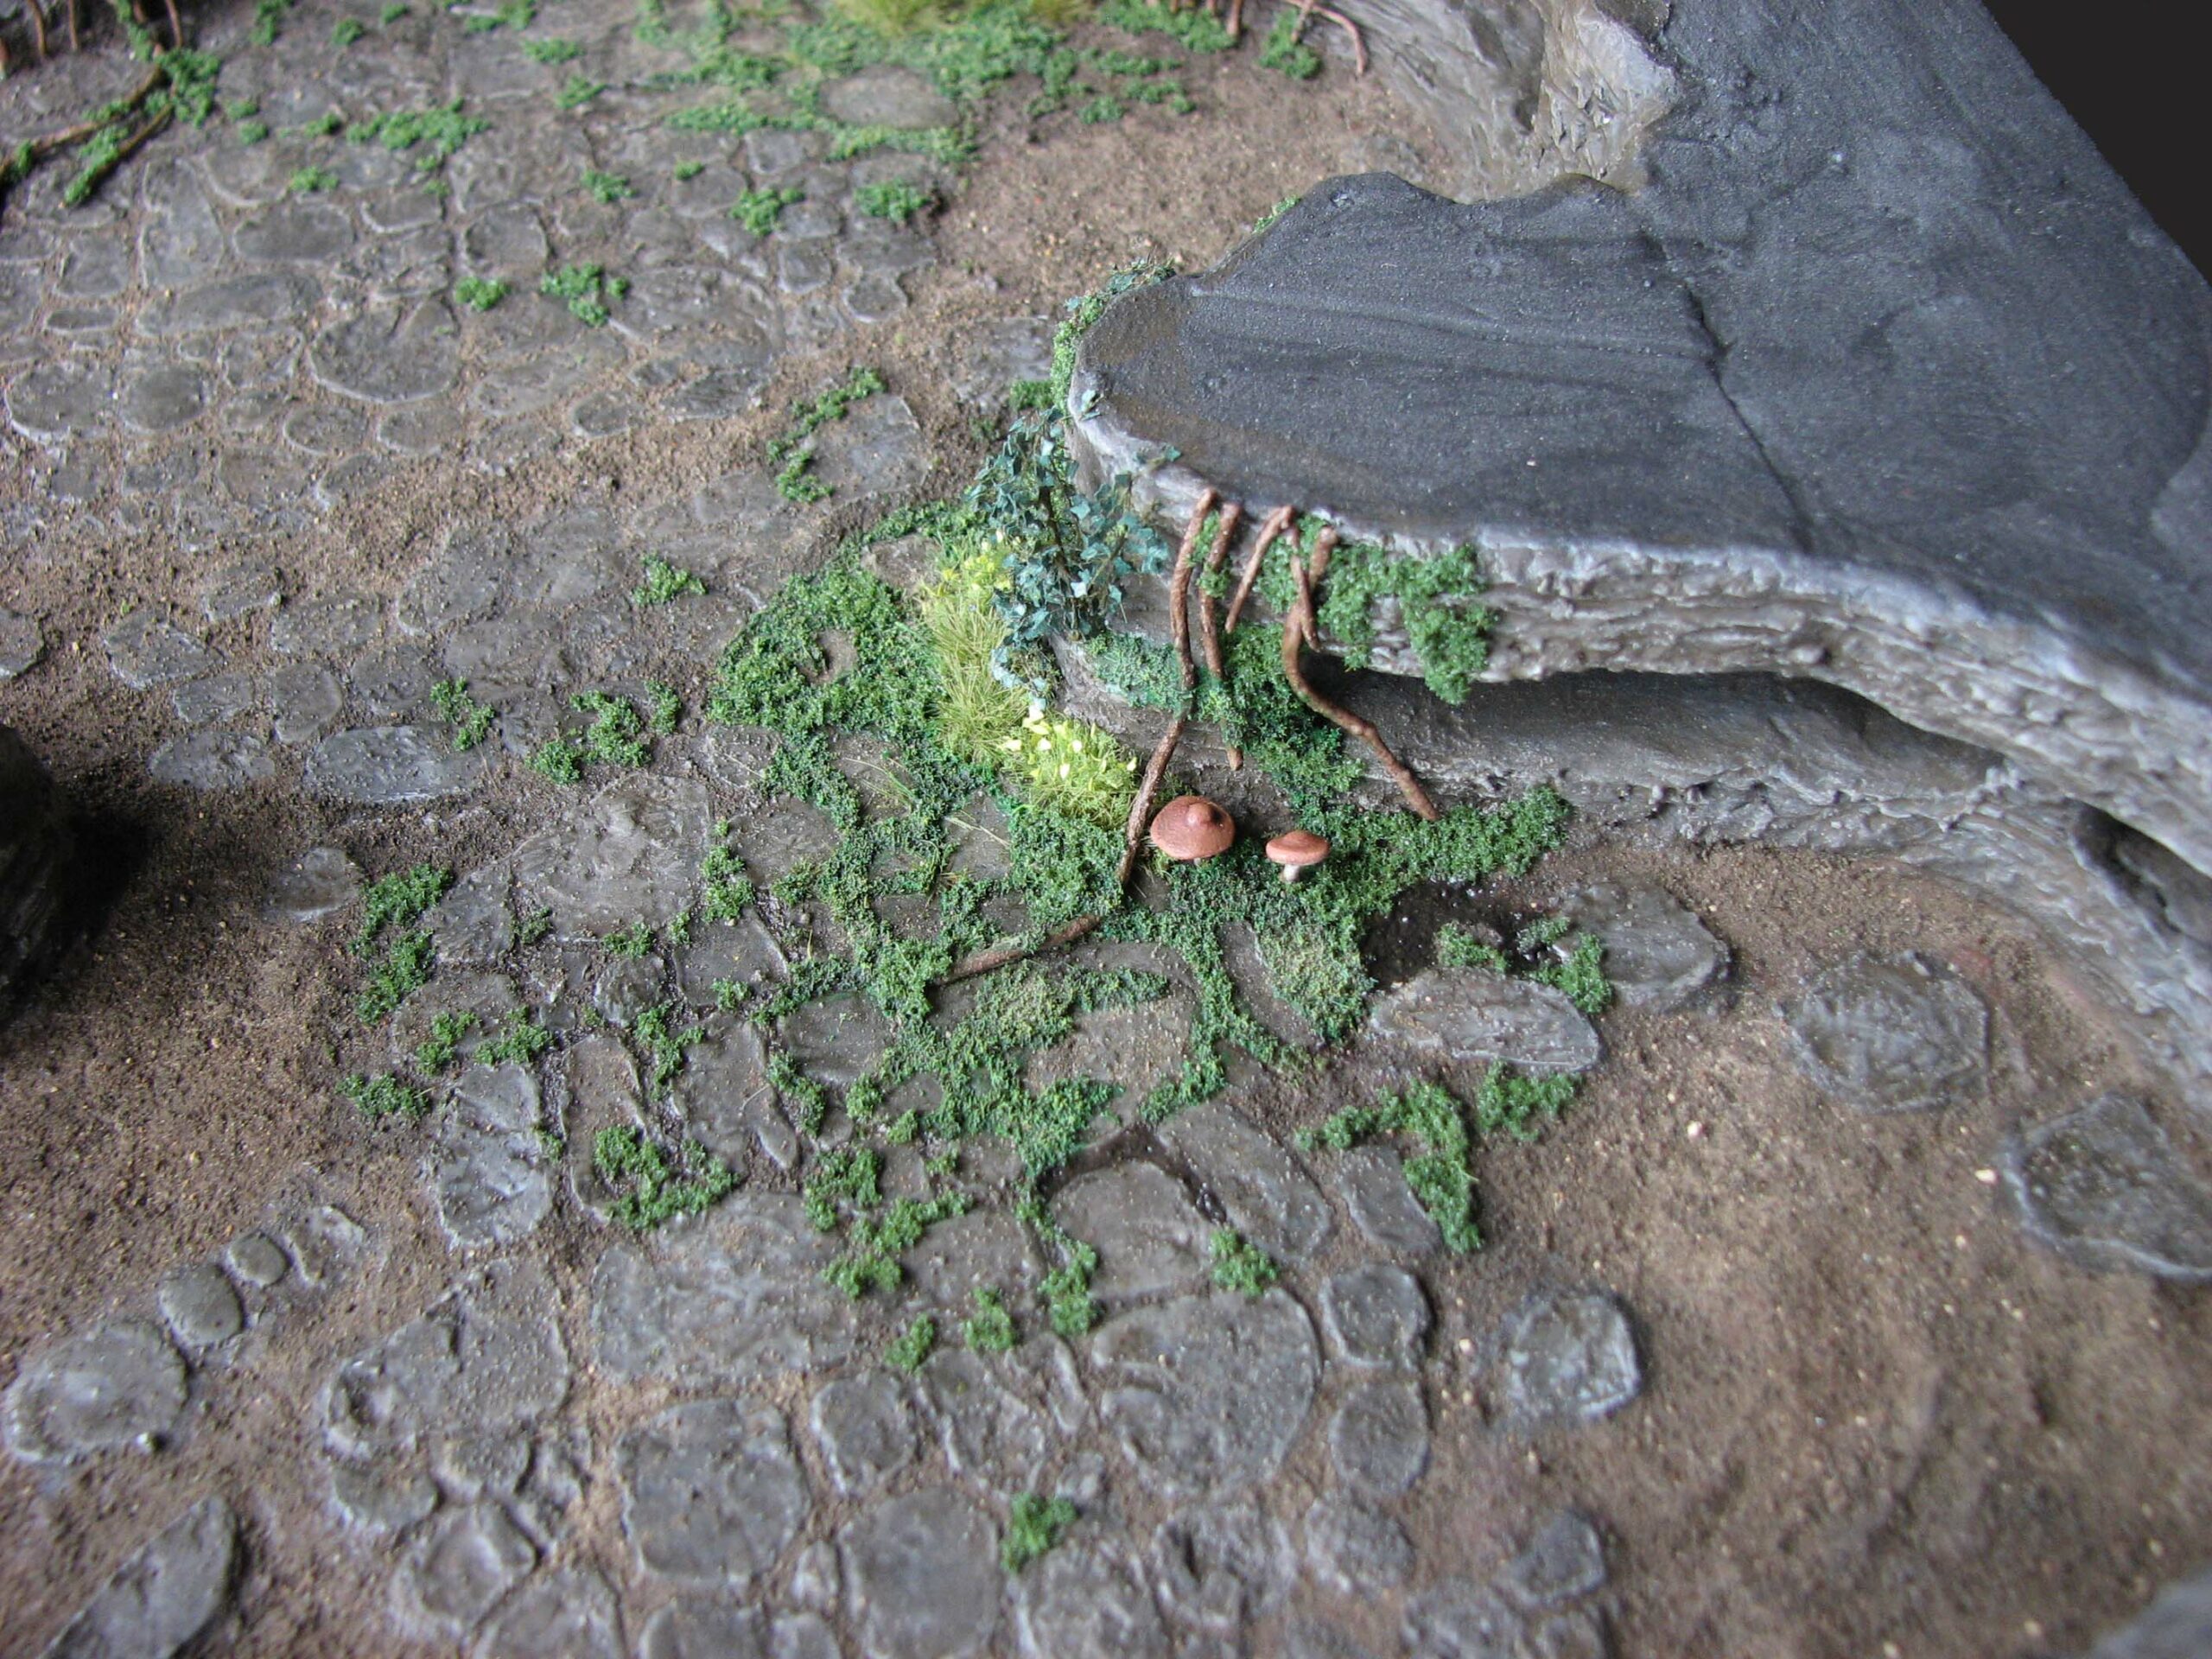
Moss paste
Mix the fine turf, green acrylic paint, wood glue and water to a paste. It needs to be sticky enough to adhere to the walls, but also easy to spread. Don’t worry if the paste looks bright green, it will darken quite a bit when the wood glue tries.
Take some of the paste with a toothpick and apply it wherever you would like to add some moss. Now spread the paste out and press it down lightly.

When dry, the moss is now rock hard and can be easily painted, while providing a nice moss-like texture. First, wash it with a bit of GW Agrax Earthshade, followed by several highlights with succeedingly brighter greens up to pure yellow.
Make sure to place the moss randomly, spreading out in all directions for a more realistic look. To depict the moist environment, I darkened some areas of the soil slightly and also added some acrylic gloss gel to depict shallow puddles of water.
Thanks to our undead servants tireless work, we finished the basic layout and vegetation, now we need to move on to sacrificial offerings, candles, skeletal remains and urns in part III.
[…] first. Also I will make a moss paste see dagger and brushes site again for tips on that… https://daggerandbrush.wordpress.com/2014/04/16/crypt-of-the-damned-a-soul-shattering-tutorial-part-… I’m not sure where exactly this piece will go after I have done the moss paste, light moss […]
Keep up the awesome work! Love these tutorials 😉
Thank you. I intend to. ;).
Beautiful! I really like how you considered all the natural angles for how moss and roots and shrooms might actually form in such an environment. It’s true what you say about Skyrim 😉 if you wanted to mimic that then the final step would have to be coating everything in gloss varnish and putting a heavy bloom effect over your photos!
No, not the bloom! Ahh, my eyes! I guess they went for a very moist look, but in some of the more arid game environments it does not make much sense. I am not an expert on cave ecosystems, but I am glad if it looks convincing!
Man, this looks fantastic. Very convincing!
Thank you! Now “only” a couple more details and the module is finished. I have already some good ideas for other modules, but need to decide if I focus on the Crypt theme first or also branch out into mushroom caves, sewers or crystal caves.
That all sounds great-even the sewers! I have to admit, I am intrigued as to how you’ll pull off crystal caverns.
I thought of using plenty of quartz pieces or making casts of quartz pieces in clear resin. However, I first have to see if this is viable. ;).
Ah, yes, a quartz cluster, chisel and hammer should work out well, I’d think. 🙂