In this post I focus on making standing stones from scratch. They are a staple in any fantasy game, but also interesting for the historical wargamer. As my campaign setting features such sites prominently, I thought it might be a good idea to craft a set. Gladly making some ancient menhirs for the gaming table is a fairly simpel affair. You won’t need fancy supplies or exotic materials. So come along and explore ancient sites deep inside the forest.
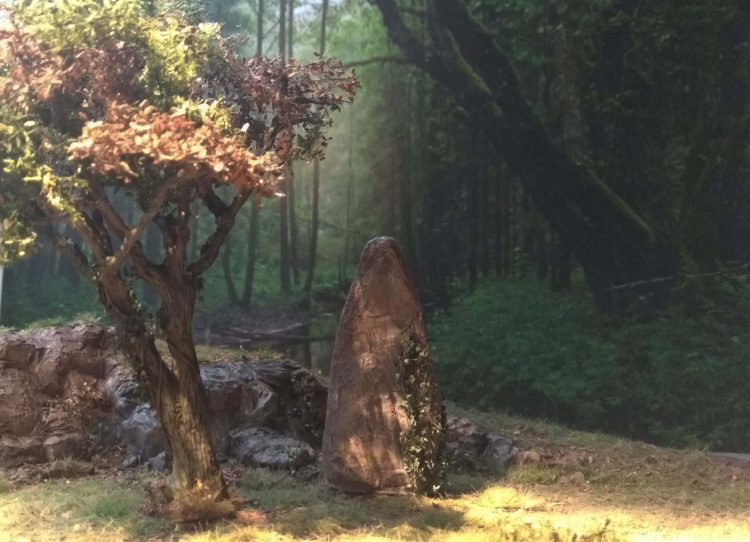
Materials and Tools
- XPS to pre-shape the menhirs.
- Some wire to strengthen the XPS.
- Wood filler to cover the menhirs and to add texture.
- Acrylic paint: Grey, brown, white and yellow.
- Optional: Vallejo Environment Moss and Lichen.
- Optional: Some MiniNatur ivy.
- Greenstuff to shape the base.
- Optional: a neodymium magnet to magnetize the menhir base.
- Matte varnish.
- Dark brown powdered pigment (AK Interactive Dark Earth).
- Liquid Nails to glue the XPS.
- Needle tool to make a hole for the wire.
- An old brush for dry-brushing.
- Scalpel or hot wire to cut and shape the XPS.
- A fine detail brush.
- Wire brush to texture the wood filler
- Some fine sanding paper to smooth the wood filler.
Let’s get startet
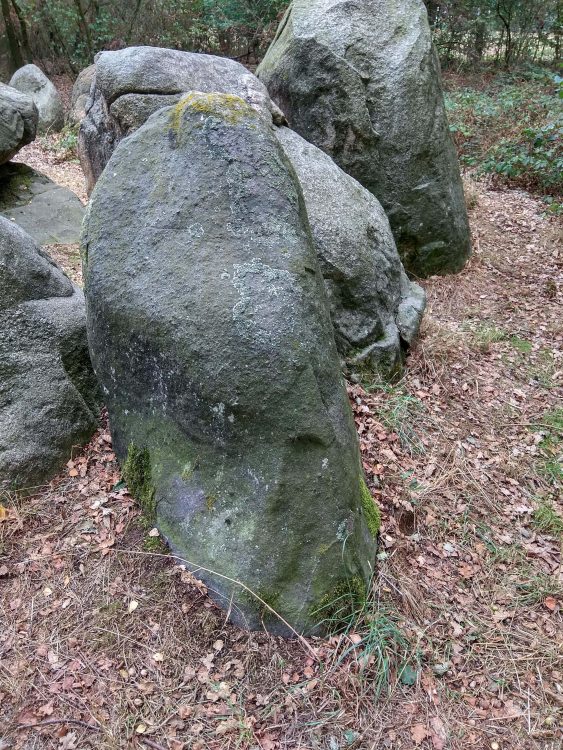
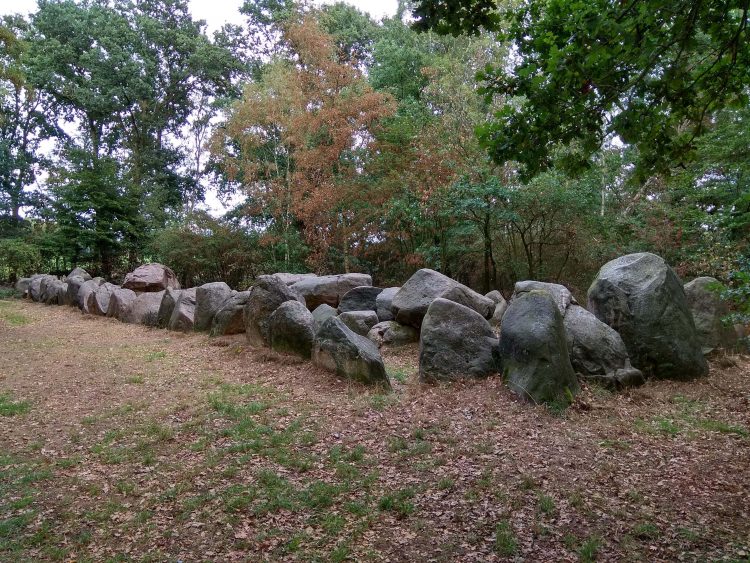
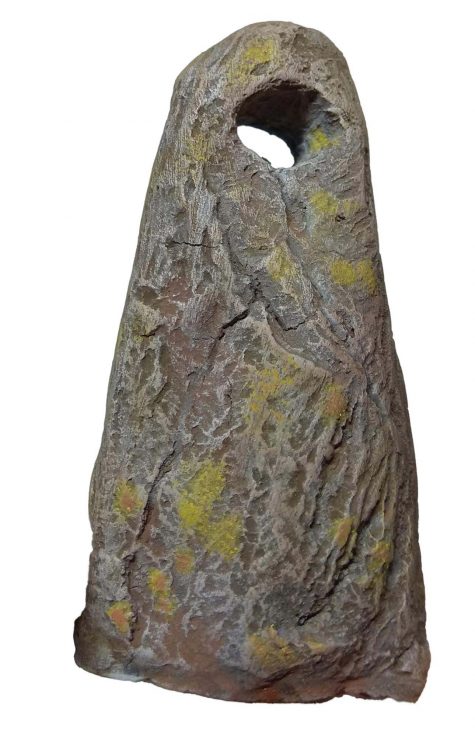
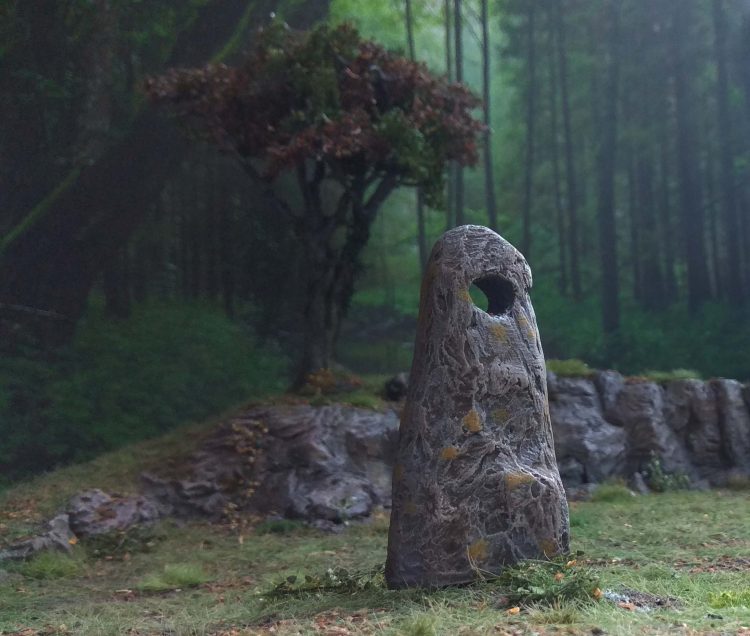
Before you start modelling look for some reference pictures online. What kind of menhir do you want to model? A simple conical one, a menhir with inscribed runes or something with holes in it, Skyrim style? Menhirs come in all sizes and shapes, but all of them feature a variety of moss, lichen and – depending on the stone – color variations. In this tutorial I will focus on two simple variants, to be later extended by a rune covered standing stone.
Shaping the Menhir
No matter which kind of menhir you want to make, the basic steps are always the same:
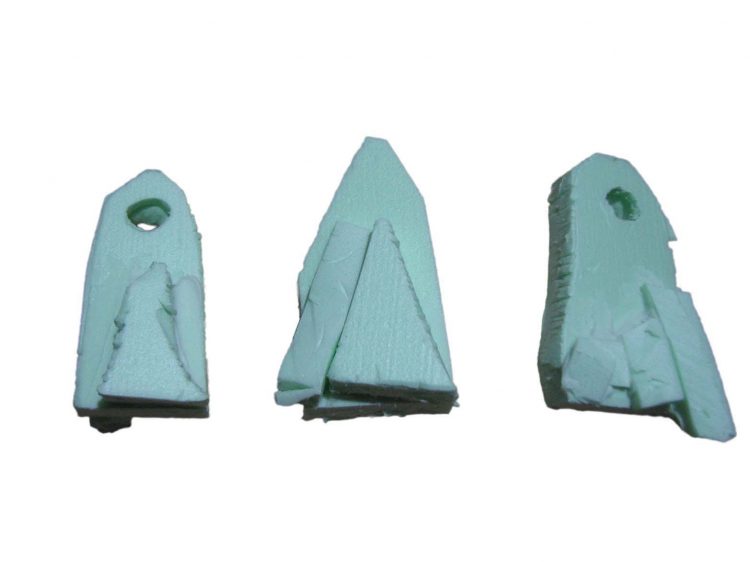
We start with very basic XPS shapes that resemble the final menhirs. No need to invest too much time at this stage. Just think about protruding parts, holes etc. You can use a scalpel or hot wire to cut the XPS to shape. I use 1 cm thick sheets for this.
Using the scalpel refine the shape a bit more and fixate the pieces with Liquid Nails. Let the glue set.
Mounting the standing stones
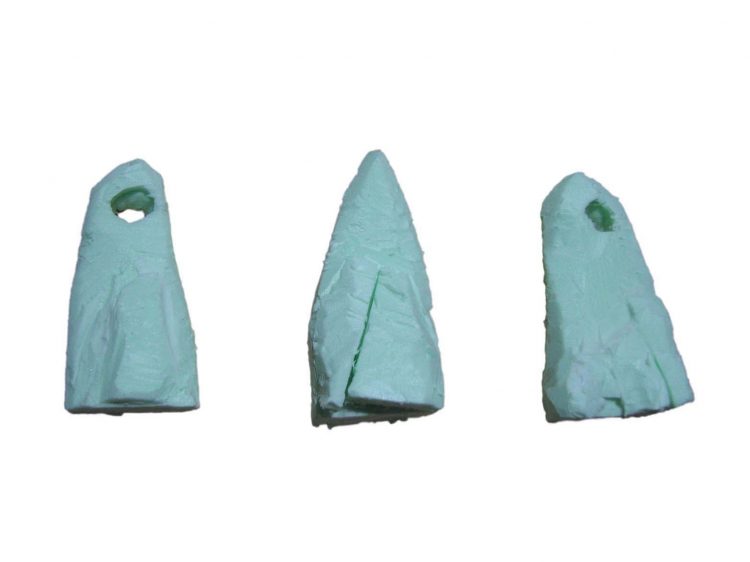
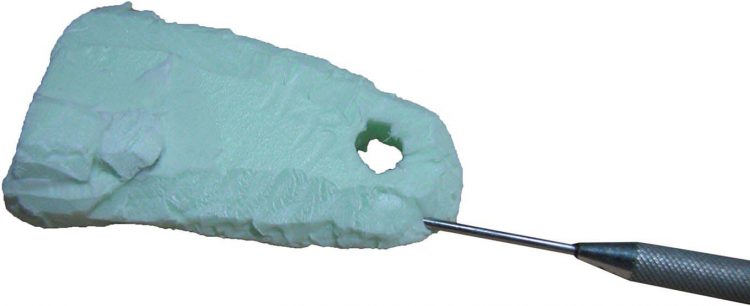
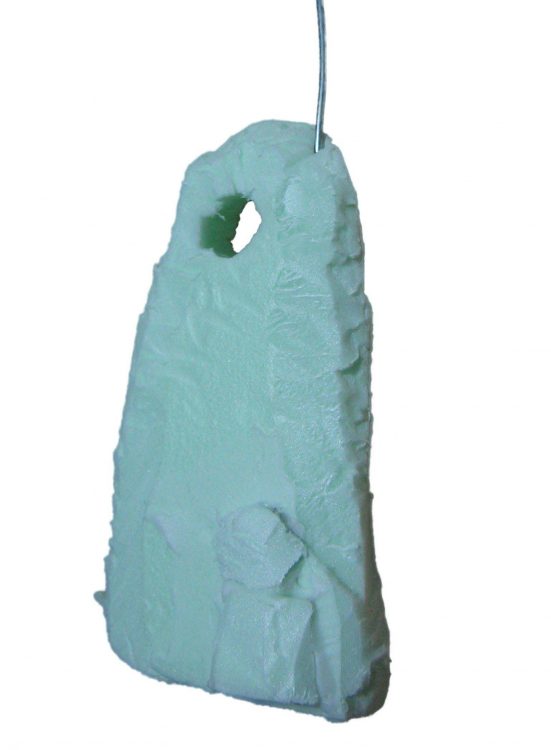
To add a bit of stability to the menhirs (as I thought they may be prone to snapping) use a needle tool and punch a vertical hole through the menhirs. Insert a piece of wire and glue in place .
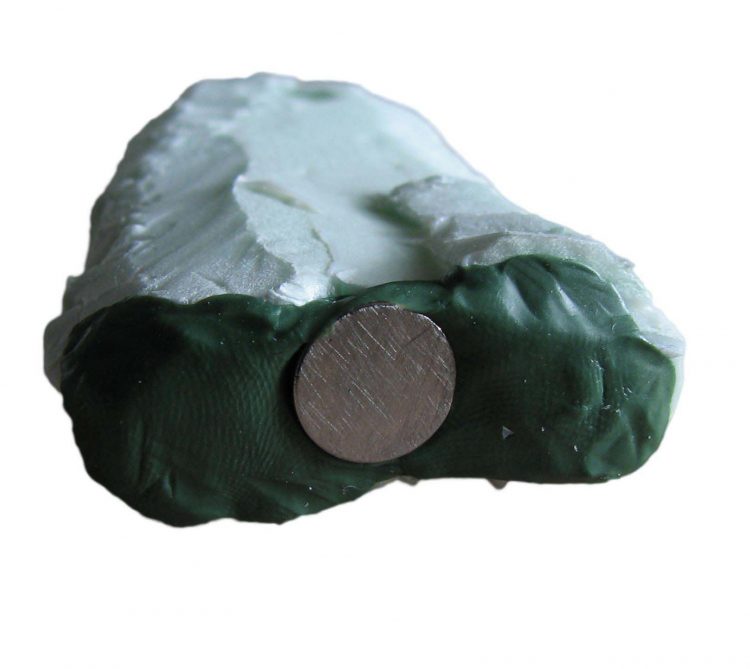
You can mount the menhirs on bases, but my boards have steel tacks embedded in them, so that I can attach and remove terrain features using neodymium magnets. If you want to go down this route make an indentation in the base of the menhir that fits the magnet. Cover the base with Greenstuff and press the magnet into the indentation. Now place the menhir on a piece of glad wrap and then again on a magnetic surface. This way you get a perfectly flat base.
Adding texture
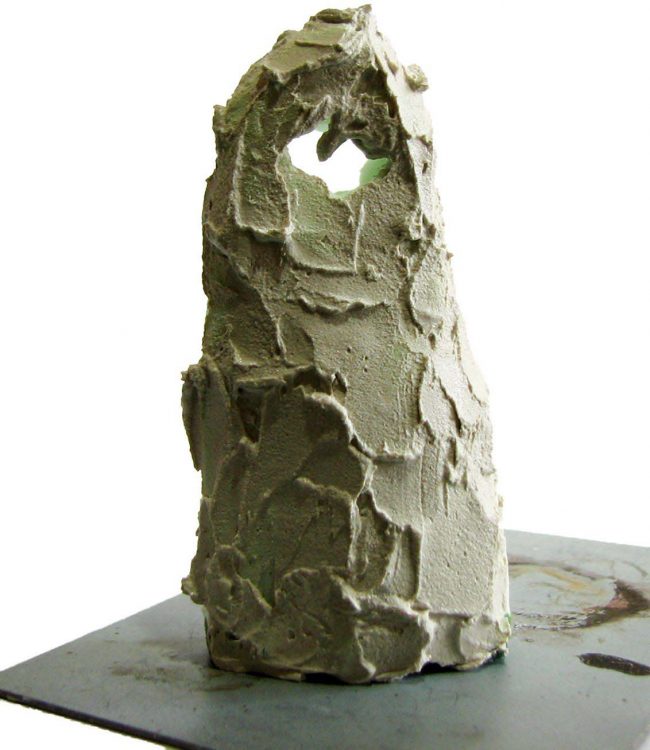
You can leave it like that and proceed to painting. However, if you want to go one step further you can cover the entire menhir with wood filler. This way you get more control about the texture and achieve a more realistic result. Use a palette knife for this step and try to cover the entire surface. Let it set for a few minutes and then go in again with the palette knife and a brush to add random elements, depressions and so on. A stippling motion with the brush works well after you pre-shaped the filler with the palette knife.
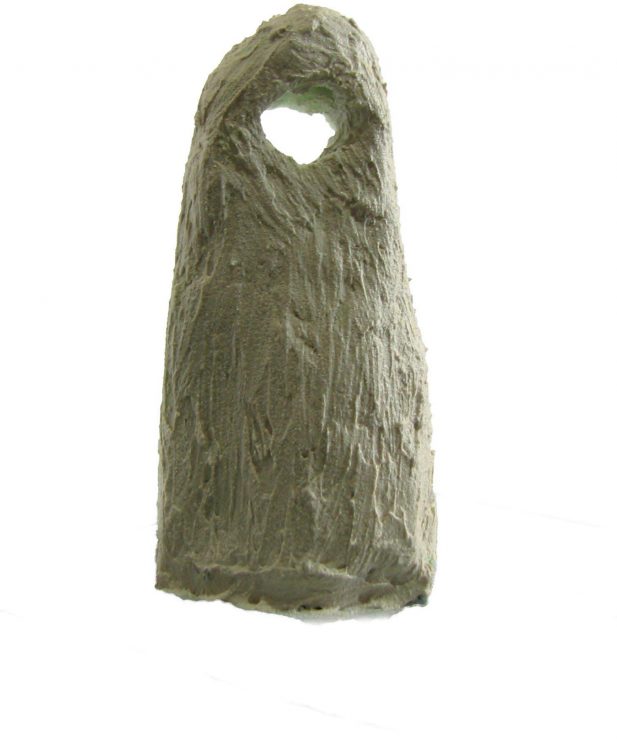
Wet a bristle brush and smooth out the filler if necessary. The idea is to use your reference pictures and emulate a rock texture. A stippling motion on slightly dry filler does work well, but as always you need to experiment until you are happy with the result. Let the filler dry completely.
When dry you can further texture the menhir using a steel brush, sanding paper or a needle tool. You can also carve striations, cracks and so on to further improve the look.
Adding some colour
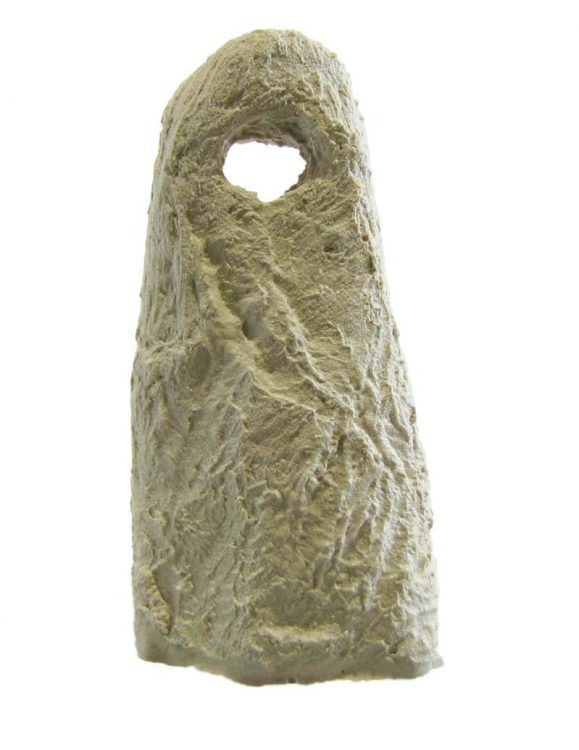
Time to paint the menhir. I use my usual method for rock: a base coat of a medium grey-brown is followed by dry-brushing with successively lighter shades of the base color. To add depth I mix one part water, one part acrylic matte varnish and one part powdered pigment (AK Interactive Dark Earth) and wash the stone with this mixture. Let dry completely.
To add a bit of interest you can add some yellow lichen. To achieve such an effect mix a greenish-brown yellow or use a premixed product like ‘Vallejo Environment Moss and Lichen’. Apply it in patches with a brush or sponge. Less is more.
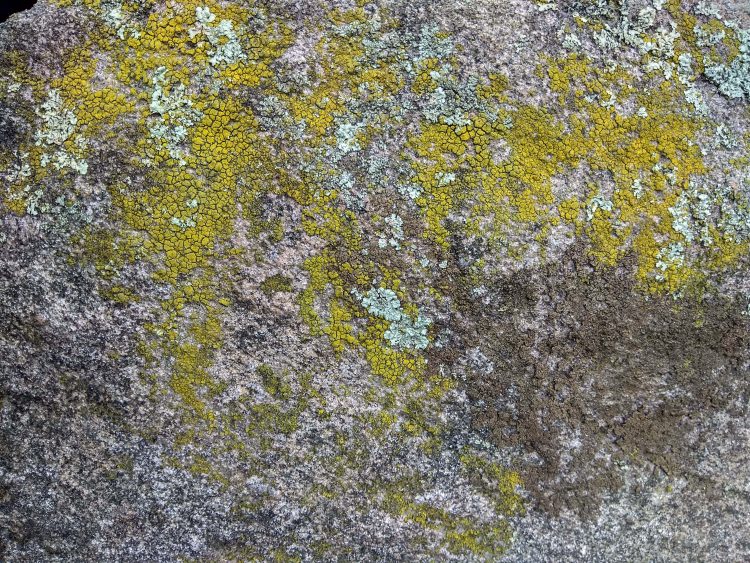
Mix the base lichen yellow with a bit of brown and red and paint only the centre of the patches.
Naturally you can add moss or ivy to the standing stones or even carve designs into the dry filler. However, for now we keep it simple. I hope this tutorial inspires you to give it a try yourself.
Stunning work as always, and congrats on fatherhood.
Cheers Roger.
Thank you and sorry for only now approving the comment. Did not get a notification somehow.
Lovely work (as always) and great to see you posting again!
What is XPS?
Hi Azazel. Glad you like it. XPS is extruded polystyrene. I hope to keep it up and have at least a post a month.
Lovely work! I was lucky: I cheated and found some sections of sandstone that were the right shape and size and used those. For those without a pile of rocks yours is the best way!
That sounds like a perfect solution. Could even make a mold of the best pieces. Any pics? Did you paint them at all?
Congratulations, and glad to read that things are going well for you. A very interesting tutorial.
Thanks Ann. Yes, things improved significantly during the past year, especially job wise. Glad to read you liked the tutorial. One of the next ones will feature birds’ nests, as I improved on my technique.
First, congrats on the new son!
Second, lovely tutorial, great ideas here.
Third, welcome back!
Thank you Mark. Lots of joy, lots of challenges with the little one.
Glad you like the tutorial. I think the next few ones will be shorter ones just like this, so I can keep it up.