
I have to admit, as goofy as the concept seems, I really like the idea of Beholders: A hovering sphere of flesh and teeth shooting various magical effects from eye stalks. What’s not to love? The Beholder is also one of original classic Dungeons and Dragons monsters that was already around when 1ed came out. As you may expect, the term ‘Beholder’ is copyrighted, but it doesn’t stop other companies to release many-eyed flying flesh balls. No matter if you call them Spectator, Eye Tyrant or Eye Beast, they sure as hell make for a glorious encounter. Disintegrate anyone?
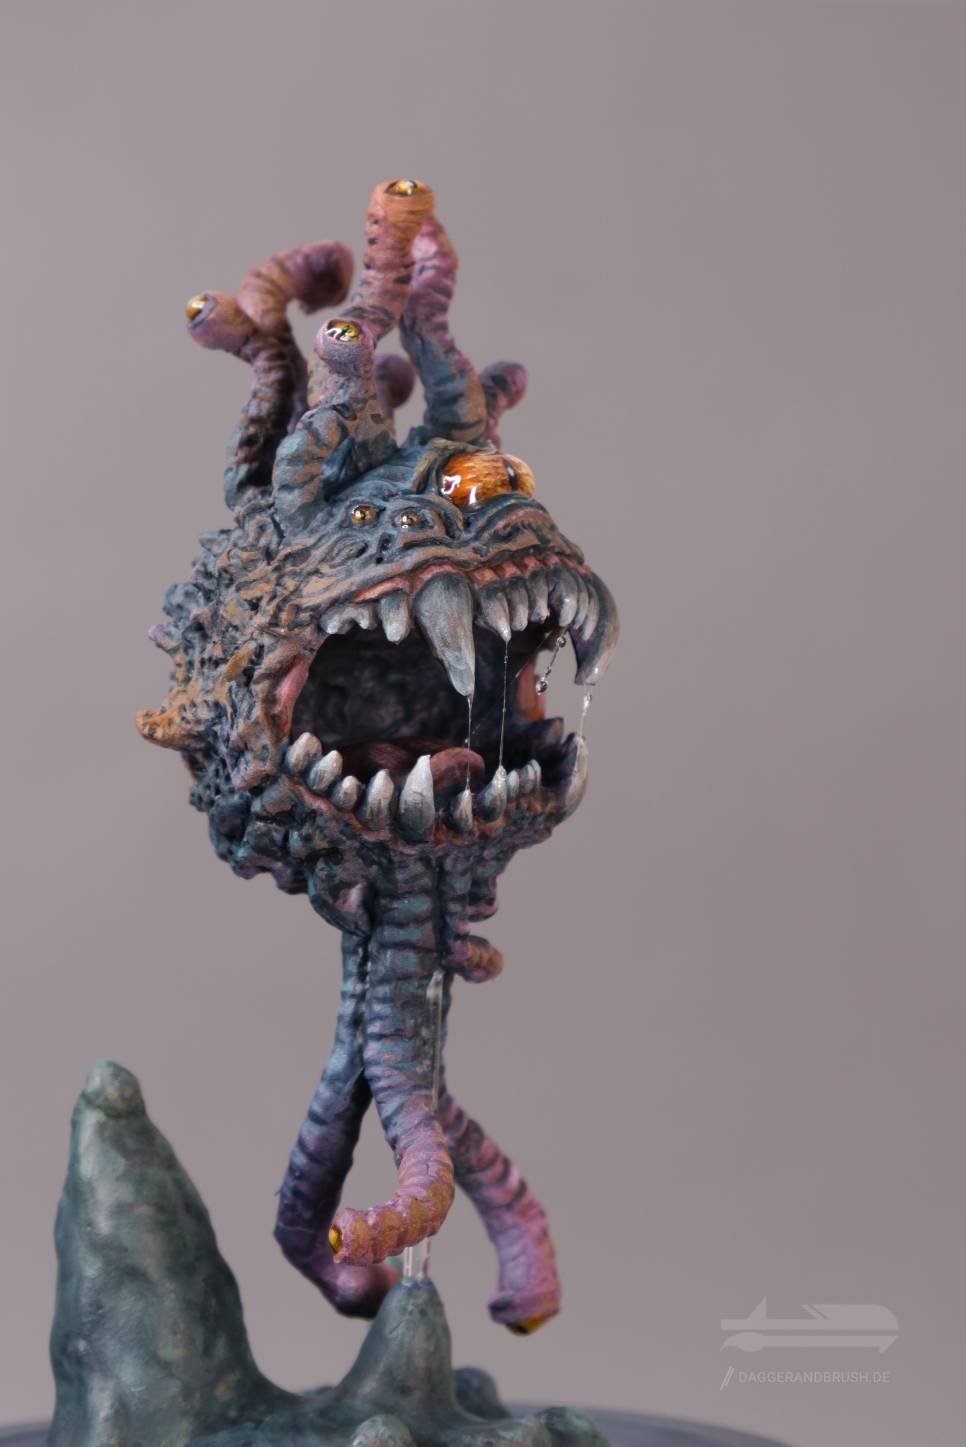
Reaper Miniatures is no exception and they have quite a few miniatures called Conjunctivus, Tyrant or – you guessed it – Eye Beast. The latter I got as part of the First Bones Kickstarter. So, without further ado the finished miniature. Read on to learn how underpainting via airbrush can really help your workflow, how to add realistic saliva effects to your miniatures and why UV resin is superior to gloss varnish for googly eyes.

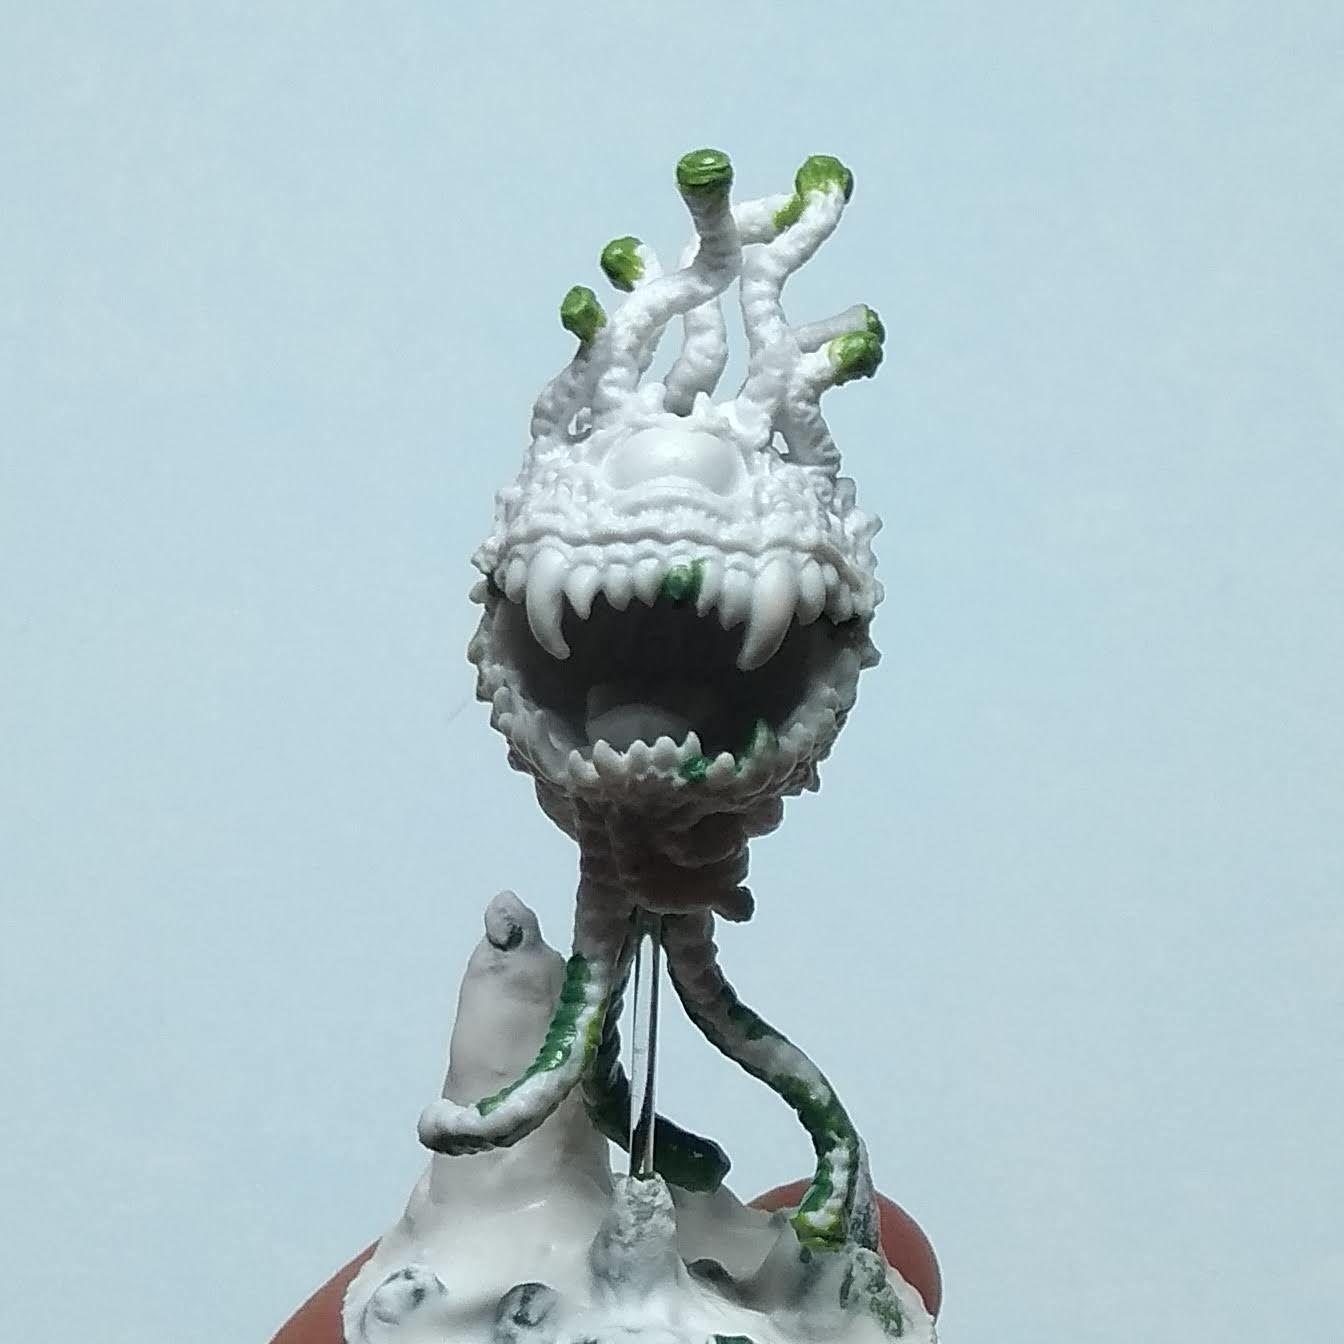
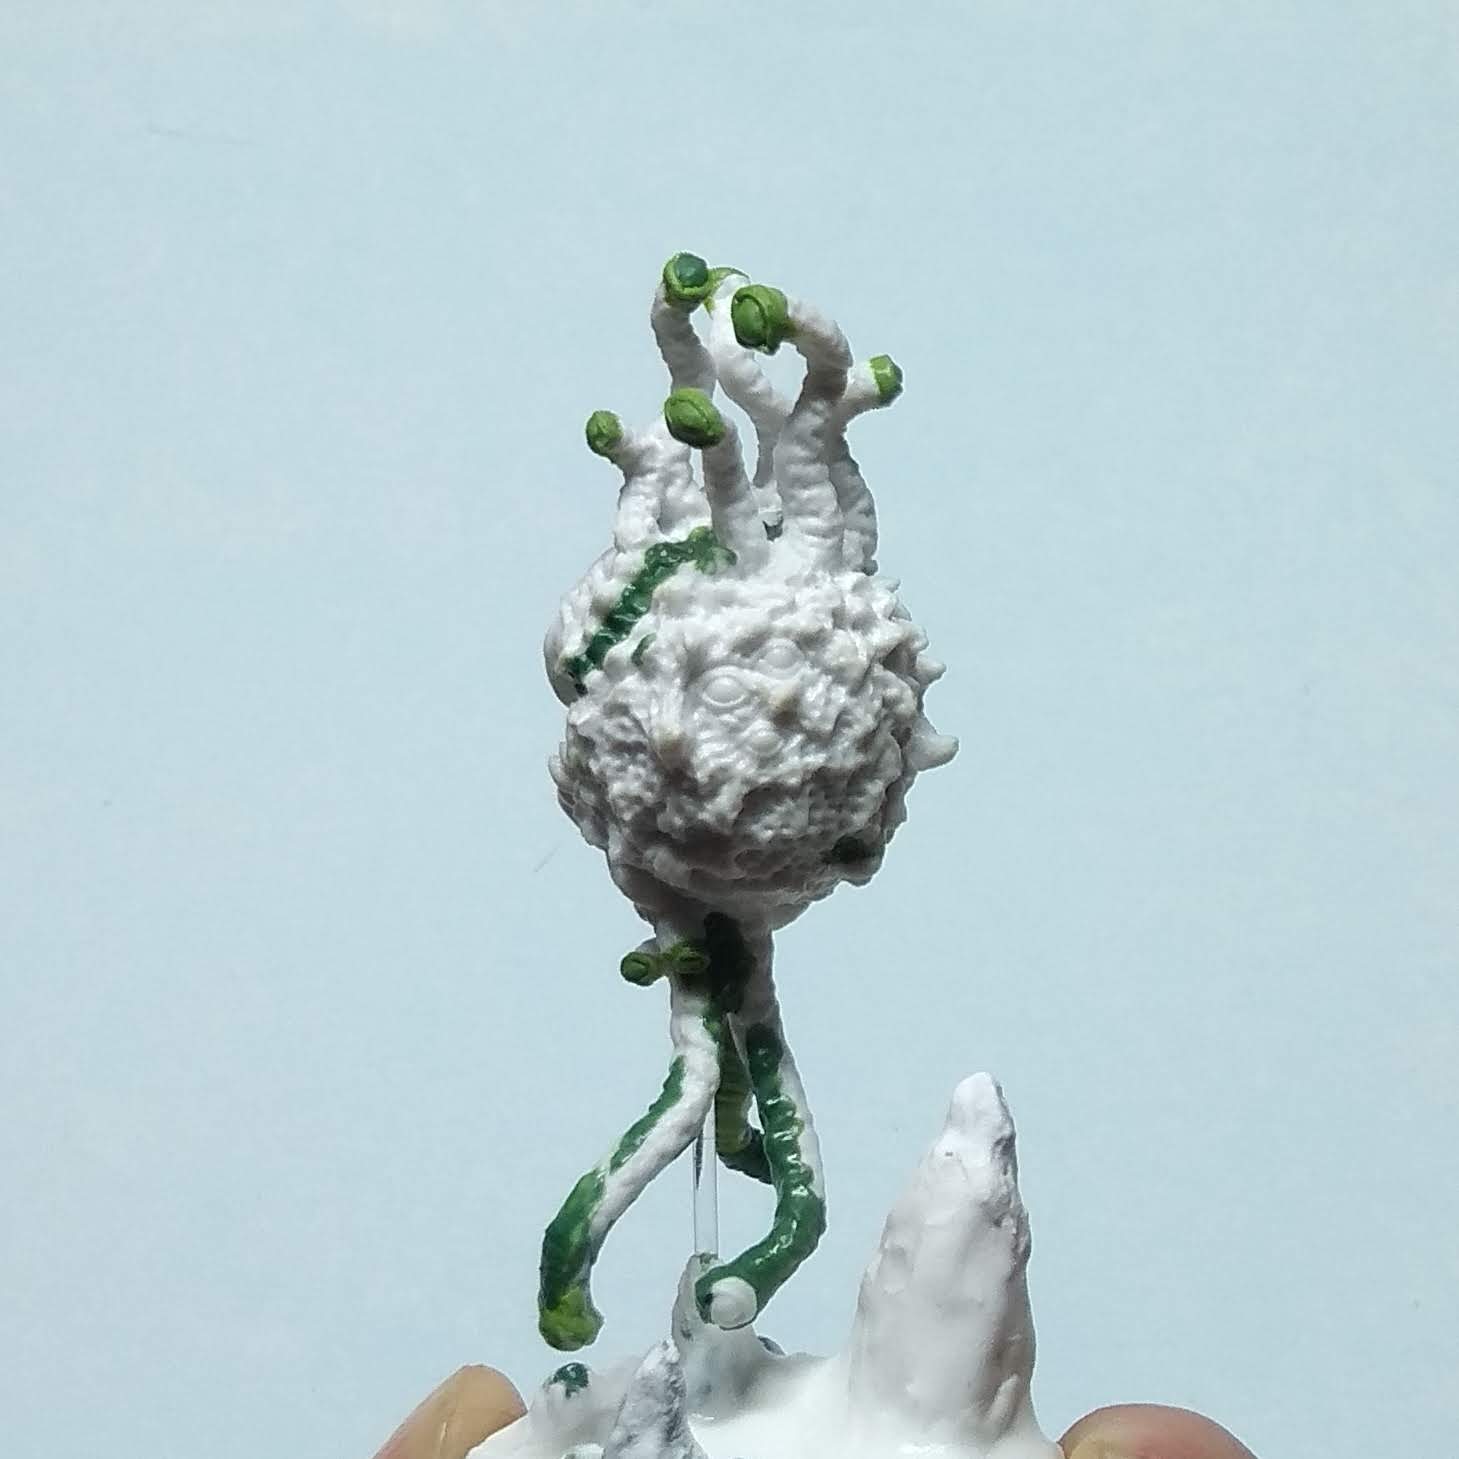
Basing and preparing the Eye Beast
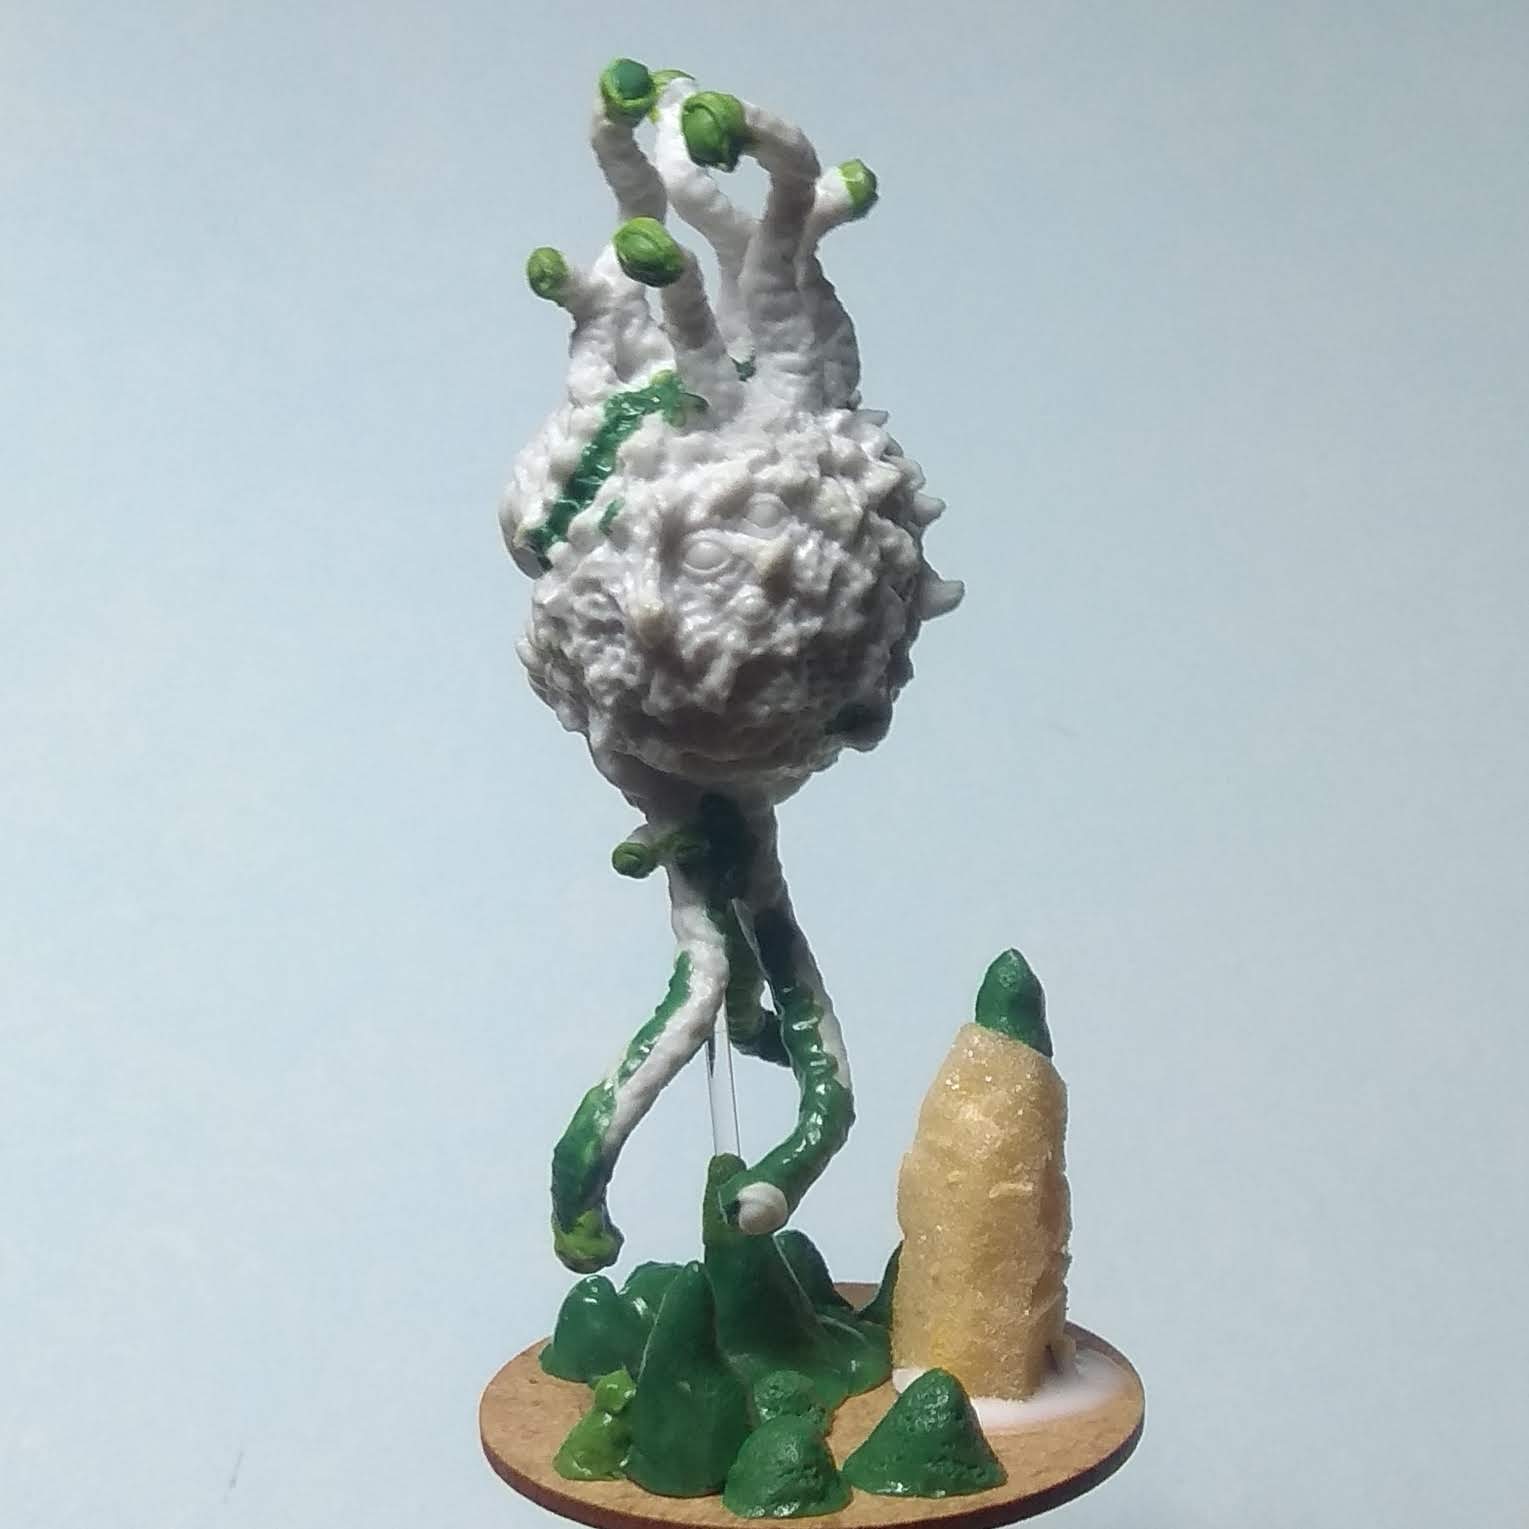
A word of caution: The Bones cast is ok, but the eyes on the stalks were not that well defined and mold lines were hard to remove from the bumpy body and stalks. Additionally the miniature is leaning a bit to the side on its integral base, so rebasing is warranted. Due to these issues I decided to resculpt all the small eyes and drive a transparant acrylic rod into its seedy underbelly. Honestly, do yourself a favour and just get the metal version.
The stalagmite base was easy to build up. I just combined greenstuff for smaller and XPS for the larger stalagmites and smoothed the entire base with a woodfiller and PVA mix. A final layer of PVA further smoothed the surface and made the woodfiller more resilient.
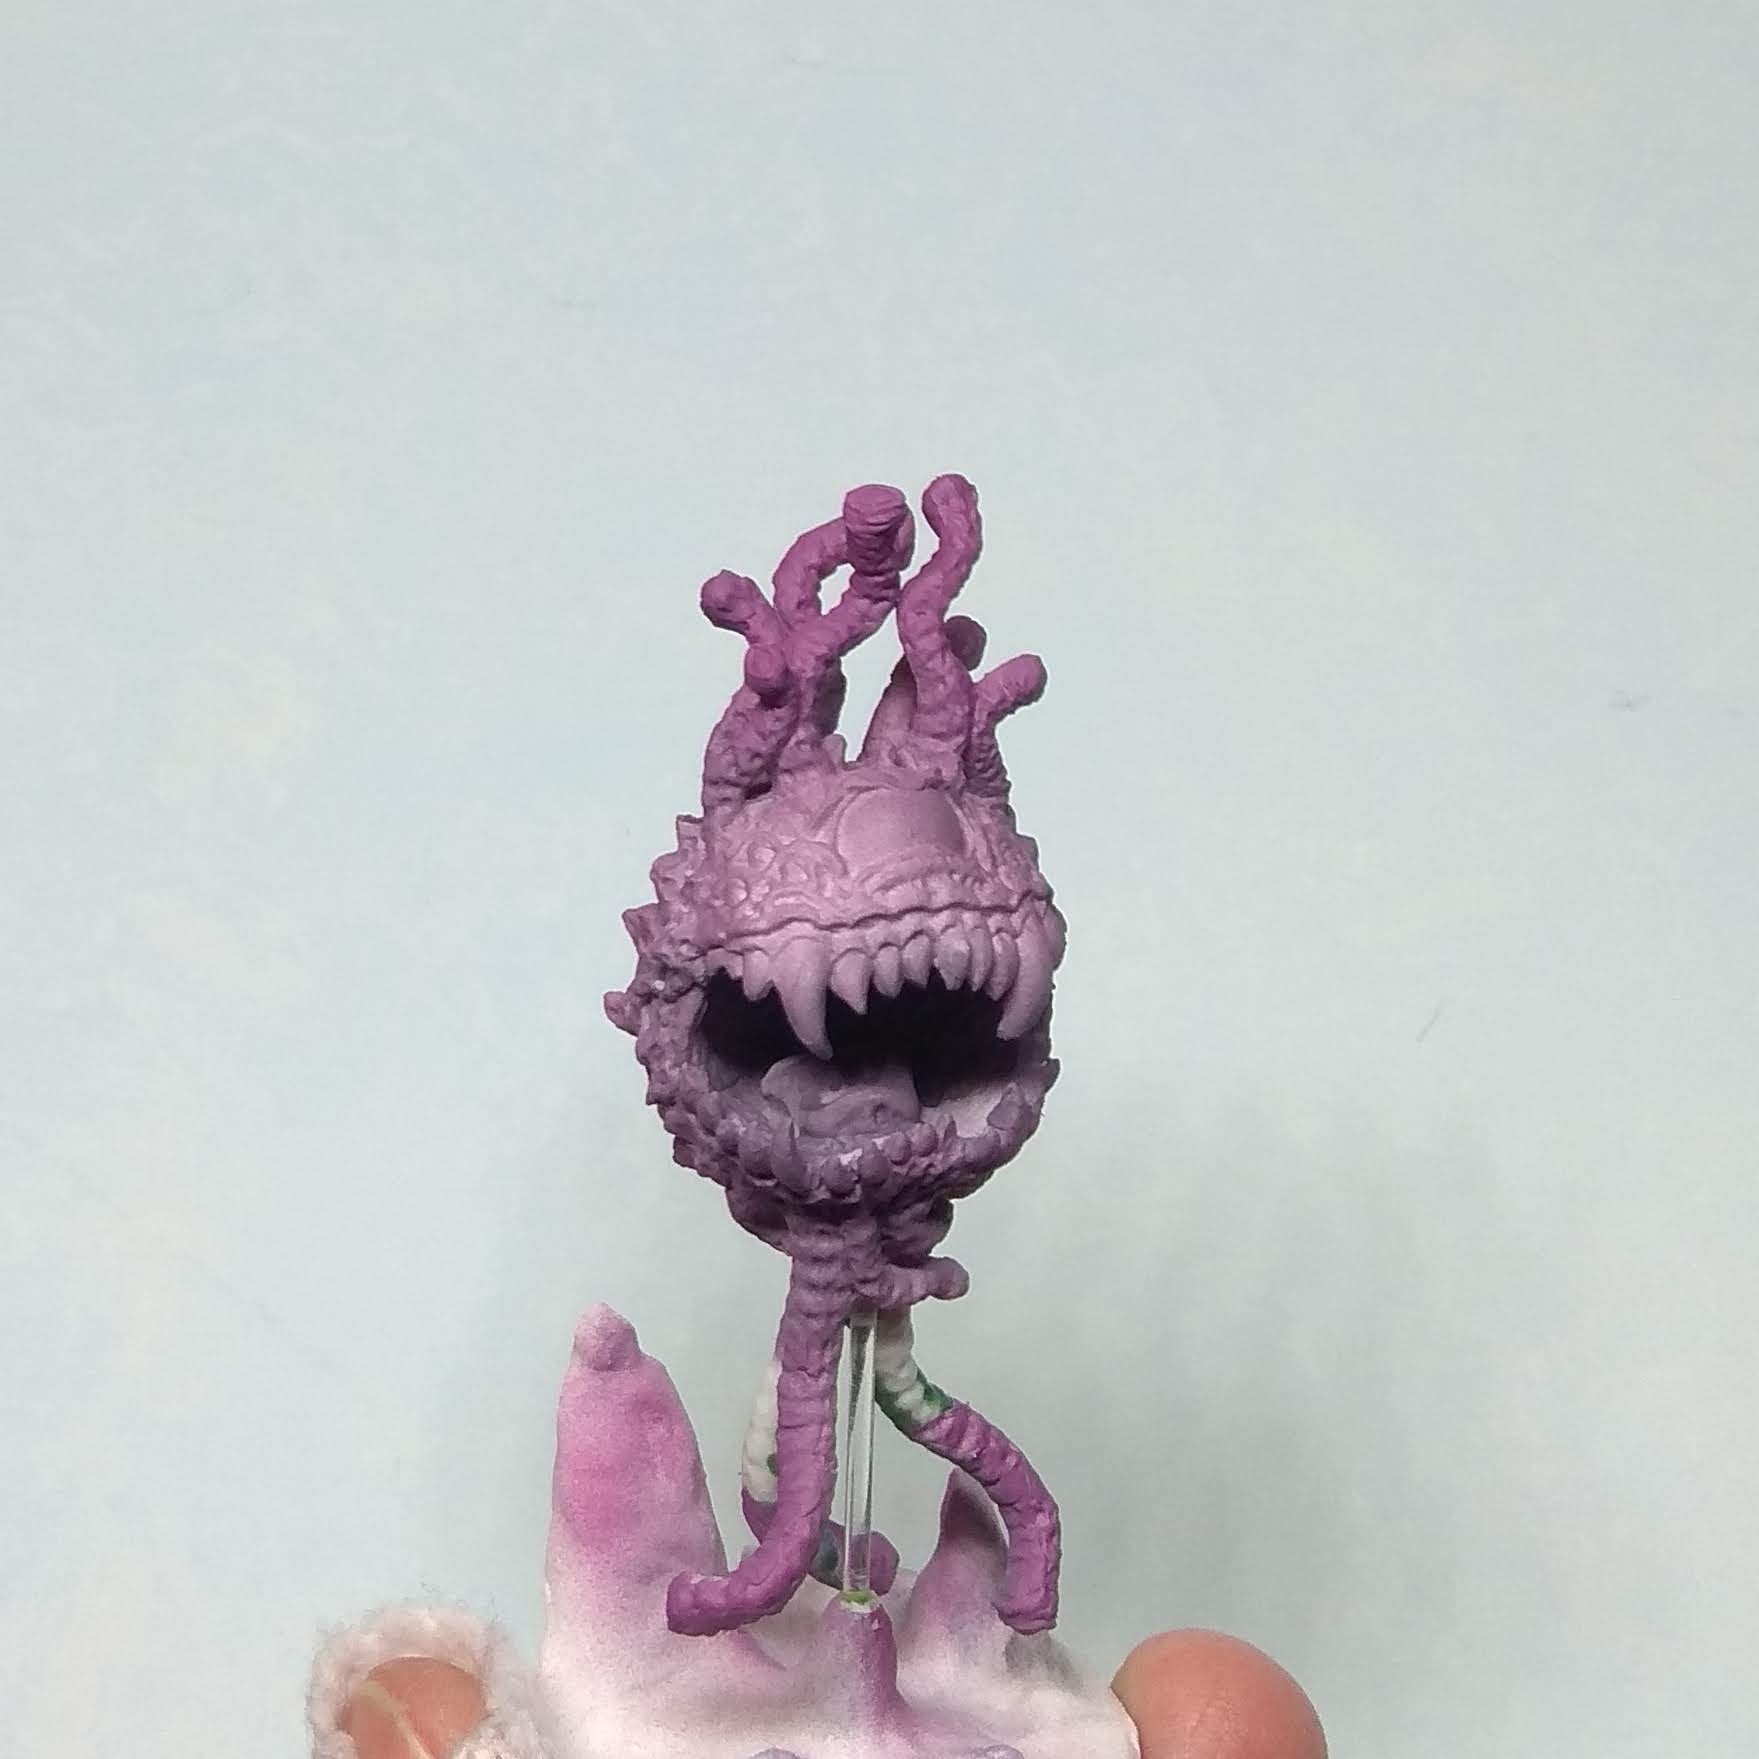
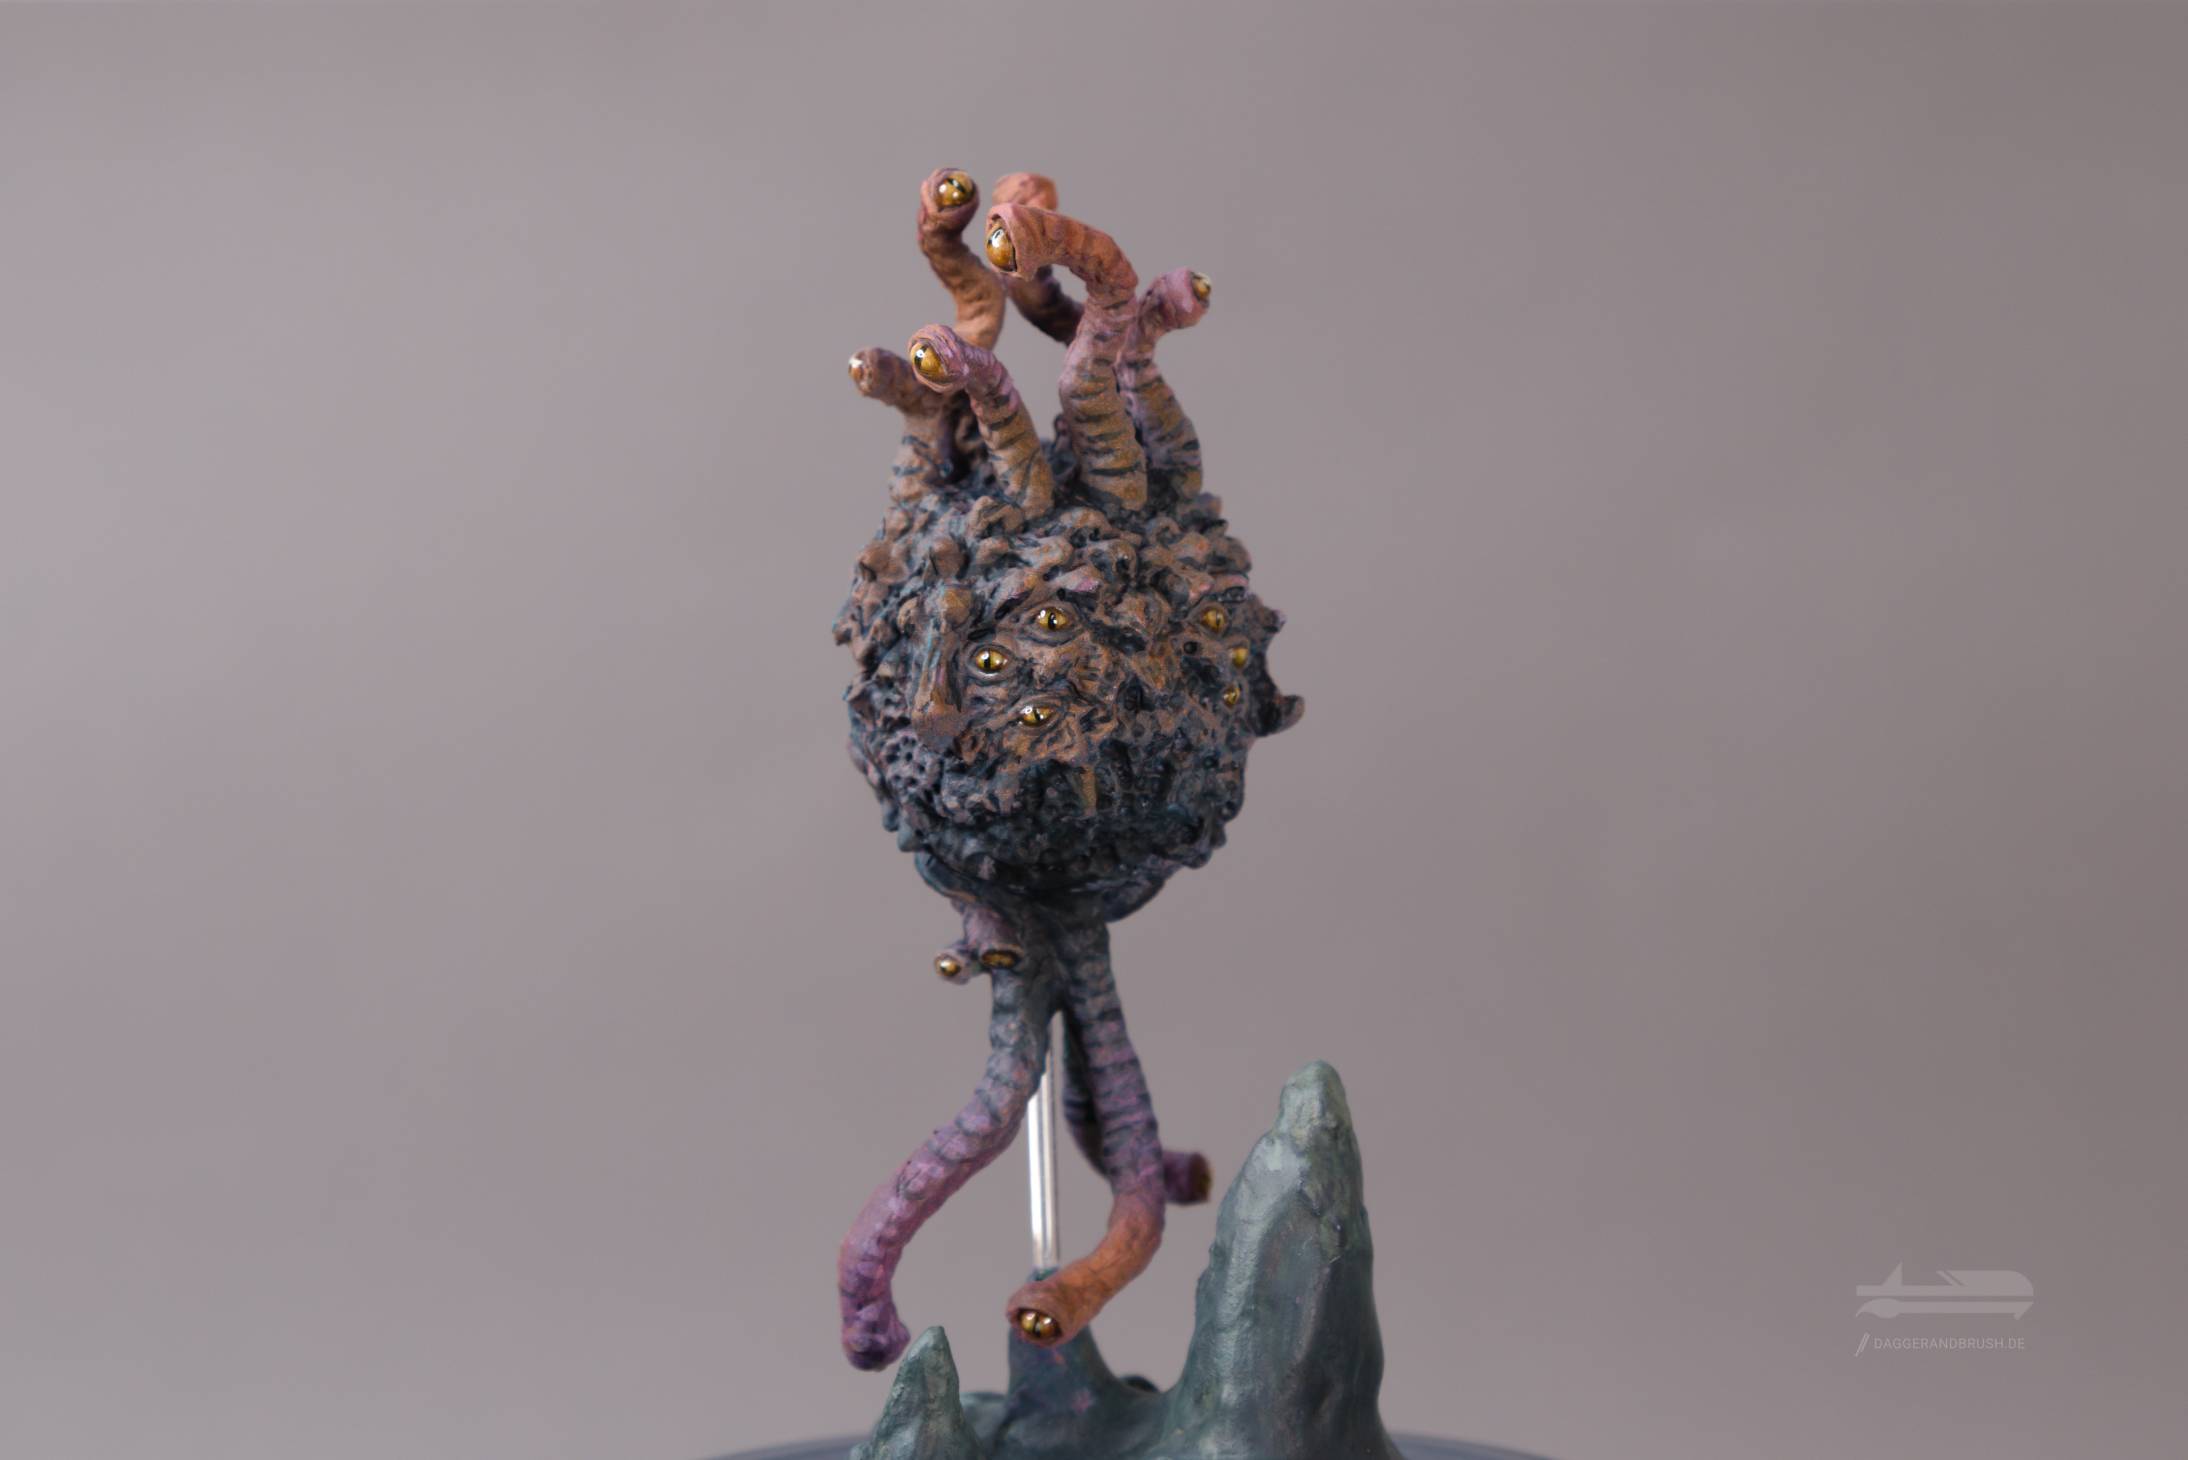
Underpainting the Eye Beast via Airbrush- Retro synthwave colour scheme
If you own an airbrush, you probably already use it for basecoating and establishing basic colours and gradients. That is what underpainting is all about. Any brush work was done with thin glazes, so that your initial transitions and colours shine through the additional layers.
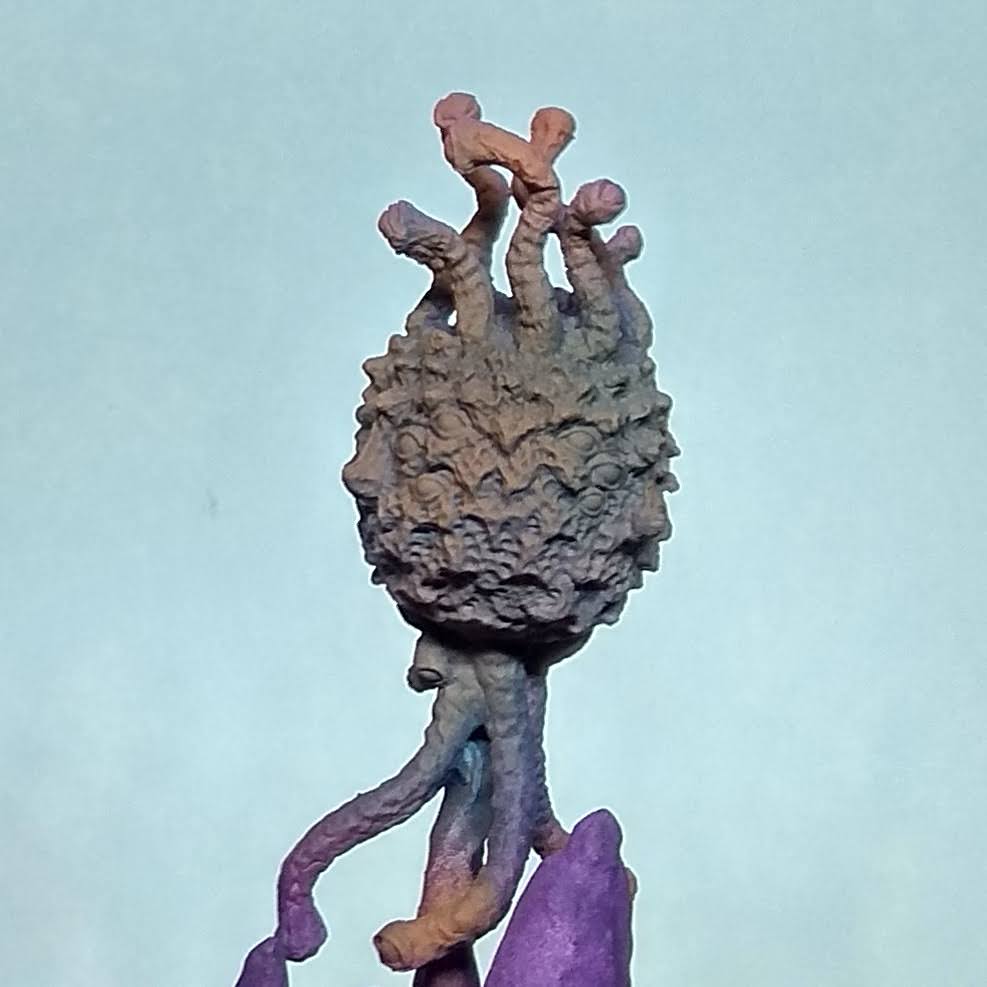
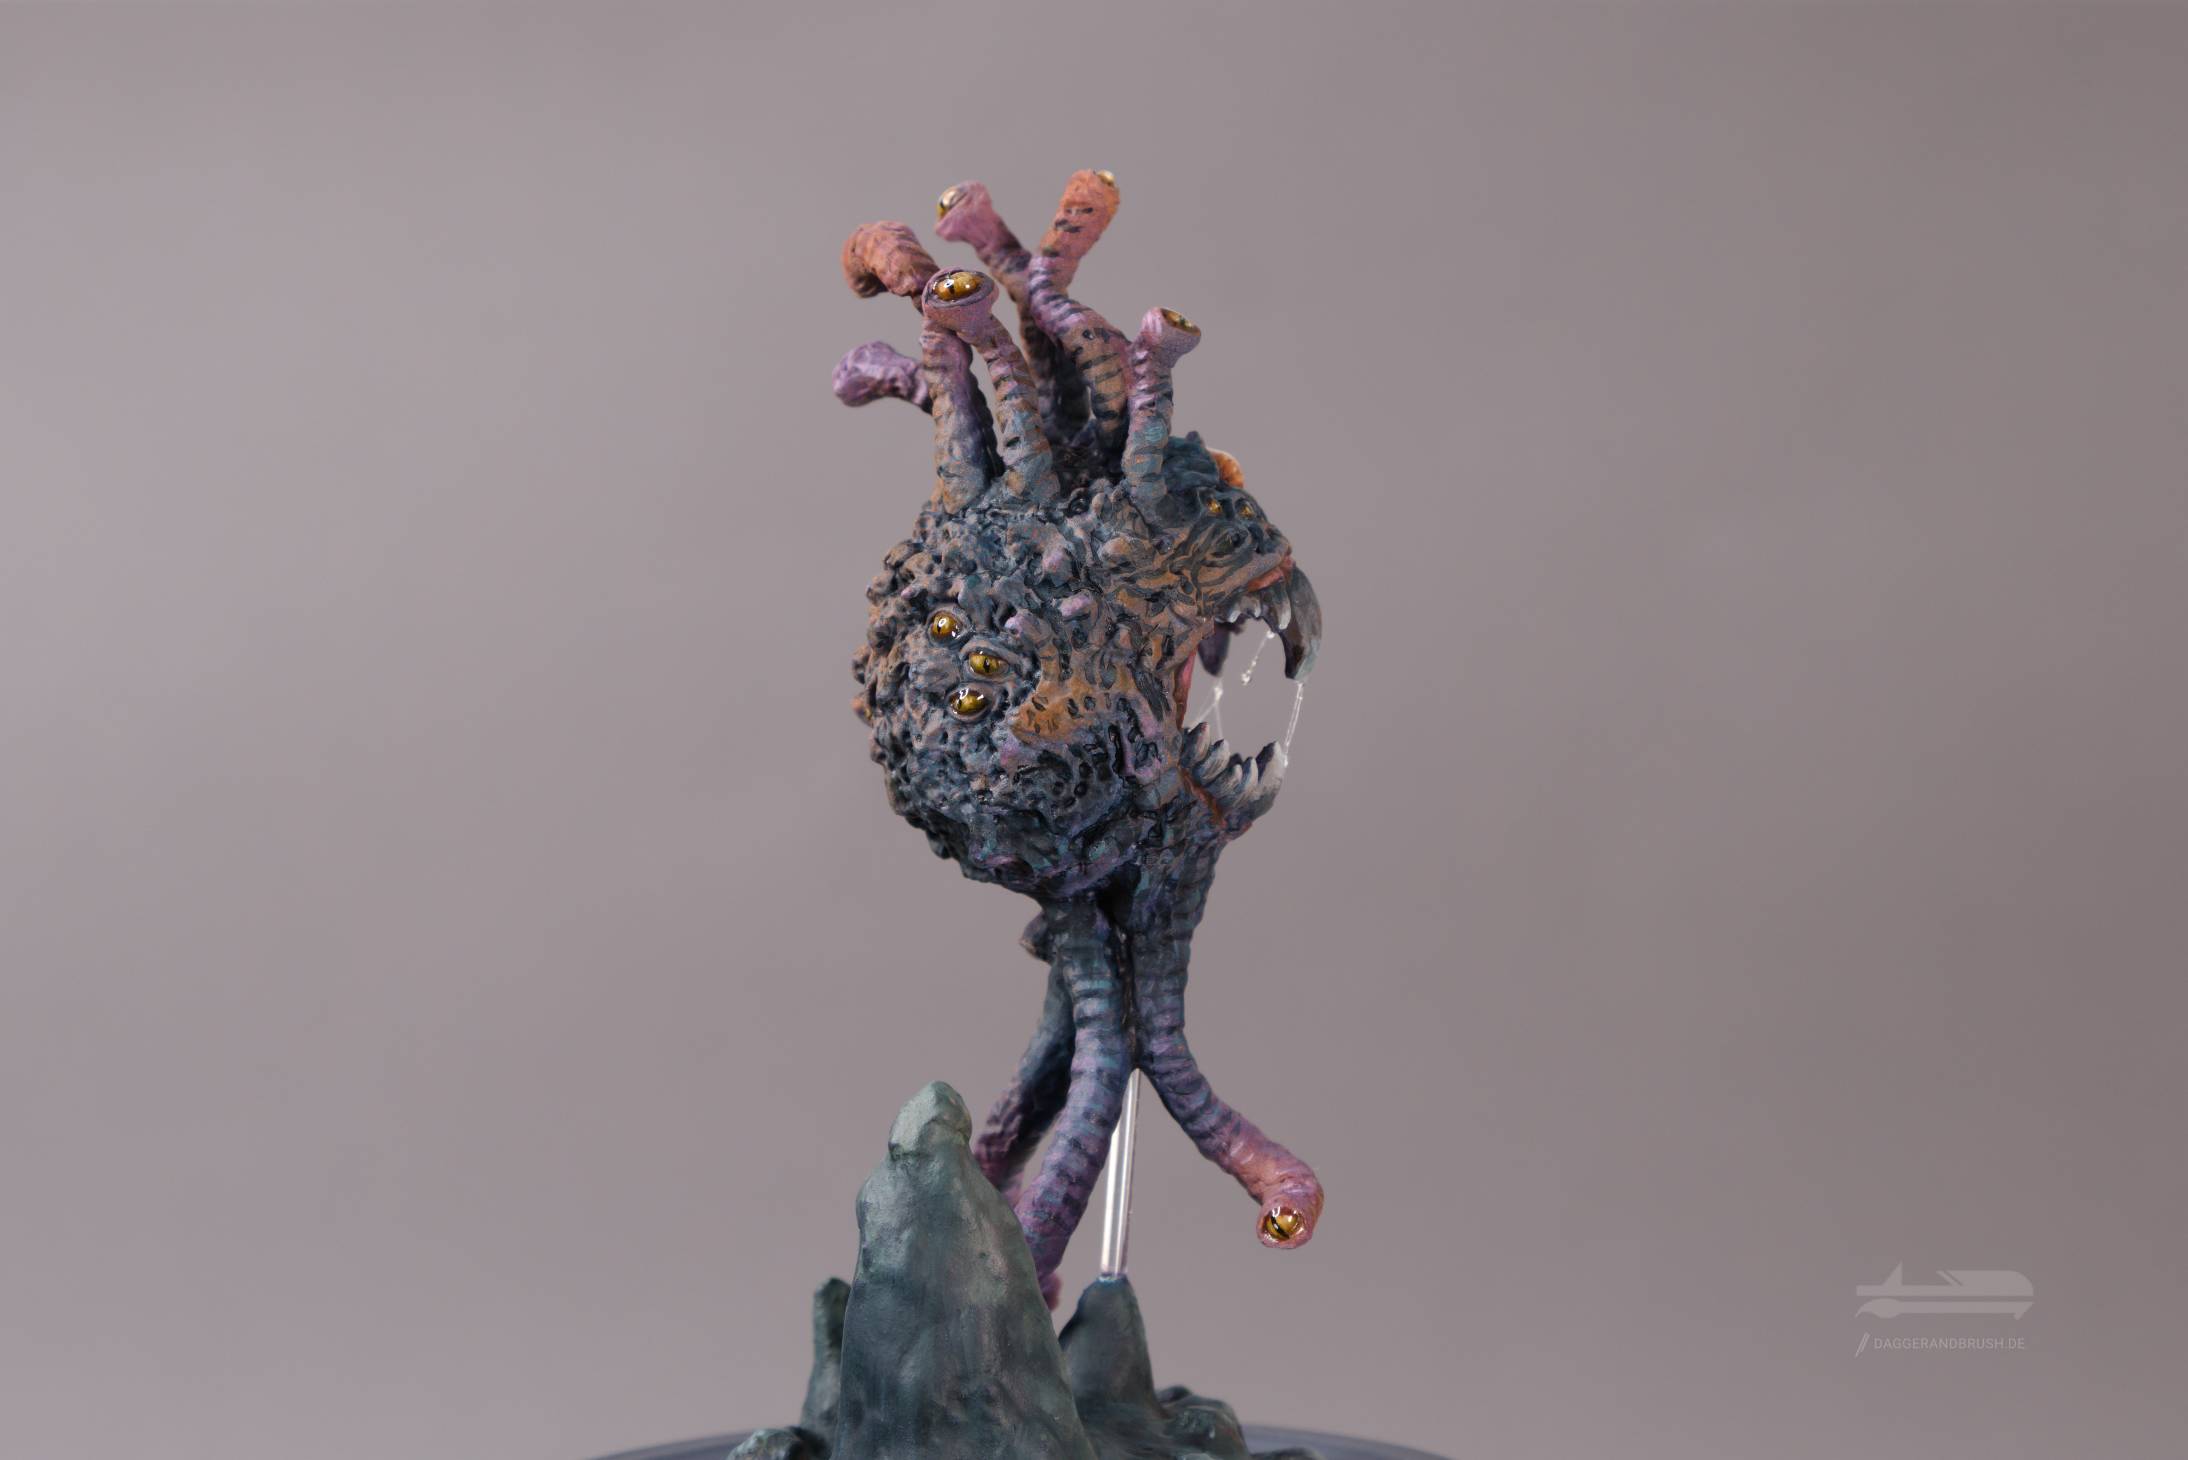
I used Kimera colours for the airbrushing part and am amazed how vibrant they turned out and how well they behaved being sprayed. Just thin them about 30:70 (thinner to paint) and work form there. I ended up with a 50:50 mix in the end and used four colours: Violet, Orange (with a tad of Warm Yellow), Magenta and Turquoise (Phtalo Blue Green Shade and Phtalo Green). I started with a basecoat of magenta followed by violet and turquoise to establish some shadows and gradients. Orange was used sparringly as kind of a zenithal spray, to achieve some highlights.
I switched to brushwork and mainly darkened the shadows and defined the various surfaces: teeth, skin folds, the various eye balls. Just keep in mind to keep the paint translucent. Vallejo Glaze Medium can be really helpful to achieve this goal.
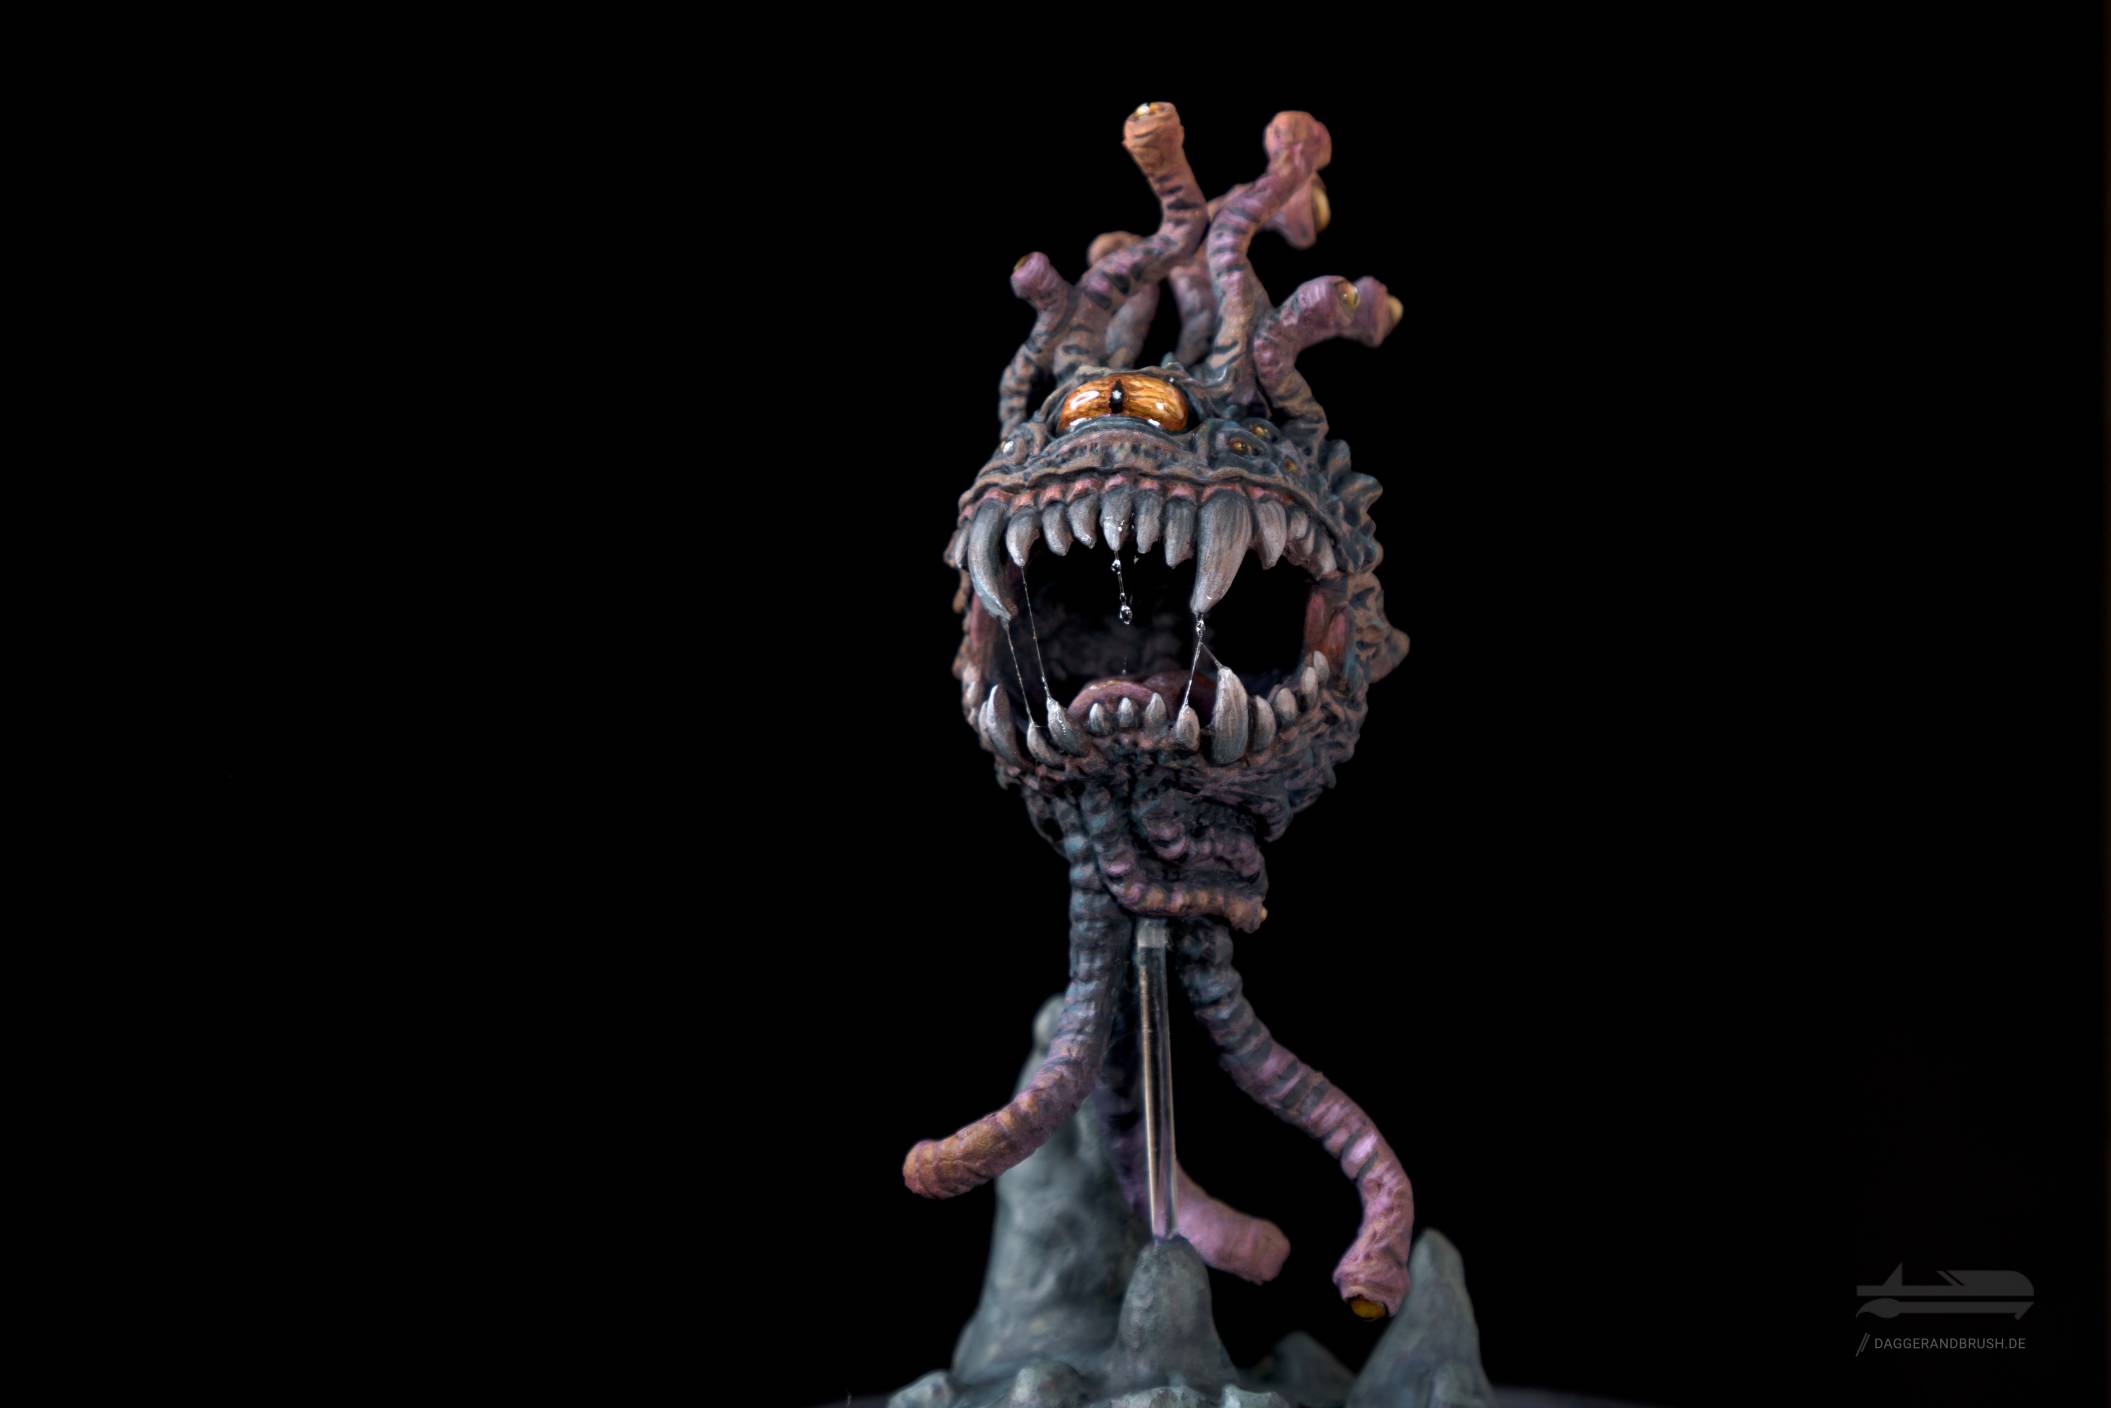
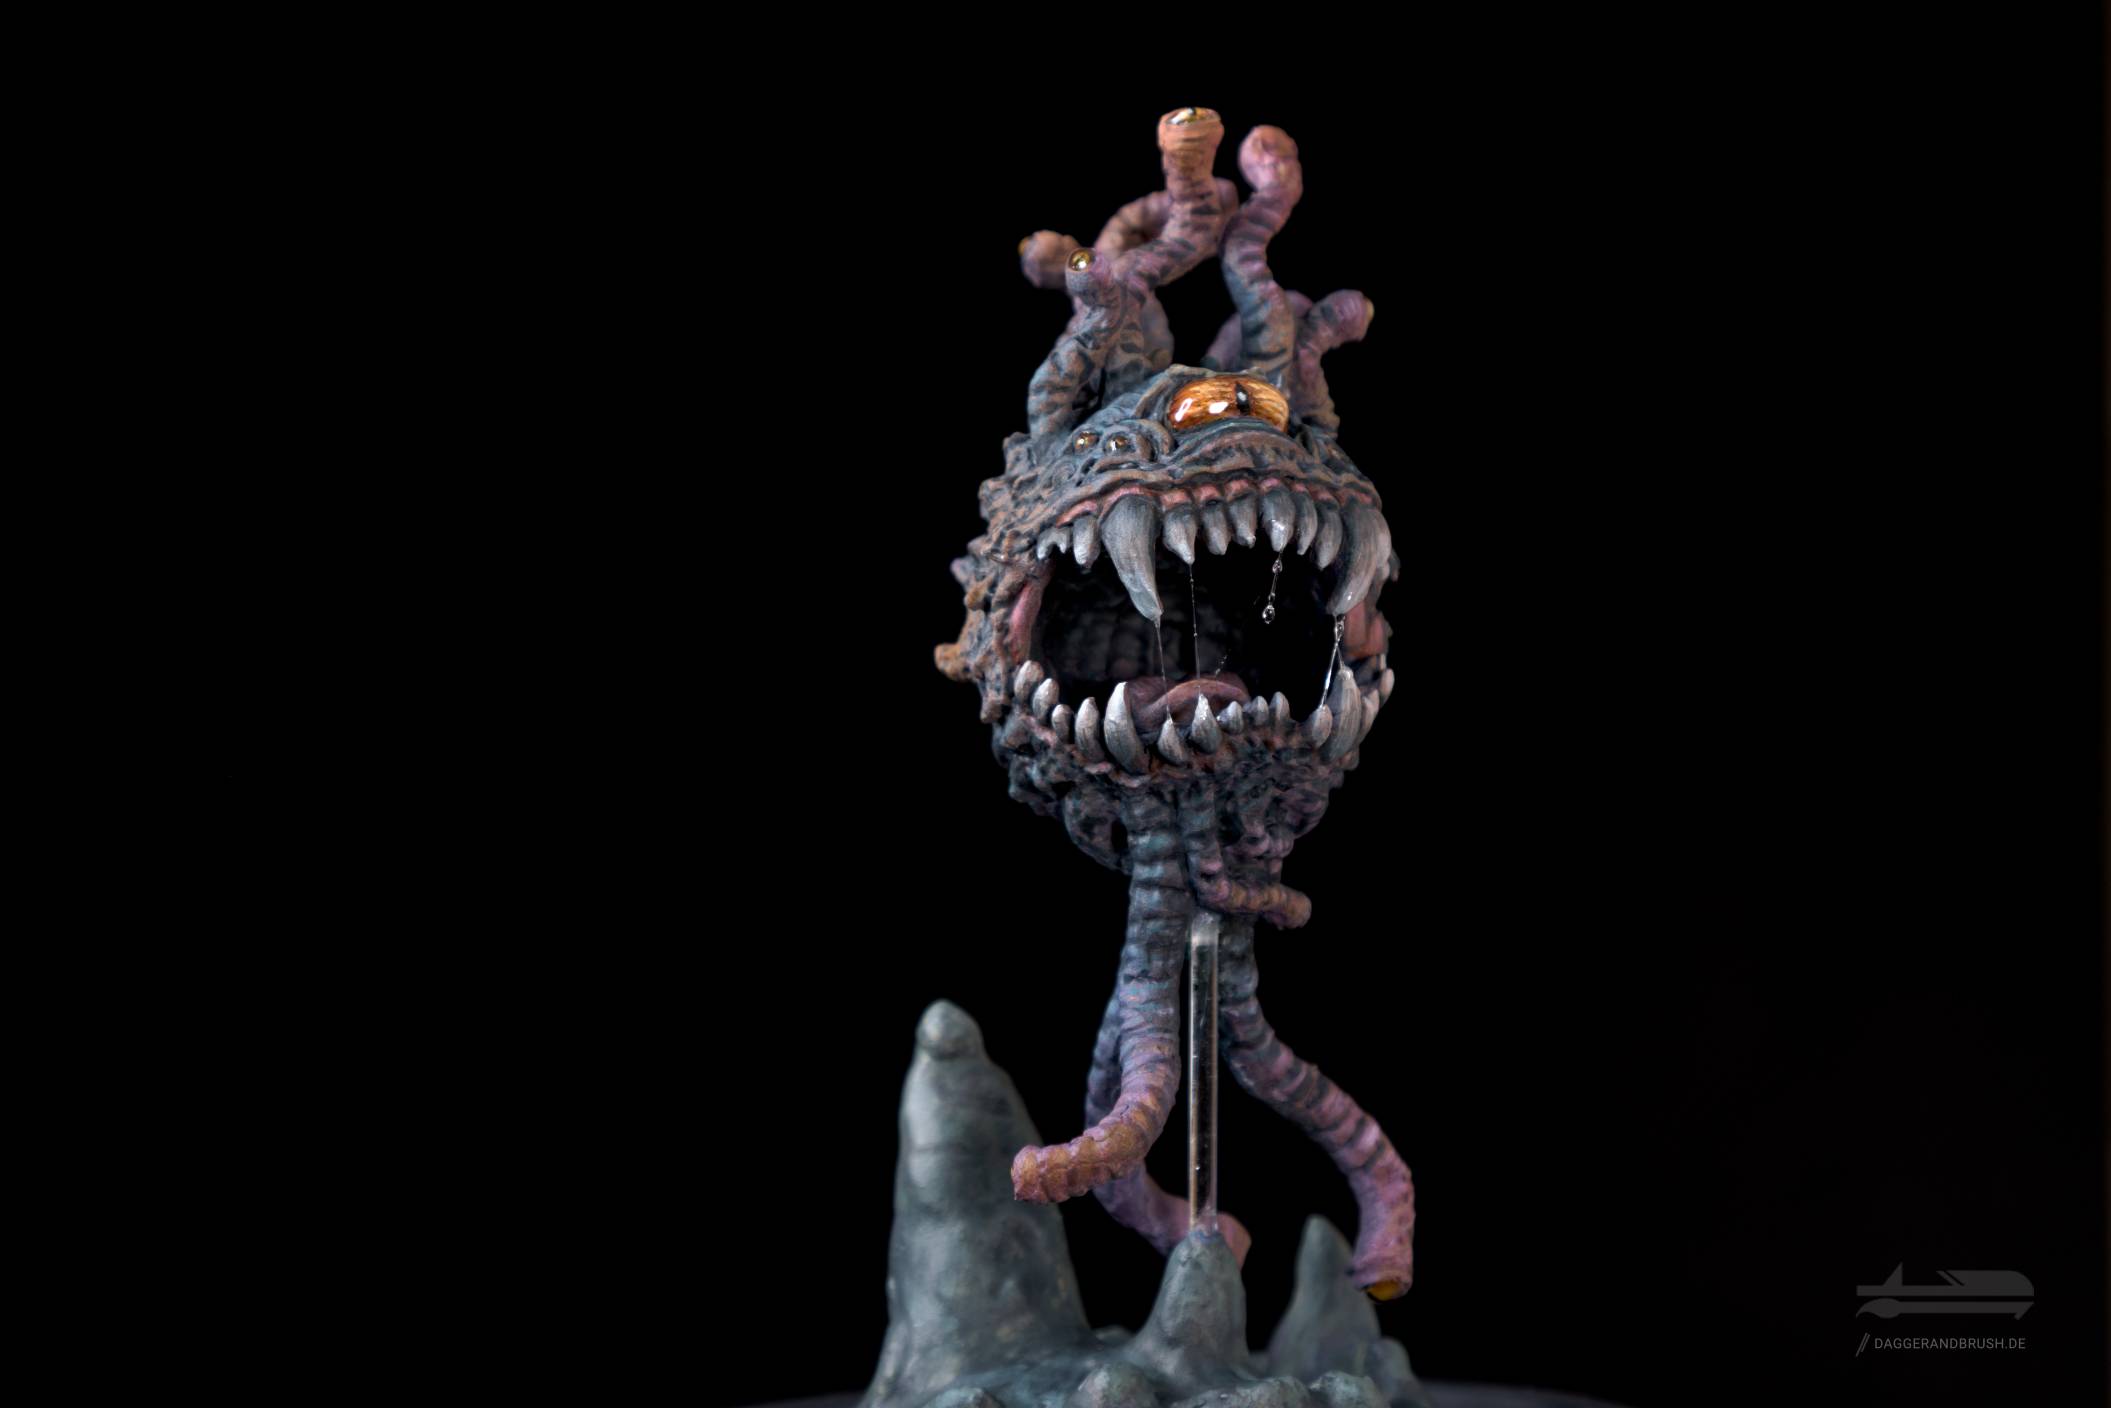
Saliva for miniatures
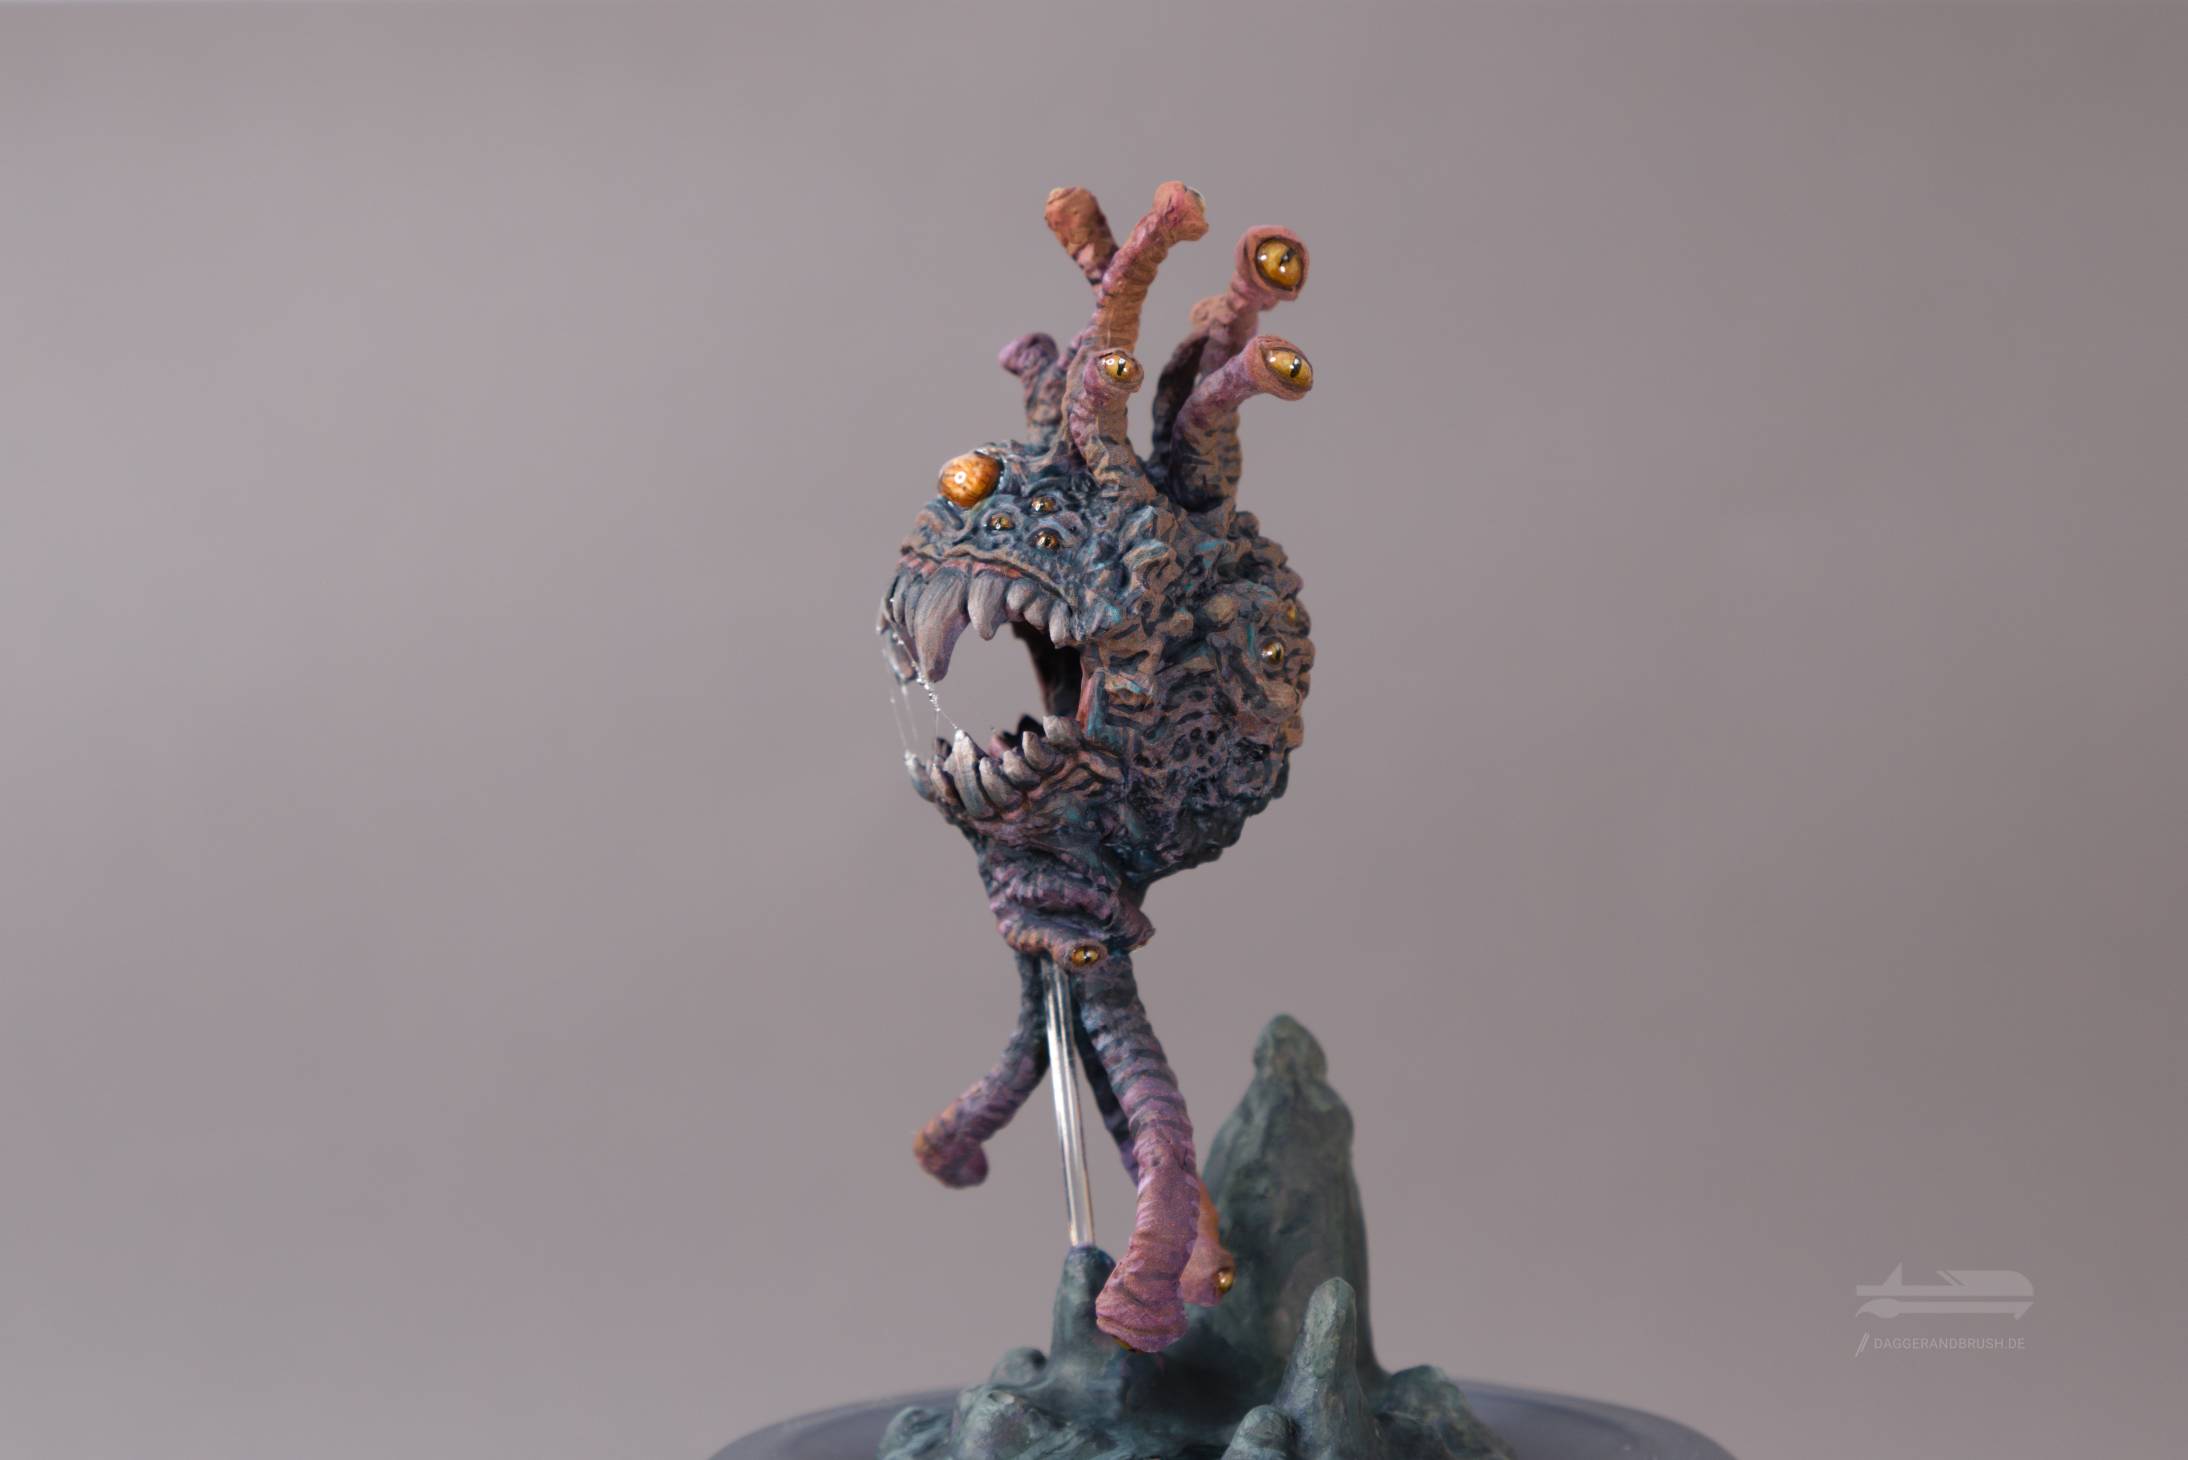
You may remember my drooling Cave Troll (if not, check it out). The saliva of the Eye Beast is pretty much done in a similar fashion, with one exception: Instead of using just nylon string and UV resin, I also revisited the UHU glue method.
You know the drill: Put some of the UHU on some scrap plastic, get some with a toothpick and transfer it to the model, for instance on a tooth. Now drag the glue to another tooth, as it cures and forms strings. When you reach the second tooth remove the toothpick with a rolling motion to keep the string in place. Rinse and repeat.
With this technique less is more and thin strings will look more naturalistic. I also applied some UV resin to the strings after they were fully cured. On the one hand this will strengthen the rather delicate strings, on the other it adds small droplets that add interest and will glisten in the light.

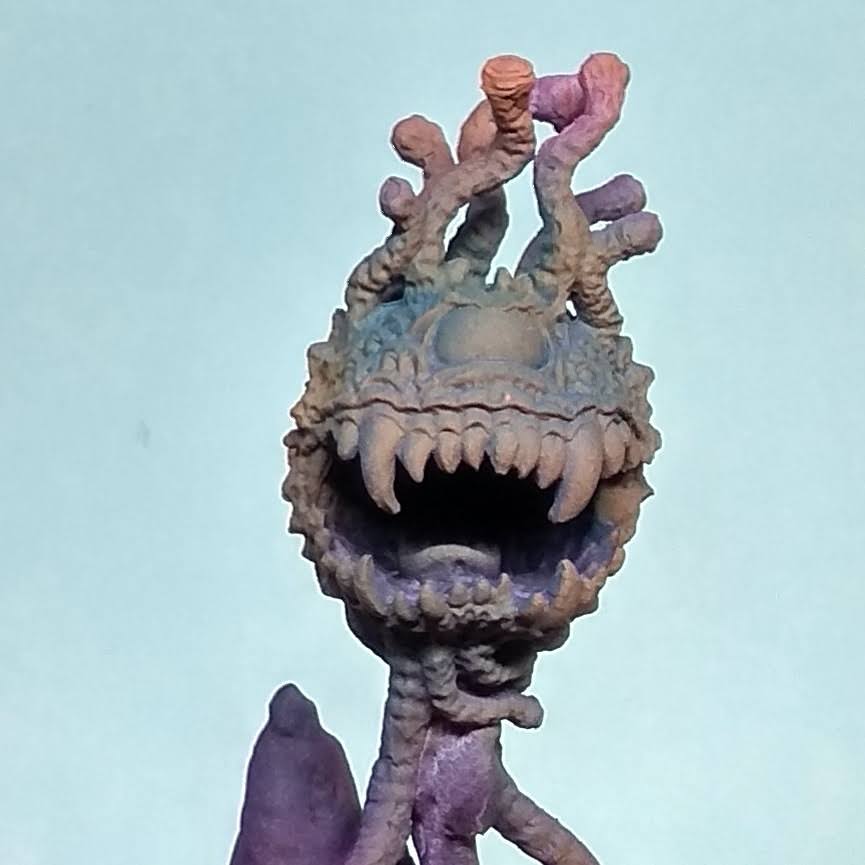
Glossy Eyes via UV resin
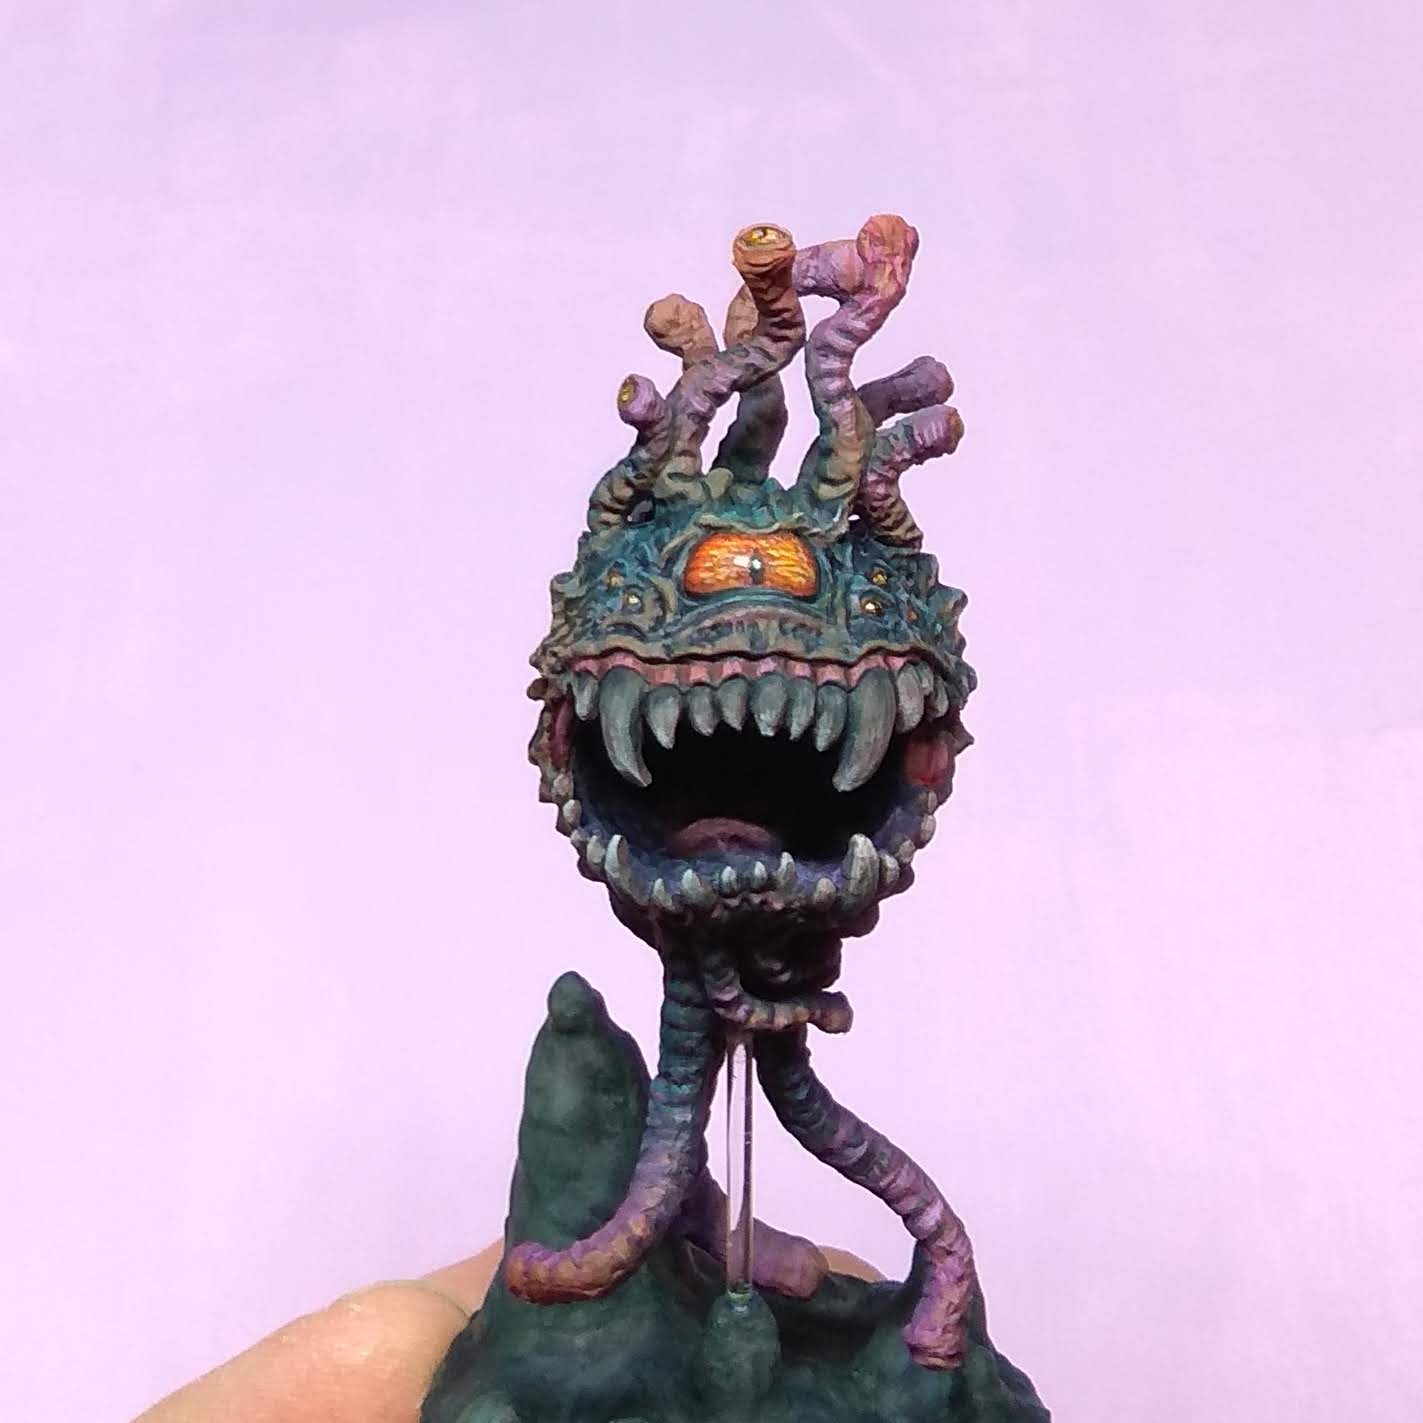
Arguably, the central eye should be the focal point of any Eye Beast. The smaller eyes are obviously also important, but the central eye should reflect the chaotic evil nature of these creatures. Accordingly, I decided to paint it in a contrasting colour and also add a high gloss effect. Both immediately draws the eye and makes sure the central eye really stands out. In addition a sichel pupil looks suitably evil (and reptilian) which suggest a cold intelligence.
I started with a pink basecoat followed by warm yellow. The pupil was drawn with pure black. Some red was glazed towards the outer areas of the eye. Next, I mixed some dark brown (violet and orange) and drew fine lines to simulate blood vessels. Finally, with a lighter warm yellow and cold yellow I stippled a cloud-like texture onto the eyeball. You can also add a reflection to the pupil, as this will make the creature look more alive.
So far so good, but to achieve the high gloss finish one really needs a few layers of UV resin. I first tried acrylic gloss varnish, but it was almost too reflective and obscured the eye to some extend. The resin is very glossy, but crystal clear and also adds some refraction. In effect, you can achieve a cabochon eye effect. Three layers with curing in-between were sufficent and provided a nice glossy finish. The smaller eyes only got one layer, which was enough to make them glisten.
Big bad brothers
I hope you enjoyed my ruminations on Beholder-kin and maybe paint one up yourself. This little goof ball was fun to paint. I am really looking forward to paint his big brother the Flying Virus by sculpting prodigy Boris Woloszyn. So lots to look forward in 2022. If you have any questions feel free to ask below. If you already painted a Beholder-kin feel free to post a link. Disintegrated or not, always wield your brush with honour!
This is a really cool little project. I love the unconventional color palette too. It makes the Beholder look ethereal and unnatural but still real in a way too if that makes any sense. I can see improvement in your skills from project to project so keep ’em coming!
Thank you Jeff, that was indeed the exact feeling I was going for. A being created of magic, but based in a (fantastical) reality. The initial vibrant violet and turqouise got quite subuded with adding an orange glaze, so I think that grounded the miniature somewhat. I also agree, that each new miniature is a bit better than the preceeding one. I try to do something new each time and it pays off. Doesn’t work all the time on the first try (I had to repaint the central eye three times), but in the end it will help with the next project. I am in a way preparing for a bunch of Boris sculpts coming through and doing them justice will be my challenge for 2022.
I like the colour scheme here and the resin saliva looks great!
Thank you Dave. Glad you like the colour scheme and saliva effects. I think it turned out well and was good practise for future iterations.