
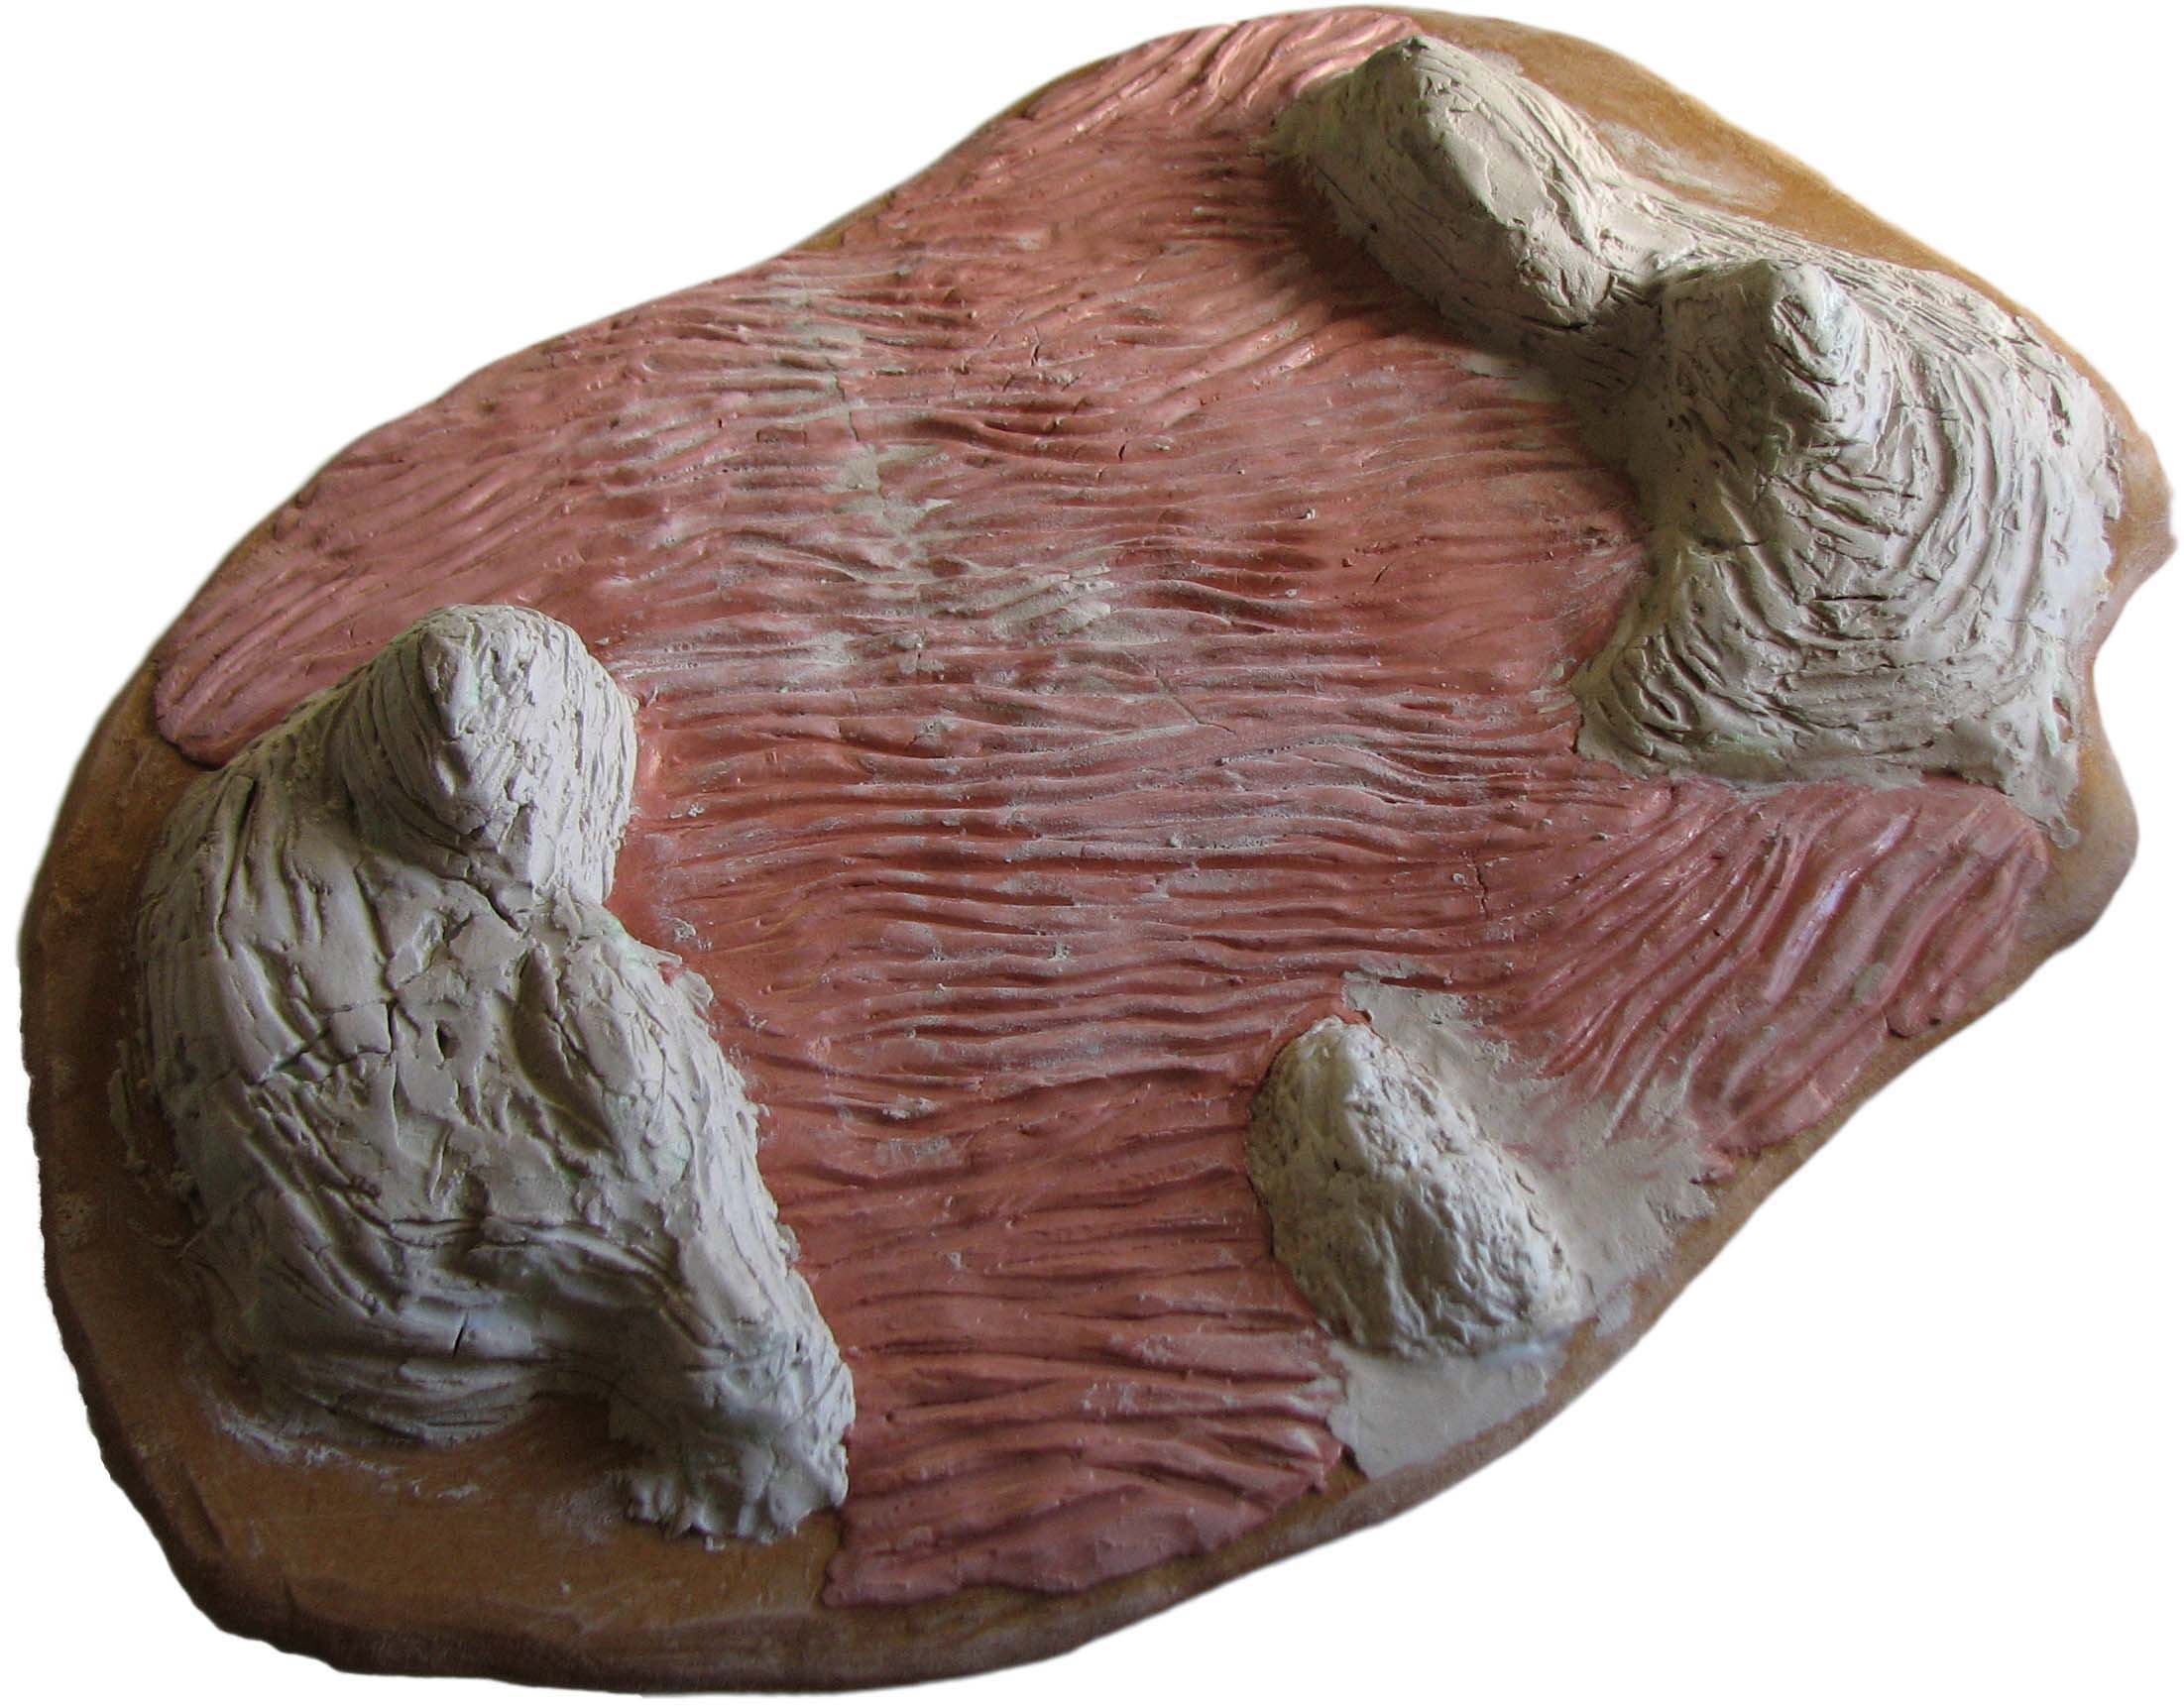
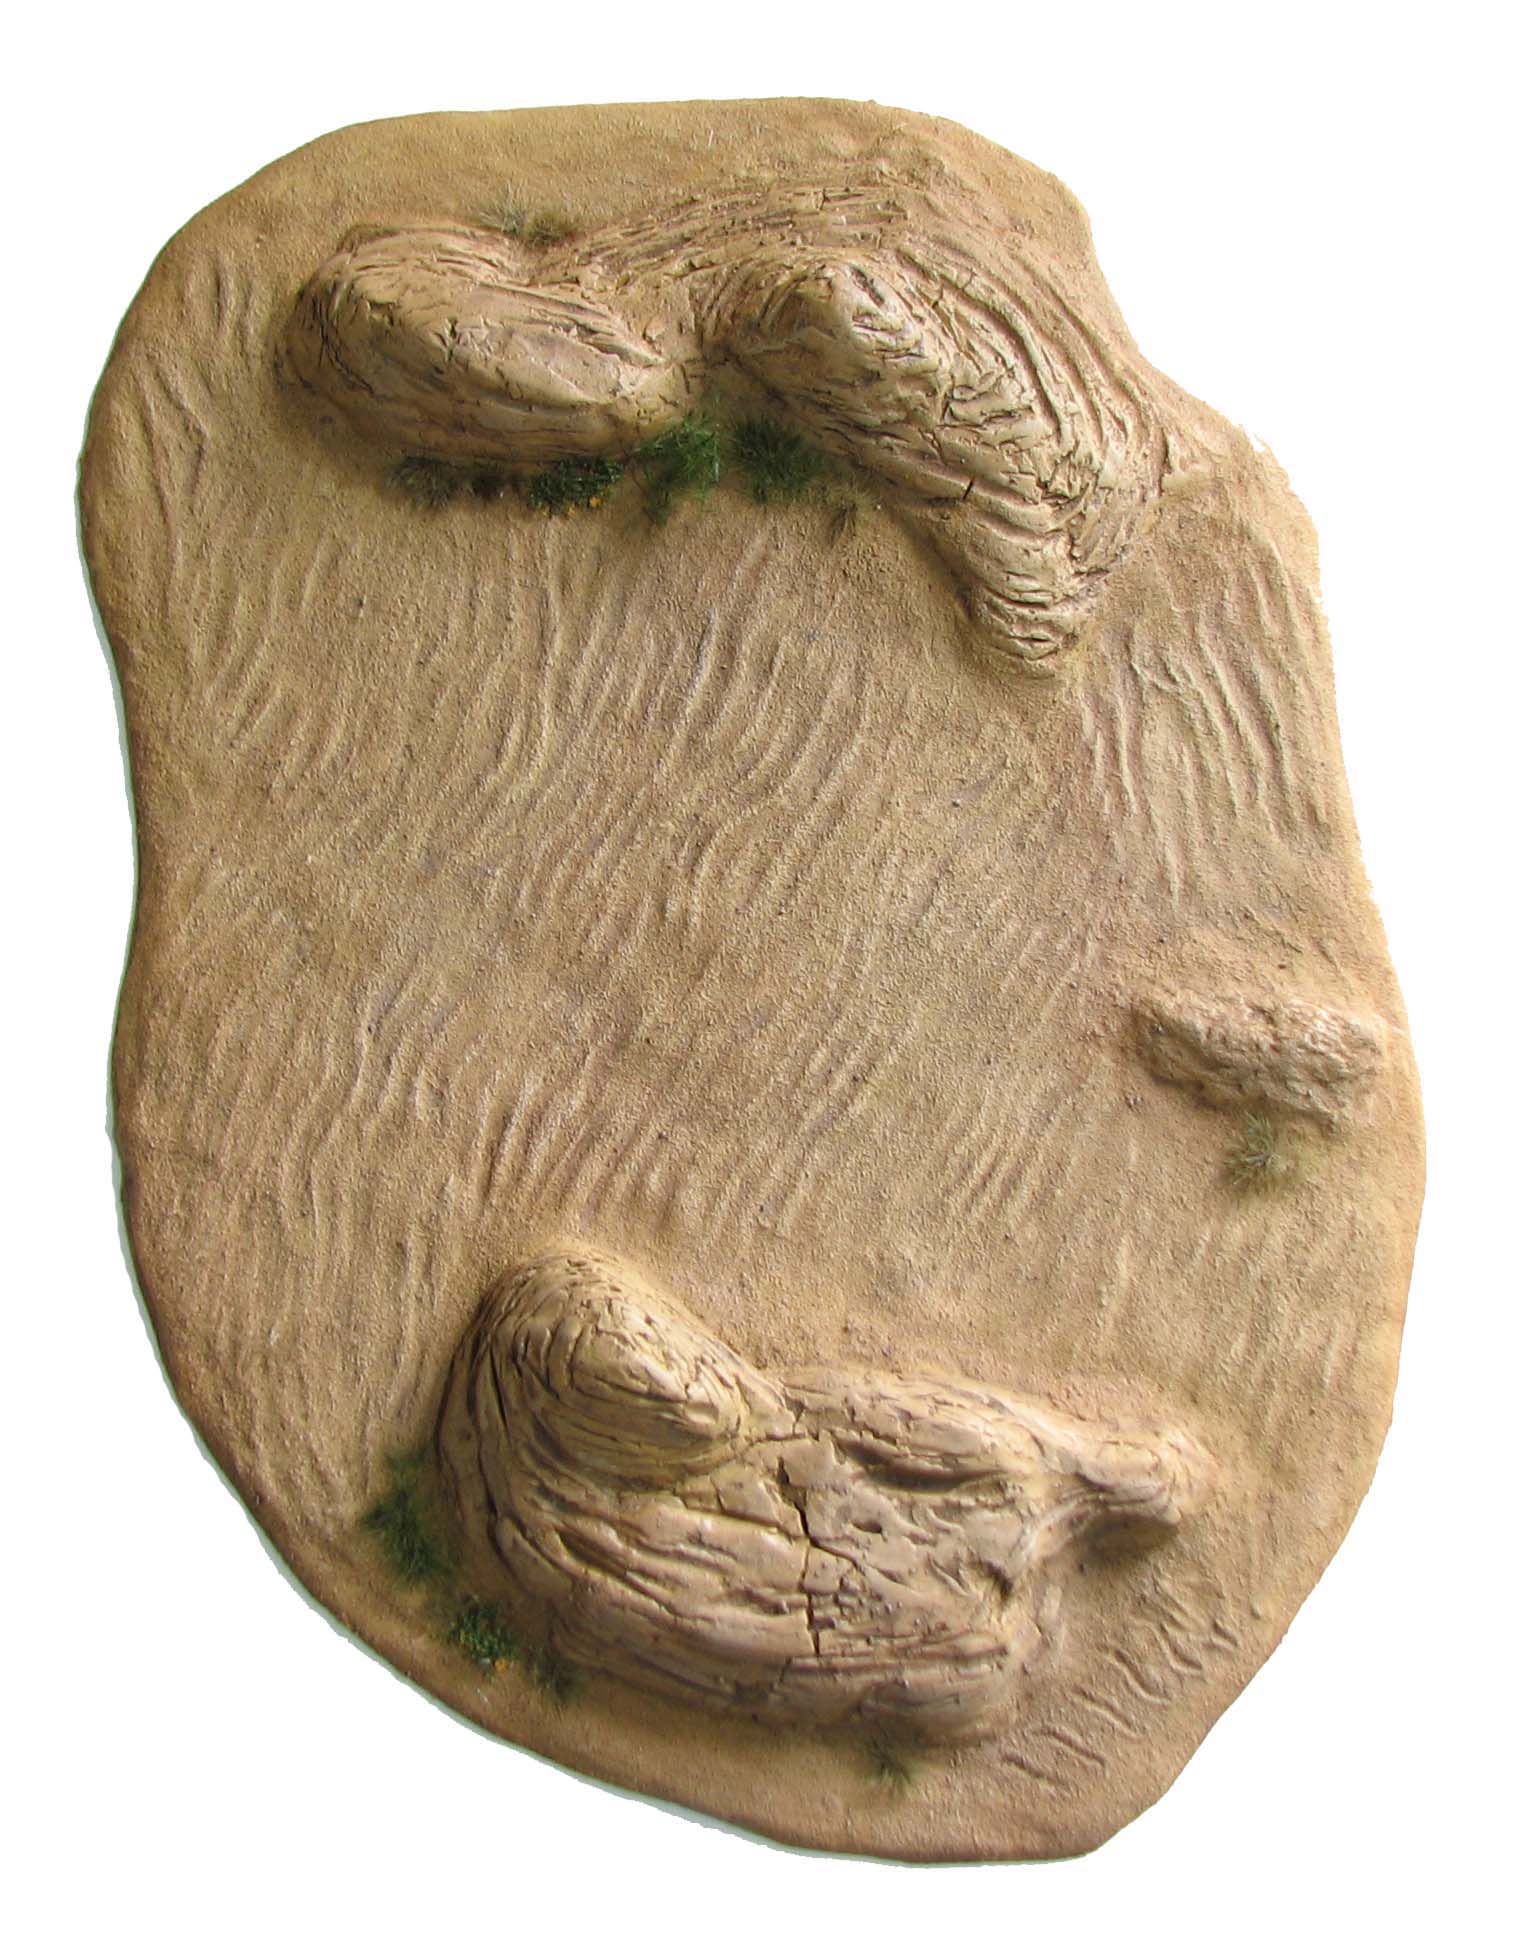
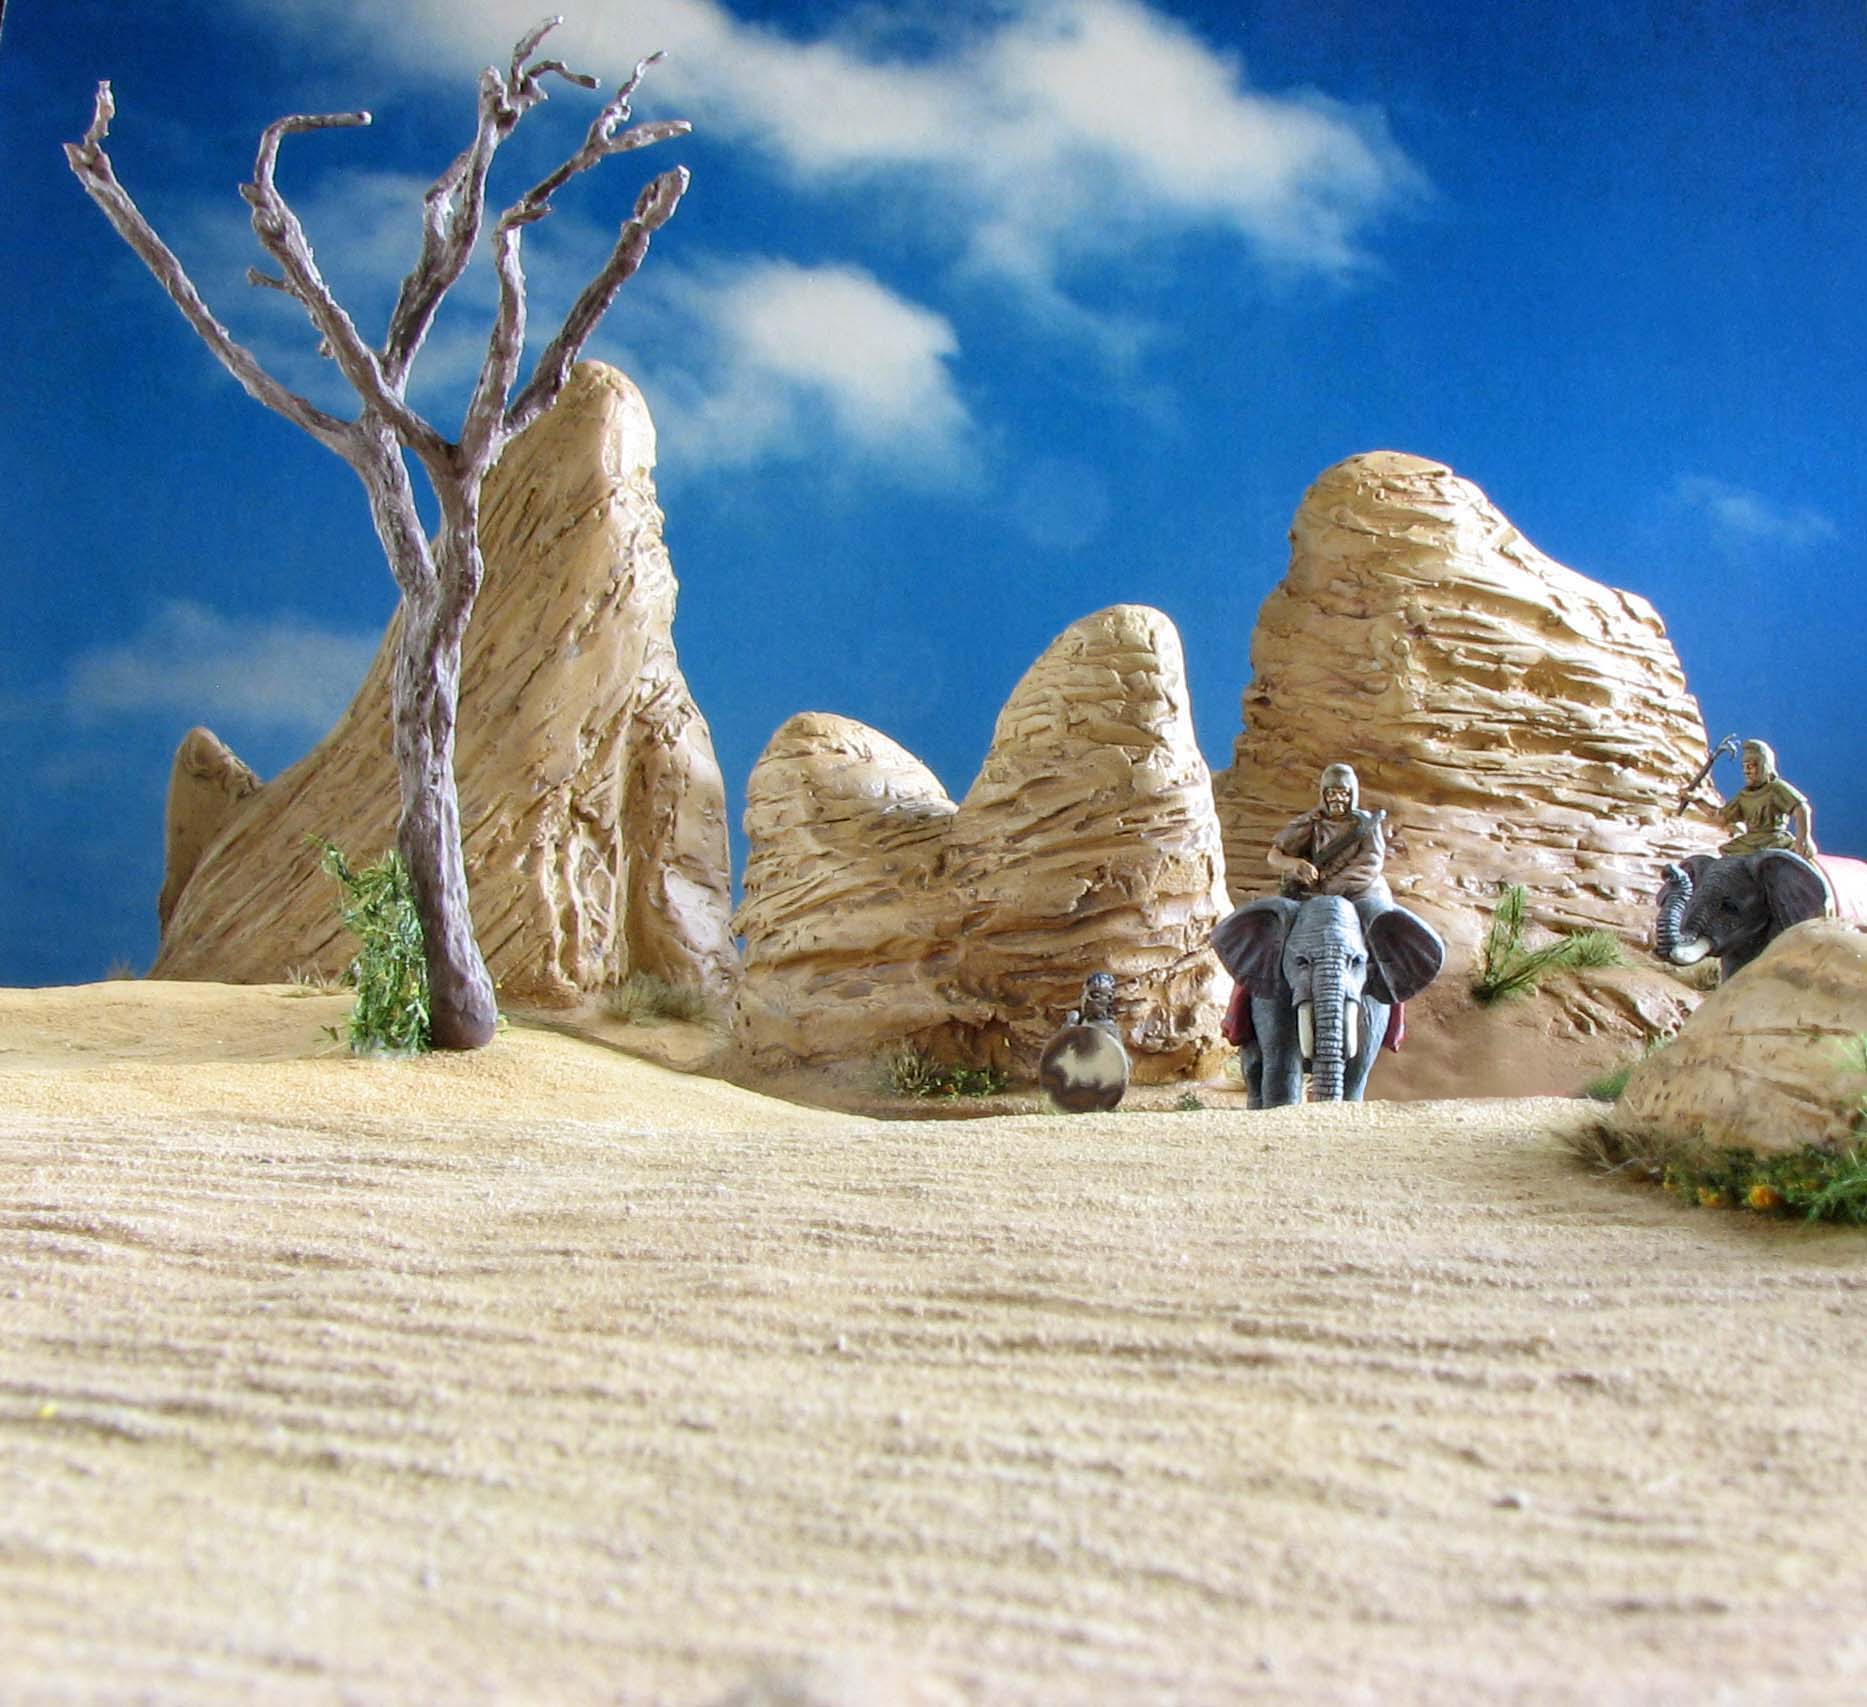
Arid terrain still preoccupies my mind and we shall not stop at dry desert lakes. Instead, in this second tutorial of the series, I would like to focus on the ever useful rough terrain, or in this specific case a terrain piece that features deeper sand. While you could depict rough terrain with a stretch of land filled with rocks and thorny bushes, I felt it would be much more interesting and challenging to depict an area that features fine, wavy sand, where with each step your troops or characters sink deeper, adding to the exhaustion of sun and thirst. I did also add some weathered rock outcroppings and sparse vegetation to round the piece off.
As always a list of the materials you will need for this build is followed by easy-to-follow step-by-step instructions. Work in progress pictures will illustrate each step and naturally I won’t break with the tradition of including scenic shots of the final piece. So put on your pith helmet, fill your water bag and follow me once again to a harsh desert environment that offers much more than featureless stretches of land to the modelling enthusiast.
Provisions for desert adventures
Tools needed:
- Sharp implements: A scalpel and a needle tool to carve styrofoam, filler and to add animal tracks to the piece.
- Paint brushes of various sizes to apply paint and glue, but also to drybrush.
- A Dremel to bevel the MDF base (optional) and to shape the XPS. If you don’t have one some coarse and fine sanding paper will also do.
- An airbrush or sprayer bottle to apply paint or a fixative (e. g. matte medium).
- A palette knife to spread out wood filler/acrylic medium.
Glues needed:
- Super glue. I use Insta Cure+ by Avetek.
- AK Interactive Sand and Gravel fixer (optional). Thinned acrylic medium with a bit of flow release will also do.
- Styrofoam glue. Be careful here to choose an appropriate product, as many glues react with styrofoam and dissolve it. I use Selleys Liquid Nails Fast.
For the groundwork and the lines in the sand:
- A rectangular base. I normally use some 3mm MDF or 3mm HIPS plastic sheet. Alternatively you can use cork or other materials. Just make sure they don’t warp.
- Shellac to seal the MDF, should you use some, and to prevent warping. This especially important given you are using air dry clay which may lead to mechanical stress
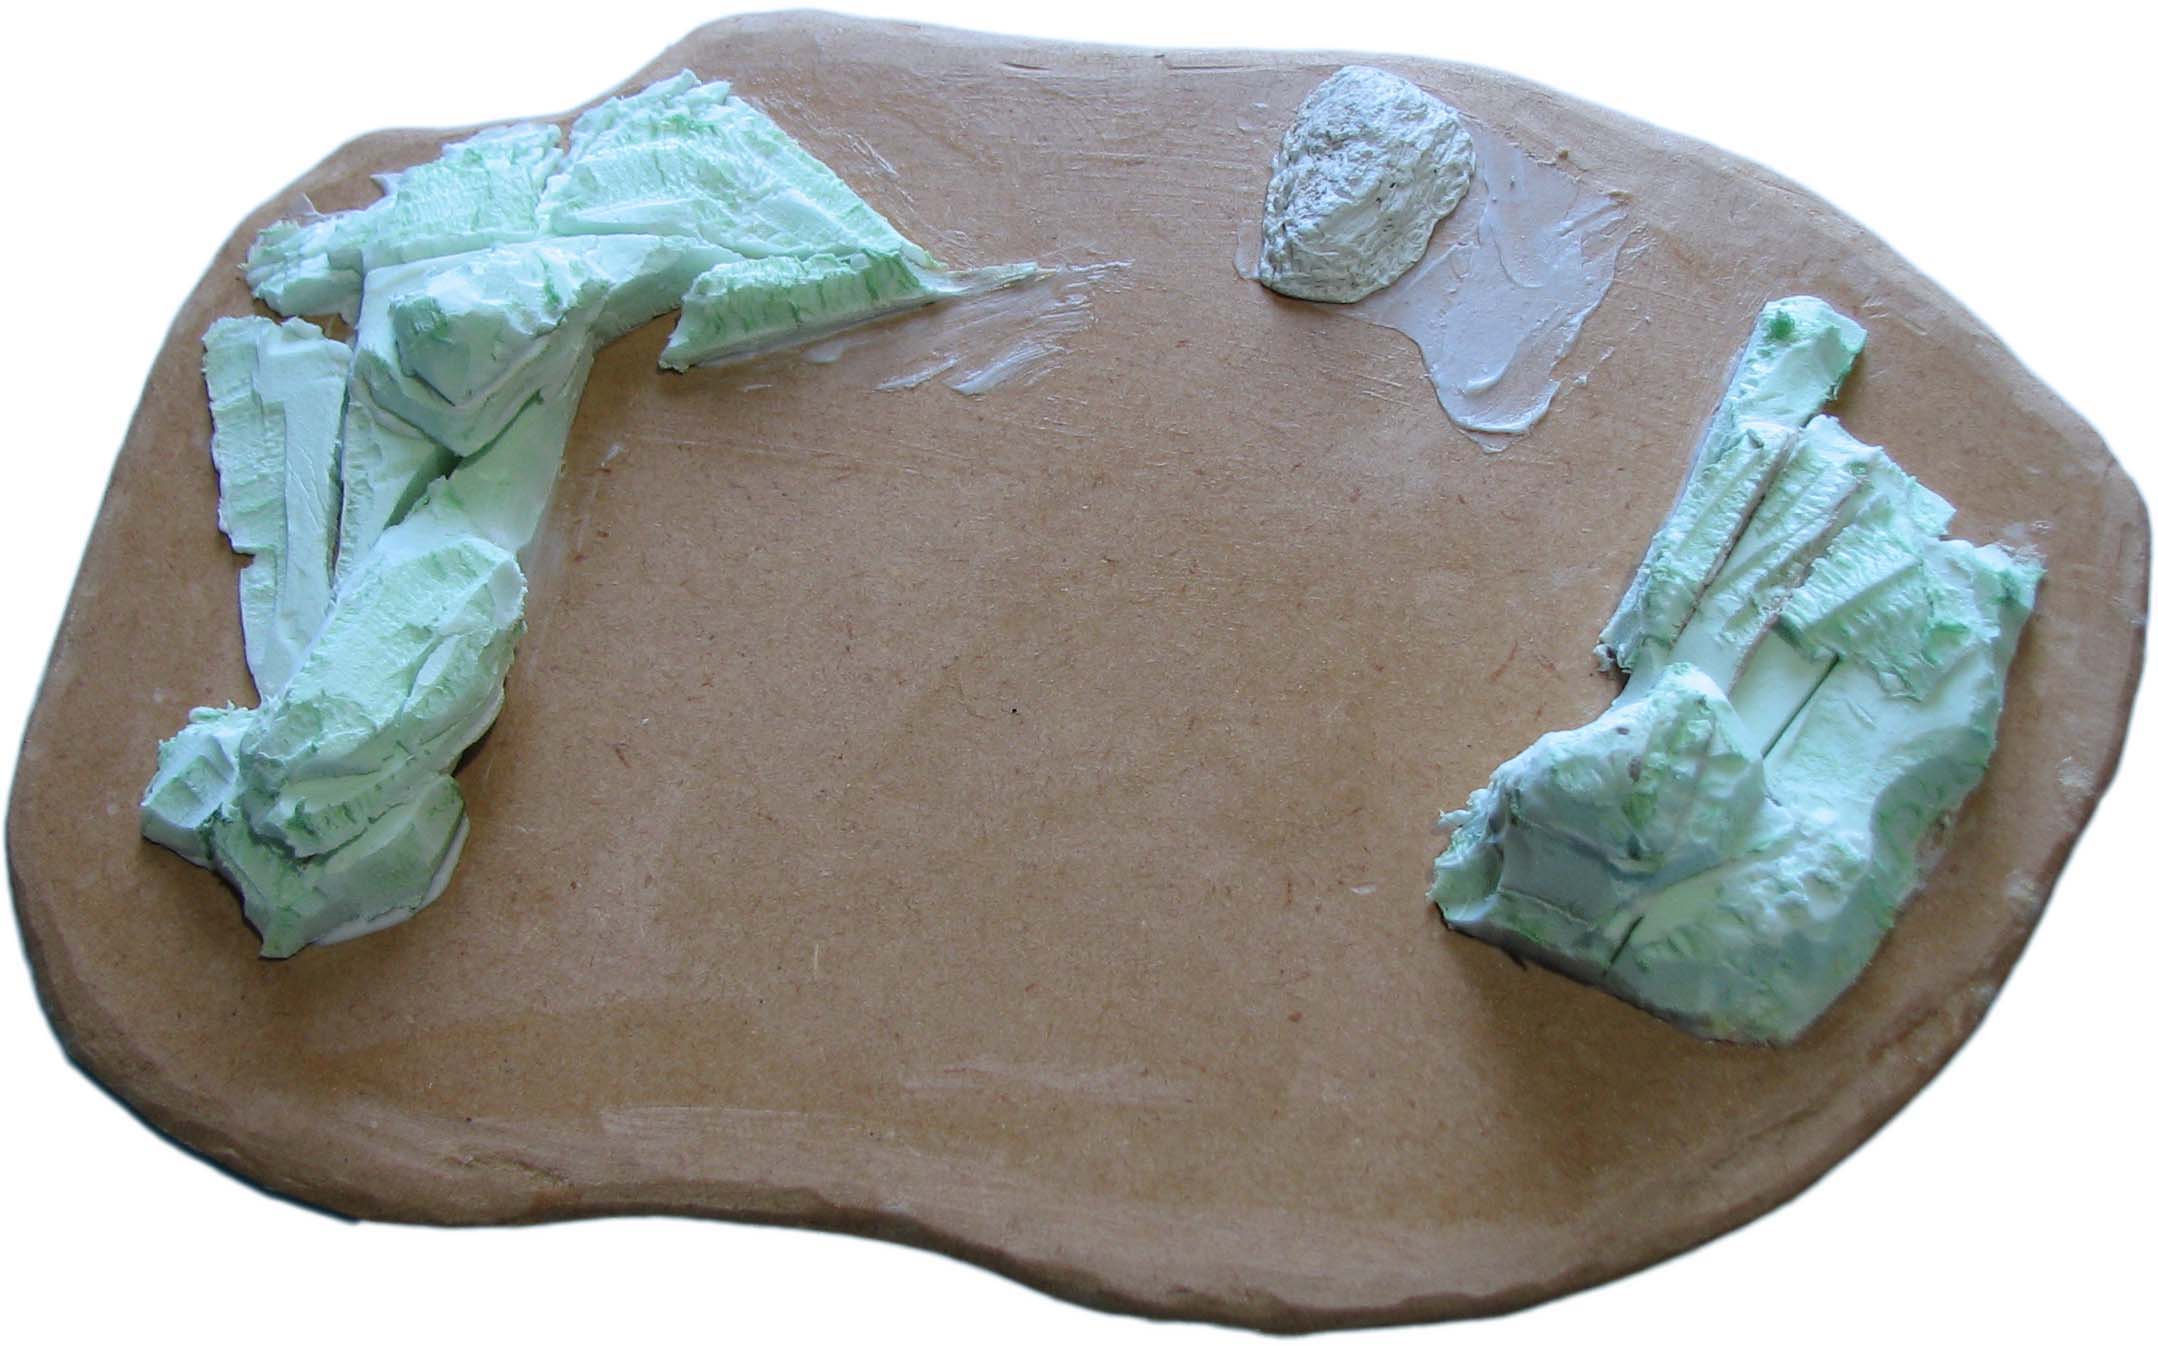
- Extruded polystyrene (XPS). That is the dense stuff for construction, not the crumbly stuff you use as packaging. We will use it for the rock outcroppings.
- Wood filler. Either ready-made or as powder. I use Bostik Fill-and-Fix. We will use this to cover the XPS.
- Acrylic matte medium. We will use this to seal the piece and also use it as a glue to attach sand.
- Air dry clay to pre-shape the lines in the sand.
- Finely sieved soil from your garden or backyard. Can be any colour, but a lighter brown works well for an arid environment. You can also buy decorative sand in many one dollar shops. The advantage is here that the sand is very fine indeed and you don’t have to sterilize the soil or sieve out larger pebbles.
- Small cork pieces or pebbles to depict small rocks (optional).
- Craft paints (light browns, beige, tans or white) to drybrush/paint the piece.
- Tamiya colours if you want to airbrush the piece. Thin with some IPA before use.
- Matte varnish to mix with pigment and water to fashion a brown wash to add contrast to the piece and the rock outcroppings.
Vegetation: Thorny brushes and dry grass:
- MiniNatur grass tufts, and foliage nets (optional). I used a selection of autumn grass tufts and summer foliage to depict thorny bushes and dry grass. MiniNatur foliage for coniferous trees makes excellent tall, thorny grass. Naturally you can use any tufts you have on hand and also clump foliage.
- Matte spray varnish to reduce the shine of the grass tufts and foliage. I use Testor’s Dull Coat.
- Brown acrylic spray paint to slightly darken the tufts or alternatively a brown wash to dull the shine of the tufts and grass.
Critters (optional):
- A small desert mouse. The Busch Kleintierset never disappoints.
Lines in the sand – How to do it
This build is pretty straight forward and less involved than the dry lake bed:
- First we use XPS to build up any rock outcroppings.
- We then cover the remaining areas with air dry clay and pre-shape the lines in the sand.
- We cover the outcrops with filler and carve the rock to shape.
- We add sand and animal tracks.
- We apply a basecoat and drybrush.
- We add some brushes.
Let’s look at it in some more detail:
Groundwork:
Start with cutting your base to size and bevel the edges using sand paper or a Dremel. Seal the MDF with shellac.
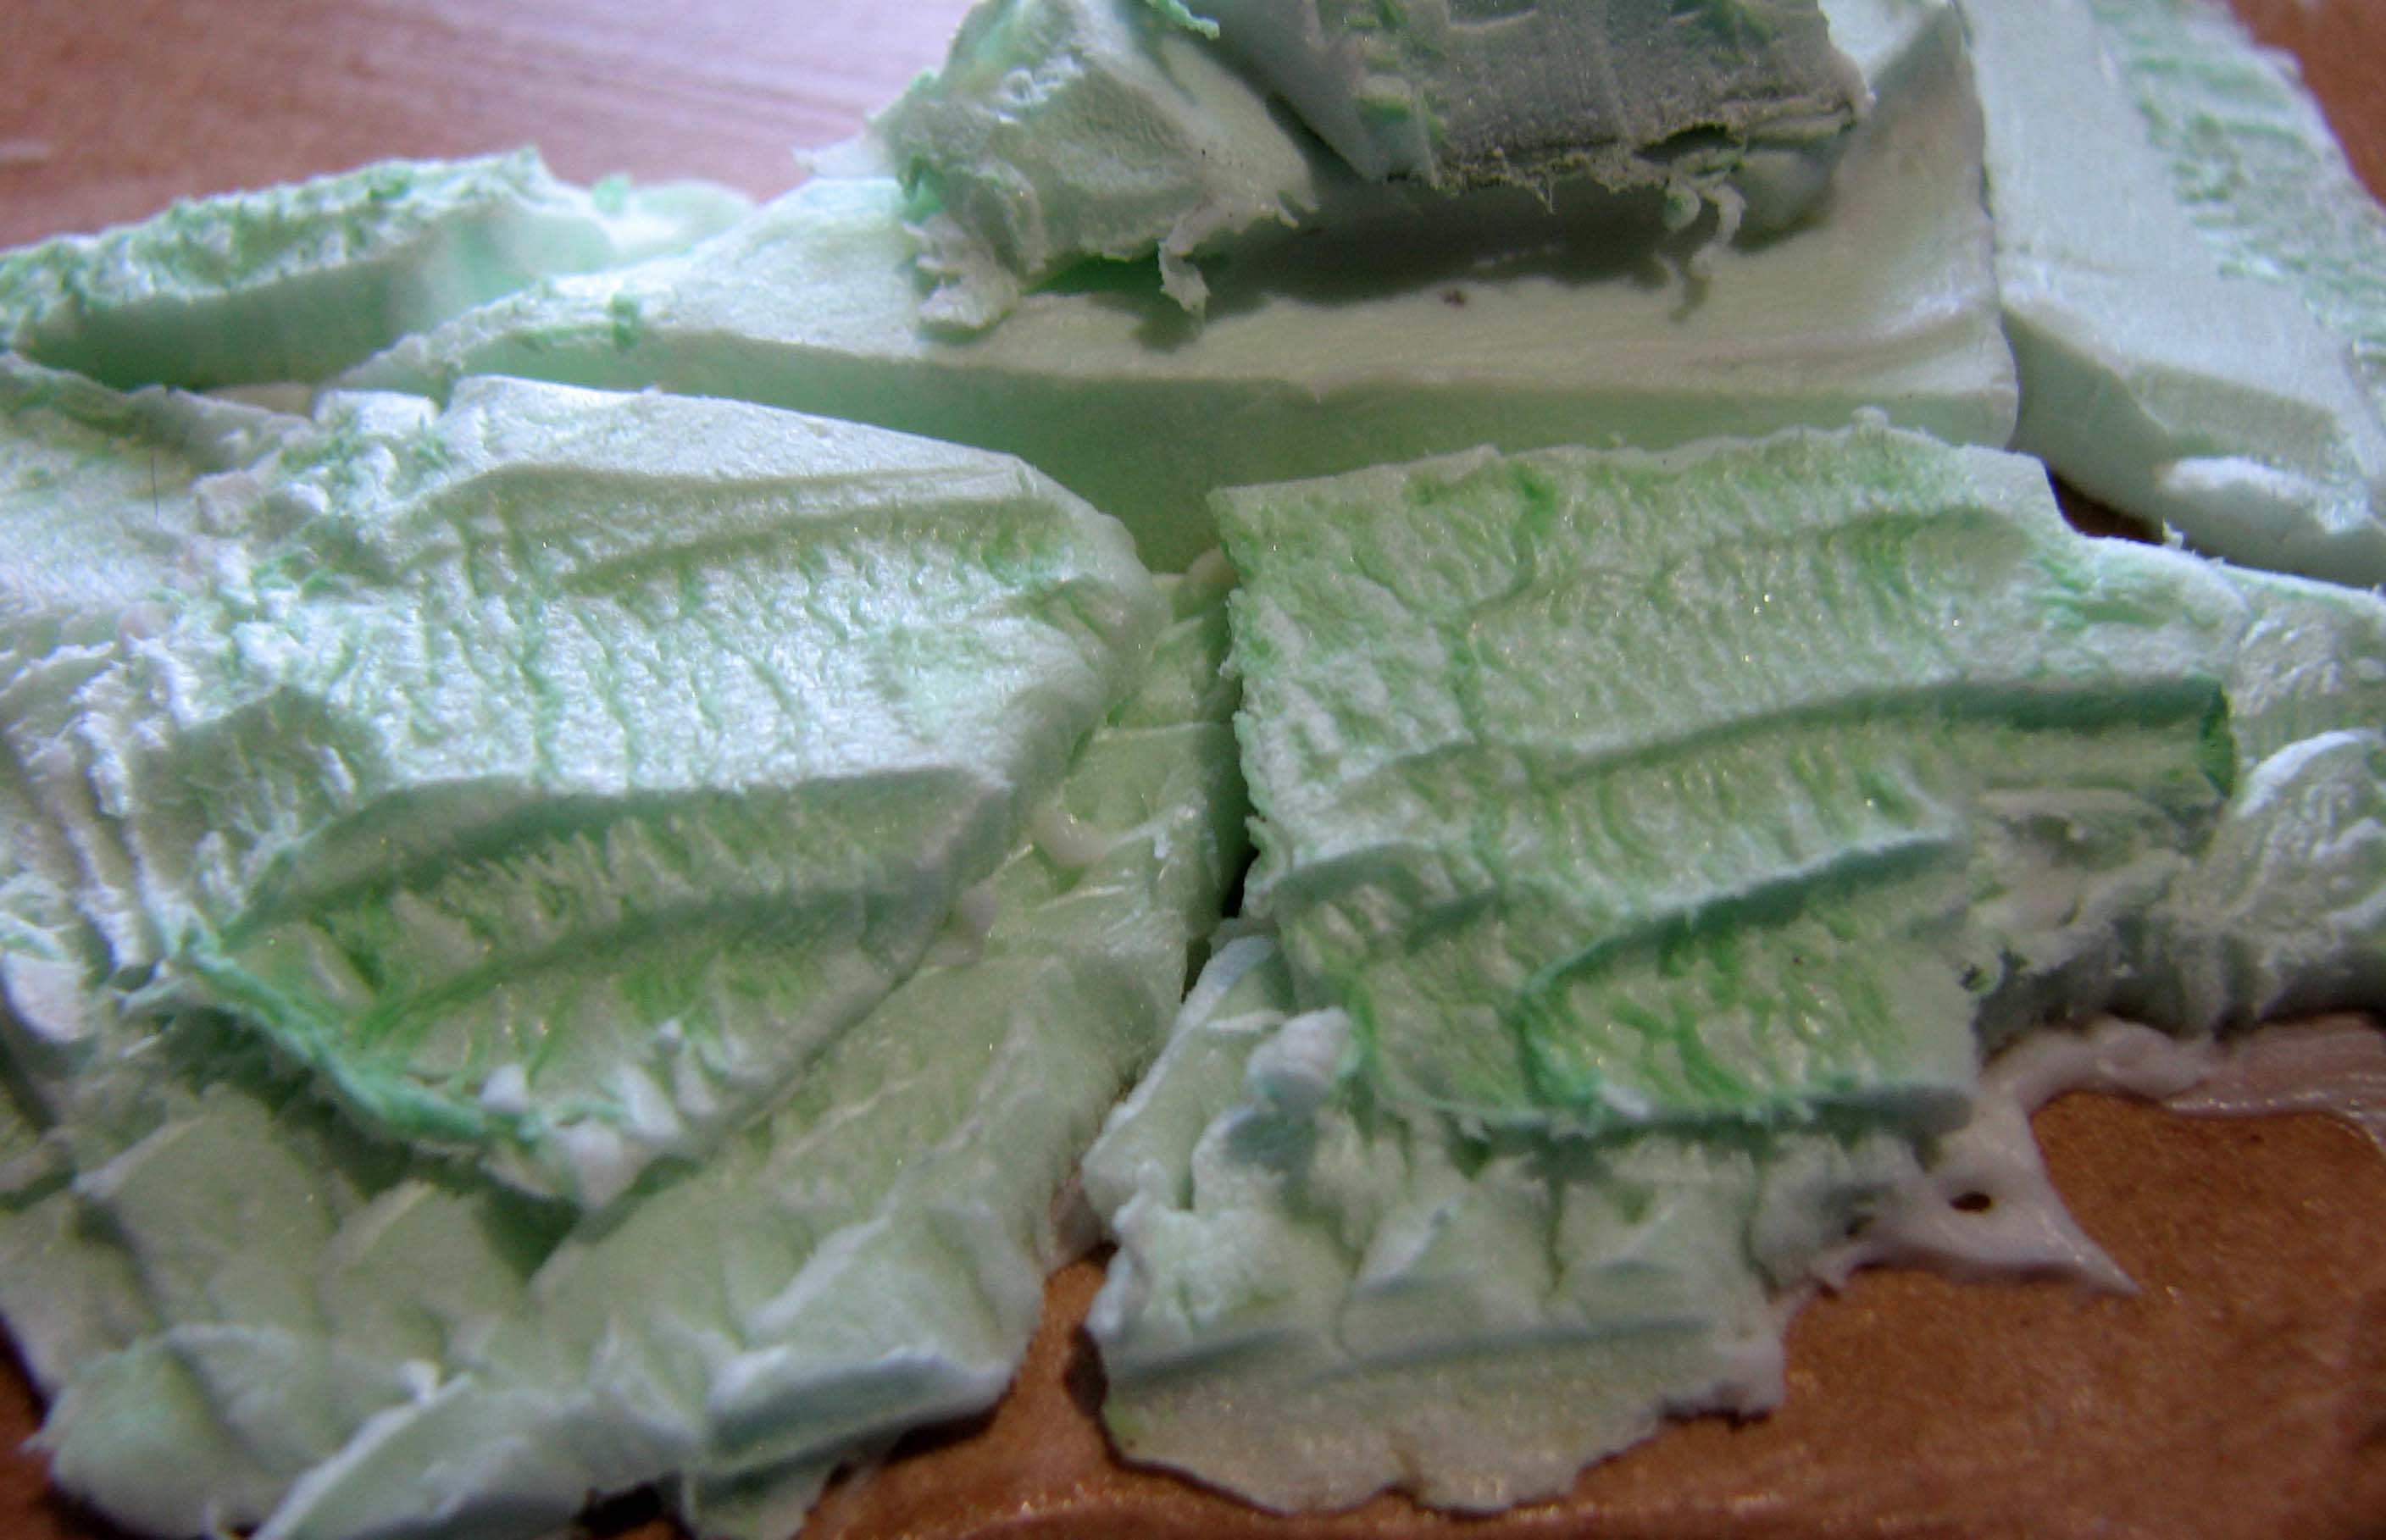
Next, use some XPS to build up the rock outcroppings. Use the scalpel to refine their shape and glue them in place using some construction adhesive. The rocks in my example were exposed to the wind and are thus supposed to be comparatively smooth. If you have a Dremel you can also use a sanding bit to roughly shape the XPS, removing sections that are too angular. Try to keep the center of the piece free, so that troops can be placed without difficulty.
If you have a Dremel you can also use a sanding bit to roughly shape the XPS, removing sections that are too angular. The Dremel works fast and makes a veritable mess, so better do it outside or put a tarp underneath.
Lines in the sand
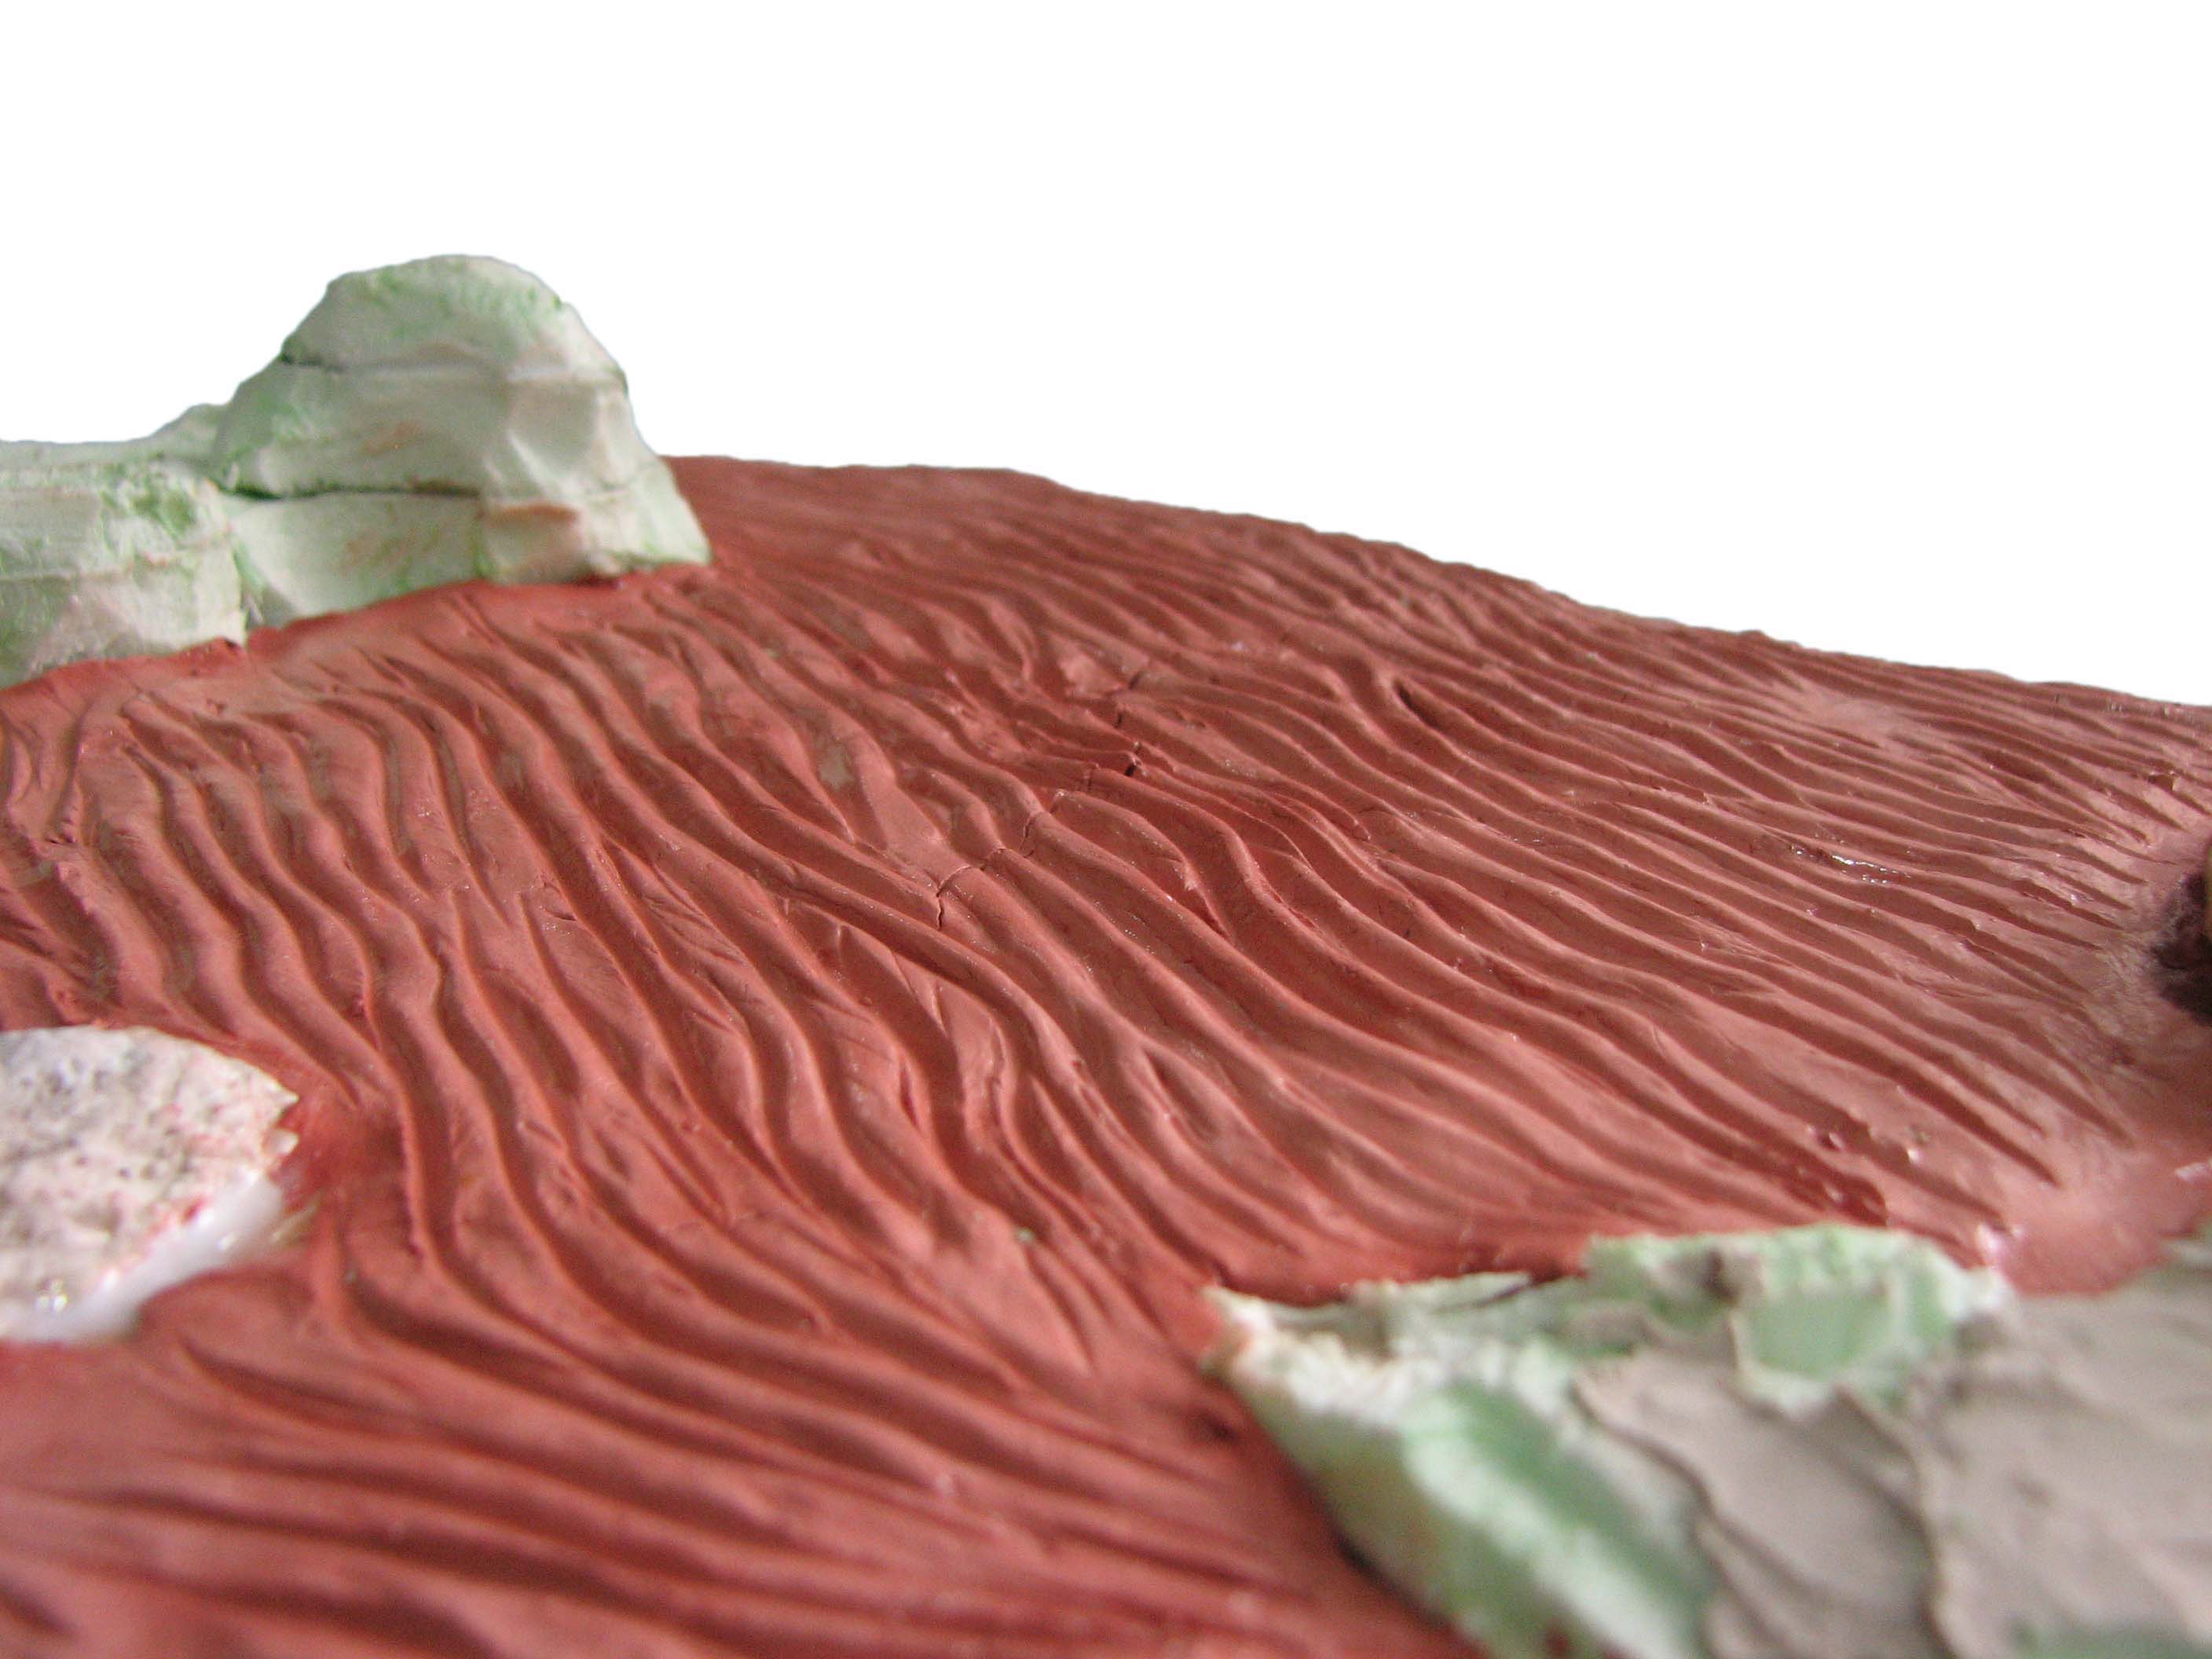
When you are happy with the rocks it is time to apply the air dry clay using your hands or sculpting tools to the rest of the base. Make sure that you achieve a more or less flat surface. Wetting your hands or tools can help you with this task.

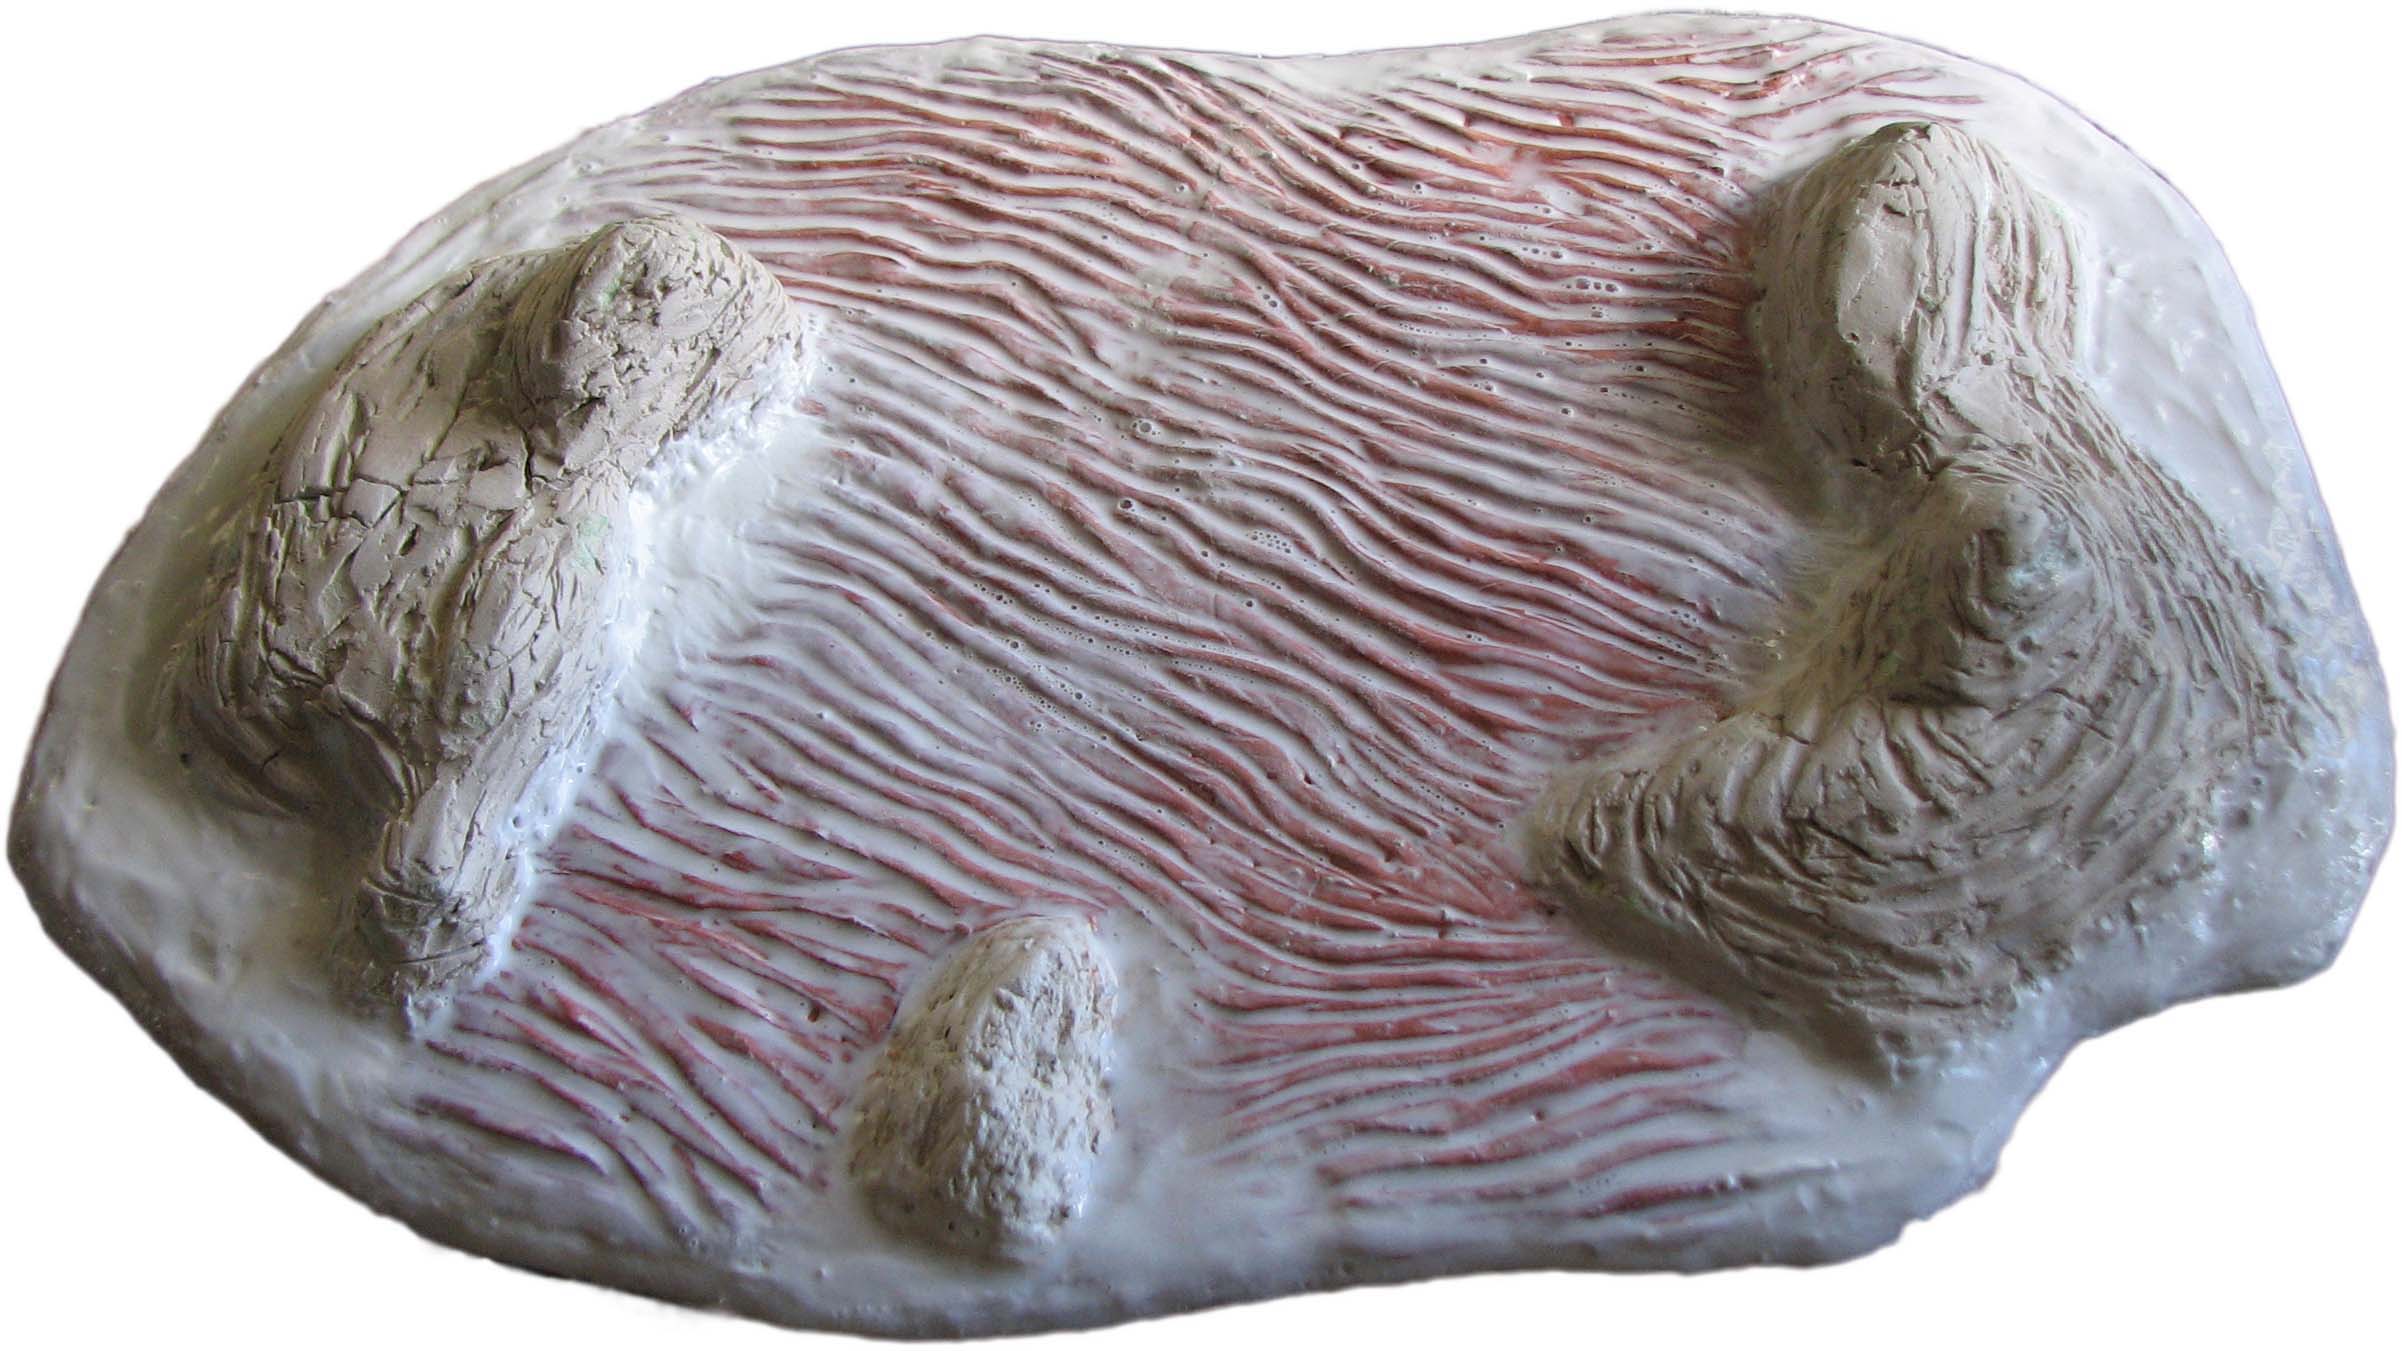
For a one-off piece use the sculpting tools to pre-shape the lines in the sand. Make sure that the lines are not continuous and work from a reference picture if possible. When you later apply the filler you can also smooth out any rough transitions between outcrops and the sandy areas and fill in cracks.
If you intend to make more pieces of arid rough terain it may pay off to fashion a press mold after the clay is fully dry. The mold will feature a negative of your line design and save you a lot of time if you need to cover a large surface with lines. The larger the mold, the better.
The rock outcroppings
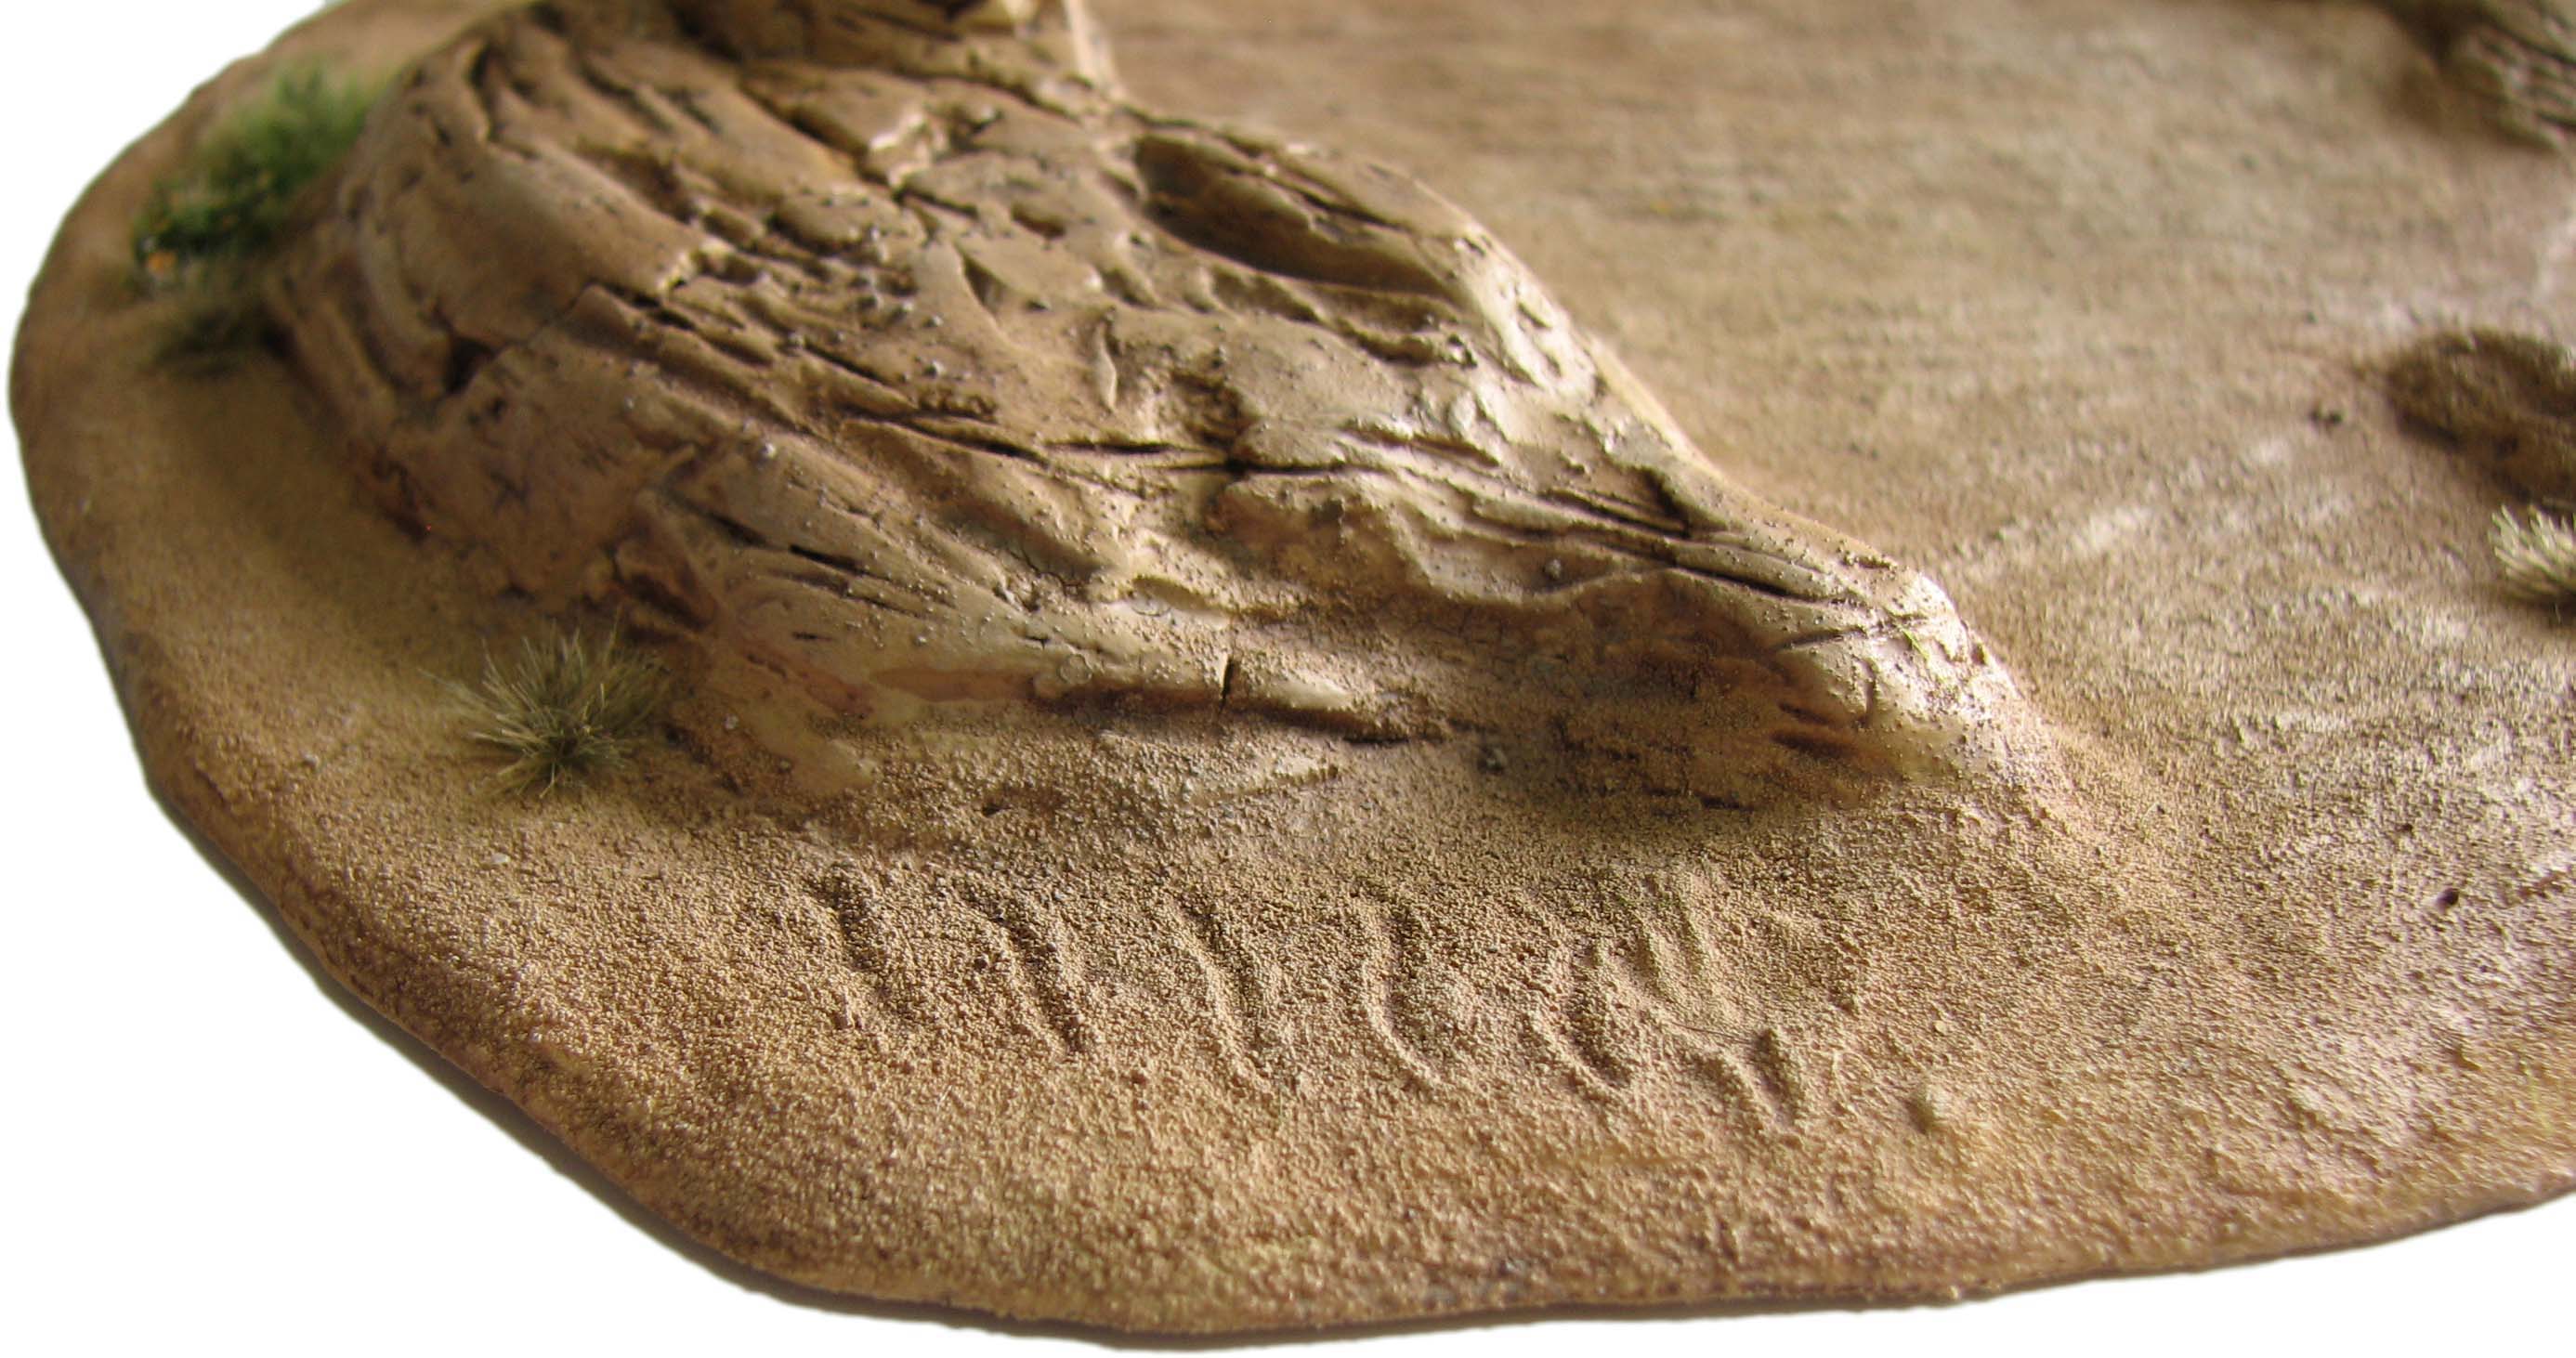
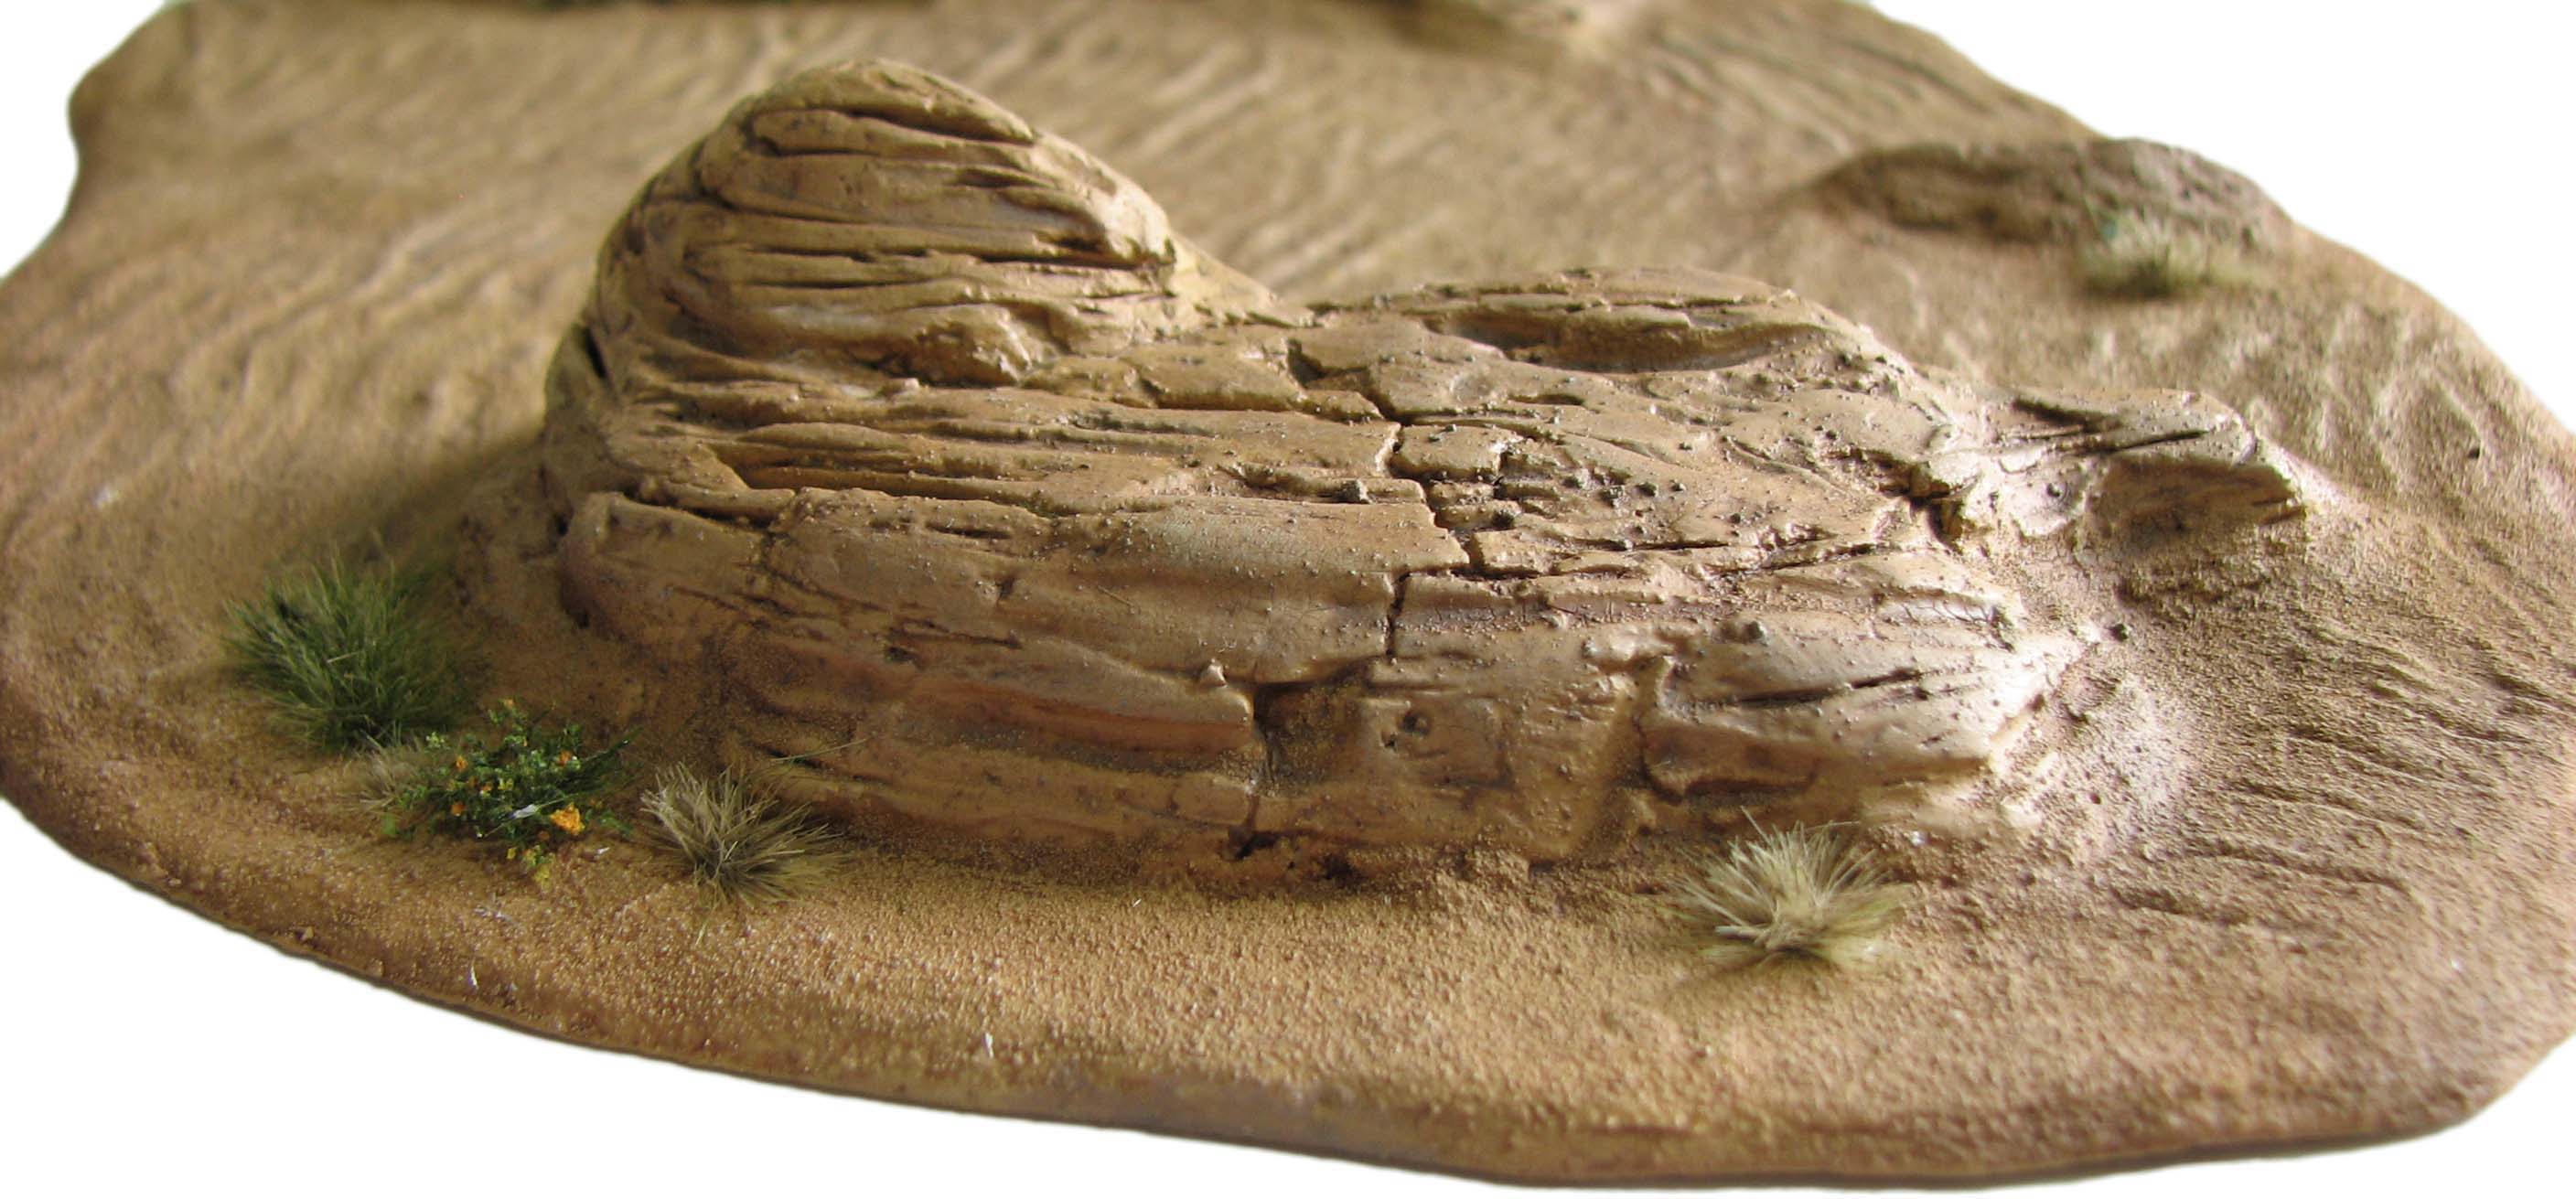
Now use some wood filler to cover the rock outcroppings. This does not need to be super even, as you will sand the rock smooth at a later stage. If you want to add striations as I did with my rocks you can do so with a needle tool. Just draw them in the wet filler.
When the filler is fully dry take some fine sand paper and smooth the surface. You can go right into the striations and round them off a bit. This will provide a reasonable impression of rock weathered by the surrounding sand.
The clay may crack or lift in some places, but don’t worry. Let it dry for a few days and then go back in with some filler or acrylic medium: Close any cracks, use the medium to glue down any loose sections and finally seal the entire surface, including the rock outcroppings, with a protective and stabilizing layer of thinned down medium.
Sand and paint
You can now reapply some medium and sieve some fine sand on the piece, naturally only on the sandy sections. This is also a good moment to add any animal tracks to your piece. I decided to add some snake tracks: Just use a needle tool and draw a series of wavy lines into the wet sand. Let this dry and seal the sand in with a final coat of more thinned down medium, best applied with a dropper bottle. Thin it 1:3 (medium : water).
When everything is dry, it is time for a light brown basecoat. You can use a brush or airbrush to do this.

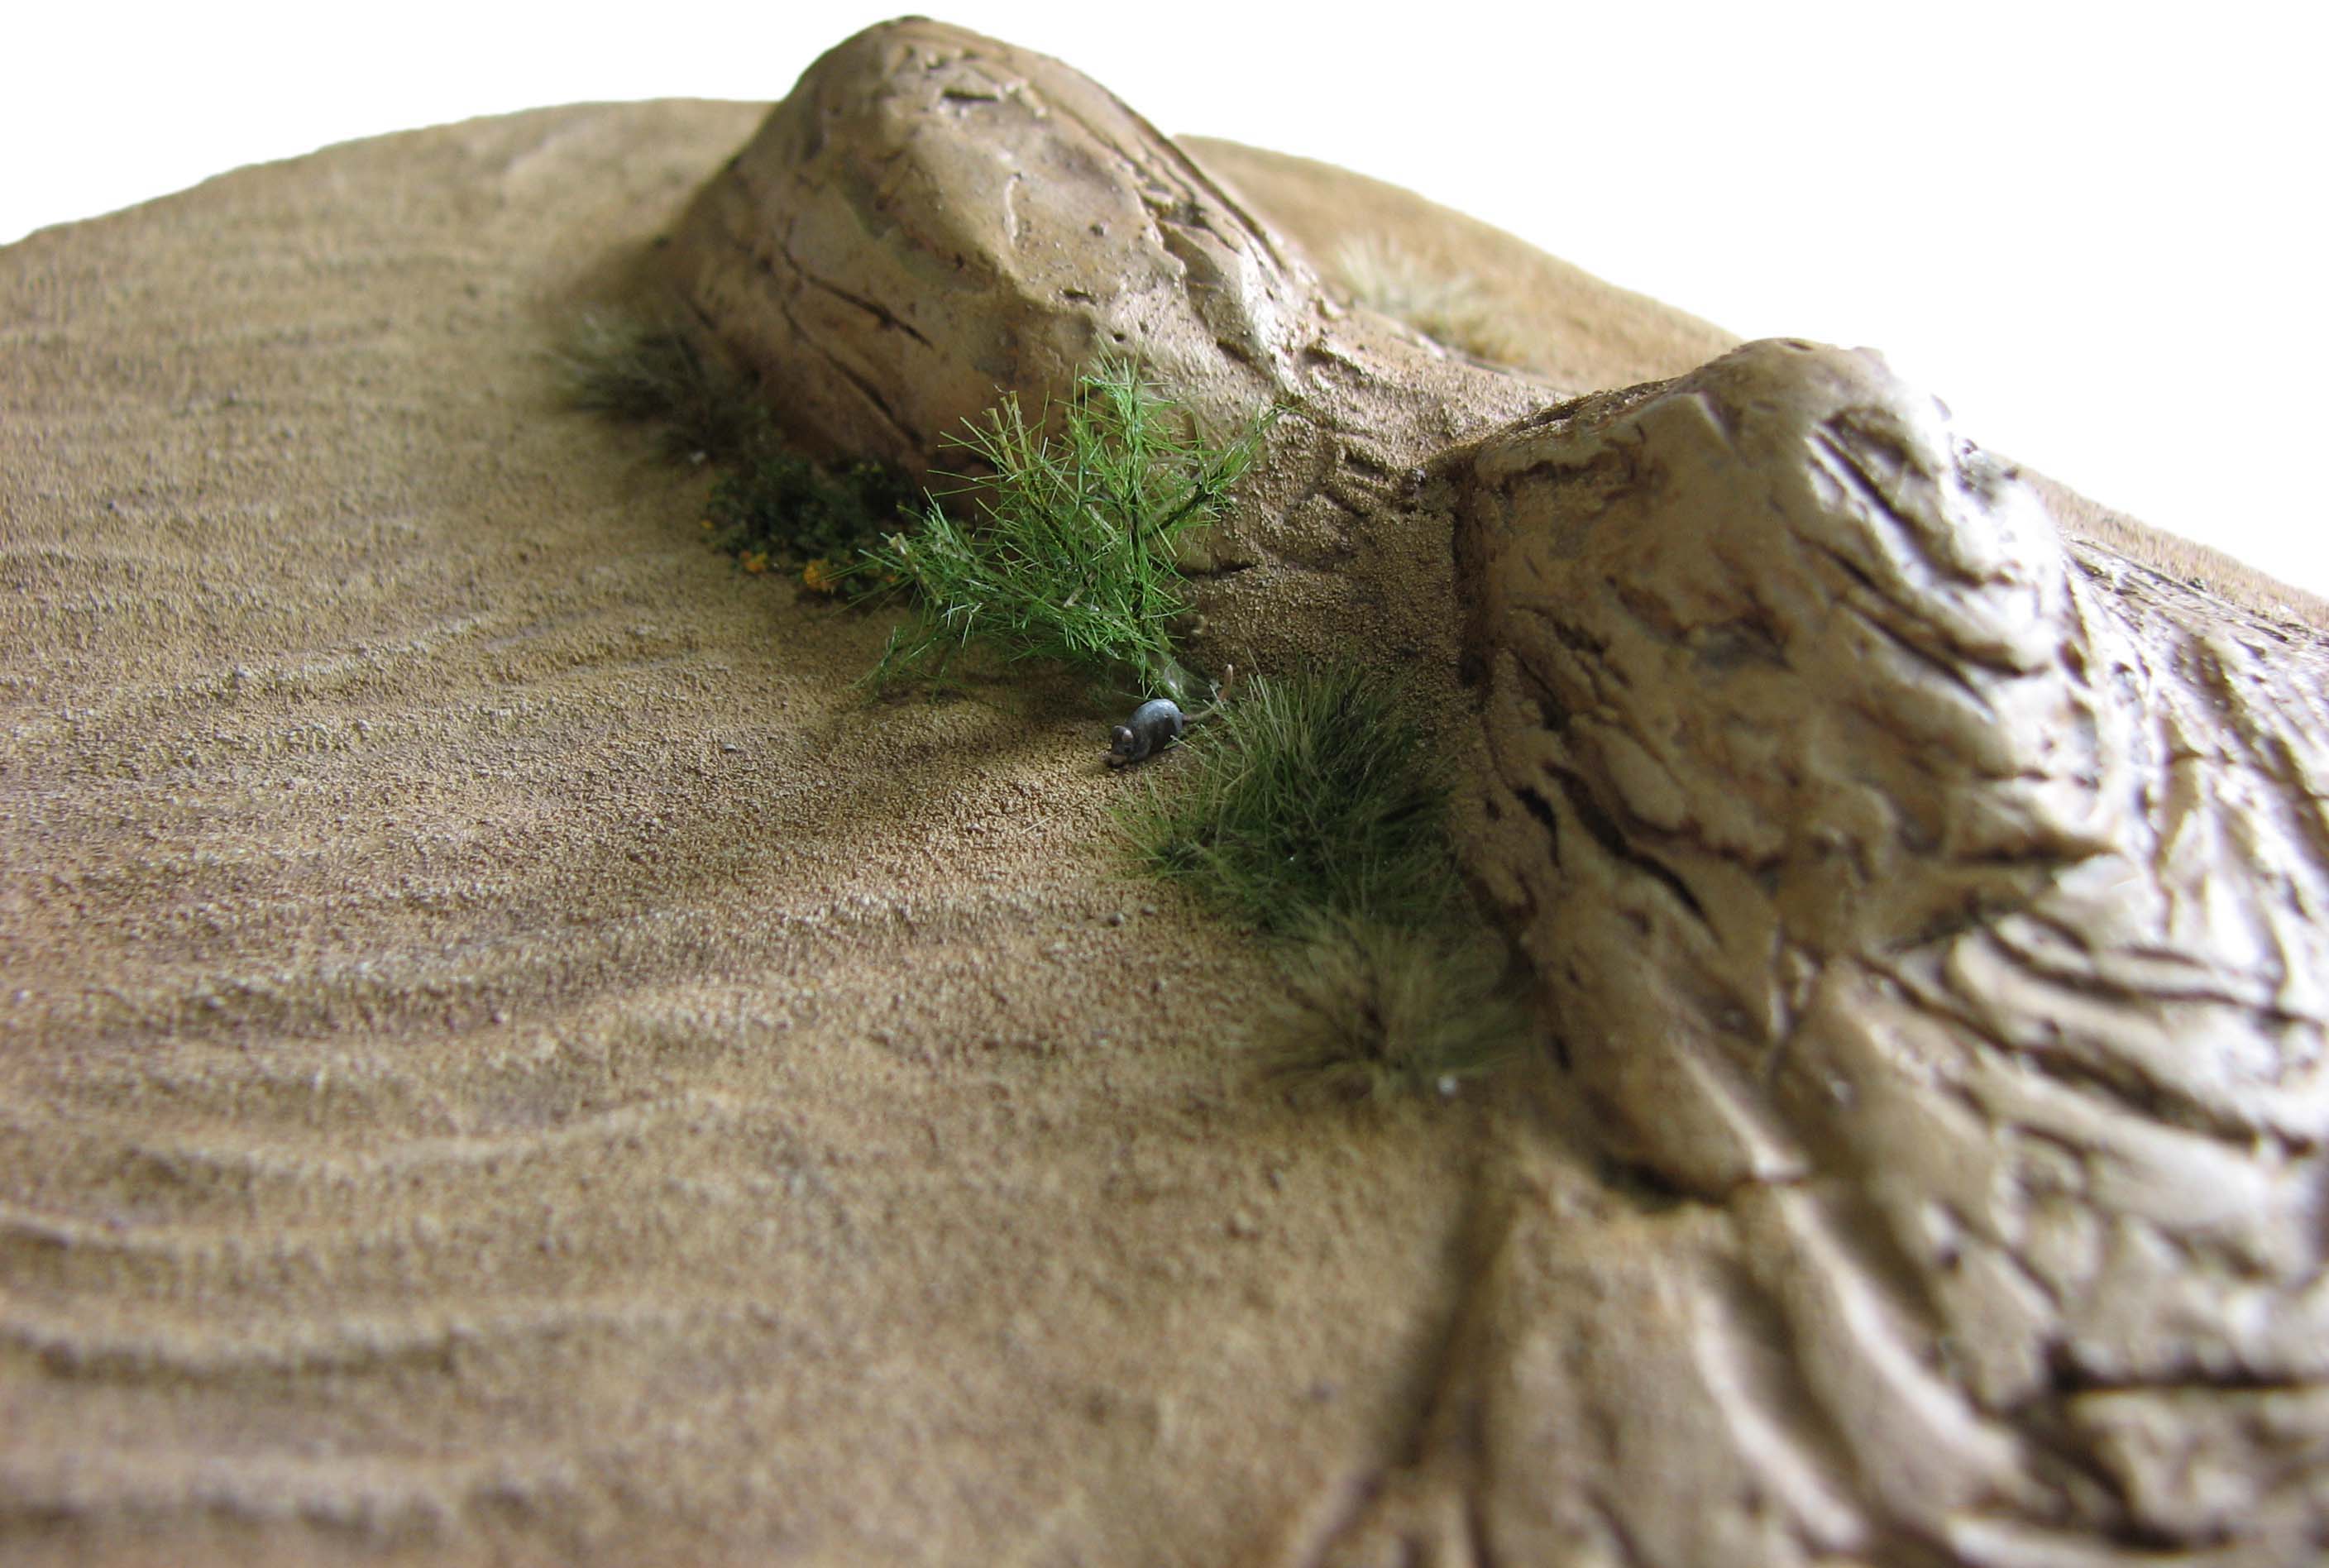
Last but not least we gently drybrush the entire piece with succeedingly lighter brown tones. You can go up to pure white, but apply it only sparingly. You can also increase the contrast with a light brown wash. Start with a thin mix and build it up slowly. This will especially enhance the rock outcroppings, as it emphasizes their texture. The animal tracks benefit from the dark wash and can be easily spotted from a gaming distance.
Critters and vegetation
You can leave the piece barren or, if you want to depict a more lush area, add some dry grass tufts or thorny bushes using some super glue. Apply a brown wash to the vegetation to reduce the glare of the static grass. I also painted up a tiny mouse and placed it between the taller grass. Usually I add some signs of life to all my pieces to avoid a sterile and artificial look.
We all heard of the famous happy accidents. In this case a crack in the filler turned into a visually interesting feature of the outcrop.
Seal the piece with a thin coat of matte varnish. This will also eliminate any remaining glare or shine.
Wrapping up
There you go: a simple yet visually interesting terrain piece that still allows easy placement of troops. Whoever said that sand is coarse, and rough, and irritating, and it gets everywhere was clearly wrong.
I hope you enjoyed this second installment of my arid terrain series. The next one will feature a set of scatter terrain: large- to medium-sized desert rocks that are easy to build and can be used to block line of sight.
Feel free to leave a comment below if you have suggestions, questions or just want to share your own desert terrain. No matter what you do, always wield your brush with honor!
Hey great tutorial, I am just having trouble with one thing, how do you apply the sand without it just filling up the grooves?
Thank you for commenting Tristan. I cover the lines with a thin layer of acrylic medium and apply a thin layer of fine sand. That way the grooves are not filled in. I repeat this if cover is not complete, but focus on uncovered areas. When the piece is dry any excess sand can be brushed off and reused.
Beautiful work, as with all of the pieces shown in your tutorials.
Thank you Azazel. I wish I could afford a trip to the desert for some on site research. 😎
Just gorgeous
Thank you, glad you like the build. If I am honest and super critical of my own work I kinda wonder if the lines break the proper way at the small rock between the large ones. I need to go to a desert in some point and take a bunch of pictures 😅
Great tutorial! I’m adding this to my stash of how-tos. You are an artist!
Awesome! Great piece of art. Thanks for sharing with us.
You are very welcome. Glad you enjoyed the tutorial.