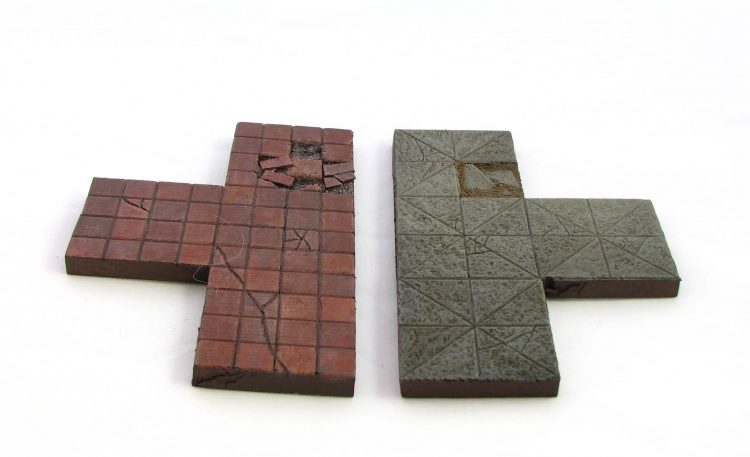
I already mentioned in my Crypt of the Damned tutorial that I also have a collection of simple dungeon tiles. They were my first attempt at dungeon crawl paraphernalia and intended to be used in our DnD sessions.
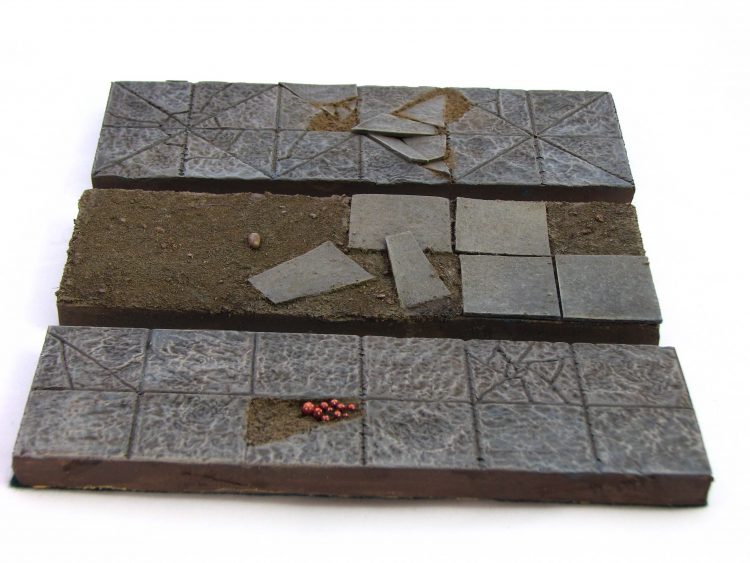
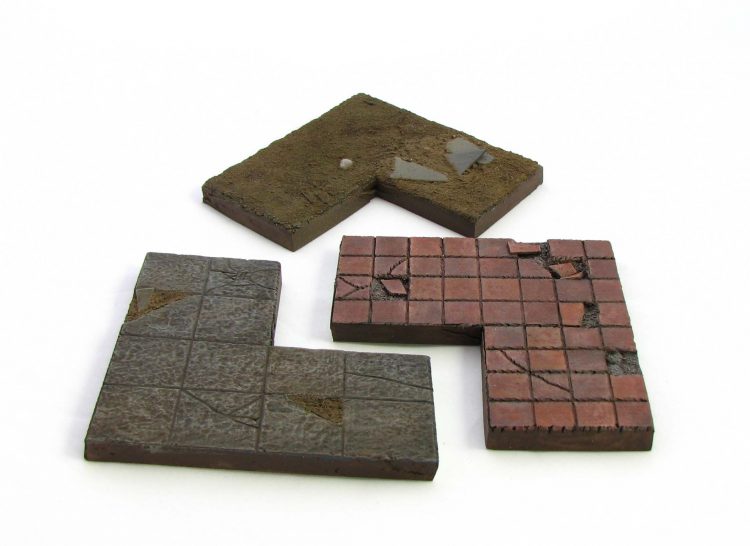
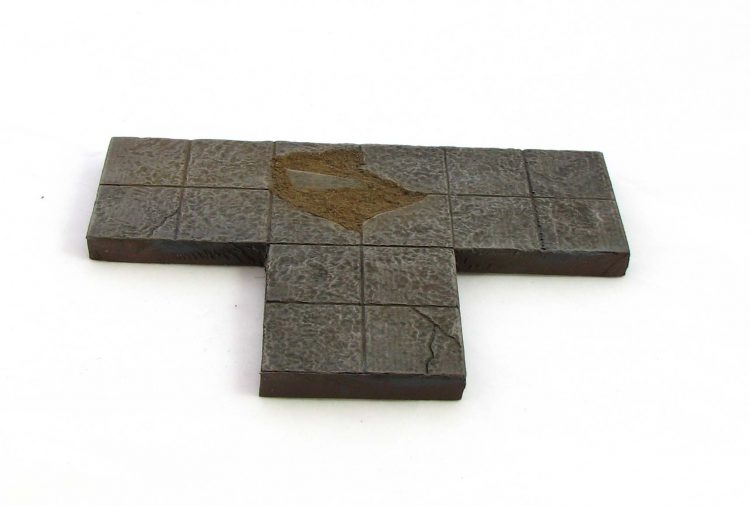
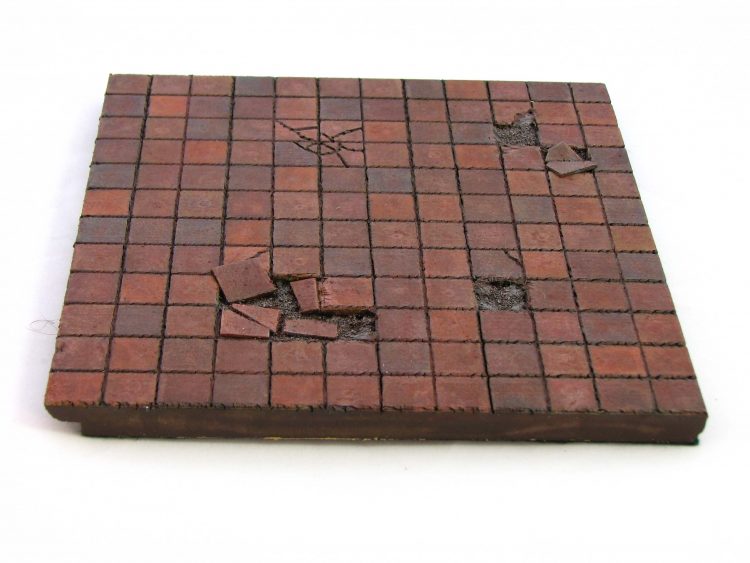
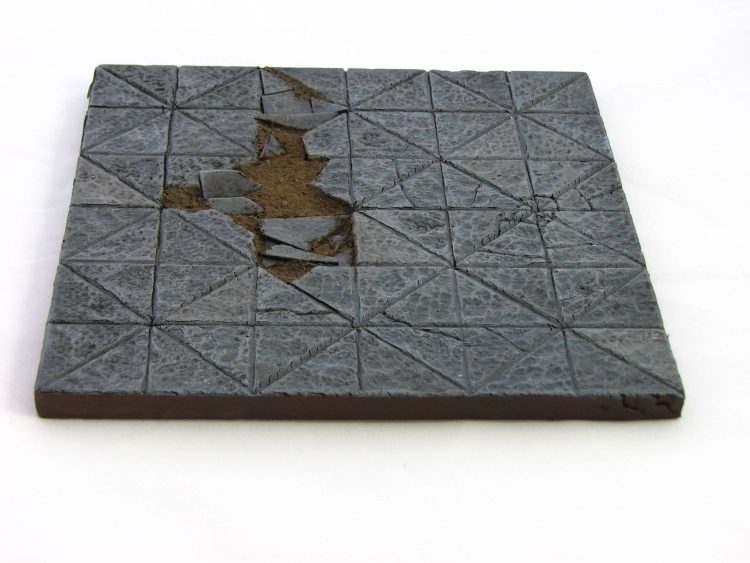
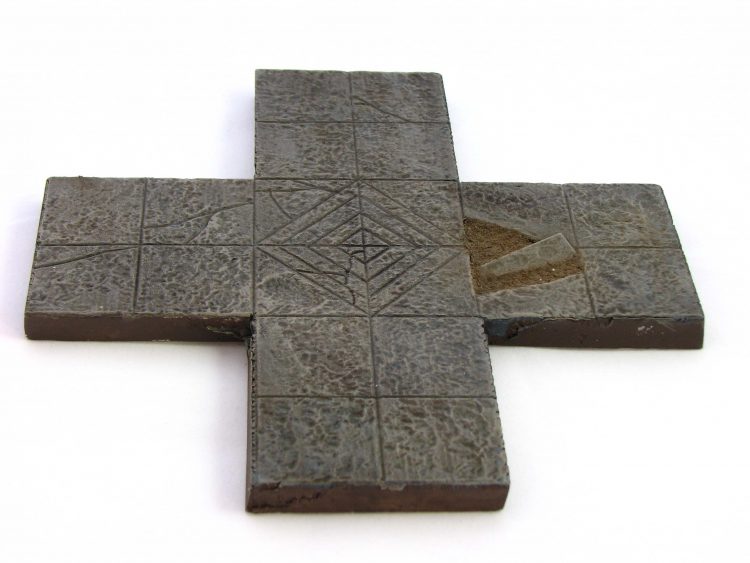
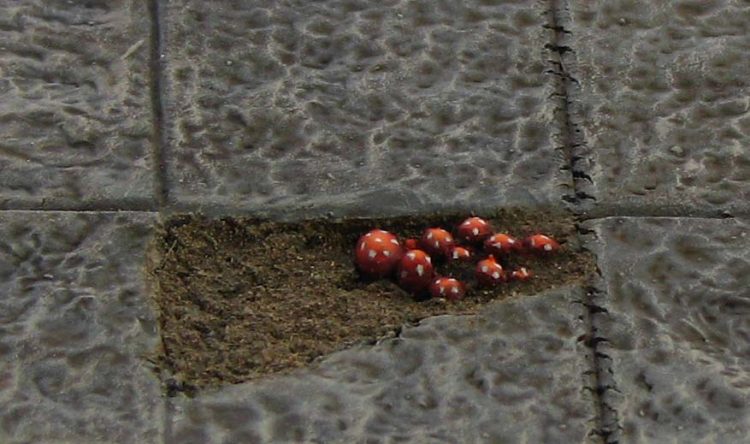
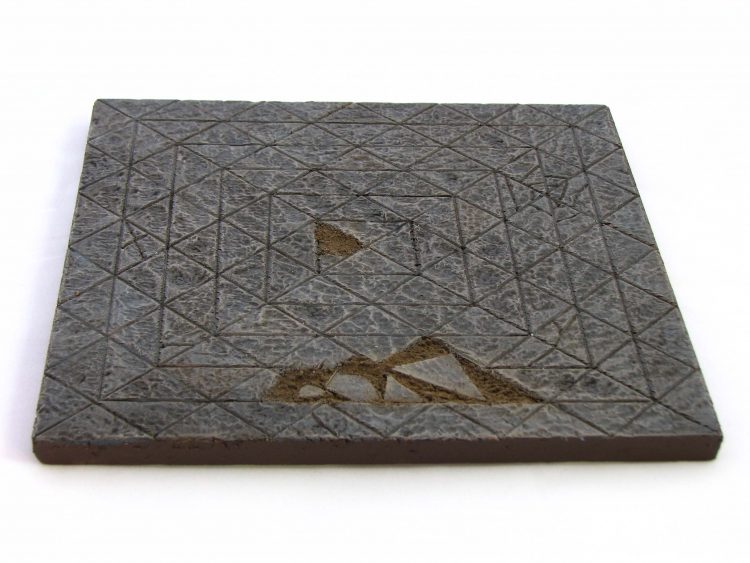
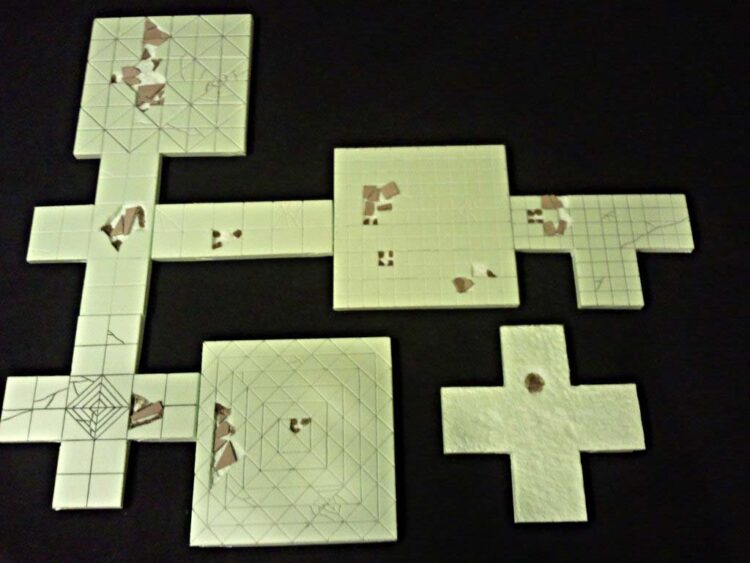
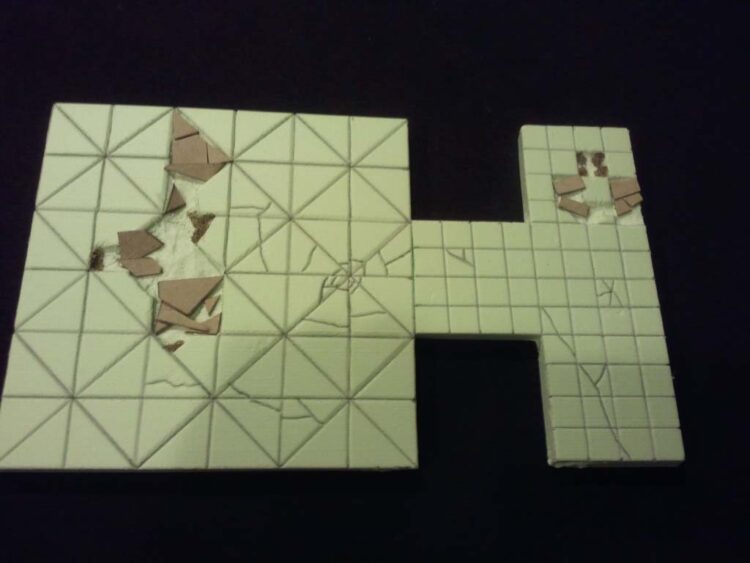
Initially, I made five rooms, each 6 x 6 tiles which each tile measuring 3cm by 3 cm. Each room features a different tile pattern. I also made some matching corridors, one with a nice mushroom cluster. Finally some L-shaped corner pieces and T- and X-junctions allow for more interesting layouts.
How to get dungeoneering
Materials
- Extruded polystyrene of 1cm thickness.
- A sharp knife (X-acto or carpet knife).
- A sharpened pencil.
- A steel ruler.
- Thick cardboard for the loose tiles.
- Green stuff for mushroom patches.
- Cheap acrylic paint (Grey, brown, black, white, red).
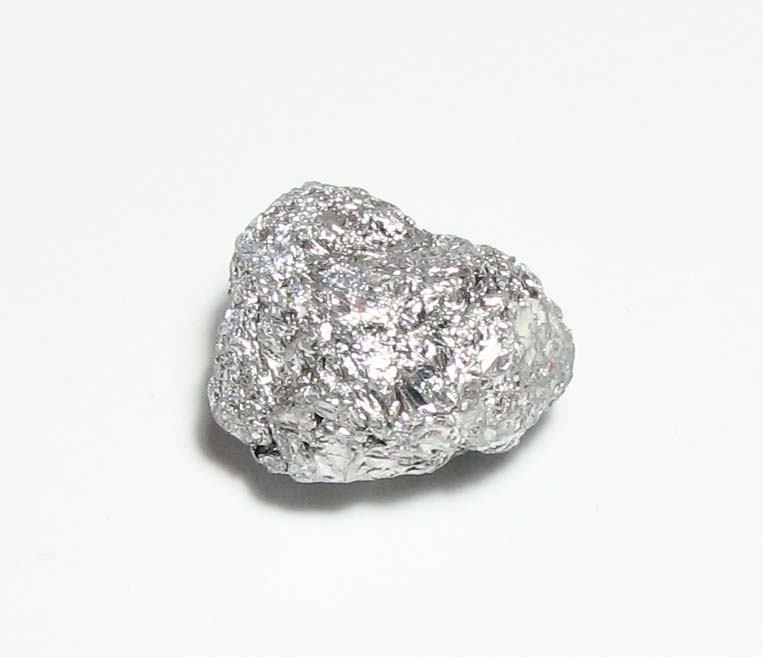
- Something to give the polystyrene a rock like texture. A piece of crumbled tin foil will do.
- Wood glue.
- Fine sand or soil.
Slice and dice -building the tiles
First, cut all the room shapes out of the sheet of polystyrene. The idea is to keep the knife at a rather narrow angle to prevent the polystyrene from ripping or tearing. You want a clean cut.
Using a pencil and the ruler carve the tile pattern into the foam. Add cracks and blemishes, remove some of the foam to depict missing tiles. Any tiles that are loose and protrude over the floor level are now cut out of the thick cardboard and glued in place using wood glue.
Cover all areas showing open ground with wood glue and sprinkle on some sand or soil.
Onwards to painting. I followed my usual routine for the stone floor and the wood. If you use soil, you can leave it at this or add more variation with pigments, just as I did with my Crypt module.
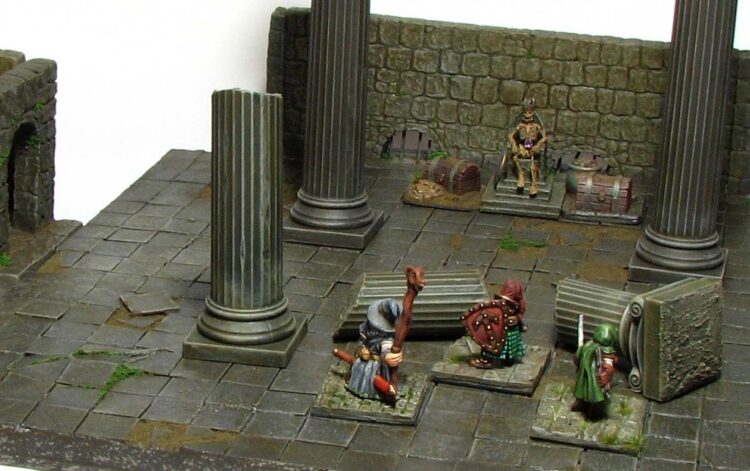
Here we go, some simple dungeon tiles. You can further improve them by adding walls and accessories. Check out the second part to get some ideas.
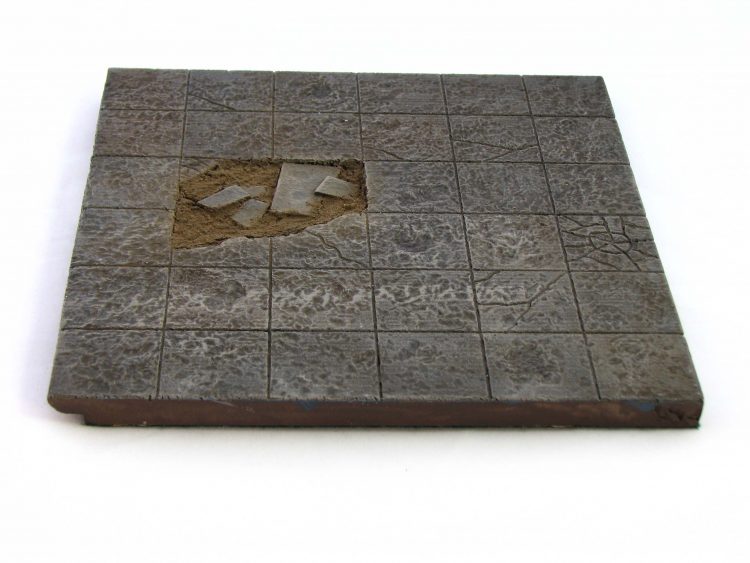
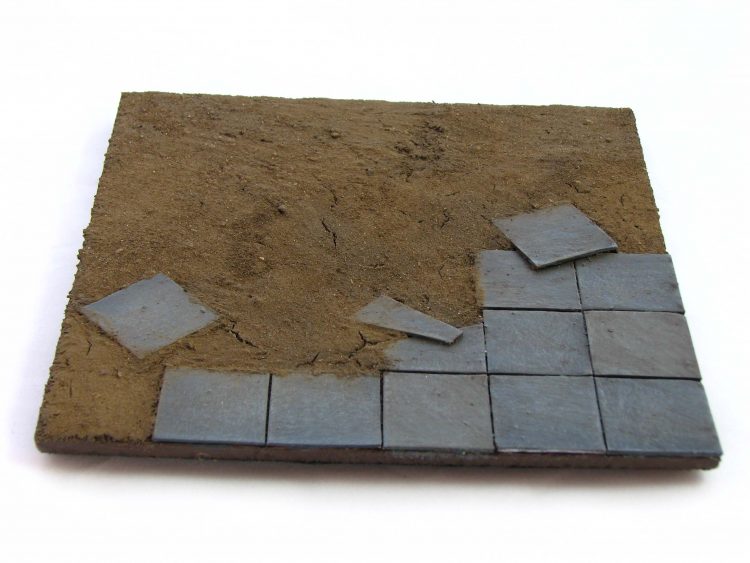
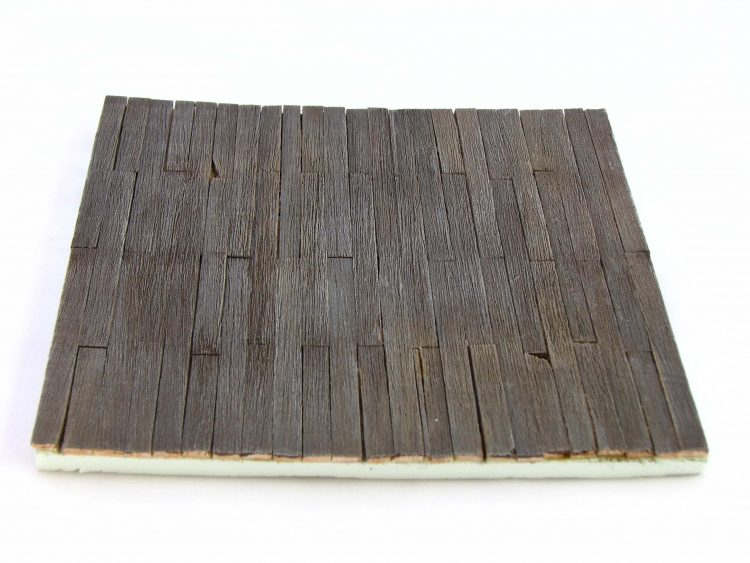
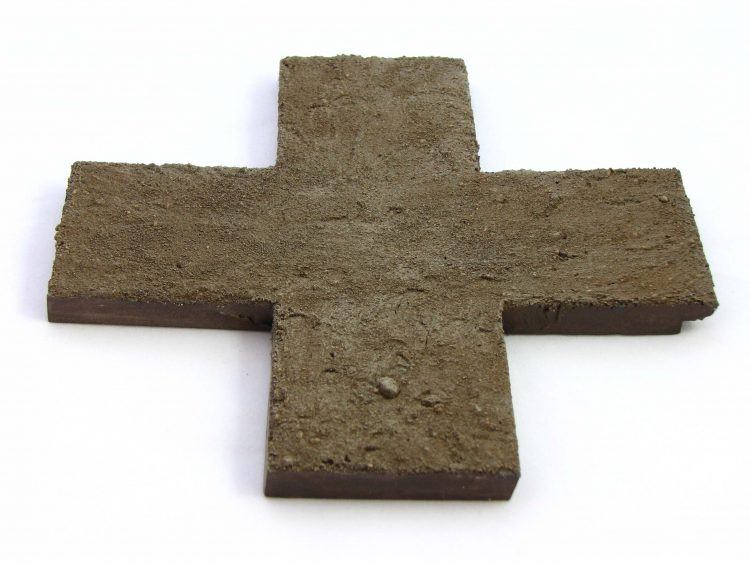
Very nice
Thanks for commenting. Glad you like the tiles.
They’re awesome and inspiring
Always good to read that my stuff can be an inspiration. Thank you for your kind words.
Looking real good. Really love the “Rockinator” always used real rocks for that, but this should give an even more natural look. Thanks for the tip!
Thank you. The “Rockinator” is one of the few things that comes free in life, but actually works ;P.
It is amazing. Would never have thought about that, but I can not wait to try it out!!!
Nothing is complete without a nice mushroom cluster, really. 🙂
Indeed. I see you are well versed in the art of mushroom clustering looking at your nail art tuts.
Heh – that was Ooly’s genius, but I always think that there are quite a lot of parallels between miniature painting, and painting miniature designs on your nails. Also between making up your face, and working highlights, contouring, and face detials into minis!
Lovely & simple as well. Nice work.
Thank you. The time spent vs. result ratio works out nicely with this technique.