Dreadful chimes can be heard in the larder, abominations in garish dress haunt the good people of our village and not long until a blood sacrifice to the old gnarly tree is due…yes, …the Quickening and Krampus are coming closer every day. But fear not gentle folk of Greifshold, archwizard Ezren will save your souls from damnation. He will cleanse the putrid essence belaying our village with his powerful magicks.
*harumph* Oh, I didn’t see you there. Today we will look at a sculpt by Todd Harris, namely the Iconic Wizard Ezren. We are looking at the Bones version, not the metal one. As always after a short assessment of casting and sculpting quality a detailed list of the colours used is provided. Finally some words about the photographic set up may be of use for your own projects.
Prologue
His hands moved swiftly over the old parchment, smoothed by the many hands before him. The Gnome was most helpful, almost a bit too helpful, always with this gentle smile on his face, his eyes hidden behind thick glasses.
He took another sip from the dark brown ale and carefully spooned some stew in his mouth, not to soil the map nor his beard. The strong flavour of venison was a good indicator that the cook used fresh local meat, not ground up spoiled beef as was the case in the last establishment he dared to set a foot in. Tymora be blessed he knew the one or other herb that would cure an upset stomach.
He looked again at the hand drawn ruins, his lips forming a silent word: “Everantha”. The “Watchful Fortress” in the common tongue. Only old stories told around the fireplace spoke of the evil that befell the Elven kingdom, yet little was known about its demise, less even about the time when it stretched from East to West, North to South.
When he first arrived in Greifshold he craved old sealed away books and dry parchment that would tell of these people, their songs, their poetry, how they lived, what trials they had to face in this harsh land. But all he got was the shake of a head, a gentle smile or a sigh: the foreigner that expected everything to be revealed to him without effort.
Humans arrived late in these lands and were of a simple mindset. They were more concerned how to survive the next winter, not with old stories and haunted places. Still, as the Gnome told him, every few years adventuring groups that heard of riches untold would make their way to one of these frozen ruins. Few returned, some barely alive, frost-burned or crazed, some with artifacts, rusty and broken, but still of an elegant beauty, entirely absent from the local handicraft.
What did he care for gold. Knowledge and knowledge alone he desired. Artefacts, yes, telling him of these people, how they celebrated, how they fought, but maybe more than this, sealed away down below a library would await him, the first to roam its shelves after thousands of years.
At the first light of day he would depart. His fingers stopped at Walhafrid’s Stede, the little drawn chimney smoking invitingly. His first stop. And then only a good days travel further west. He sat back and finished his meal with a fine pipe. Maybe the last bit of comfort he would have for the next weeks.
Sculpting quality and pose
Ezren is depicted casting a spell, both arms raised, one hand holding a staff, the other weaving a spell. I am not a big fan of his short-sleeve tunic, but it surely adds some variety where wizard sculpts often feature long-arm tunics. Generally speaking Ezren falls more into the category of “adventuring scholar”. His attire is practical and well suited for the dusty road. Even his staff his more of a walking stick than a richly decorated showpiece.
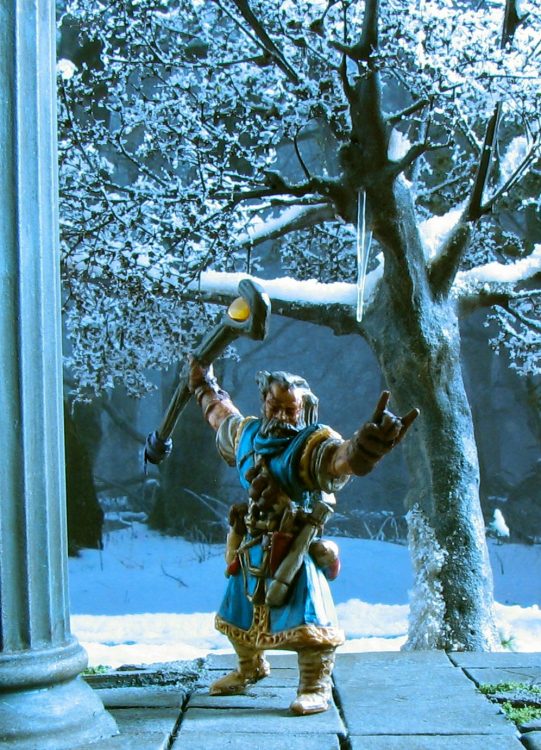
While he sports a very dynamic pose, all the action takes place on one plane. In effect his entire body follows a straight line. This gives the miniature more of a two-dimensional feel.
That said the sculpt can still convince with rich detailing and a very well sculpted face. The eyes are on the large side and I presume they are depicted with lids closed, after all he concentrates on casting a spell. If you want to paint the eyes as open it might get a bit fiddly to make them look right and not too big.
Carrying a variety of flasks, parchment rolls, satchels and even a small crossbow, Ezren can be clearly identified as the scholarly type, and could also be used as a cleric. These well executed details in combination with a trimmed robe add enough interest without drowning the miniature in titbits.
I could see Ezren being used in a variety of skirmish games such as Frostgrave or in a rank and file game as the leader of a unit. The sculpt is also easy to convert. You could exchange his staff with a sword or maybe even a hammer.
Casting
Ezren transferred relatively well into Bonesium. His facial features are crisp and the details on his belt can be easily recognized for what they are. The first Bones release had issues with noses not being formed properly and details being soft, but here these problems are not apparent. Naturally the details of the metal version are a bit crisper, especially the trim decorations and staff detailing.
Cleaning the mold lines on his boots was a bit difficult, as those sport laces where the mold line is placed. Cleaning the other surfaces was much easier, as the mold lines follow mostly flat parts of the miniature. Overall Ezren is a good example for a miniature transfered into the new material with minimal drawbacks.
Price
While the metal version costs 6.40 USD the Bones version is only 2.49 USD and provides significant savings.
If you want Ezren as a centre piece or leader for your small skirmish warband, I would go for the metal version. You will have less trouble with clean-up and enjoy crisper details. If you are looking for a cost-effective RPG NPC or leader for a large unit, the Bones version might suit you better.
Keep also in mind that a weapon swap would be easier with the Bones version, if you are looking for a miniature to convert.
Painting Ezren
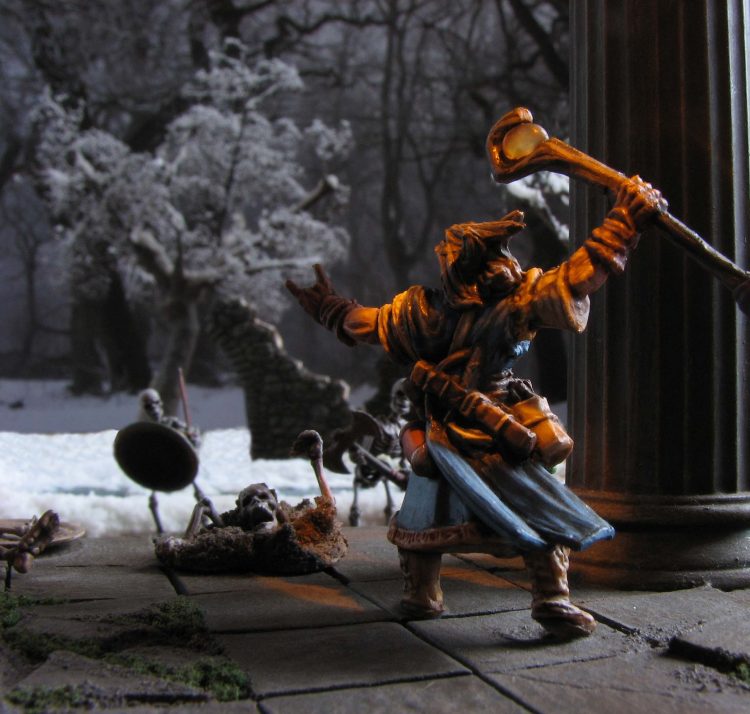
While it might look like it on some of the pictures I did not attempt any OSL (Object Source Lighting) on this miniature. Instead I used a warm tone LED light to achieve some interesting effects, but more about this later.
I added a small translucent stone and small ribbon to the rather plain staff. The ‘gem’ did not need much further work, only a very light brown wash was applied.
It is a fairly simple colour scheme: Blue and white robes, yellow trim, lightly coloured leather boots and belt and deep brown gloves. The details provided an opportunity to introduce some red and green.
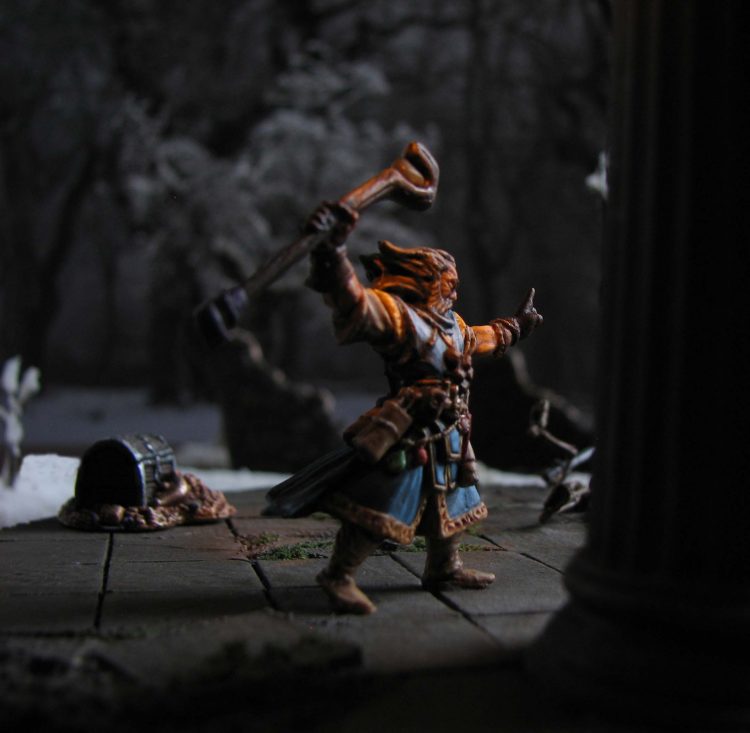
This miniature was painted well before Anirion, Khael or Bailey. In fact it was the first 28mm miniature I painted after a long hiatus. Accordingly I went for a more contrast rich painting style, with transitions being more stark. I did not use glazes in this case nor did I aim for subtle transitions. I am still wondering if I should exchange his staff with a more interesting design, but it being so simple has its own charm.
Colours used
Face: 50:50 of Vallejo Medium Fleshtone and Vallejo Basic Skintone for the basecoat followed by a wash with GW Reikland Flesh. Successive highlights with Vallejo Basic Skintone and RMS Pure White.
Bronze parts: Brown Base Coat (Vallejo Flat Brown) followed by Vallejo Bronze and a wash with GW Reikland Flesh. I then mixed some Vallejo Bright Bronze in it for the first and the second highlight, finishing of with some Vallejo Silver. Vallejo Smoke was then applied to add again more depth in some places.
Blue robe: Basecoat MRP Sapphire Blue with a hint of Vallejo London Grey. Highlights with successive amounts of RMS Pure White.
Sleeves and roll of parchment: Basecoat of RMS Pure White with a hint of Vallejo Flat Brown, wash with Vallejo Umber Shade and highlights with RMS Pure White.
Wooden parts: Basecoat of 90:10 Vallejo Flat Brown and Vallejo London Grey. Highlights with successive drops of RMS Pure White.
Hair: RMS Muddy Brown with a bit of Vallejo London Grey as base colour. Highlights with successive amount of RMS Tanned Leather and RMS Fair Skin.
Light leather parts (boots, belts): Basecoat of RMS Tanned Leatherwith a wash of Vallejo Umber Shade , followed by highlights with successive amounts of Vallejo Gold Yellow and RMS Pure White.
Dark leather parts (gloves): Basecoat of Vallejo Flat Brown with a bit of RMS Blood Red. Vallejo Deep Yellow and RMS Tanned Leather mixed in for the highlights.
Robe trim: Basecoat of Vallejo Deep Yellow, followed by a wash with GW Reikland Flesh and successive amounts of RMS Pure White for the highlights.
Dagger sheath and red precious stone: RMS Blood Red followed by a wash with GW Agrax Earthshade. Successive highlights with Vallejo Golden Yellow.
Green precious stone: Basecoat of RMS Grass Green and successive amounts of Vallejo Deep Yellow for the highlights.
Small ribbon: Basecoat of Vallejo Royal Purple and successive amounts of RMS Pure White for the highlights.
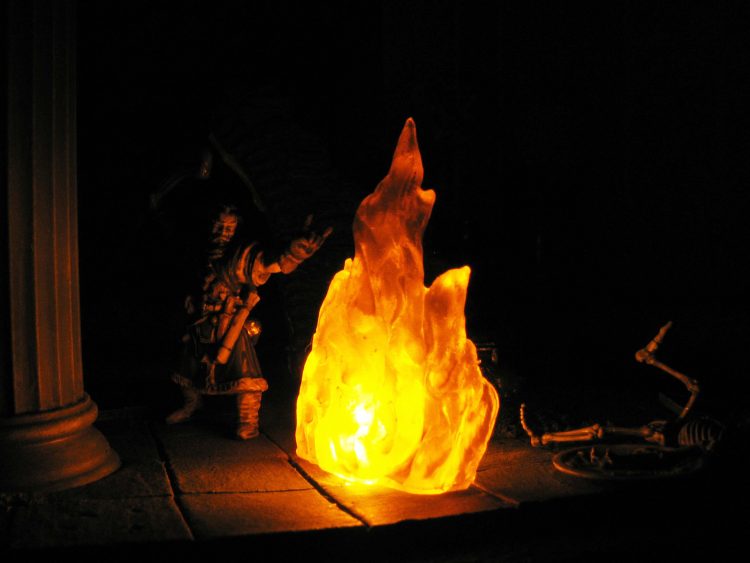
What does the flame reveal? – Low light photography
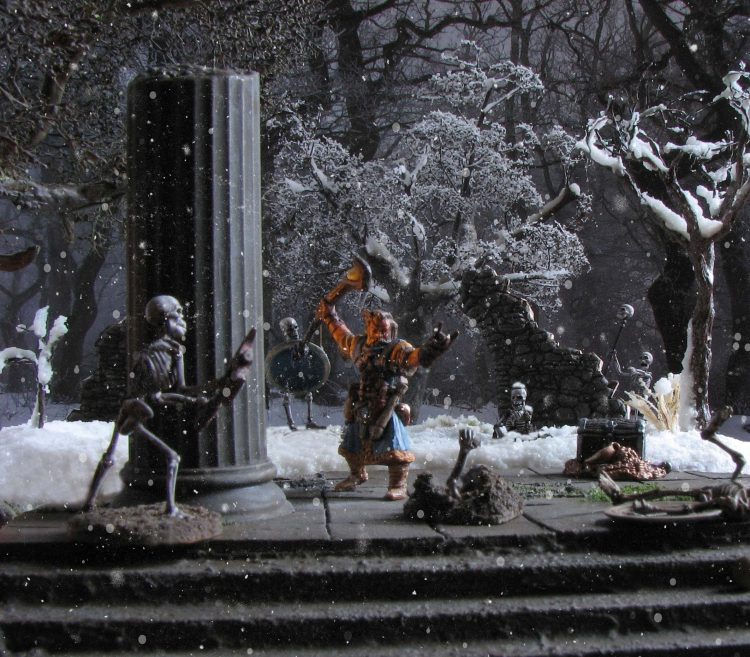
To improve, one has to try new things. Accordingly I tried my hand at low light photography. The idea is that you use a suitable light source, for instance a warm tone LED, and use it to produce a dimly lit scene for your miniatures.
Given that Ezren is part of a diorama the floor in front of him features a small hole which can take an LED light. As you can see on the pictures, I placed one of the translucent Bones flame effects on it achieving a reasonable result.
I would argue that you can achieve a better effect with OSL and painting the flame. However, for dynamic lighting effects this works very well. The flame is just lightly covered in matte medium followed by a gentle brown wash to add a bit of contrast.
To achieve a similar result you will need a camera that allows you to manually control the exposure time. I used 15 seconds (the limit of my camera) and still needed to increase brightness in Photoshop. Even longer exposure times will thus yield better results. You obviously will need something to rest your camera on or a tripod.
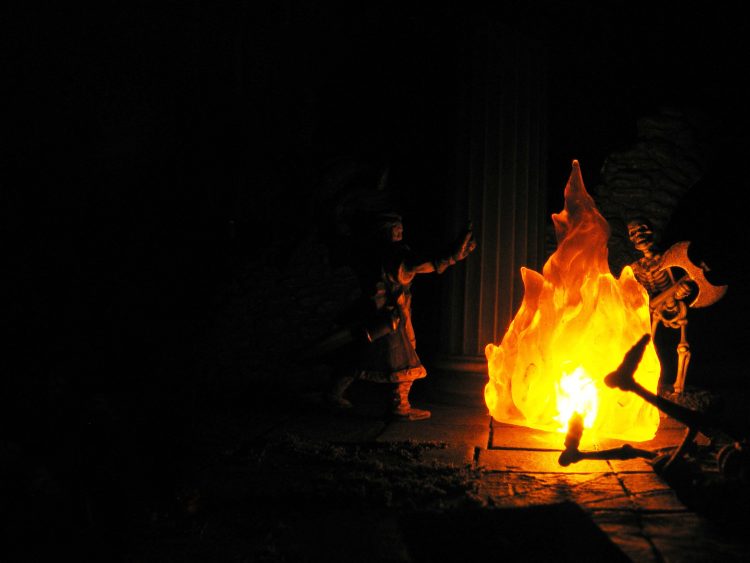
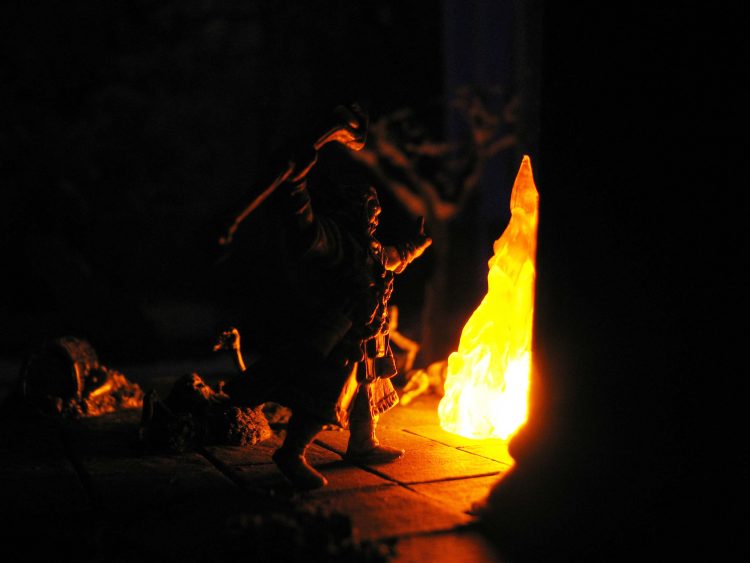
I hope you found some inspiration for your own work and maybe give low light photography a try. Until next time and never yield your brush!
As usual , truly beautiful and inspiring work! Nice read as well, enjoyed it very much😁
Thank you for your comment Mark. Glad you liked the little story. It is absed on the campaign setting of our DnD group and I think I may write more about it in future posts.
Great paintjob and the pictures and setups are stunning! The lighting shots are inspiring. I’d live to try something similar if I could get the setup together.
Hi Brian, glad you like the atmopsheric shots. The setup is pretty simple. Almost too simple. I had to use Photoshop to fill in some small gaps with snow, as the brown table the pieces were on was visible on some shots. If you have a piece of white felt, some snow covered terrain pieces and a reasonable camera you are good to go.
On an entirely unrelated note: I just realised that Blogger commenting works for me if Disqus is used, so maybe this is something to replace your commenting system with.
Really like the led light source fire, very atmospheric. I wonder if you had just a little more surrounding light it might be easier to photograph ? By surrounding light I mean a tiny burning torch in the background.
I think it would be indeed easier with a second light. I had another, but it broke recently, so was not available for the shot.
Something else to consider is the exact right amount of light to light the scene. I could see that I get the best results if I actually build a scale LED torch (or even fibre optic) as this would remove the guesswork out of the lighting. I could even see some fibre optics at play lighting up a gem in a staff. With Bones drilling the holes for this should be feasible. Only catch is that there is (apparently) no provider for fibre optic cable in New Zealand and ordering it from overseas will be expensive.