
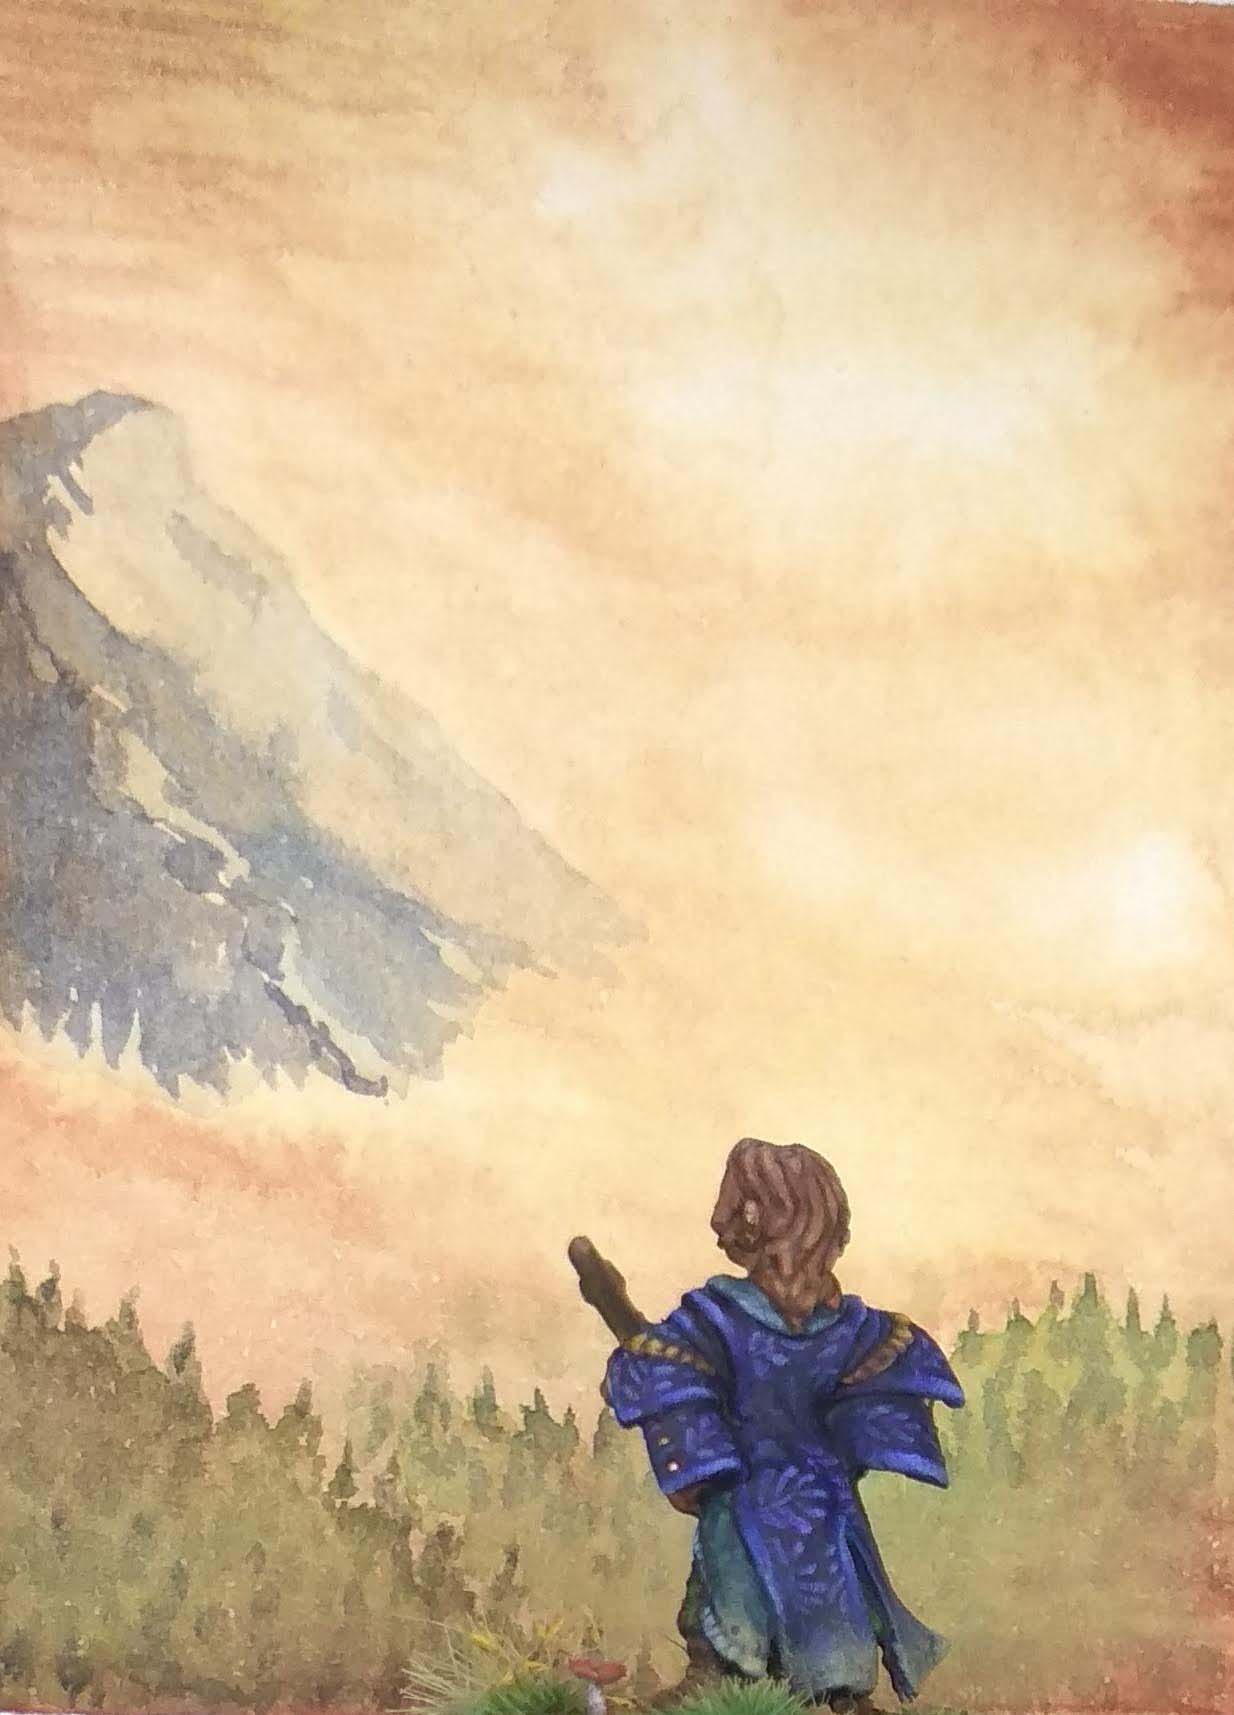
This week we look at an Iconic character in the Pathfinder campaign setting: Lem, the Halfling bard. His childhood was cruel, as he was born an indentured servant and only through cunning and luck was he able to flee and forge his own path in the world. An interesting backstory, to a nicely sculpted miniature. The focus this week is on painting faces and brocade patterns. So come along and listen to some sweet flute tunes.
Concept art to miniature
Reaper’s line of Pathfinder minis follows the concept art closely, and so it is no surprise that Lem, Iconic Bard looks almost exactly like this depiction of Lem by Wayne Reynolds. The miniature is available in Bones and metal, but the price difference is so negligible, that you should always go for the metal version. That is, should you not intend to convert him.
The miniature is nicely sculpted and – even in Bones – well cast. The only thing I was kinda unimpressed by was the bendy flute, as the detail is fair at best. I thought about replacing it with some brass tubing to make my own, but I decided against it. It would have required serious cutting, drilling and possibly re-sculpting the hands.
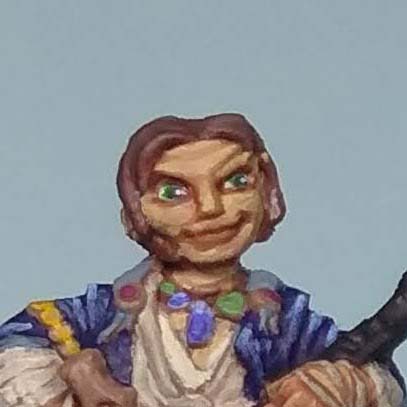
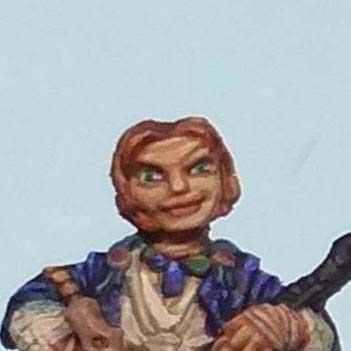
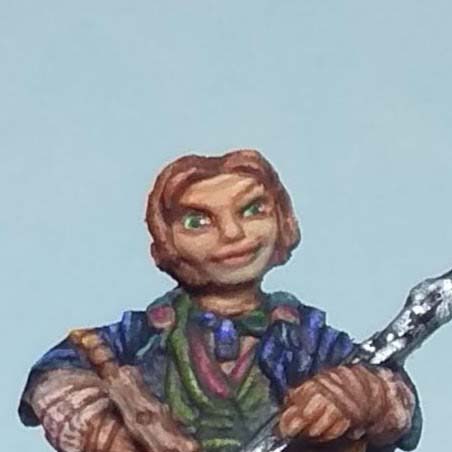
Otherwise I really like the face. The large eyes make it easy to paint pupil and iris, the little smirk adds lots of character and he looks slightly otherworldly, as he does not feature human proportions. The concept art looks a tad less comicesque, but the sculpt fits Reapers style better.
I did find the frontal detail a bit much, as there is pretty much not an inch of surface not covered in shirt, neckless, belts, bags and weapons. That said it looks like the artwork, so the sculptor Derek Schubert did his best.
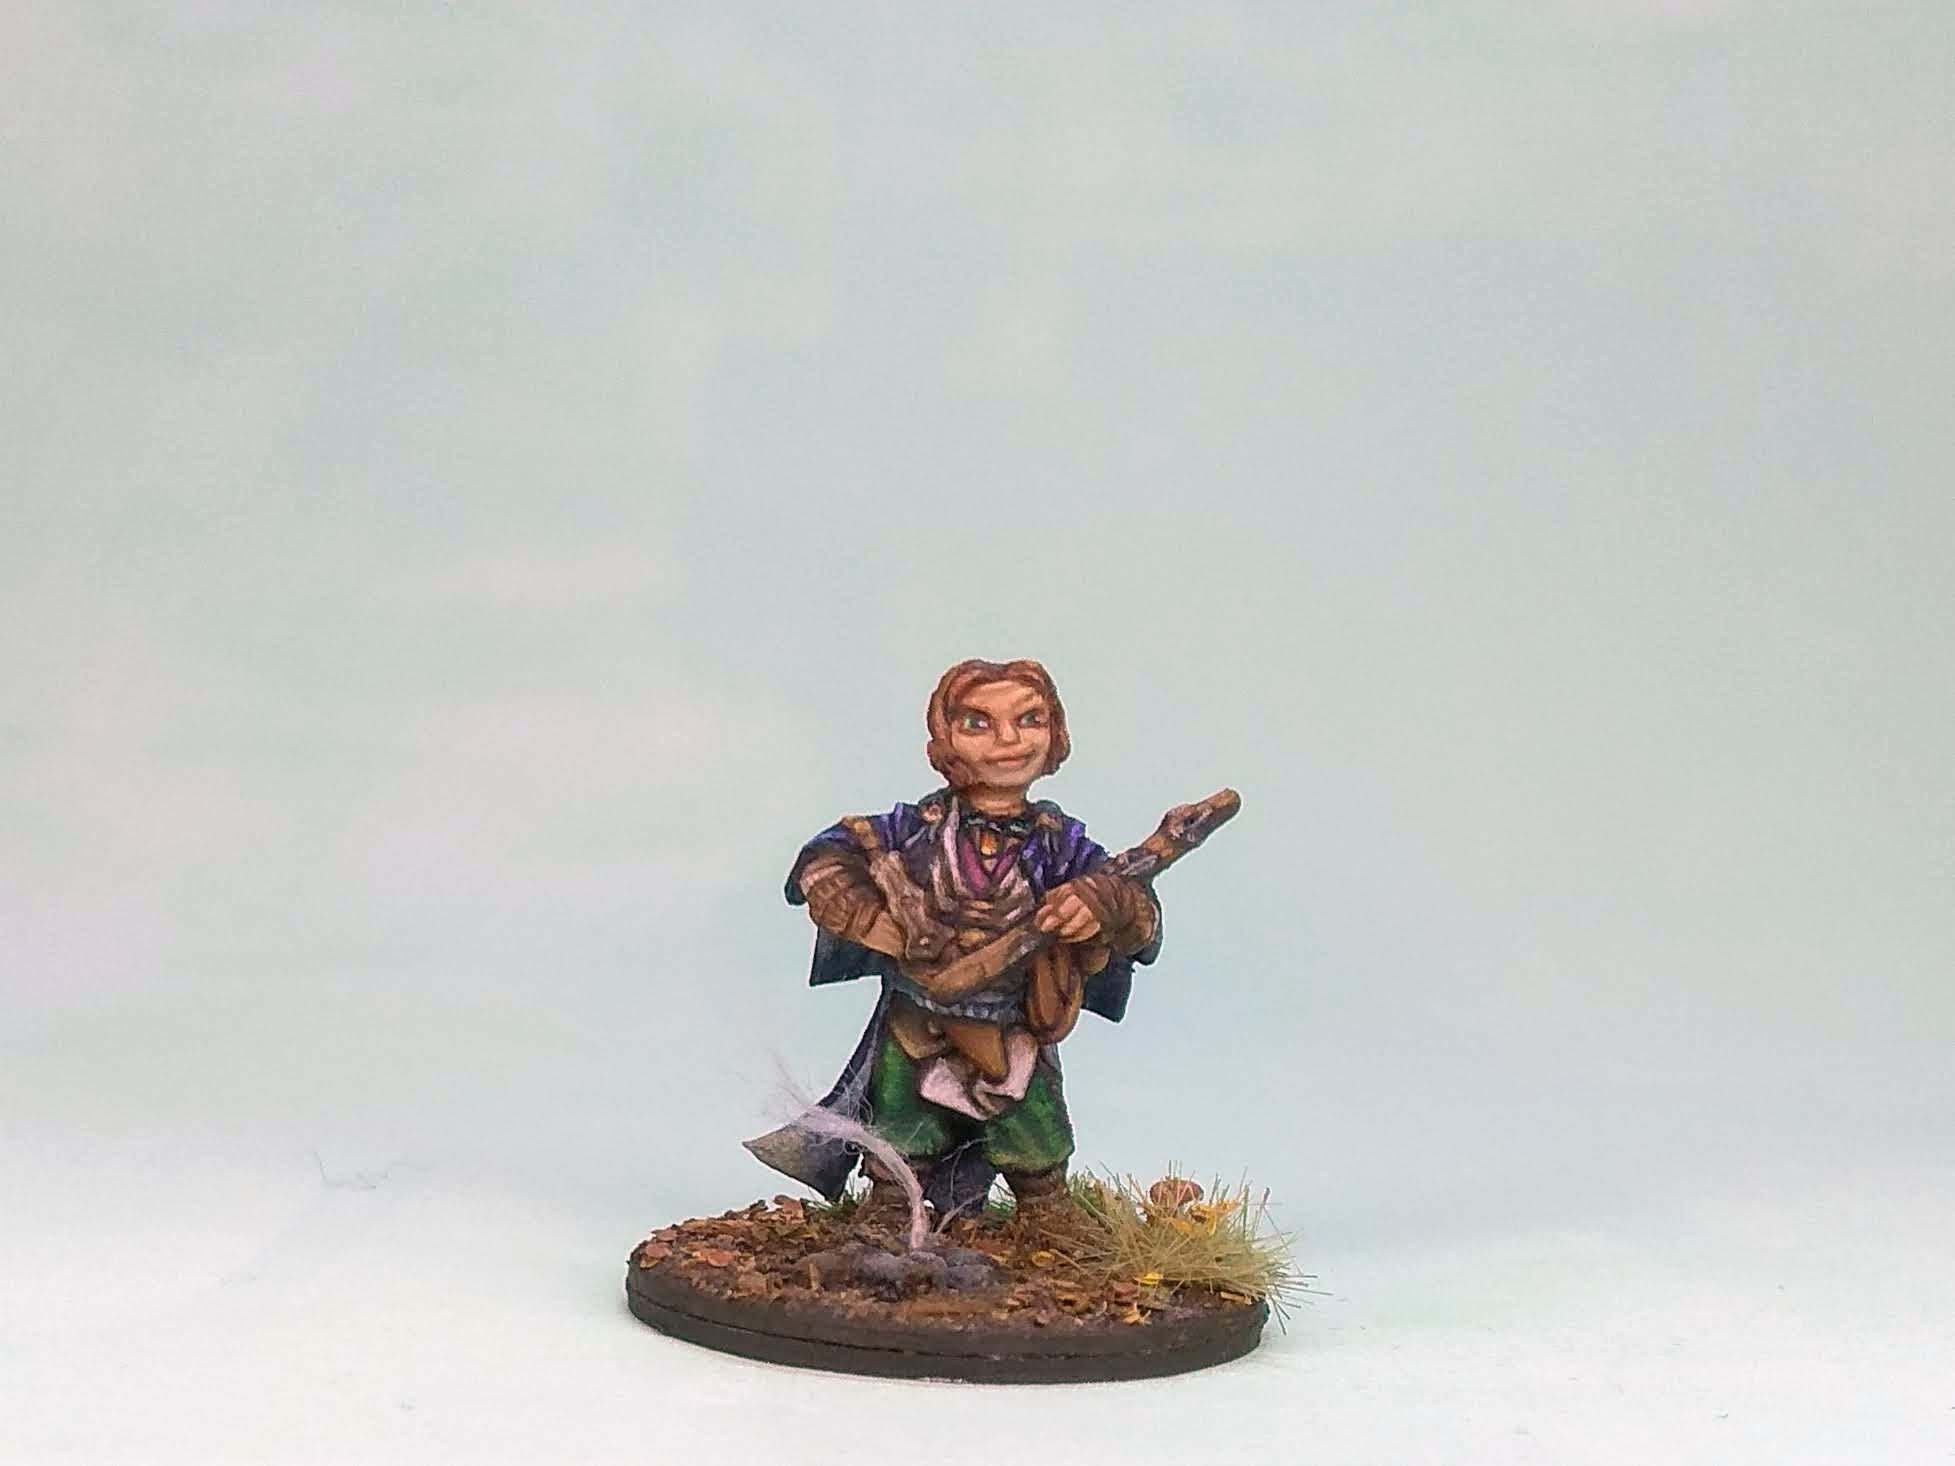

What really struck me, however, is the awesome coat. It is an interesting fantasy version of a baroque tail coat, so what’s not to love? The plain surface provides a nice contrast to the busy front and lends itself to a lavish freehand.
Facial features first
The single most important aspect of any humanoid miniature is the face. Humans are wired to look at the face first if they encounter another human, so it pays off to put that extra bit of effort into it when it comes to miniatures. My basic recipe is still the same:
50:50 of Vallejo Medium Fleshtone and Vallejo Basic Skintone for the basecoat followed by a wash with GW Reikland Flesh. However, for successive highlights and shadows I now use Kimera The White or a brown tone (Phtalo Blue Red Shade with The Orange) mixed in.
In both cases I add two drops of Vallejo Glaze medium. You start with blocking in the flesh tone and add a rough highlight, keeping some of the darker skintone in the recesses.
At this early stage I also add the eyes. Back in the day I always painted them last. While it is nerve racking, you sure don’t need this in your life. At this stage you can try many times and just correct errors with the basic skintone.
Given his eyes are rather large, I painted the green iris first, then the smaller black pupil, finally a white light reflex. It helps quite a bit if you use some flow aid to make the paint come off your brush easier.
Now it is down to smoothing out the transitions with the glazes and to add some more highlights to the nose, check bones, and so on.
To add some more realism I decided to give him stubble. Basically you mix your basic skintone with some blue or grey and make a very thin glaze. Then you add as much or as little as needed to get the look you are after. I went for fairly subtle stubble, but I think it adds to the face quite a bit.
Fancy Brocade Coats
The brocade coat was a real challenge. I repainted it three times. However, it was worth the effort in the end. My first attempt was trying to cheat: abstract shapes that form the impression of brocade in the beholders mind. Unfortunately that didn’t work as well as I imagined.
My second attempt was a geometric pattern: rhombi with a star in the centre. That failed horribly, as the detail was just too small.
Finally I decided to go for a frond pattern, just large enough to be recognizable and random enough to not fall victim to the rhombi issue again.
The basecoat was a very dark blue, so the fronds were sketched with a midtone blue (glaze consistency) and then highlighted with a fairly bright mix of the same blue and white. The key to success were thin coats and flow aid to get a good result in one stroke.
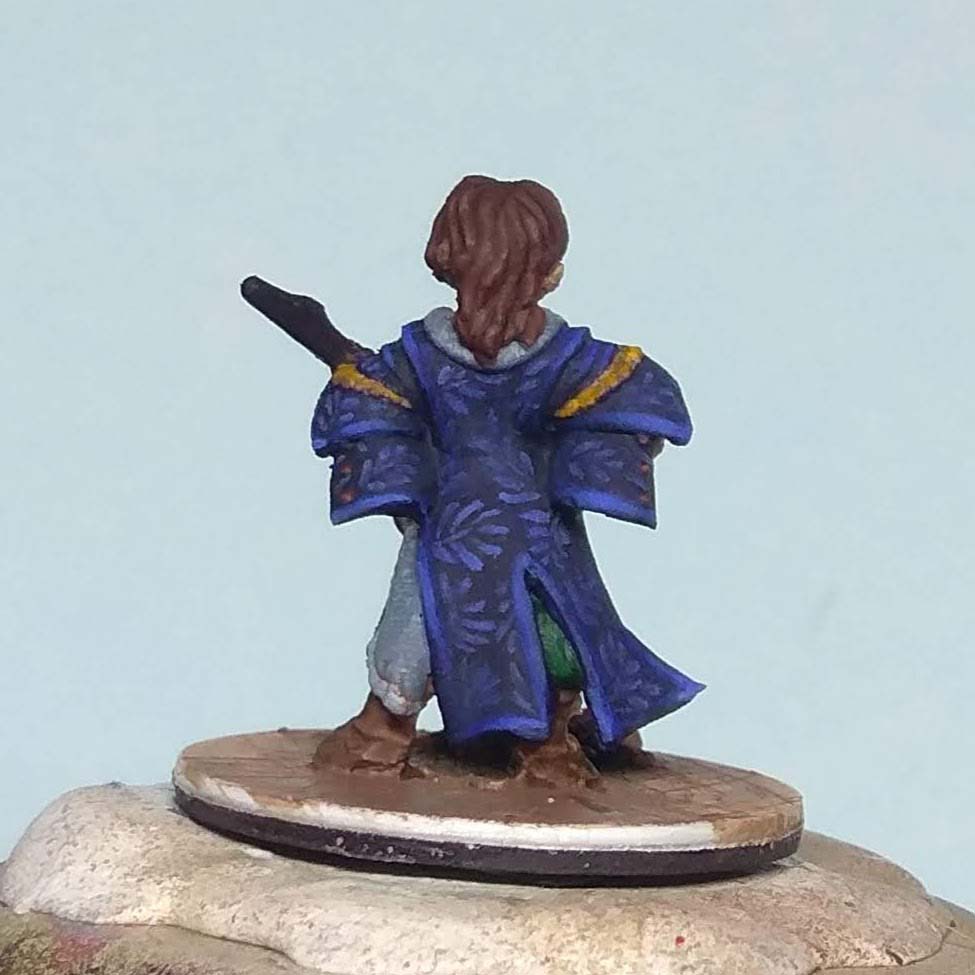
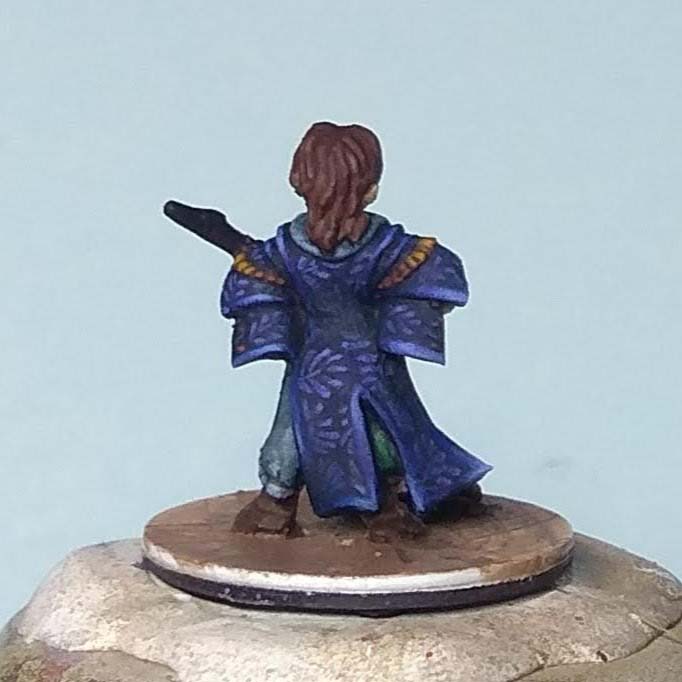
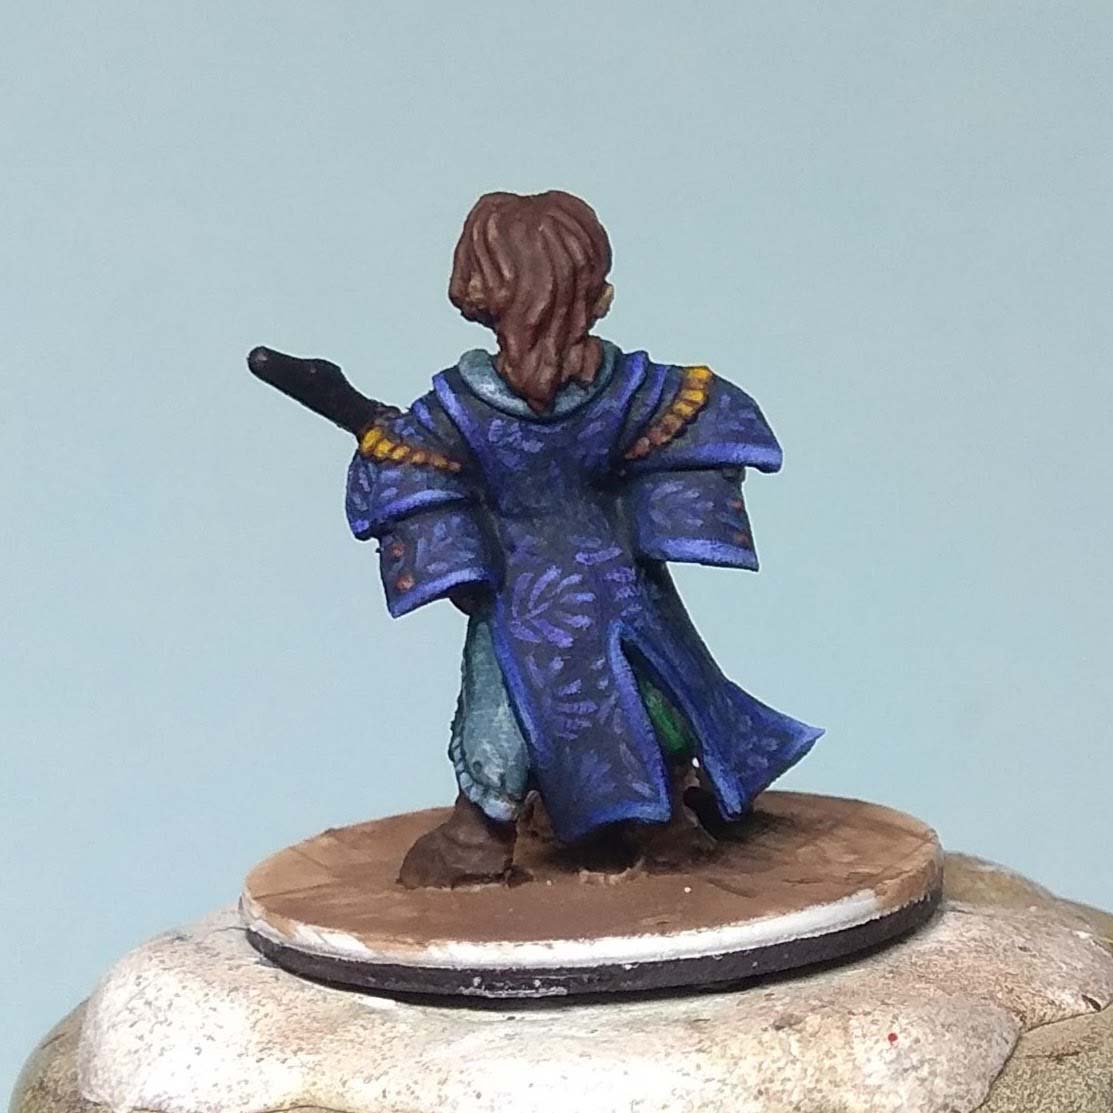
I also tried to apply some light texture on the pattern: with the mid-tone blue very fine horizontal lines were added to break up the uniformity of the strokes.
I hope you enjoyed learning about my process painting faces and brocade patterns. Any questions or suggestions comment below. Either dressed in brocade or playing a flute, always wield your brush with honour!
Loved reading about your processes and the product is quite stunning
Much obliged. I only wish I had a better camera setup. The smartphone has its limitations and my current setup is not standardised in terms of light etc. Maybe an upgrade is necessary. Would be good for other areas of life, too.
This little guy came out nicely! His face looks a bit flat in the sculpt to my eyes and I think the way you painted him gave the whole thing a lot of life. The freehand on the coat is magnificent as well and perfect for a bard. I appreciate that you explain how you achieved the results as well. It takes extra time to share that but it makes for good reading for us 🙂
Thank you. Yes, his face is actually quite flat. He looks best from the front. I guess the sculptor went for weird proportions to better match the look of Pathfinder Halflings.
You are welcome. I always try to add some info on specific techniques. 👍
Nice one, really like the freehand on the back of the coat. I’ll have to remember to try something like that when I get around to painting some Wizards.
Thank you. It took a few repaints, but I am quite happy how it turned out in the end. I will definitely use it more often now.
Lovely work.I painted the same bones mini and like you I found painting all the details on the front difficult.
Thank you! I had difficulties making out what each detail is supposed to be, gladly the concept art helped with this.
Excellent mate. You’re right, the face really does make it. Nice tip on the stubble too. I have yet to do any stubble but will definitely give it a go. Really nice sculpt as well.
Thank you. Yes, stubble adds quite a bit of ruggedness. I will try it again on some fighter characters I have in the pipeline.