
This week we won’t talk about flaming raisins or dangerous games for children, instead we focus on Reaper’s version of an old D&D favourite: the dreaded Behir. For such an imposing creature a scenic base is a must, so we will also look at making naturalistic beech trees and a lake shore. Grab a raisin – if you dare – and we shall start.
I got the Behir (Bones 77492) as a present and at first glance thought it is a Chinese inspired dragon. After I cleaned and assembled it (cleaning is difficult due to the mold line placement) it looked more like a wyrm, but some research identified it as a Behir, basically a many legged, snake-like lizard in the D&D universe.
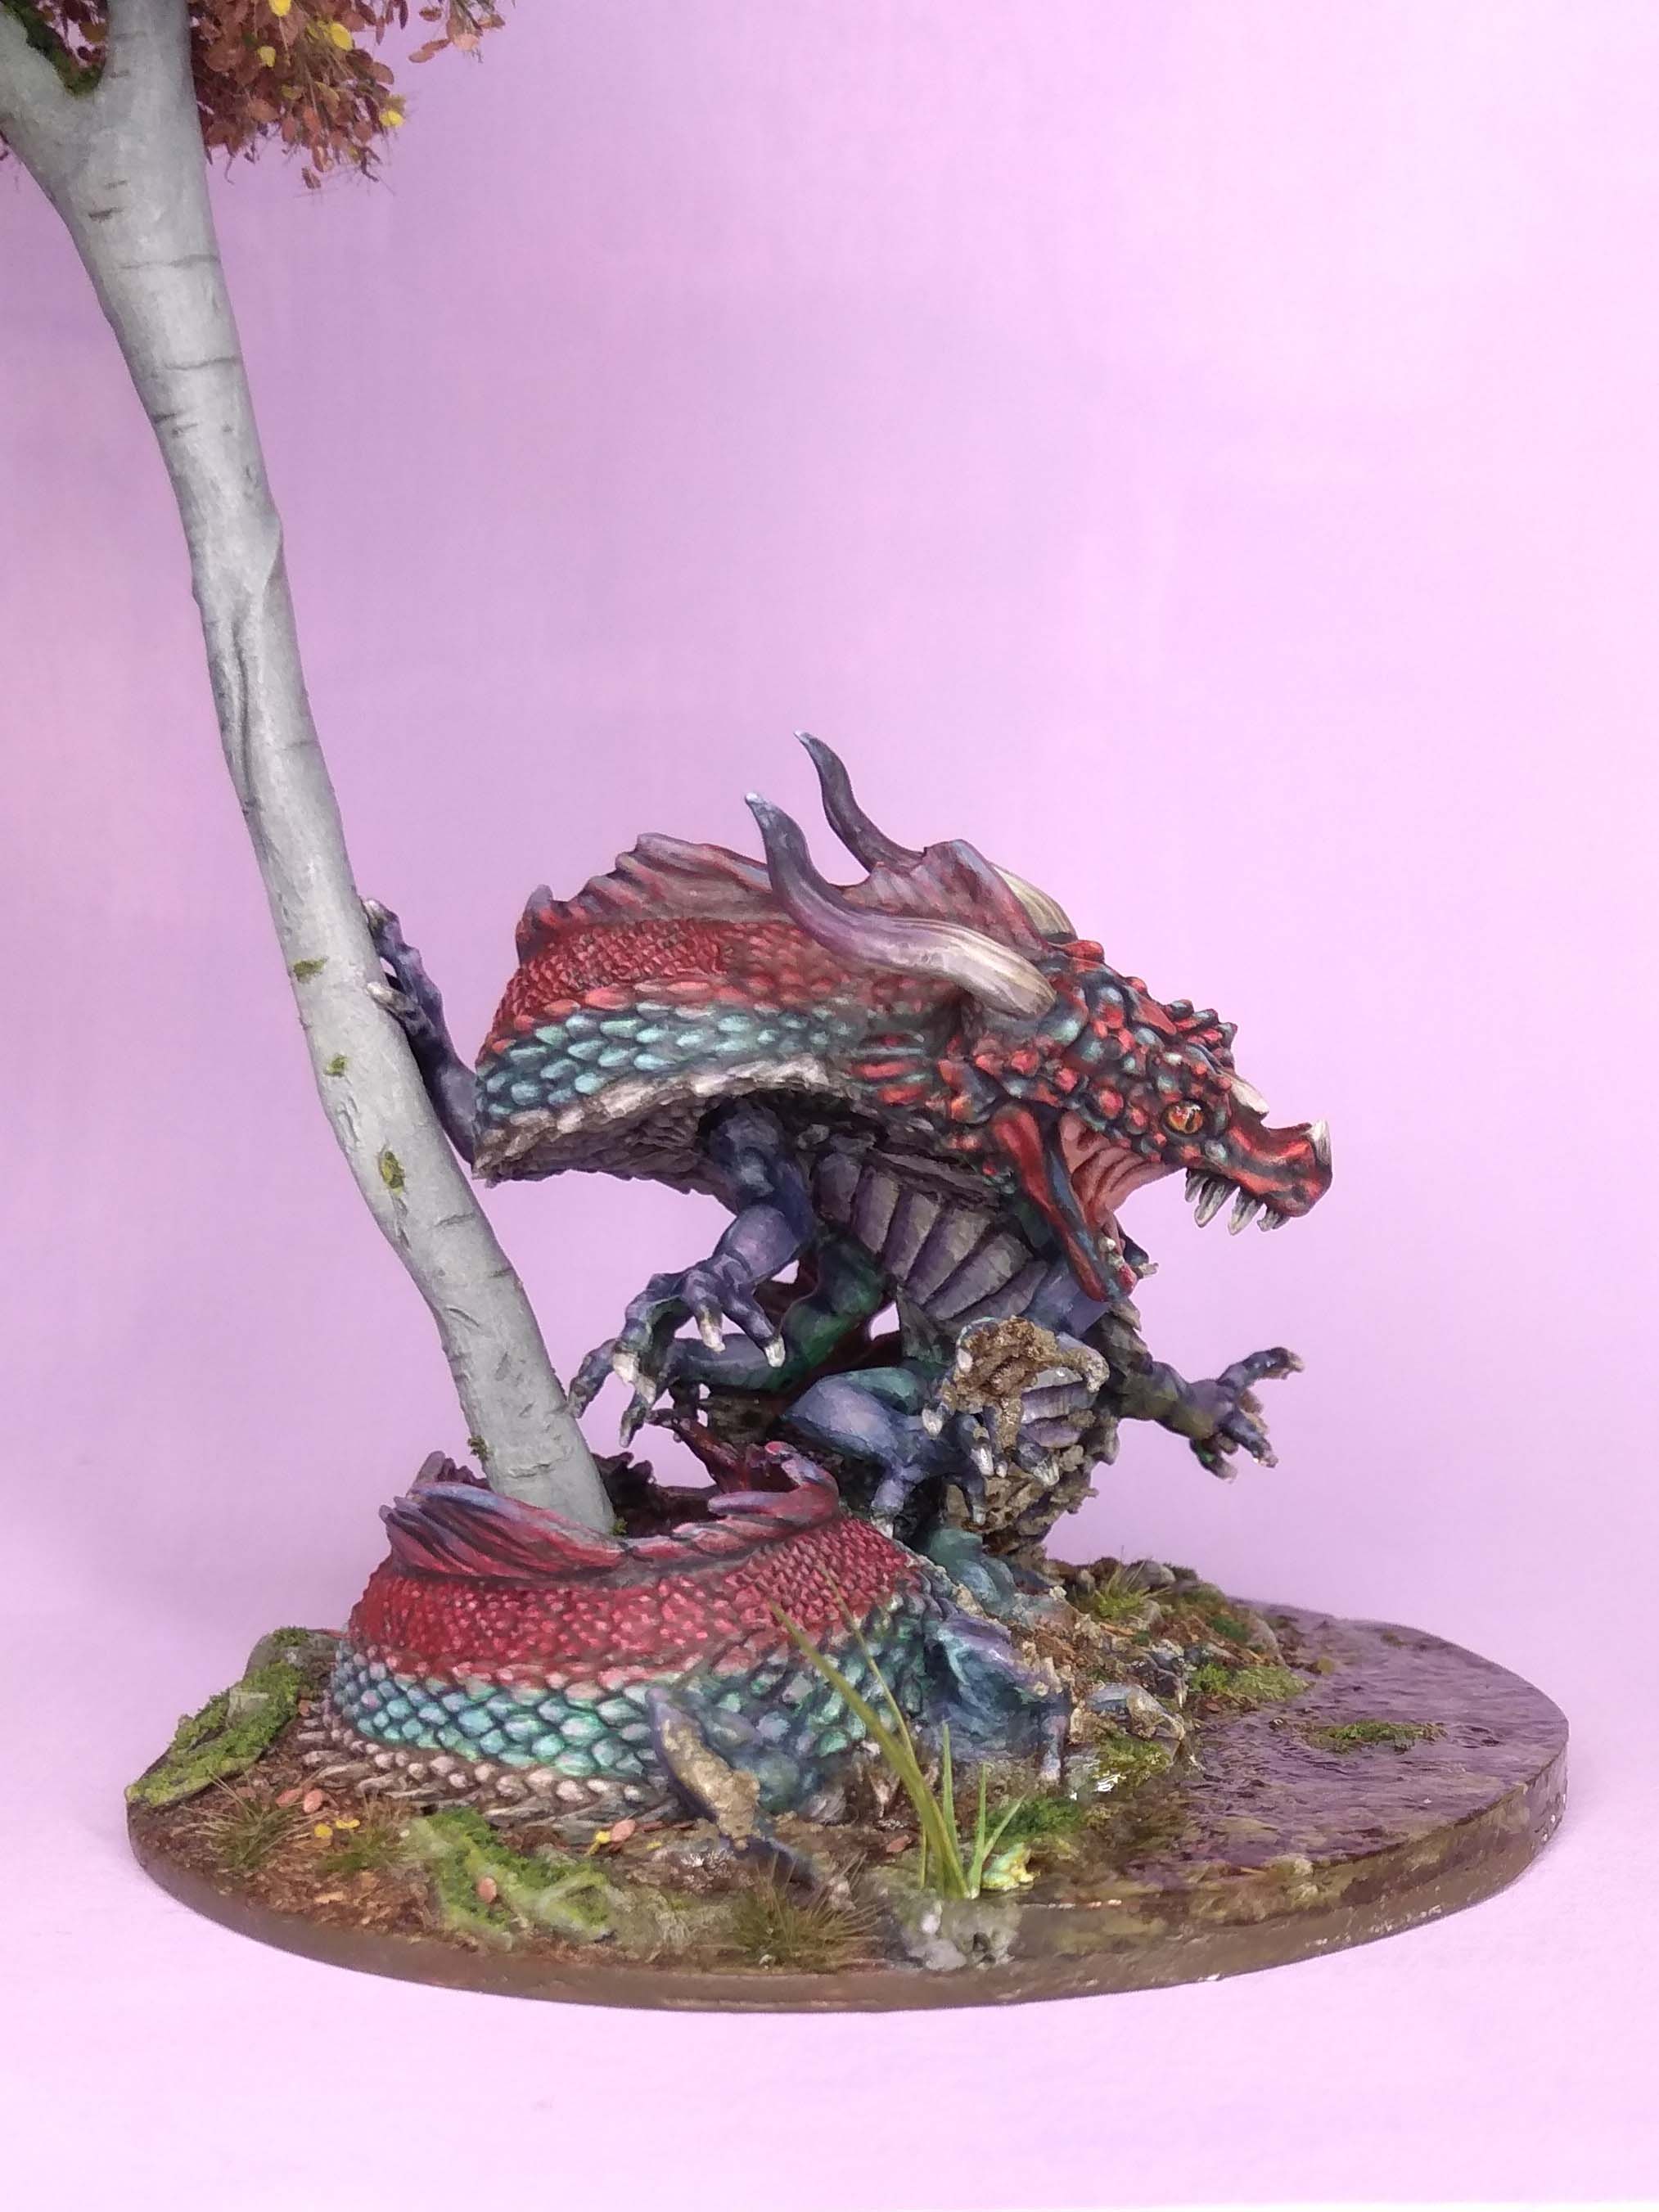
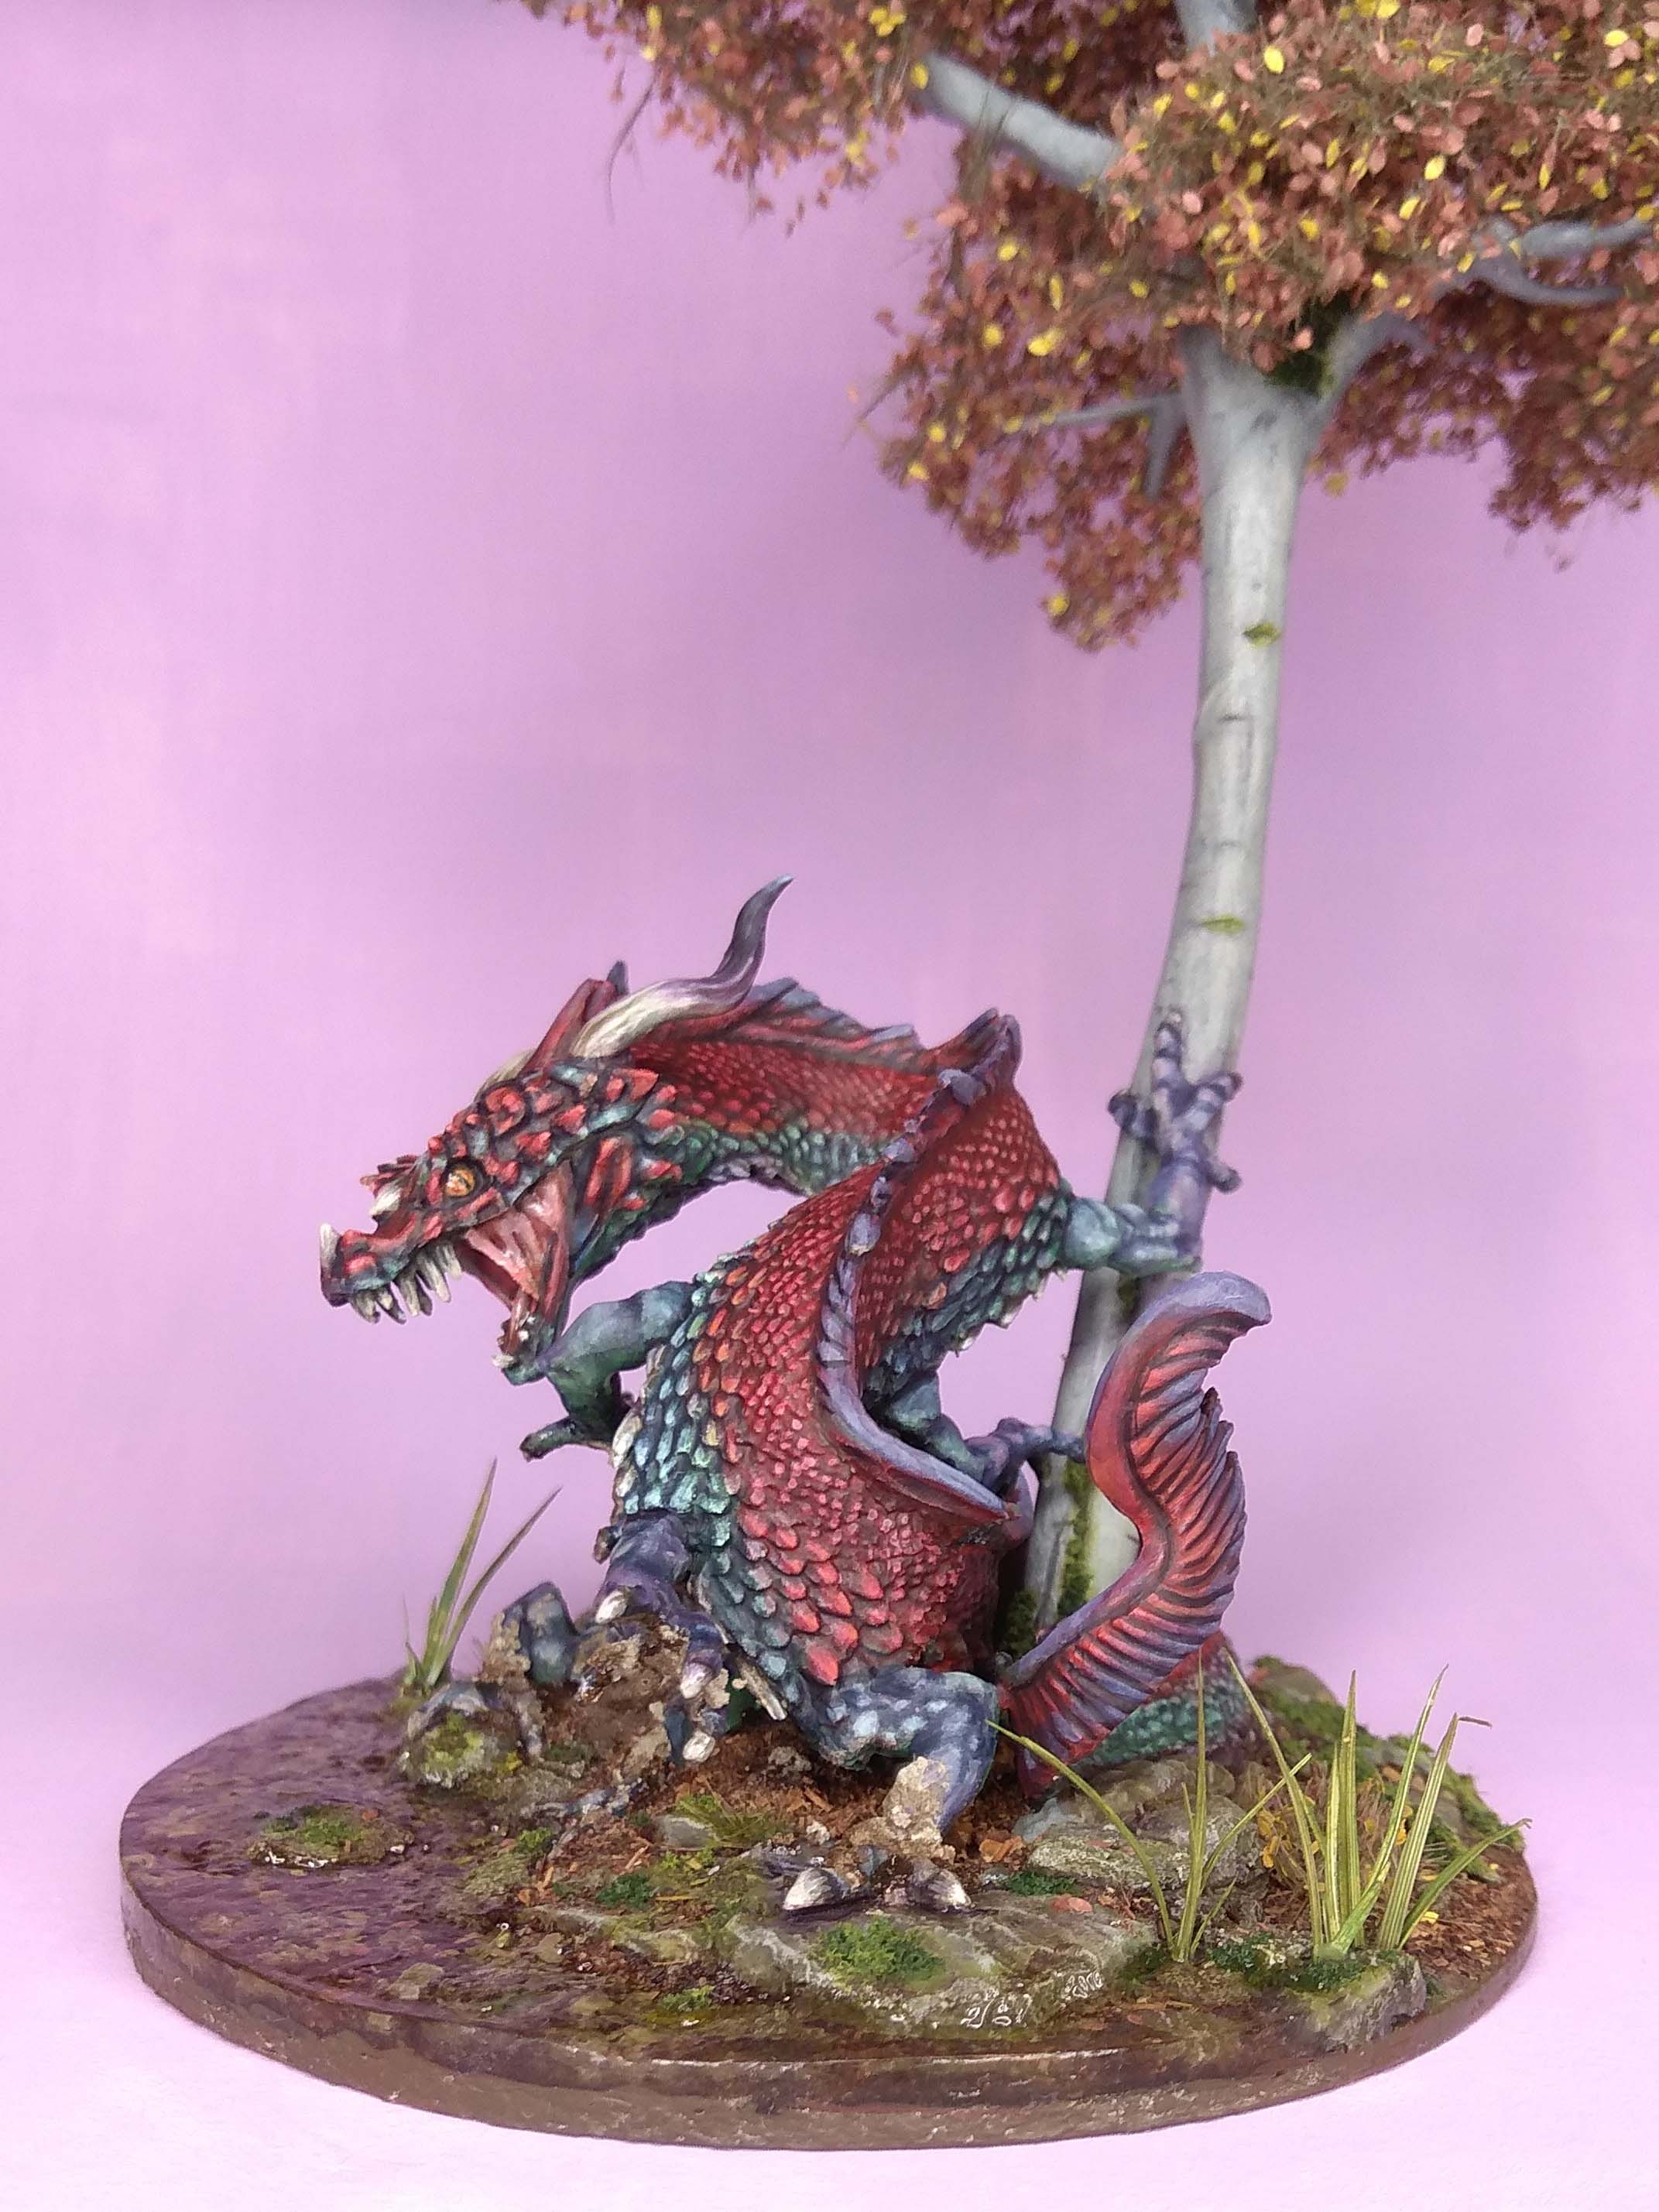
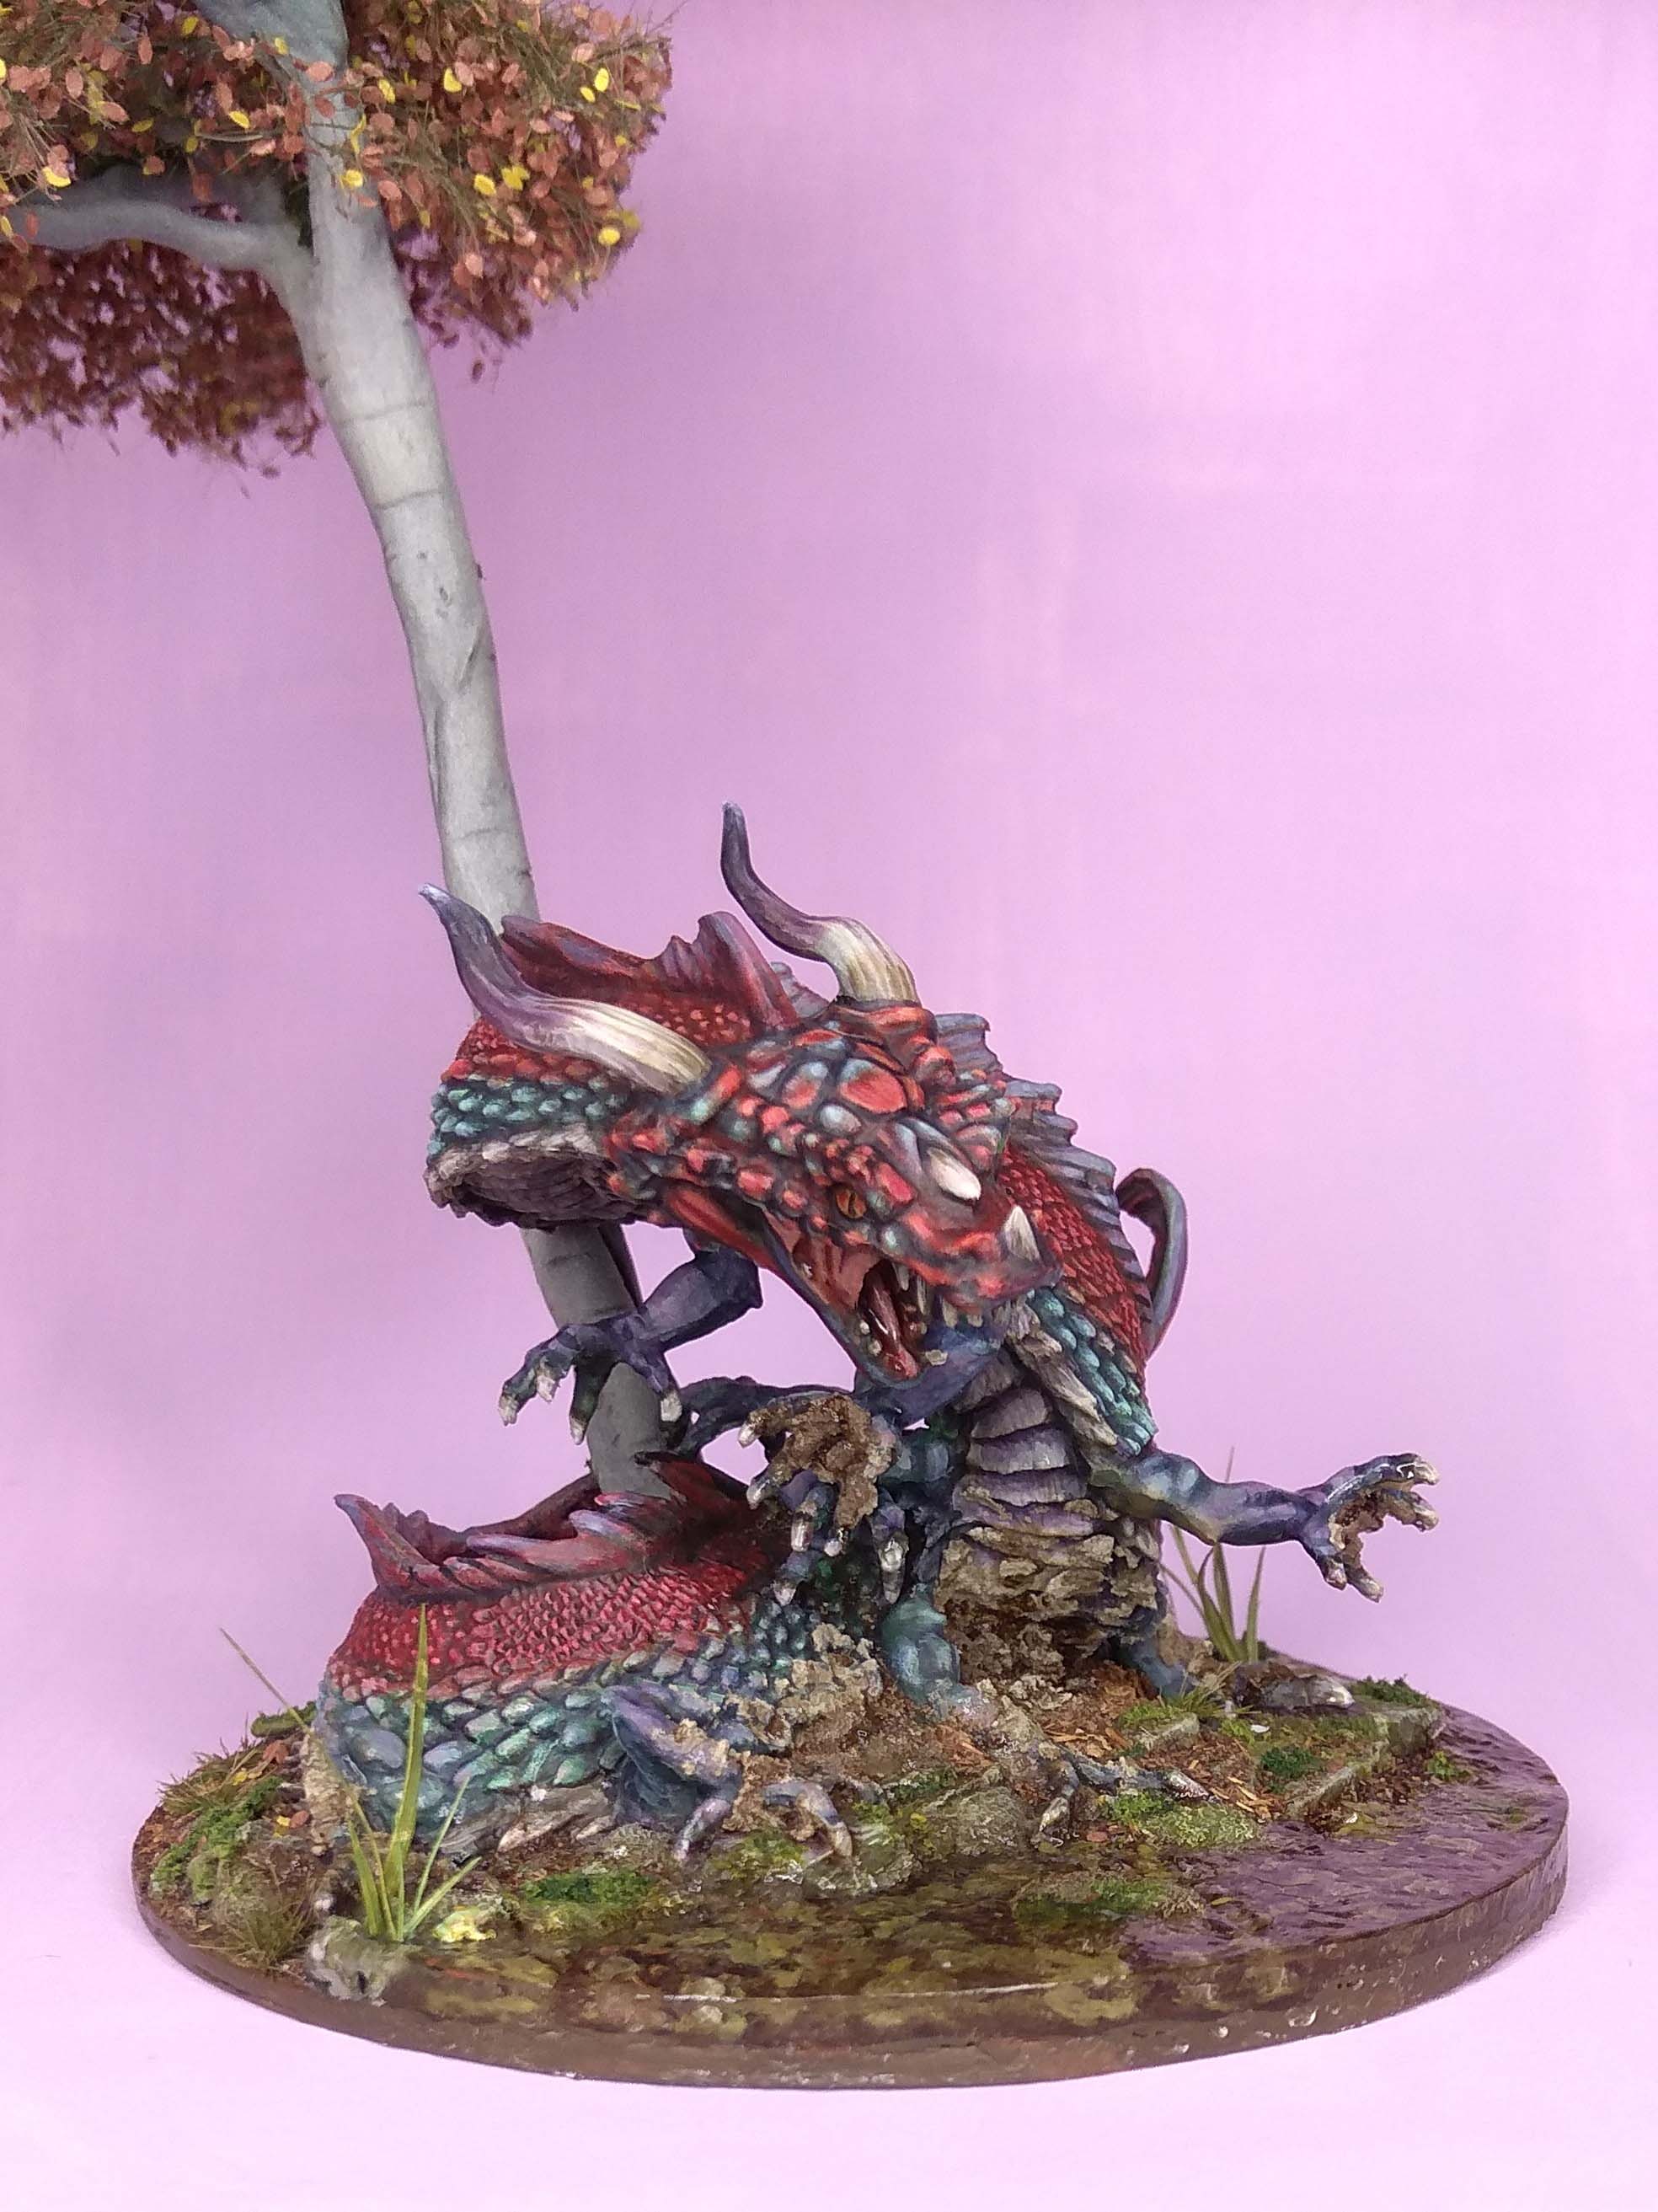
However, instead of going for the blue colour scheme in the monster manual, I decided to paint him like a Chinese water dragon, with red, green, turquoise and purple being the dominant colours. This also established a warm to cold colour contrast.
The sculpt is excellent and imaginative. I would even go so far and say it is the best Behir available. It snakes and coils around itself making it a dynamic and imposing challenge for any aspiring adventurer (and painter for that matter).
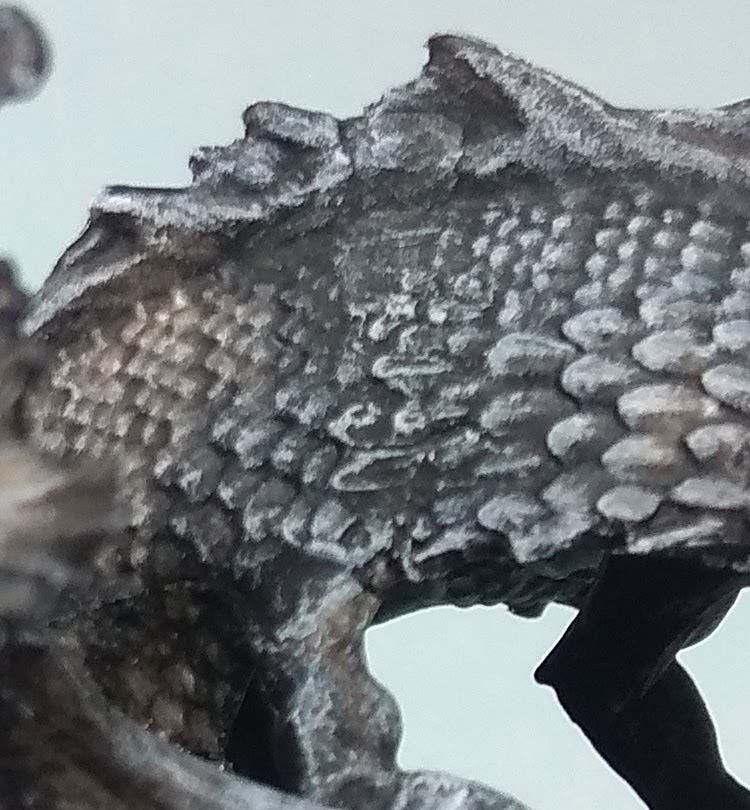
The cast is fine, but details are a tad soft in places. I think the miniature would benefit from the new Bones USA material. Unfortunately the soft detail and mold line placement necessitated to resculpt some scaled areas. On top of that the fit of parts was ok, but gap filling was necessary.
All in all a great miniature, but cast in the wrong material. I still recommend it.
Painting the Behir – It’s all in the eyes
I have to admit, this miniature really posed a challenge. I started painting it in April last year and it dragged on well into July. There were a few new things I wanted to try, but getting them right took some time:
- Paint a convincing lizard eye.
- Keep the reds vibrant without turning them into orange or pink.
- Scratch-built a naturalistic beech tree for the base.
- Depict still water with UV curing resin.
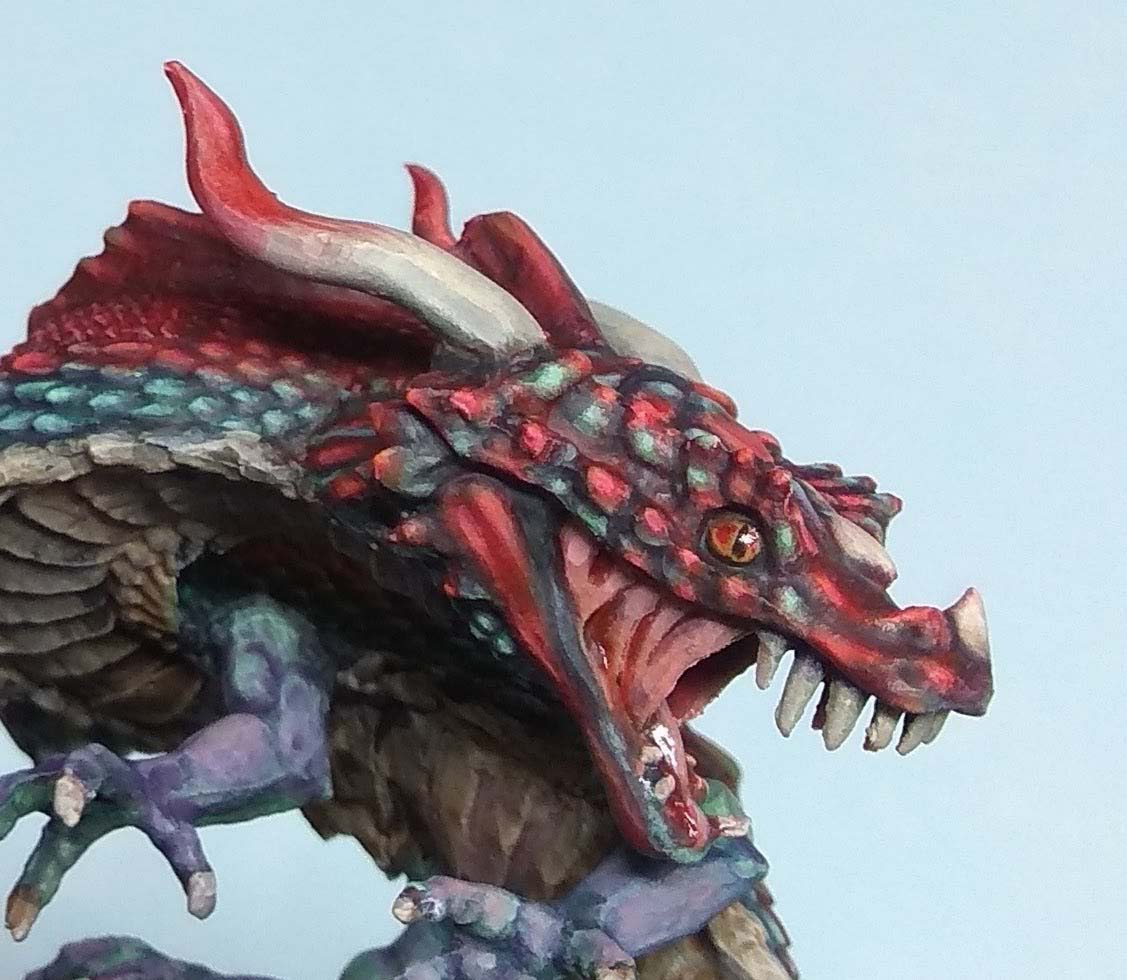
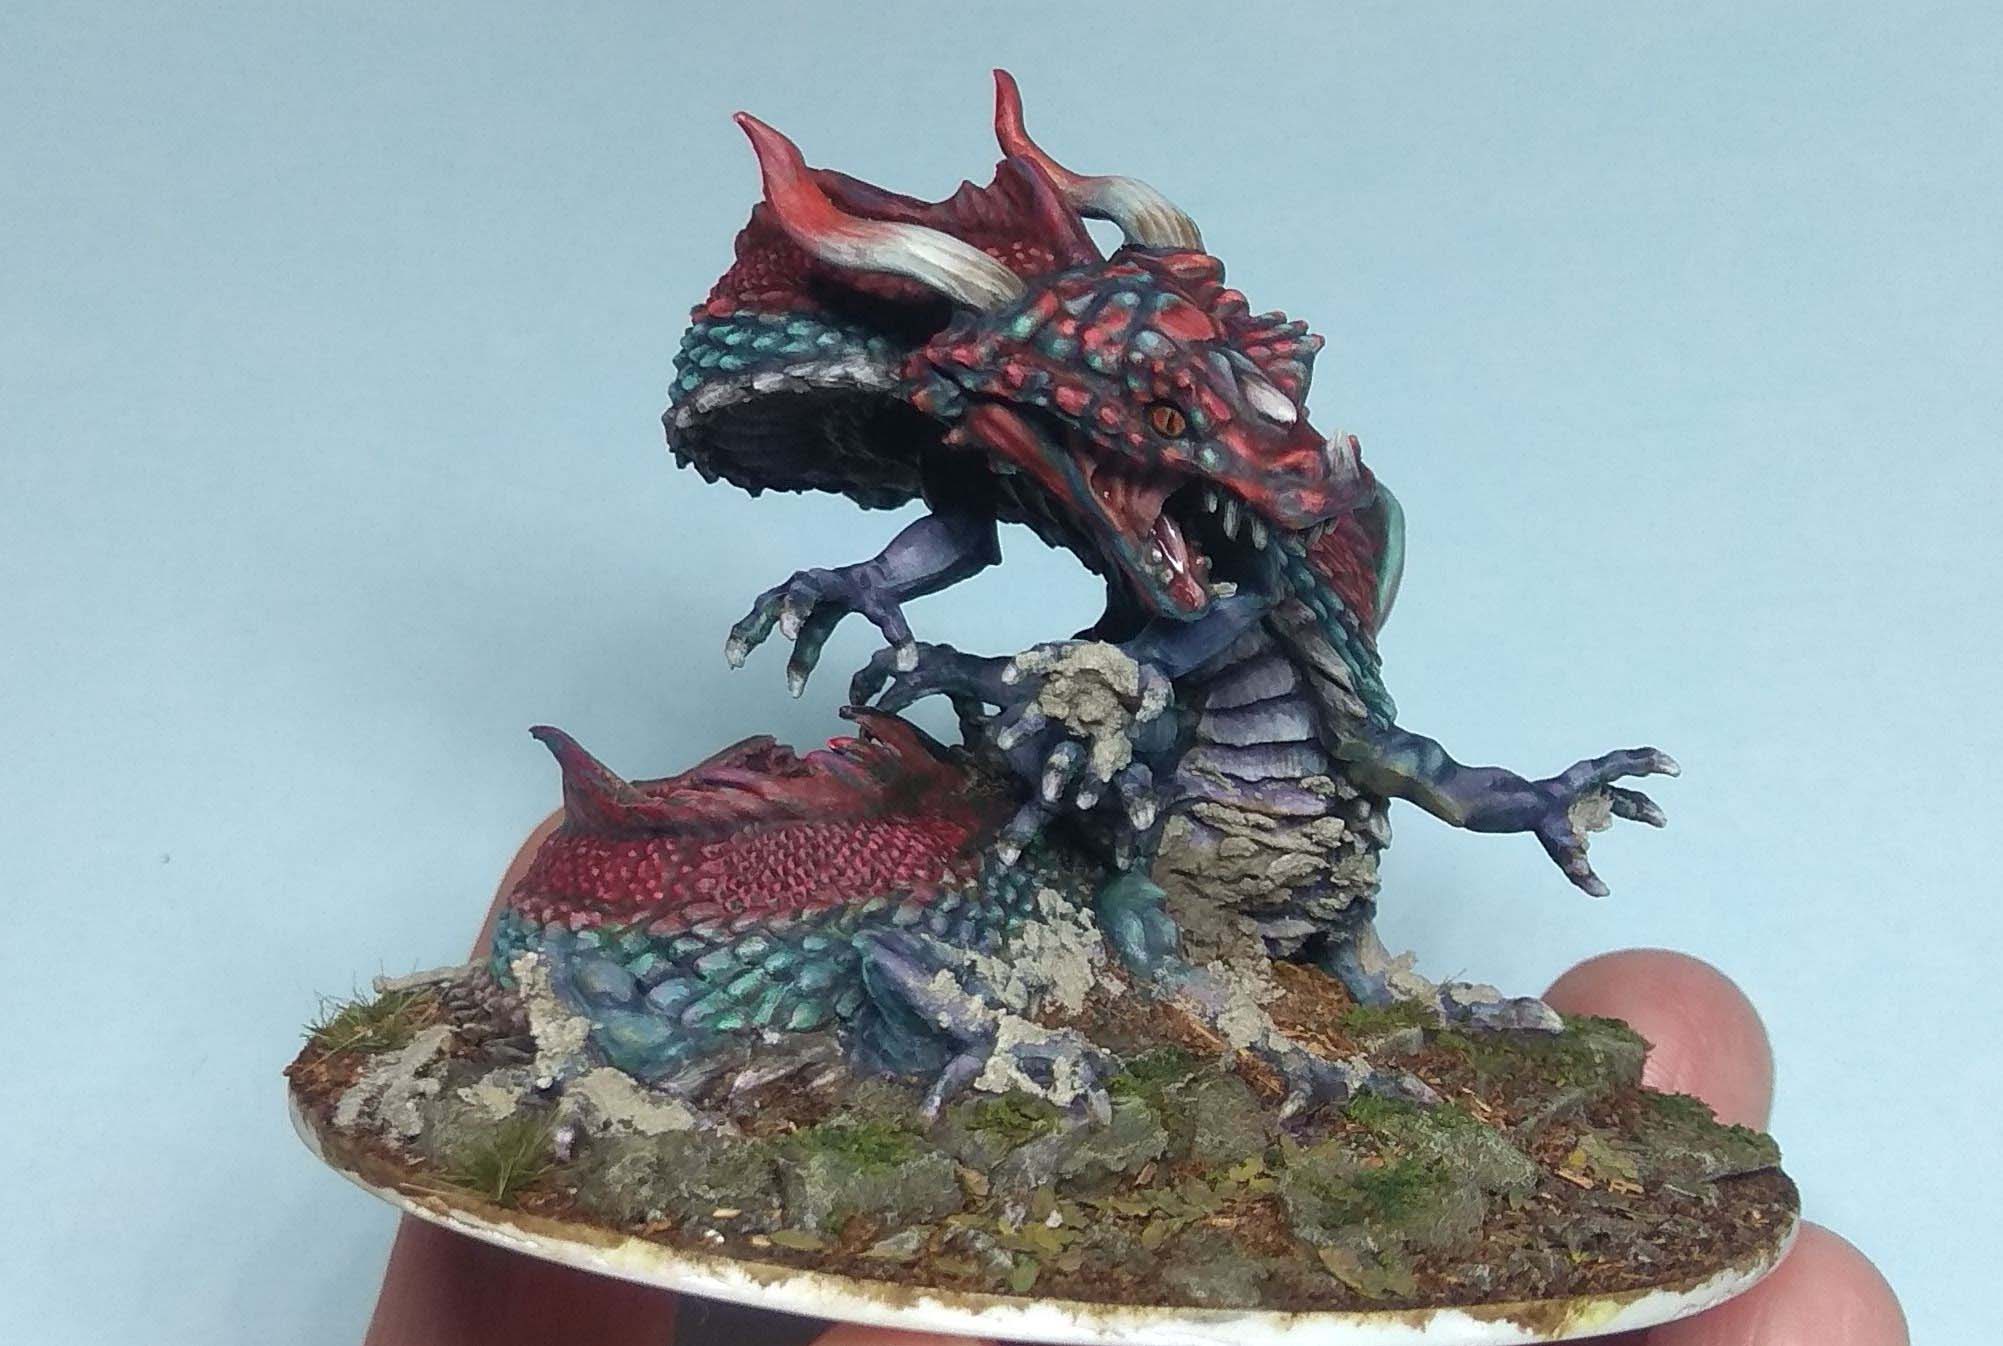
The eyes were the easy part. I started with an opaque coat of warm yellow, followed by a smaller area of orange-red. A thin black vertical line (more of an oval really) concluded this step.
However, the eye lacked depth. With a very thin warm yellow glaze I added a thin iris around the pupil. Then I added a very subtle highlight to the red areas. The final touch was some gloss varnish. The reflection in the picture is not painted, which works better if you look at the model from different angles.
Red – a difficult colour
The vibrant reds on the other hand necessitated some advice by fellow painters in various Facebook groups. Generally speaking you have to start with a fairly dark red and your last highlight should still be a pure red. However, I started way to bright. I also tried zenithal priming (by brush), but my application of colour was too thick for it to work. The zenithal was just not smooth enough to look good underneath.
However, I was able to fix the problem with a few easy adjustments. First I deepened the shadows significantly with a chromatic black (red and green). That turned out a tad muddy, as I used convenience mixes and not single pigment paints. I assume either the red or green had a bit of white and black in it, resulting in a desaturated chromatic black.
Next I highlighted the red with pink (yellow works, too) until I was satisfied with the contrast. The trick is now to glaze it back down to a red. So while the pink areas remain vibrant, they shift colour.
Another important step was to add purple to most if not all areas of the miniature. The goal was to unify them, without it all looking just purple. So the green scales are shaded with a purple and green mix. Some of the red scales with a red and purple mix. Even the ivory of the horns, the belly and claws were shaded with a purple glaze.
Building the beech
The scenic base took as long if not longer than the Behir. First I had to cut away a significant amount of the cast-on base (broccoli style) to make room for a water feature. I imagined the Behir resting at the shore of a forest lake, only to be woken by heavy boots. A tree would work very well with the pose, as one claw could rest against it, the body coiled around the trunk.
Beech trees have fairly smooth grey bark, with dark horizontal marks. In a forest, that is in competition with other trees, they develop high crowns that only fork relative far away from the forest floor.
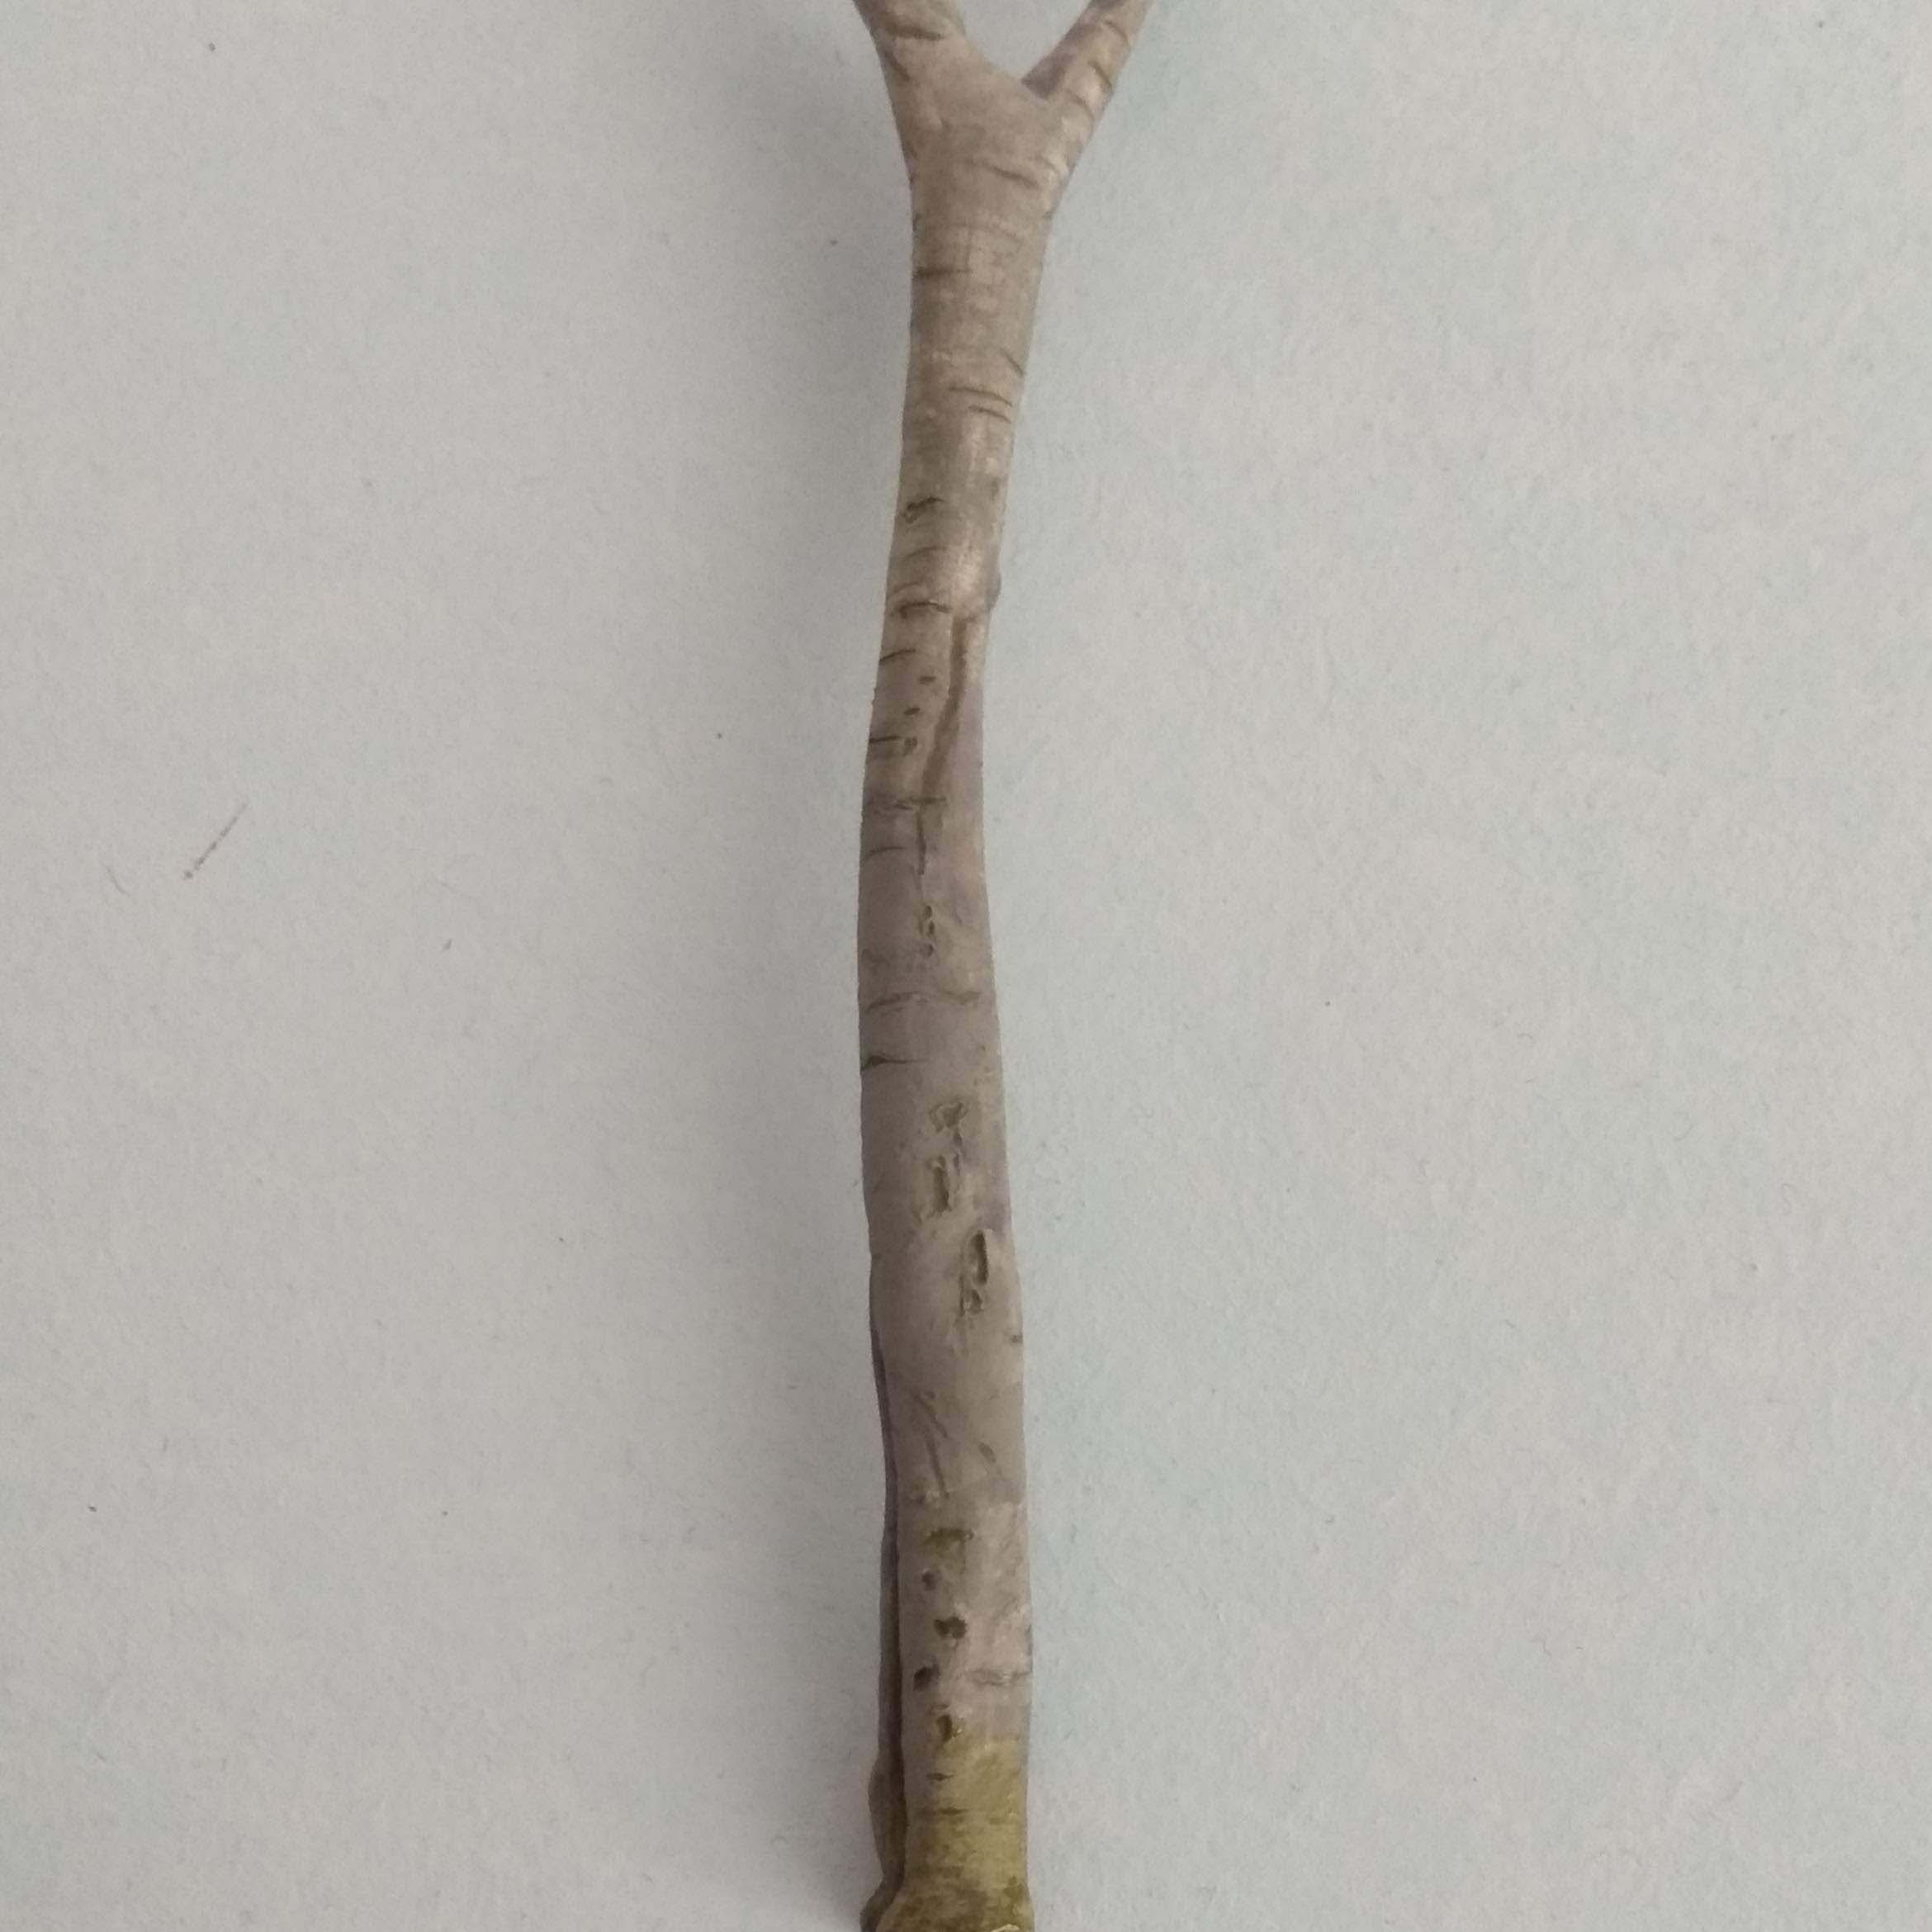
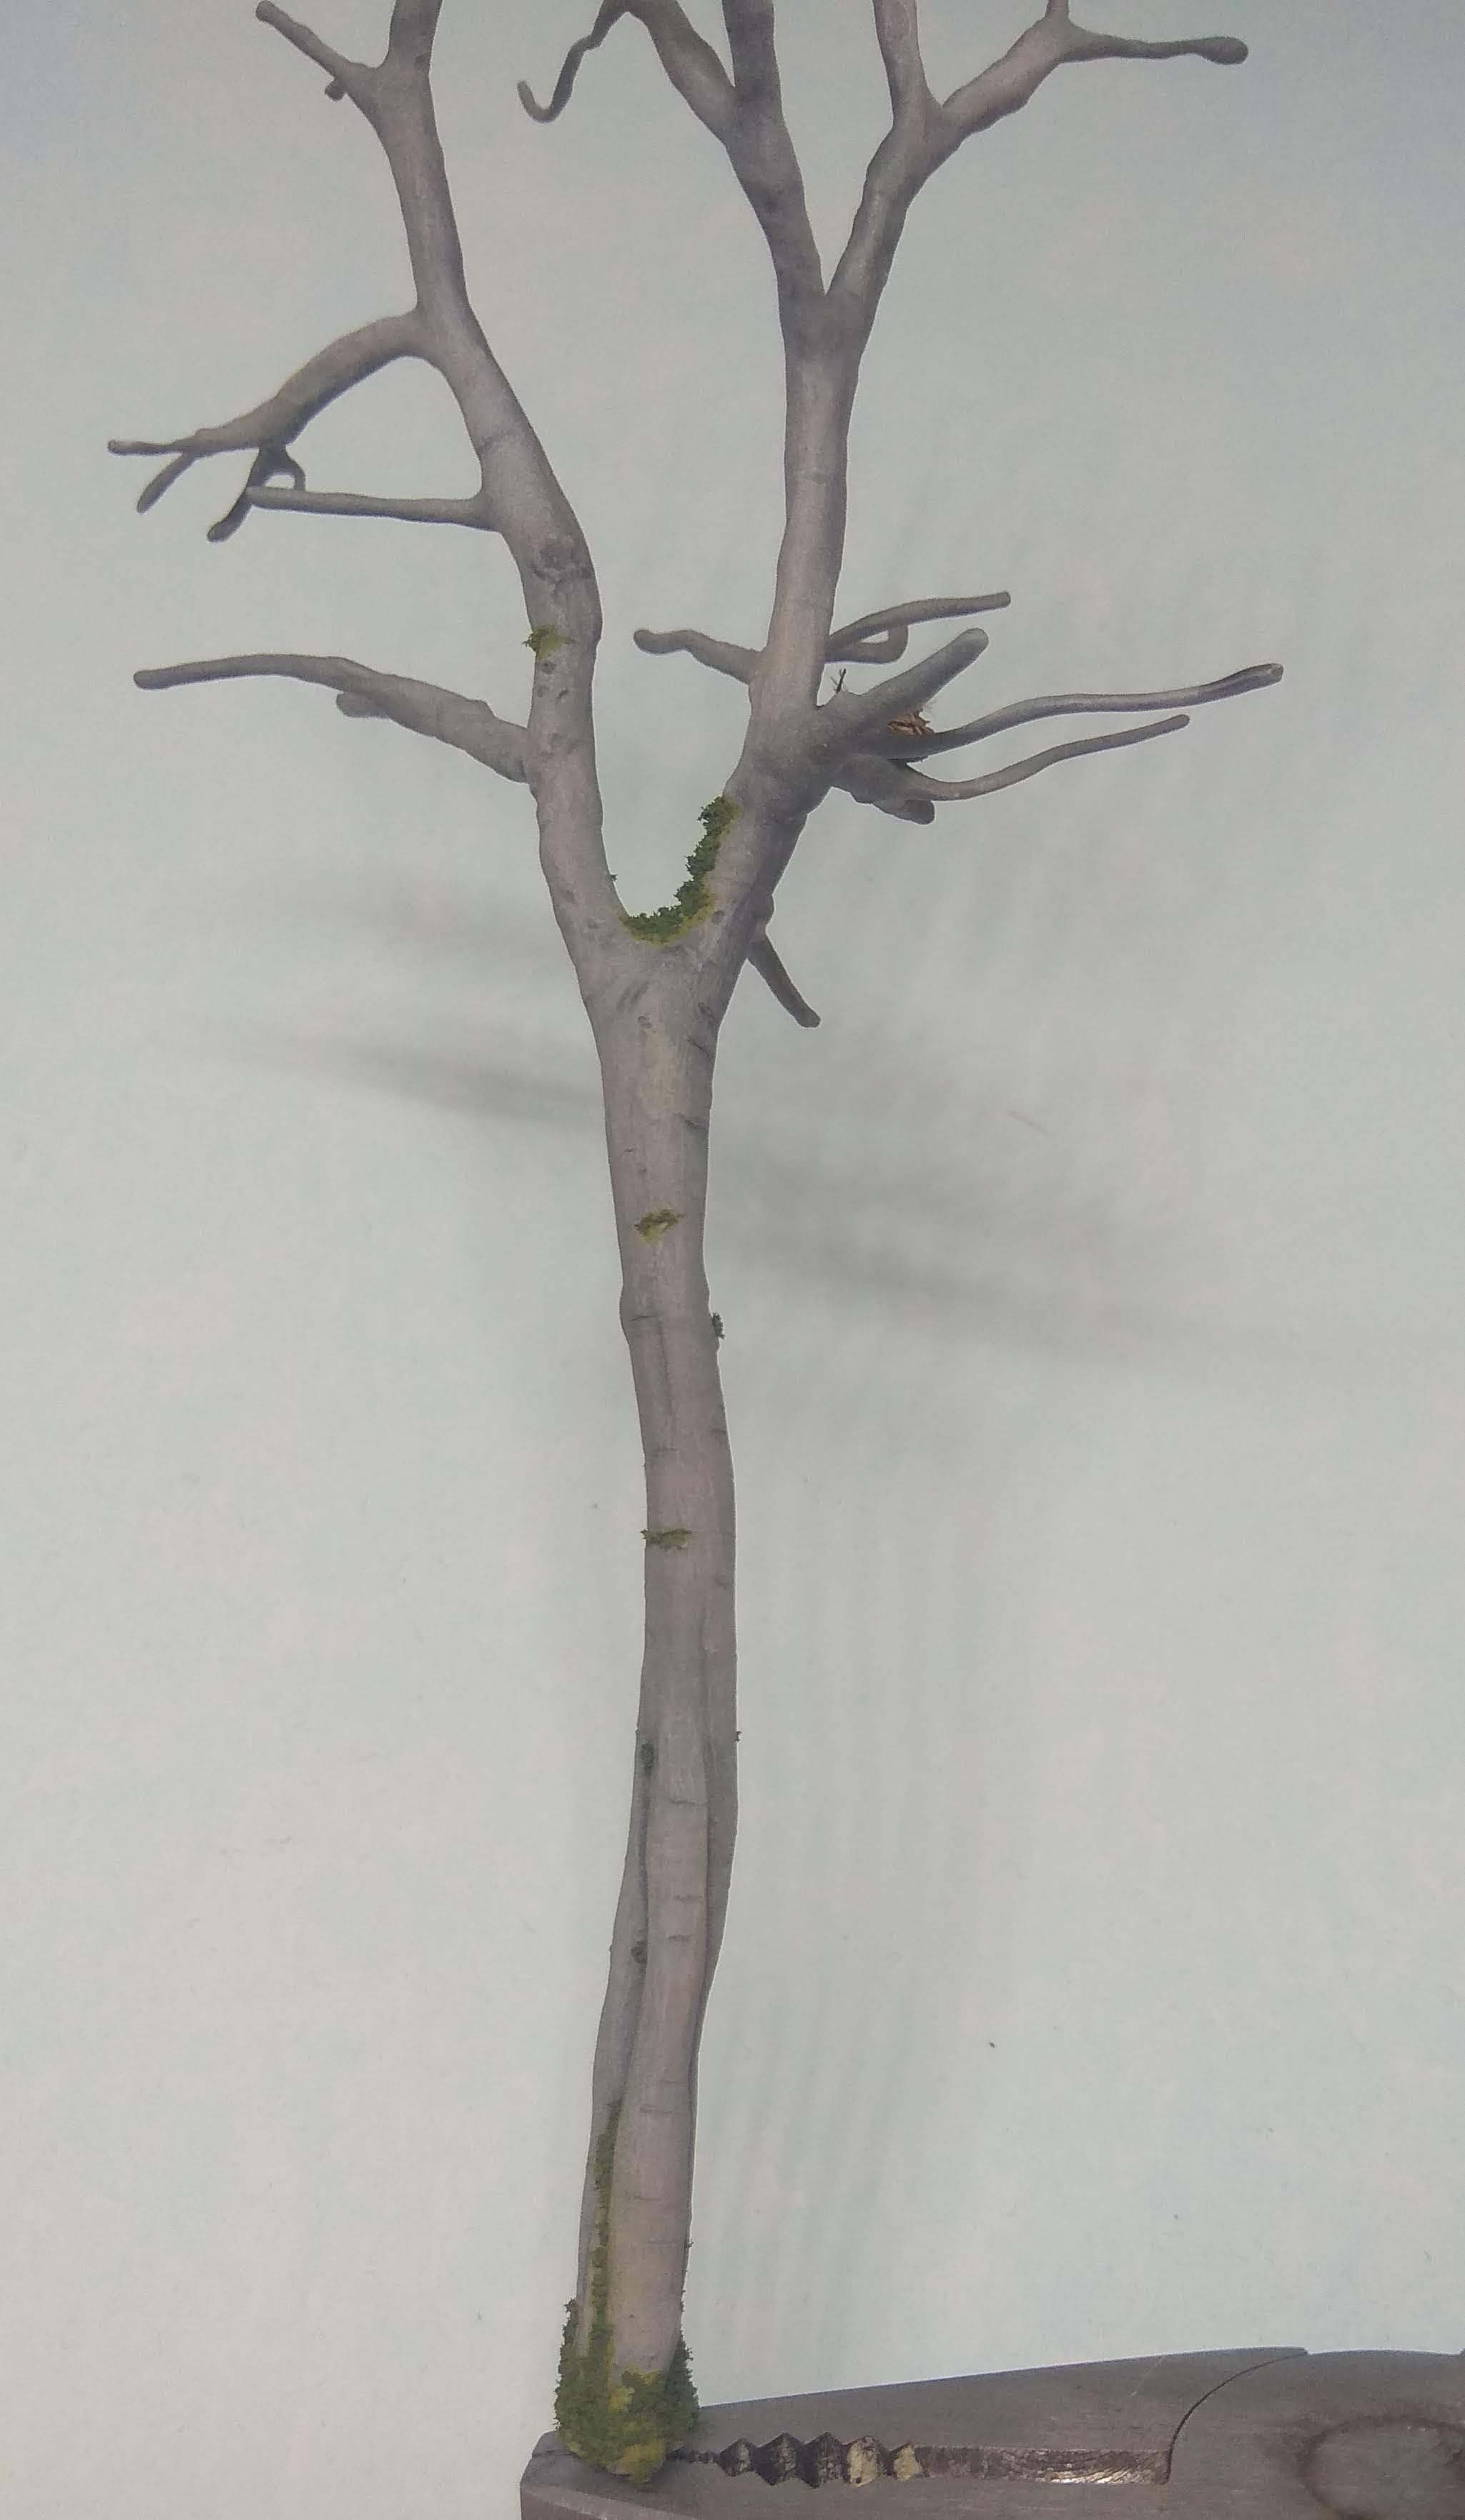
After some experimenting in transpired that the best way to depict the bark texture was using Milliput. I covered a wire armature with Milliput and wet my fingers to smooth it. After about 30 min I went back in with a needle tool and textured the bark, adding horizontal incisions and other blemishes.
Painting was straight forward: wash and drybrush. However, the trunk benefitted from a final thin unifying coat of light grey applied by airbrush. It made the bark look smoother, still showing colour variations underneath.
The autumnal beech foliage is per usual MiniNatur. Apart from a coat of acrylic medium to fixate the net and individual leaves not much work was necessary.
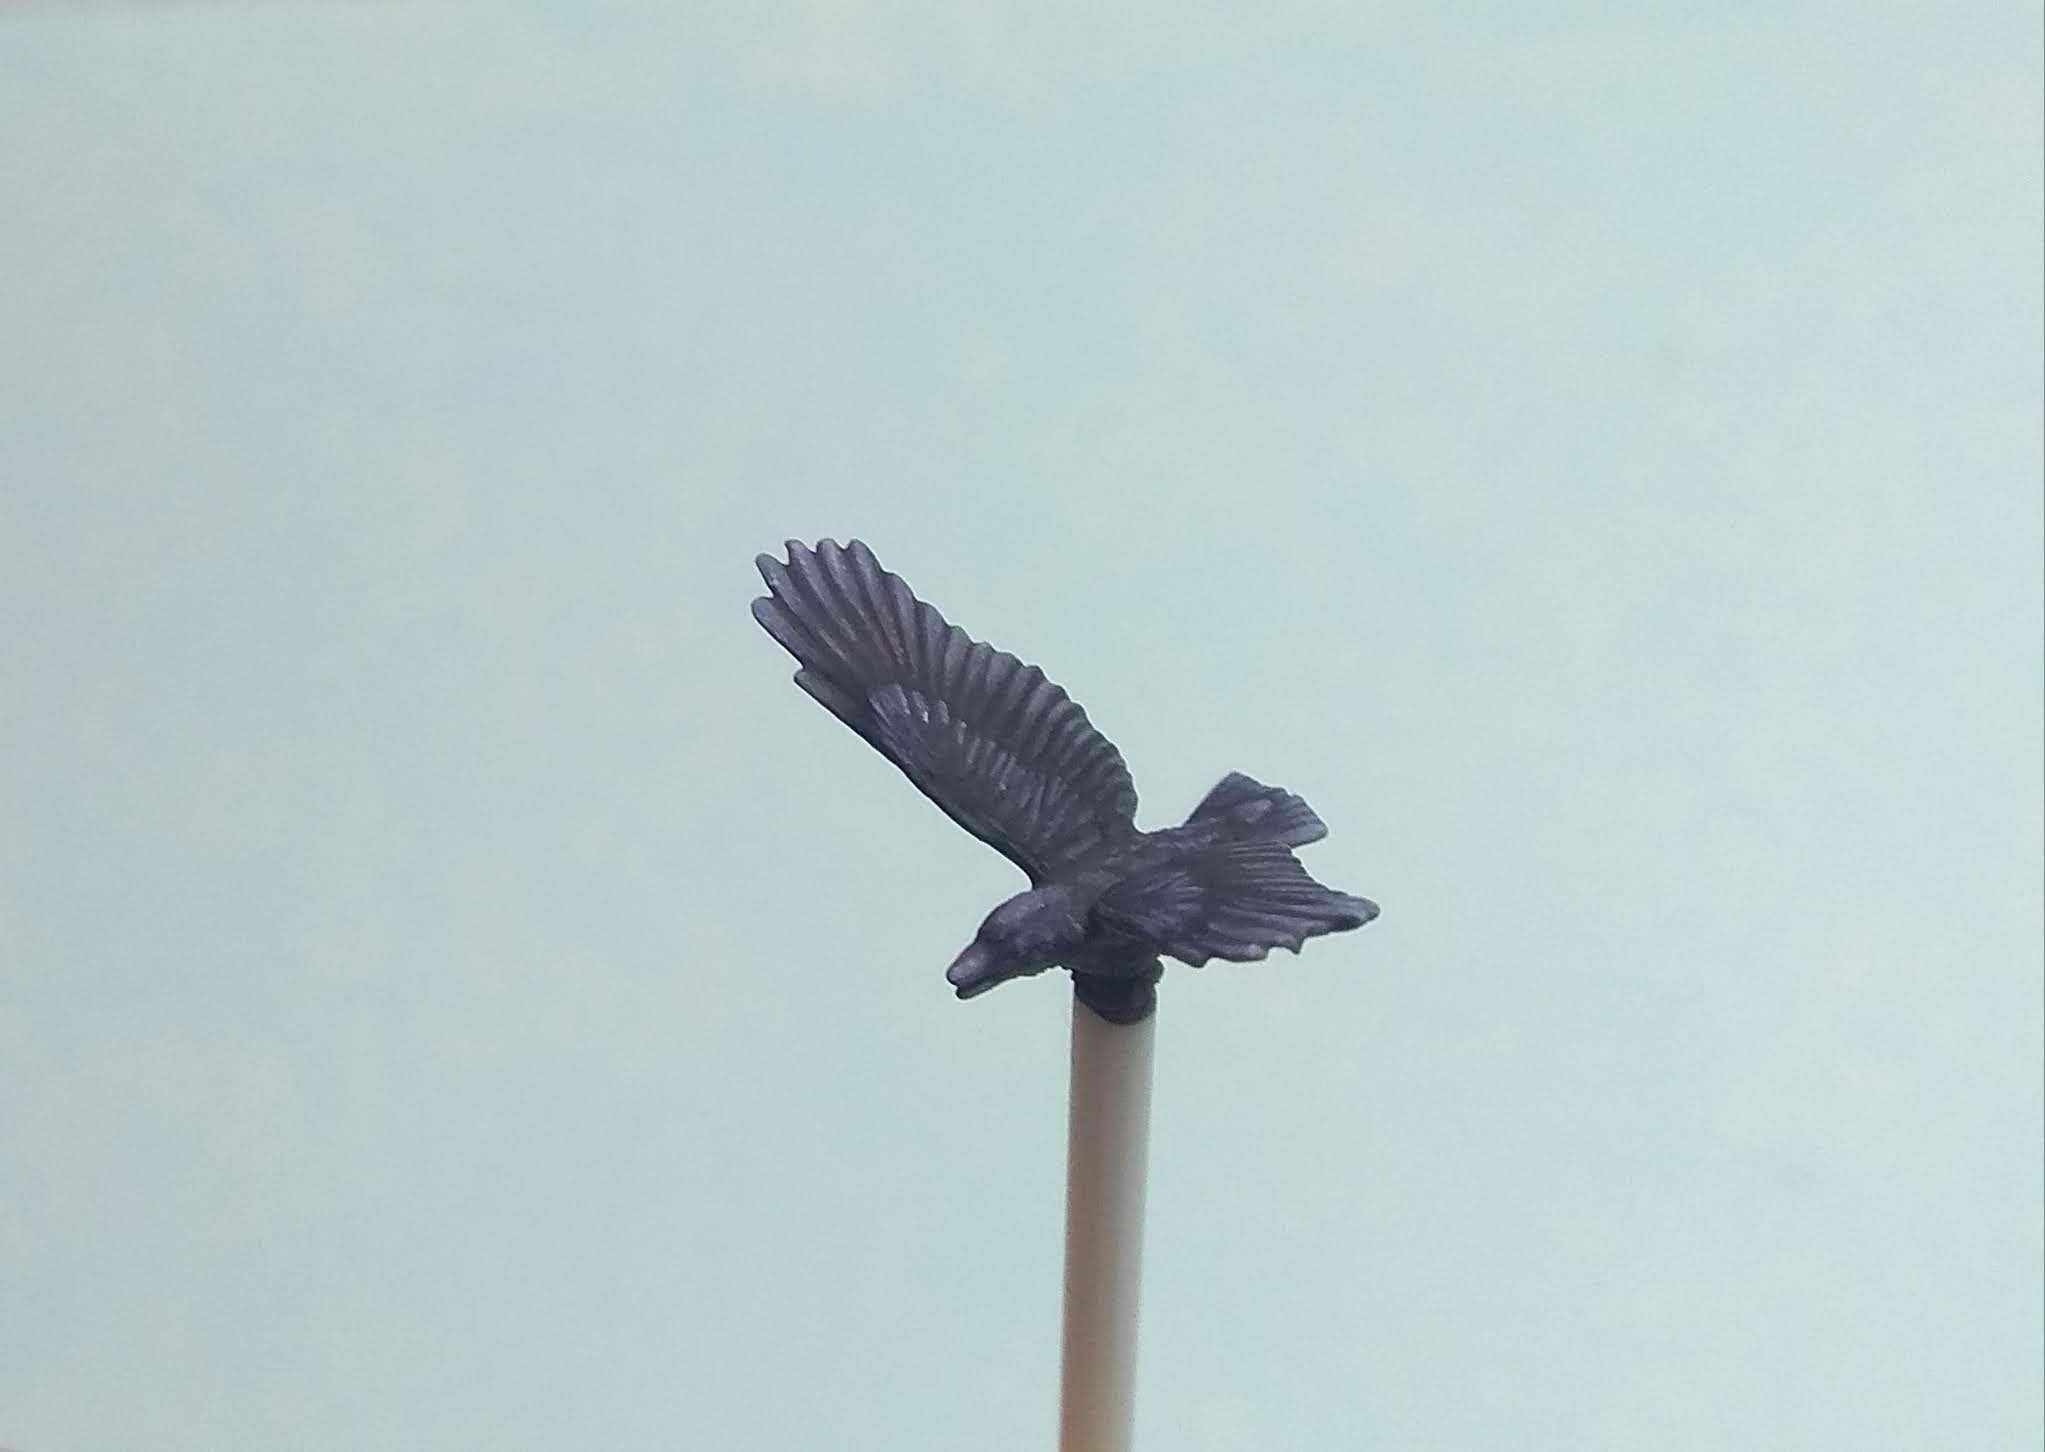
I also added a startled raven to emphasise the idea, that the Behir moved suddenly.
Water effects with UV resin
The water effect was the most complicated aspect of the project. I decided to give Greenstuff World UV resin a go. Epoxy resin would naturally work, too. The UV stuff has the advantage that it doesn’t go off, granted you keep it out of the sun.
With some smooth clear plastic I built an enclosure for the round base and fixed it in place with PVA. I covered the lake bed in individual leaves taken from the MiniNatur nets and some other debris.
Now you can pour the resin and spread it out. When everything looks good, either use a UV light or put the entire base in the sun for 30 min. My hope was that bubbles would find their way out during the slower curing time, which worked to some extent.
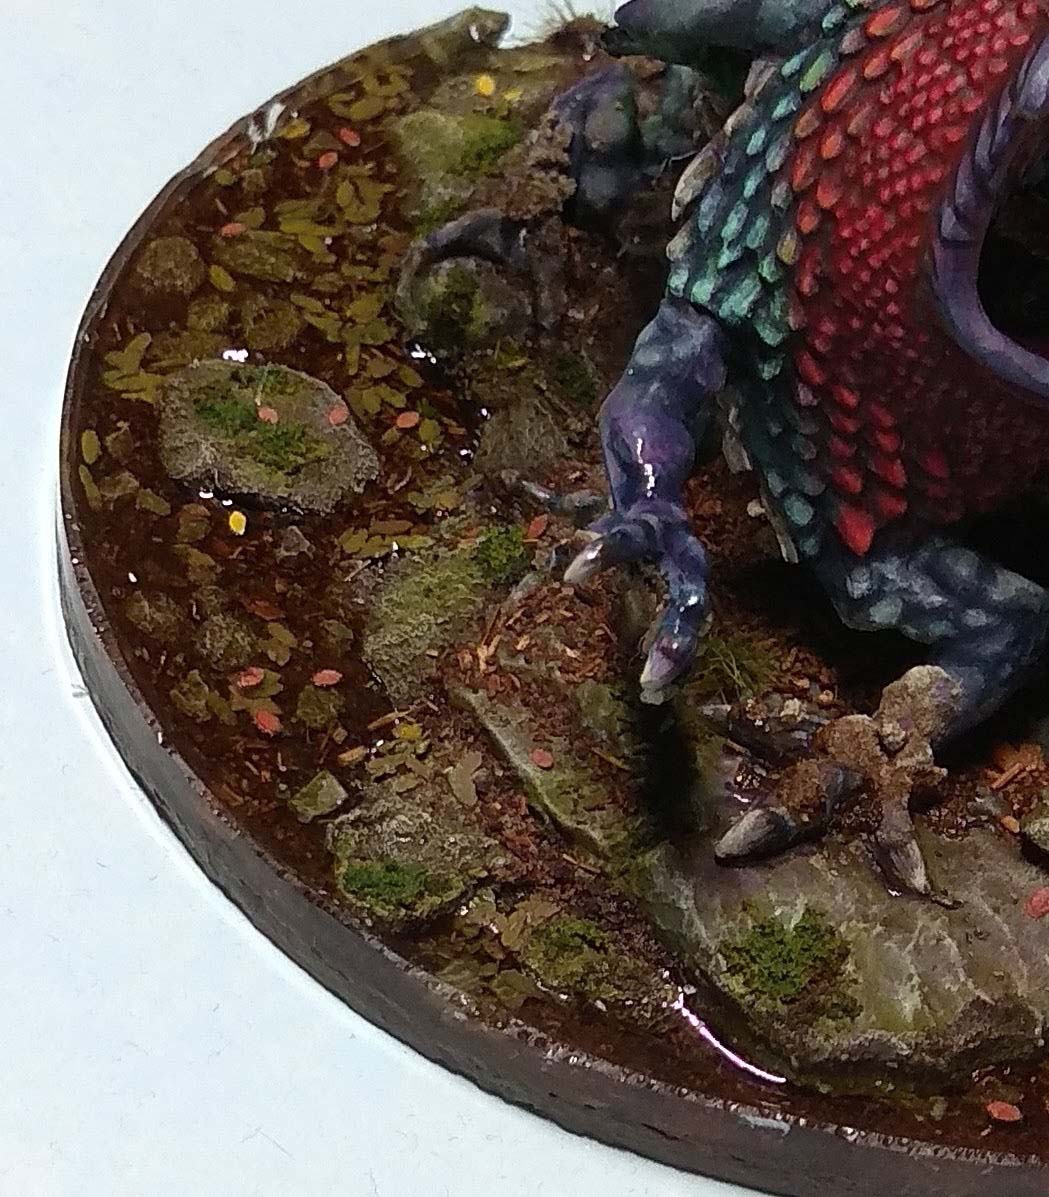
The result of the pour was fine, but the edge needed some sanding. I recommend very fine wet sanding paper. After a while you can achieve a high gloss finish, as any cut areas will have a matte finish at first.
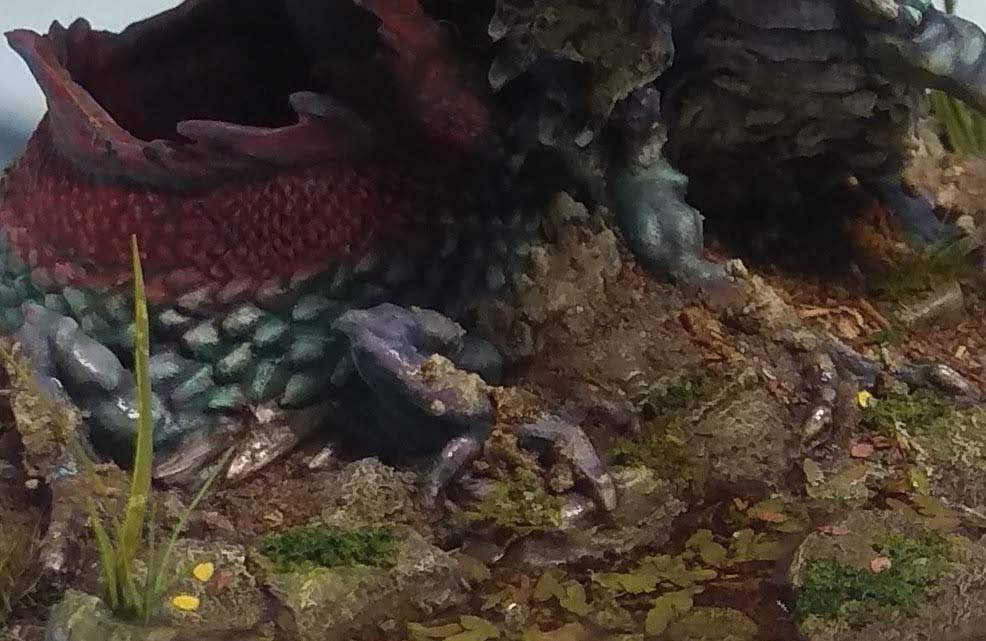
To add to the illusion I mixed a dry mud paste using filler and beige paint. This was applied to the belly and legs. After it was fully try I applied a wash to darken some spots to indicate moist mud. Tamiya weathering powders were then added to depict fine dust.
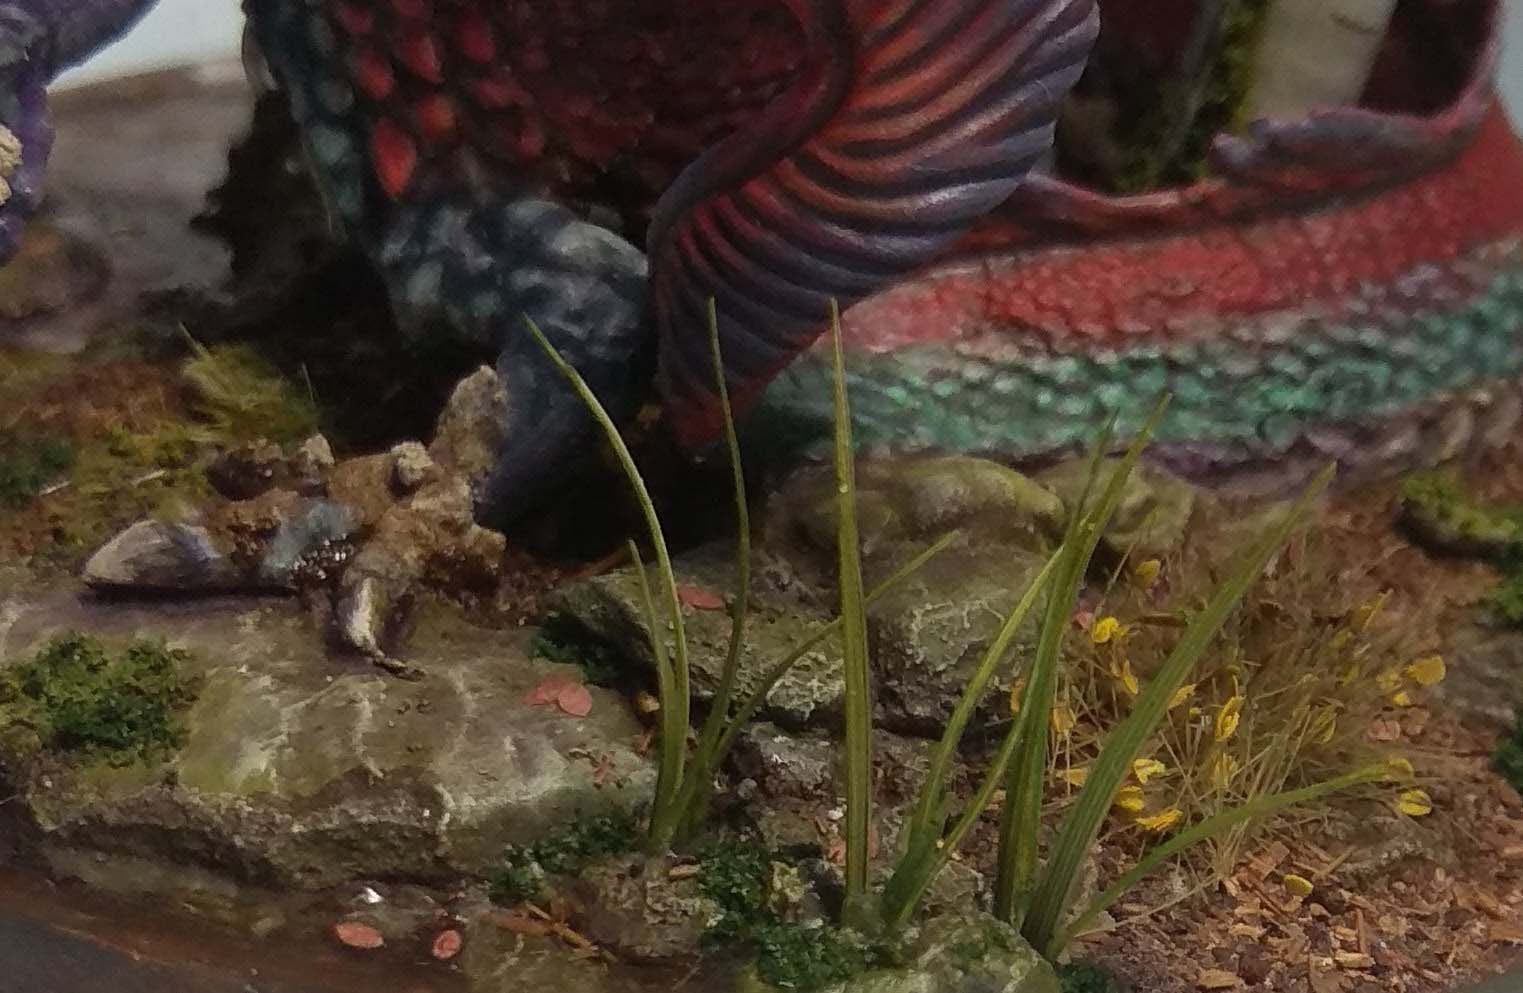
The final touch were high grass, leaves floating on the water and a little frog.
I hope you enjoyed this week’s showcase and give UV resin a try, too. I think it has great potential for spell effects, as you can harden it instantly. No matter what you do, always wield your brush with honor.
Every little detail has my jaw on the floor. Wow. Brilliant, just brilliant. Loved the post and your attention to detail is unparalleled.
Thank you Mark, much appreciated. It was quite the undertaking, but I am glad it turned out well. I see a second version in the future, if it is released in Bones USA or Black.
Fantastic! Saved for reference, as usual.
Thank you Carlo, glad it inspired you.
Really nice work on Behir! I love the decision to make it look Chinese. The reds really work well on this sculpt. The scenic picture at the end is fantastic and you have a knack for photography I’d say 🙂
Thank you kindly. It is always good fun to take the scenic shots. I intend to get a new camera soon, as the smartphone has its limitations.
I find that my camera does better than my phone as well and my camera is getting closer and closer to being 10 years old so I certainly need to make it a priority to upgrade mine too 🙂
I mostly want more control and the ability to take pictures with daylight only, but for that I need to be able to set exposure time etc. As good as Smartphone cameras are, they usually lack on that front.
Stunning work! I was thinking about buying this behir, and now im convinced. And I will try this color scheme, because it is beautiful: colorful but not too harsh. I know, that I cant come near your work, but I give it a try.
The base is also awesome! I used UV resin once, and I liked it: easy to use and clear result. I miss only one feature: I dont know how I could color the material, since it hardens very quick in the light…
Thank you for commenting. Yes, it is a nice miniature. I would recommend to strengthen it a bit with wire (pinning) as the material is flexible and you could pose the arms and head more easily.
I am glad you like the colour scheme. I wished I had access to Kimera colours earlier, as some areas turned out a bit desaturated, but overall I am happy.
You can colour it with inks. The easiest solution would be to colour it at night and after you mixed it in expose it to a UV torch. Your room lights won’t have an effect, and even in daytime conditions it took quite some time to fully harden.
Absolutely brilliant mate. Really love how you textured the tree and the lizard eye is spot on. Well done 👌🏼
Thank you. The eye was fiddly, but turned out well. Should work for a dragon, too. I first tried baby wipes to texture the tree, but that looked too rough. I think Milliput might be the way for birch, too.
Excellent looking Behir. I think I like this much better than the blue. If it ever comes out in Bones Black, I’ll probably have to snatch up one myself.
Thank you! I think a blue colour scheme could look good, too. Maybe a combination of a red bias and green bias blue to get some contrast going. I hope they release it in the new material. I might get another one and slightly raise the head up, so that it looks less squat.