
While the wall segments of my dungeon are getting there, the denizens still need some matching bases. Most miniatures come with textured bases, ranging between simple ‘broccoli’ and fancy designs. However, if they are cast-on, they usually have an irregular shape. So either you cut the whole base off or try to integrate the original one in your custom base. Usually the former is better, as you have more freedom that way. I decided to sculpt some custom bases using Original Sculpey and obviously are very happy to share the results with you.
Sculpting the bases
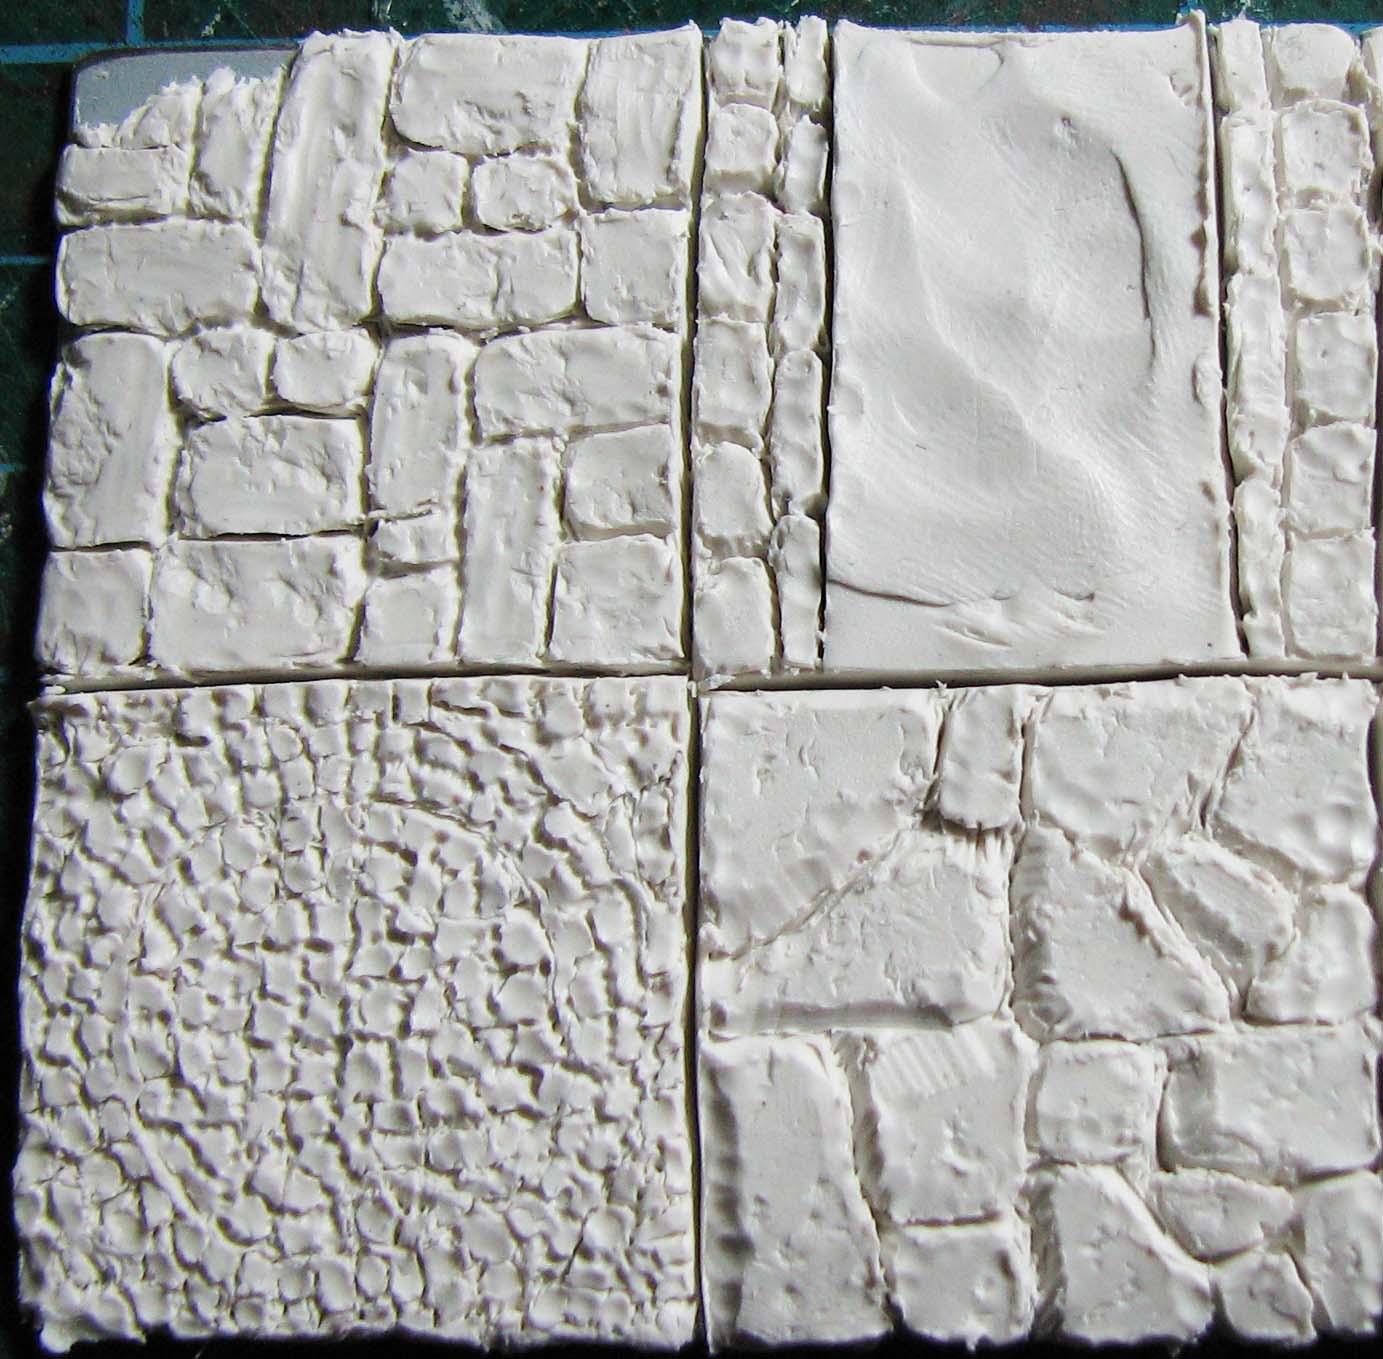
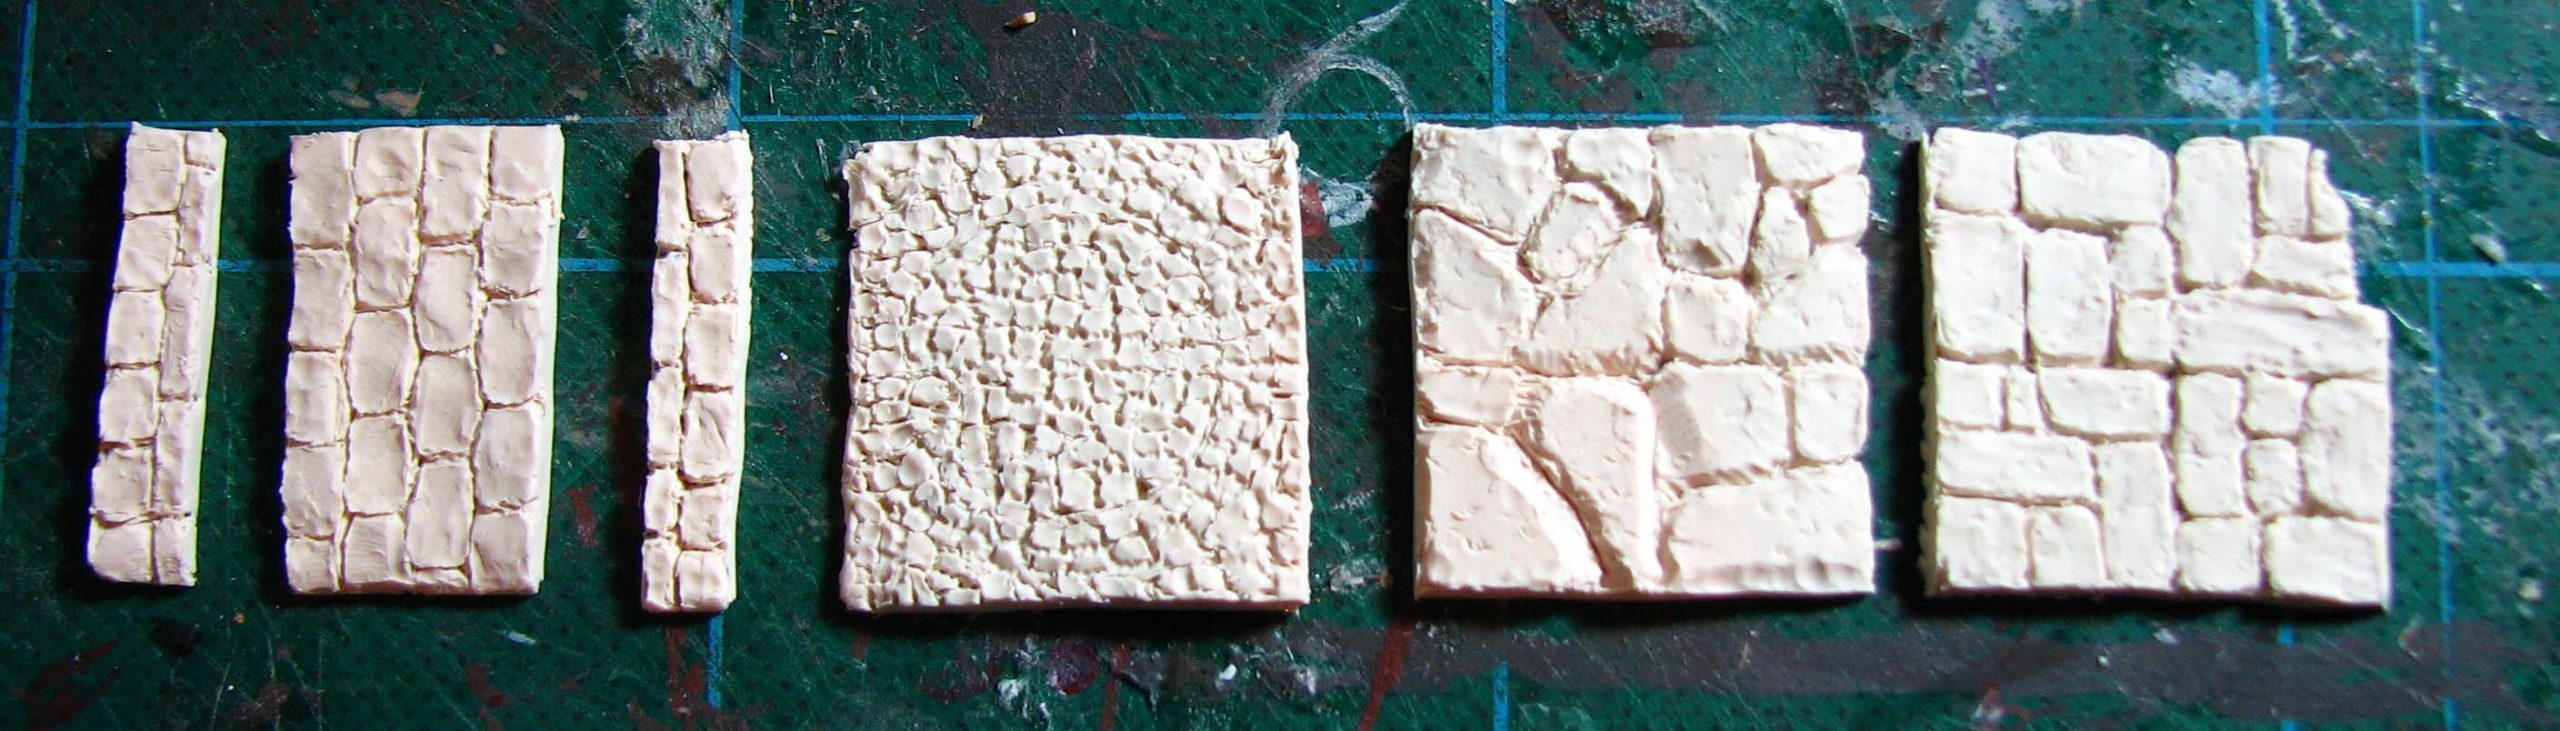
For the custom bases I decided on a 3cm by 3cm square, as that matches the size of the room tiles and works well for larger minis. If you have a metal or glas sheet, rolling out the Sculpey and transferring it to the oven will be much easier. It also helps to separate it in four 3×3 squares. I came up with four different designs and began to carve them into the Sculpey using the same tools I used for the wall segment.
The sewer canal consists of three pieces: The central pavement and a curb to the left and right. The mosaic piece was a bit of a challenge. Next time I make the stones more regular.
Baking was done at 130 C for 30 minutes. The Sculpey did brown a bit this time, but it kept its rubbery feel and flexibility.

Painting the bases
I use cheap acrylic wall paint for bases. A medium grey basecoat, followed by a drybrush with lighter tones. Finally, a wash with a dark brown. Voila! Four nice custom bases for heroes or monsters. The time involvement was about an hour for the sculpting and half an hour for the painting. Naturally you can sculpt some masters and cast more bases.

I like the mosaic one best 🙂 It really looks like a little mosaic! Reminds me of Volubilis…