When working with fine or coarse sand as well as pigments, I often had the problem that the traditional PVA and water method did not quite yield the results I was after: A natural, matt look that does not require painting and preserves colour variations in the sand.
After I read a very positive review on the Lost in the Warp blog I thought I give it a try myself. So I went to the local model shop and got me some AK Gravel and Sand Fixer. I conducted some experiments with fine and coarse varieties of sand. To really push the product, I also tried to fixate lines in the sand on a dune terrain piece.
As an aside: I am in no way affiliated with AK Interactive and forked over my own money. So this review gives you my honest opinion.
What is this fabled gravel and sand fixer?
The Gravel and Sand fixer is a water-clear liquid, with alcohol being the solvent for the glue. Unfortunately there is no further information on the bottle, so it remains a mystery what it exactly contains.
The content smells faintly of rubbing alcohol. However, the smell does not fill the whole room when working with it. I did not encounter a headache or irritation of my eyes, which can happen when working with more aggressive solvents for an extended period of time. If you want to be super careful work close to an open window or wear a respirator, but I don’t think this is necessary.
The liquid is as thin as water and if applied to sand it is absorbed immediately. This also implies that a syringe or pipette is the perfect tool to apply the fixer, but a brush works well, too. Clean your device every couple of minutes with water, so that the glue does not solidify and gunks it up. The fixer can also be sprayed through an airbrush. Works well enough and does not block it up – if you clean it immediately after use with airbrush cleaner, that is.
Does it work?
In short: Yes, it works like a spell. You simply apply sand where you want it, in the thickness you want, shape the pile if necessary and then apply the liquid. Let dry. Boom, done!
I tried the fixer on six different kinds of sand. From left to right: Very fine Chinchilla sand; black beach sand; model railroad ballast; a mixture of the fine sand and black beach sand with some bigger stones; small stones and finally pebbles used in fishtanks.
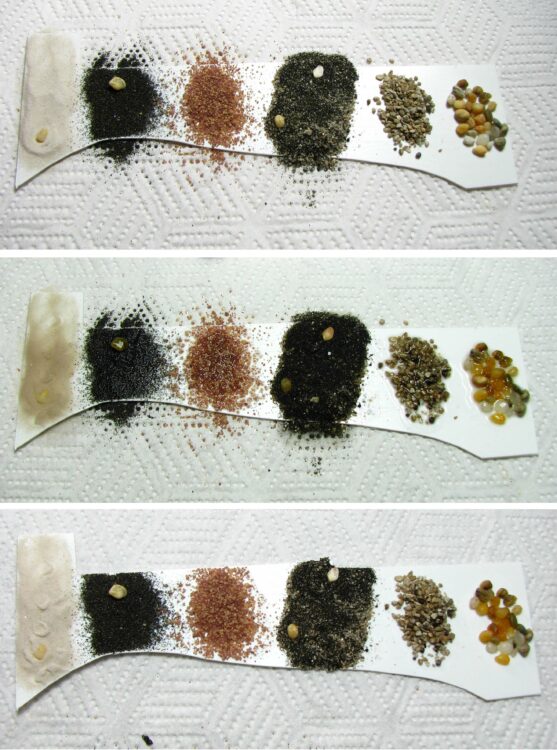
After application the sand seems to change its colour to a darker hue, but this will revert to its original look after the fixer is fully cured.
I feel after drying there is a slight difference in colour, but not as much as would be the case with PVA. The result is also very matt and this is in my opinion quite an advantage when compared to PVA. Finally, the sand in some sections about 2-3mm deep. No problem at all, the fixer penetrated and fixed all of it. PVA you often have to apply multiple times to fix deep layers in place.
All patches hold up to rubbing and scrubbing, even a fingernail can not easily dig into the sand. The two last patches on the right, that is the coarse sand and the pebbles, do not hold up too well to vigorous scrubbing and will become loose. Here PVA or any other glue will perform better.
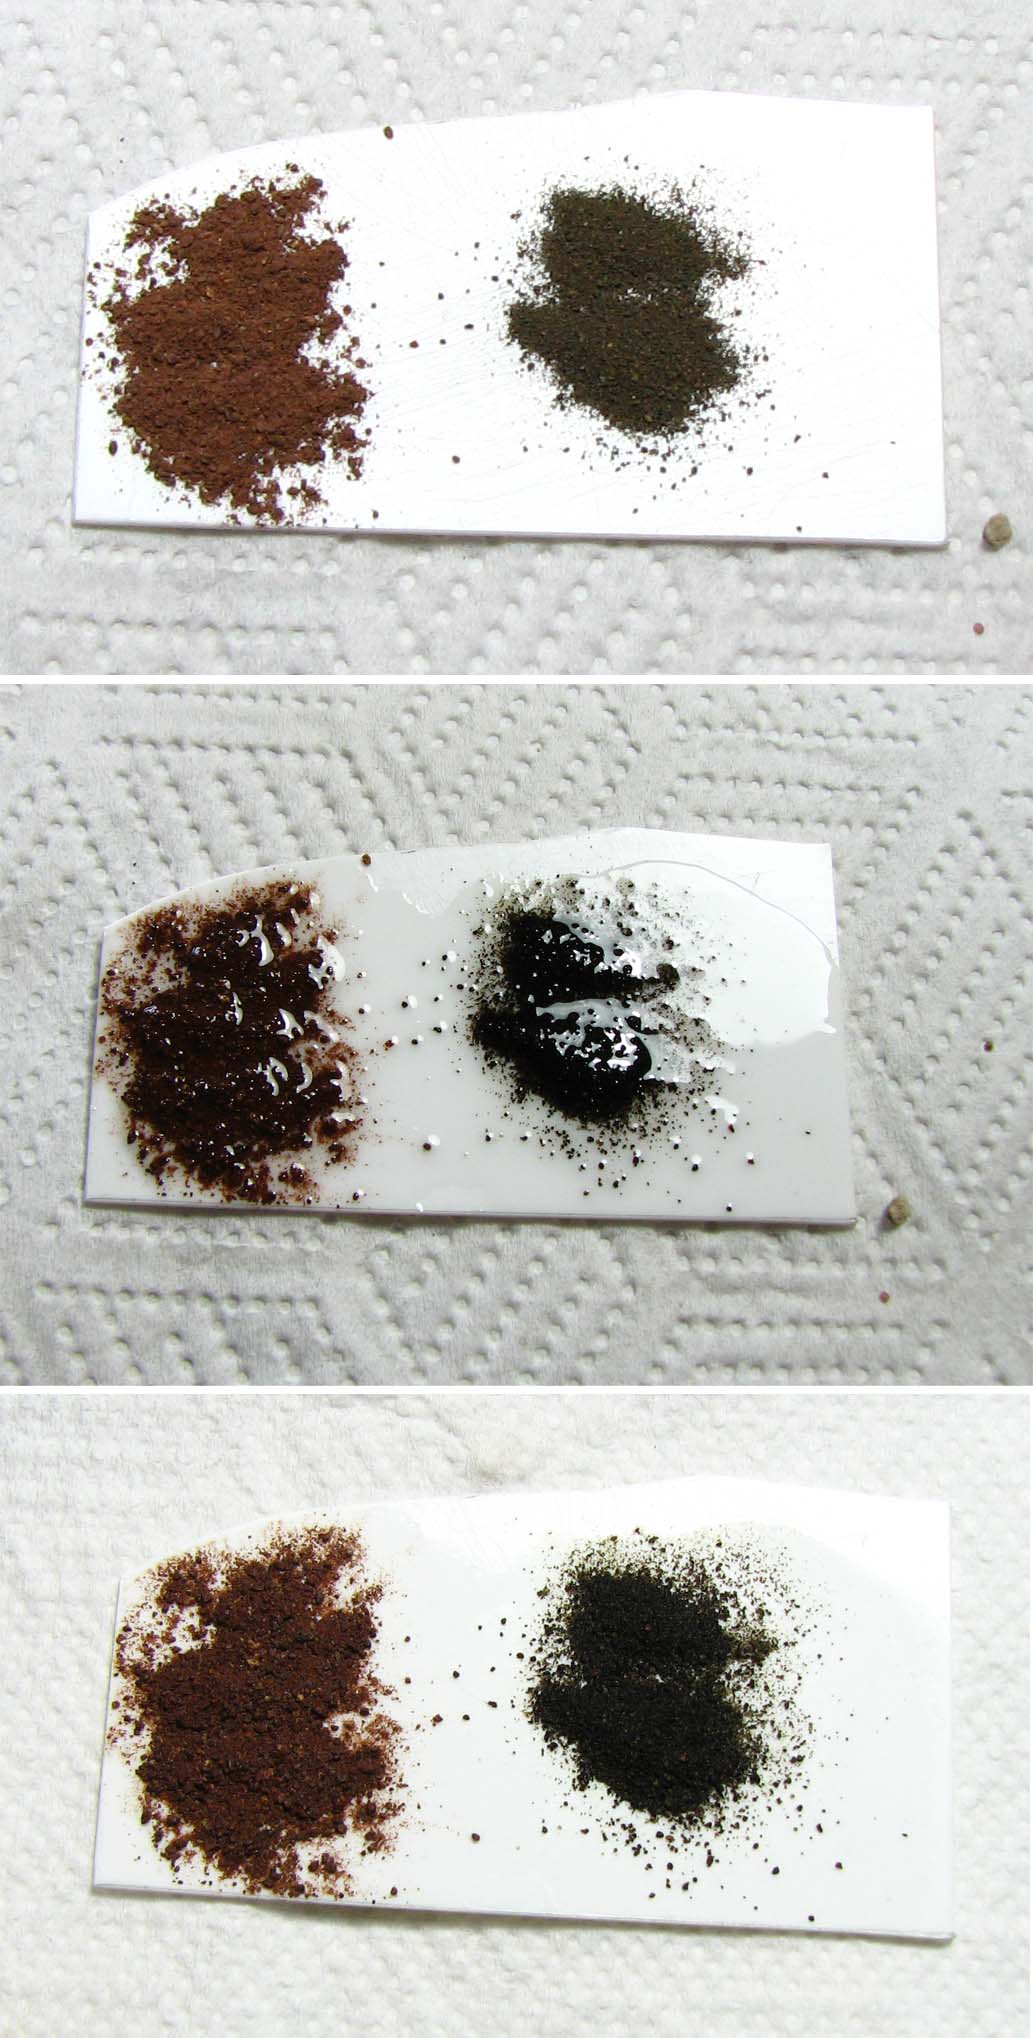
What about even finer pigment powders? The fixer performs also very well when applied to those.
The final result might be a bit darker than before application, but the fine texture has been preserved and a nice matt finish was achieved.
Lines in the sand
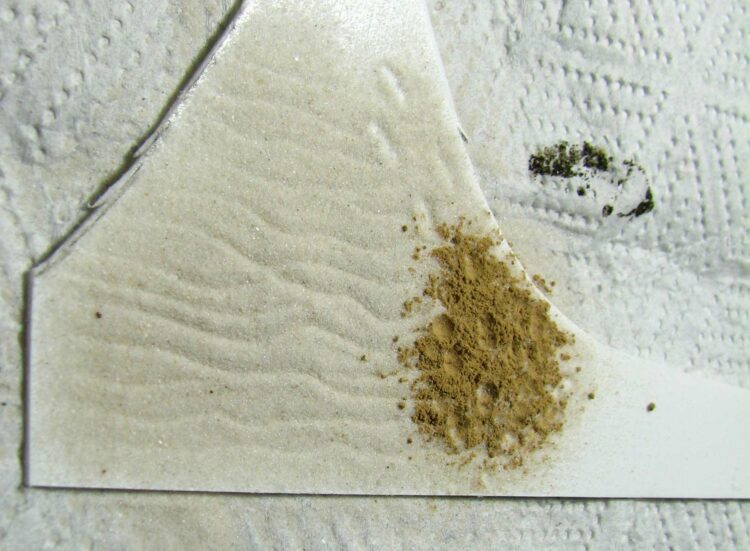
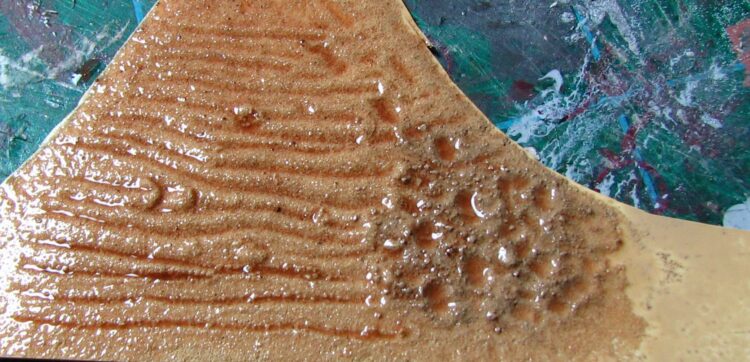
Finally, I got a bit adventurous and tried my hand at a ‘lines in the sand’ effect common on the slopes of sand dunes or beaches. I put some fine Chinchilla sand and light pigment powder on a piece of scrap styrene and – using a ball tip tool – inscribed fine lines in the sand. After a few passes a reasonably deep line had formed and I carefully dropped the fixer on.
I attempted to deepen the lines after the fixer had been applied, but it did ruin the look. You can see for yourself in the lower section of the second picture. It is also difficult to avoid artifacts introduced by the droplets. So either you have to get close enough for the droplets to be absorbed directly or work from the corners to the centre.
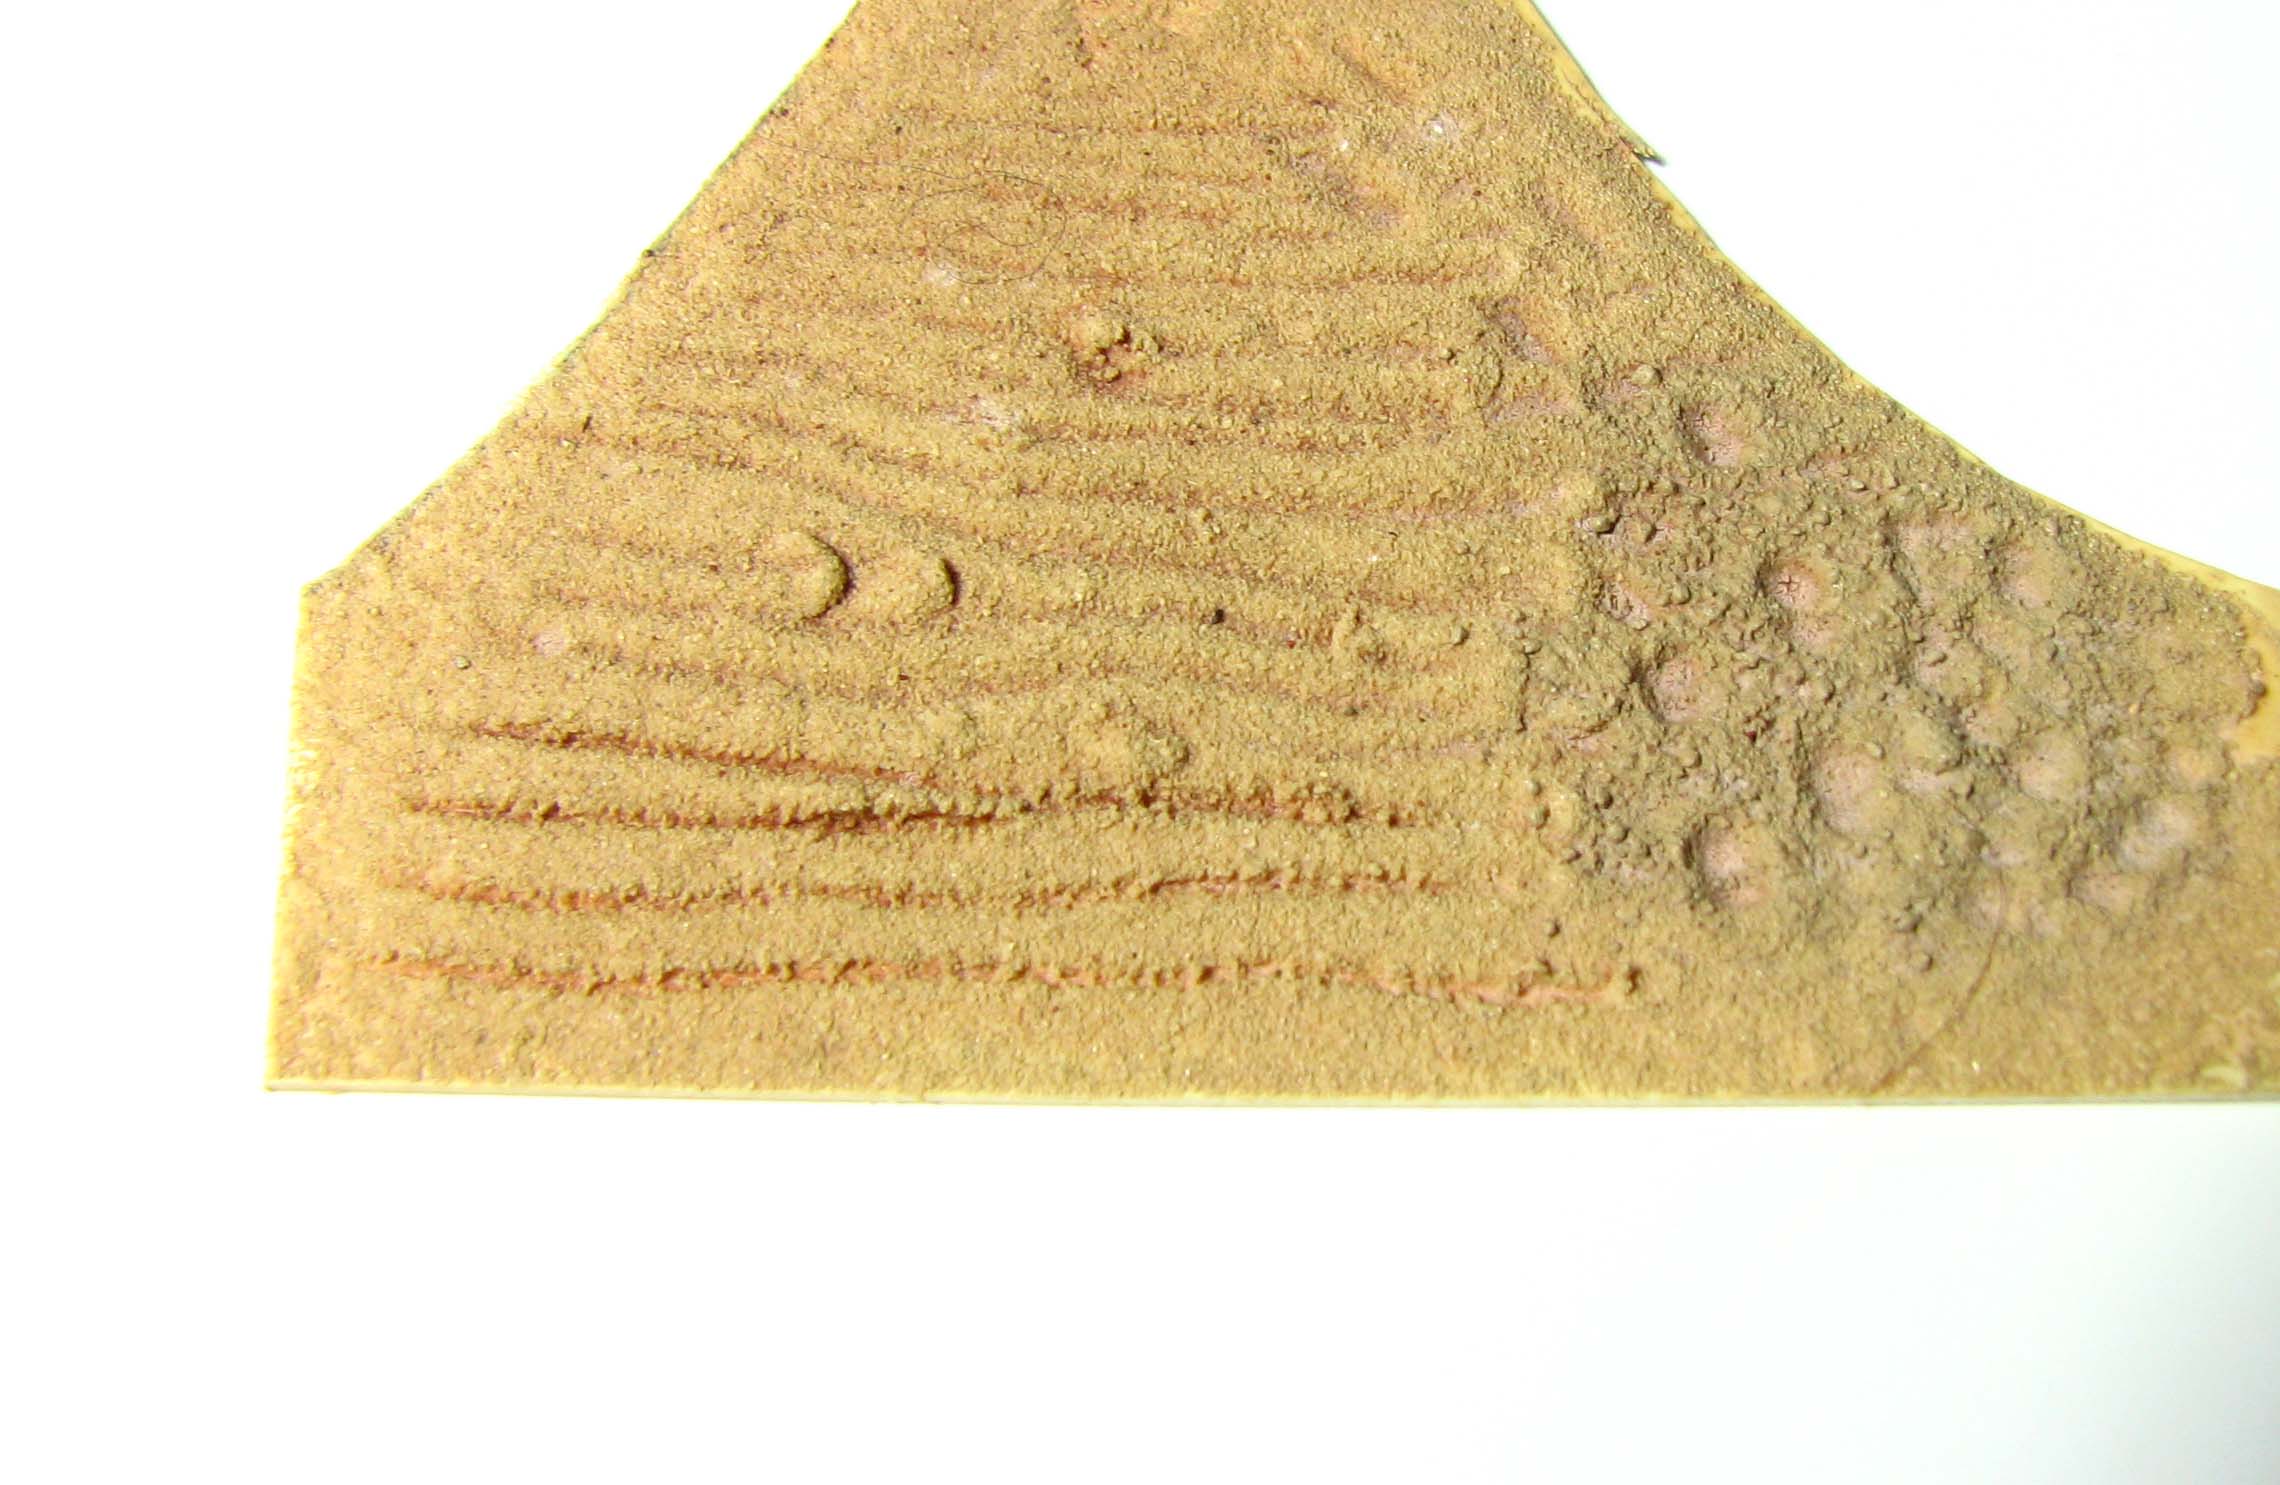
After an hour or so I did spray the piece with some light sand spray paint and applied a red-brown wash to bring out the lines a bit more. I could see this as an alternative to sculpting the lines first with putty and applying sand afterwards. However, if you go down that route you can also fix the top layer of sand and preserve the rounded slopes the sand naturally forms.
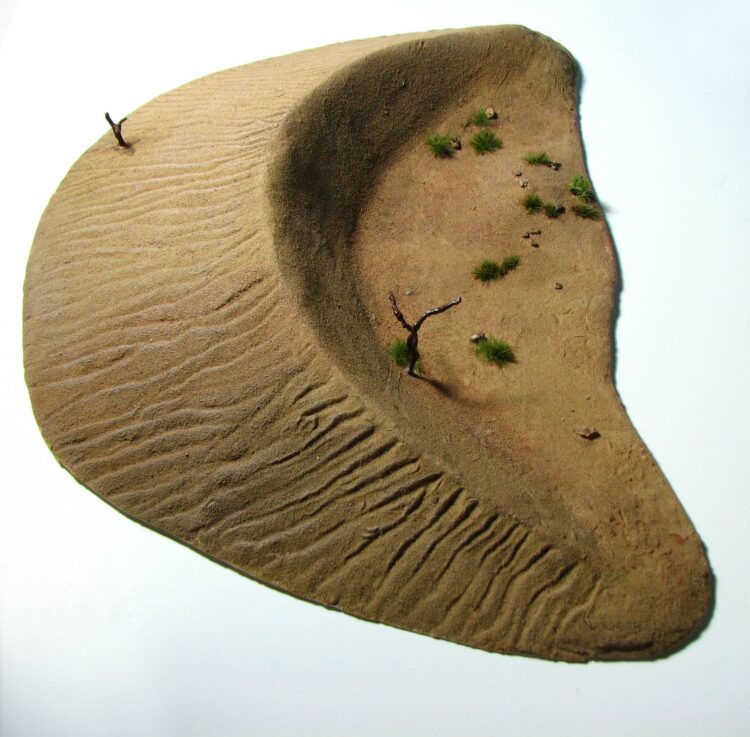
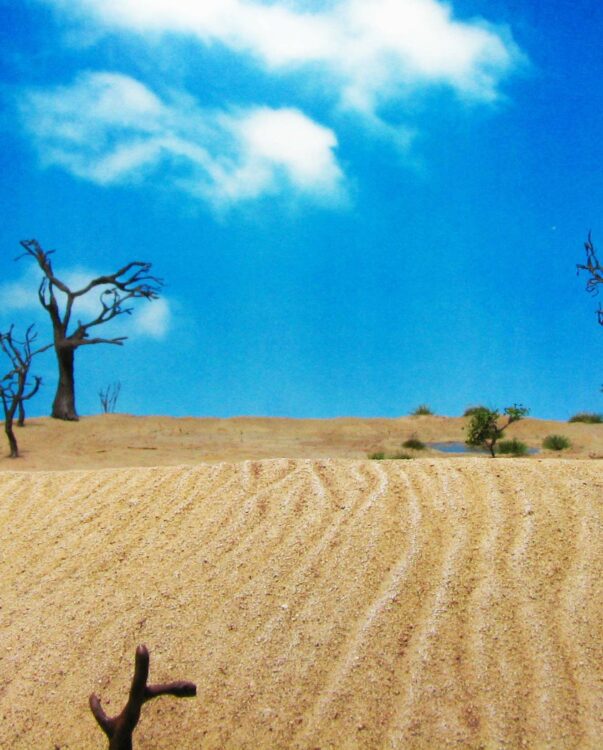
The sand dune pictured below uses the latter technique and was a first attempt at using the gravel fixer to achieve such an effect. While I am not entirely happy with the shape of the ripples, I would say that this method is very promising and worthwhile of further investigation.
Airbrushing?
My attempt to airbrush the Gravel and Sand Fixer produced mixed results. If you want to fix fine sand and get too close the airflow will blow it all away, but if you spray from a distance the fixer forms little clumps. With coarser sand or as a top coat on already fixed sand, it works very well, though.
Price
At around 6 Euros for 100ml the Gravel and Sand Fixer is not cheap. That said, especially for basing and small dioramas it will last for a while. For bigger terrain pieces you can surely end up using half a bottle for a piece. The sand dune measuring approx. 30cm by 20cm can be covered with about half a bottle. I would say this is still reasonable.

Conclusion
The AK Interactive Gravel and Sand Fixer is a good product that is not a must buy, but comes in very handy when a matt, natural finish is important. It is a convenient product, that does not require premixing. The ability to topcoat pieces with an airbrush is an added bonus. The main advantage lies in the properties of the fixer. It is readily absorbed by sand and fixates its current shape.
I would thus recommend the fixer to people who work a lot with dry pigments, soils and sand, where preserving the colour and texture is important. At 6 Euros the product is cheap enough to give it a go and I think you won’t regret it.
[…] example of a superior dune as shown on the Dagger & Brush […]
Ah, I love those ‘scene’ shots with the dune and background! I think the dune seems really promising, if this is the ‘first experiment’ – it looks great 🙂 I wonder if you can use actual wind somehow to make the ripples in the sand…maybe blowing through a straw or something. It’d probably be an incredibly messy process, though…
Thank you very much! I might indeed see if one can emulate the wind on such a small scale. I first need to figure out if only the wind is responsible for the ripples or if they are other factors, too.
Muahaha – blame physics! 😉 I just emailed you a review article on it – it’s only a tender 119 pages long…
I might skip the section on dunes on Titan for the project at hand. However, that is exactly what I had in mind. 🙂
Nice review and product.
Seems to be similar to MiG Pigment Fixer (or vise versa 😉 ).
It might well be the same product. The AK pigment fixer is on enamel basis and can leave some white “frosting“ when too much is applied. The G&S fixer doesn’t have this problem. Is the MIG one on alcohol ot enamel basis?
Can’t tell for sure. There’s no clear info on the bottle.
Smells like enamel though. 😉
So far I had no problem with frosting or so.
Pigments are very mat and colorfast (farbecht) when it’s all dried. On blank surfaces it can leave a very slight satin finish.
Great Review! I’ll have to check out the fixer as it looks like a useful addition to the toolbox. The dune is really nice as well and looks fantastic in your very atmospheric shots.
Although it would be really tedious and time consuming have you considered using a pipette to drop the sand to form the ripples as opposed to scribing them?
Thank you, glad you like the review and the scenic photographs.
I thought about it, but the drops are immediately absorbed and the pattern that is formed by the drop hitting the sand is very irregular, so hard to control. I could see it working for some more irregular ripples, but I need to look at more reference pics to fully understand which shapes they can assume under which conditions.